Sunday, February 28, 2010

Super Glue Quick Tip

I was reading a post by Ron over at From The Warp about Pinning a BloodThirster. In his article, Ron uses green stuff as sort of a filler/adhesive along with super glue to pin some items. This works great on larger parts where you need a great deal of strength... though I usually two part expoxy anything needing a pin personally. It did remind me (in some odd round about way) of something I read somewhere (if someone can cite where I'll add the link later) about using paper towel material as a filler for a super glued joint.

The idea is that many times there is excess room in, for example, a ball and socket joint that makes the point of contact for the glue on the surfaces very low. When you put something in there to soak up the empty space, you get a more solid join. Here is how I do it.

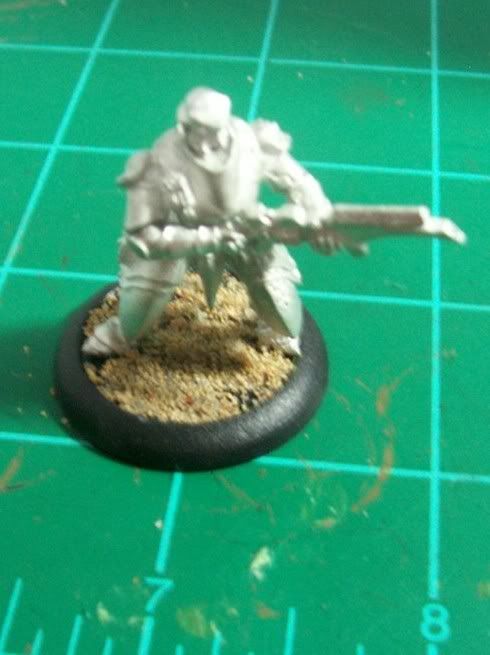
In the picture below you can see the Retribution Invictor is ready for his arms. The arms are ready and two tiny pieces of paper towel material are nearby. The paper towel was cut from a blue design to show up better in the pictures.


Next, I put a very tiny amount of super glue into the receiving side of the joint, in this case the main body of the mini. Then I use the tip of an exacto knife to pick up the tiny pieces of paper towel and place them into the joint. You don't want to put so much glue in there that they become soaked. Once soaked the paper towel hardens pretty darn quick and we want it to stay soft and pliable at this stage.


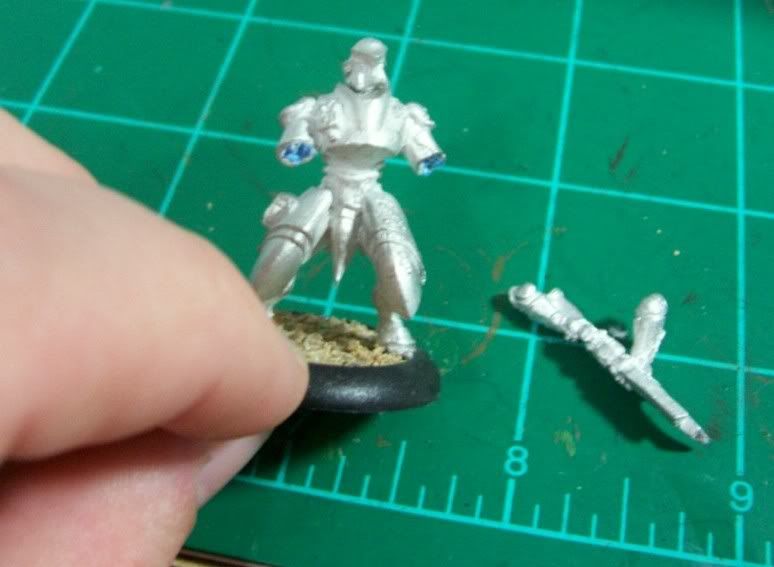
For the final step I put a generous amount of super glue on the remaining part to be joined, in this case the arms. When I place the arms in the sockets the paper towel will soak up the excess glue and conform to both halves of the join. So instead of arms that are glued on, but only touching in some areas of the join, I now have arms that are solidly glued to paper towel (which is hard as a rock now) and paper towel that is solidly glued to the rest of the mini.


I don't know how many people know this tip already, but if I help just one person prevent the arms of their tiny warriors from falling off, then I've done my job! As always, feel free to let me know what you think. I'm always keen to hear from you folks out on the inter-web!

Monday, February 22, 2010

Marauder Destroyer Pt. 4 (Flying Stand)

Just a quick update in an attempt to prove that I really have been working on this project!

I've sorted all the building out and even magnetized the Hell Strike missiles that go under the wings. All parts are ready to prime (have been for almost a week now) but the weather here is not cooperating. I have a garage I can spray primer in, but the weather has either been very wet and/or cold lately. The one nice day we had, when spraying primer wouldn't make me nervous, I had other obligations and wasn't able to get it done.

I cut the base from a bit of scrap 1/4" MDF board I had laying around. I folded a piece of paper in half twice to and cut 1/4th the shape. This insured some symmetry in my pattern. The base is an oval of about 10"x7.5".


I also cut out some smaller pieces to use to build up the base where the stand would be placed.


Here are a couple shots of the Marauder on the stand. You can see that the three extra pieces cut in the photo above give a total depth of 1" into which the acrylic stand was inserted. This was glued with wood glue and is amazingly solid!


Bonus points if you can spot and name the distraction in this last picture...


The stand actually goes up inside the model, through the hollow body, and into the original mounting kit provided by Dragon Forge Design (who also came through with a 12" acrylic rod if you missed my previous post). I notched the top of the rod in a way so that I could glue the cut out notch into the mounting kit in the top of the fuselage. This prevents the model from spinning around on it's stand.

So there it stands... pun! Anyway, I'm excited about getting this primed up and painted. It's by far the worst Forge World model I've assembled as far as quality of parts fitting together. But, I'm hoping that the flaws are less noticeable to someone who didn't actually assemble it. Thanks for stopping by and, as always, comments, criticisms, and pointing & laughing are welcome!

Saturday, February 6, 2010

Chaos for DoW II vids!

For those of you who like your 40k on the pc screen as well. Check this out!

You may now resume your normal hobby activities...

Wednesday, February 3, 2010

Marauder Destroyer Pt. 3 (The Bends and Acrylic Rods)

A quick update on the progress of the Marauder Destroyer and an impromptu product review as a bonus!

As with any other resin kit from any manufacturer in the world, the MD suffers from its share of warpage. So I thought I'd share my technique for taking the bends out.

I start with boiling a pot of water on the stove. Once it's boiling I back the heat down from a high setting to a medium setting. This should let the water get down to just below a boil temperature-wise. I keep a bowl of cool water on hand as well, to cool the parts down once I get the shape I want. I skipped pictures of that stuff as I'm sure you know what a stove, pot, water, and a bowl look like.

Instead I thought I'd show you the kinds of things I had to straighten out. The thicker pieces, like this Tail Plane, I hold submersed or partially submersed (depending on how much of the part is affected) for about 20-25 seconds.


For thinner bits like these Flaps and Bomb Bay Doors 10 seconds or less should do.


For even thinner bits, you have to be careful and probably use a 5 second or shorter dip in the hot water...


For the thinnest of parts, like the Canopy Frame, I literally just dip and remove. This still gets the parts as soft as a wet noodle so extra care must be taken with parts this thin.


Whenever possible, it's also a good idea to have the piece that the part will mate up with on hand. This insures you get the shape you really need. In this case I put the part in it's position over the cockpit to make sure it fit correctly.


These are not all the parts I had to straighten out a bit, just examples of different types and sizes of parts. With this stage out of the way it will be some priming and painting and some parts assembly next.

For the product review, I'd like to share with you my experience in finding a suitable mount to fly this bird when it's complete. I found acrylic rods for sale over at Dragon Forge Design. The site lists a six inch acrylic rod with a resin bit to assist in mounting the rod to the flyer of your choice. The product page can be seen here. I knew I wanted my Marauder to fly a little higher than 6 inches, in fact 12 inches is more what I wanted. I emailed Jeff at Dragon Forge Design and he was able to custom cut me a 12" acrylic rod with no problems. Not knowing much about acrylic rods and such I was a little worried that the weight of the Marauder might be a little much for a 1/2" diamter rod. Nothing could be further from the truth. I think you could just about put an actual airplane on this rod and not bend it.


I would definitely recommend Dragon Forge Design for anyone looking for a way to raise up their flyer model. He also carries a large assortment of custom bases and such. In my opinion the products are priced reasonably and the customer service is excellent!

Related Posts with Thumbnails