Sunday, October 12, 2014

A Short Post About Inked Adventures Printable Dungeon Tiles


I love them. Is that short enough? Yes? Well, too bad. I plan to ramble a bit further, though the good news is there will be a few poorly staged pictures to go along with the poorly written bits.

First off, per the Inked Adventures website;

"Inked Adventures produce accessories for tabletop roleplaying games. Our popular printable PDF dungeon tiles and cut-up sections can be found on RPGDriveThru and Paizo
May your dungeons be beautiful!"

 The first set I grabbed was the "Hand Drawn Large Geomorph Tiles". These tiles are, as the name suggests, hand drawn. They have a lot of character and I've always been a sucker for geomorphic tiles because I like anything that minimizes the ability for me to place it down wrong.

These tiles are ten inches square and printed on two sheets of paper each.


You then cut them out and glue the two pieces together to make one ten by ten inch tile. Easy enough with the right tools!


But what do you print them on? Cardstock is one choice, but I felt it may still suffer more damage, dog-ears, and tearing than I'd like. So I decided to print on regular paper then affix the tiles to foam-core or foam-card if that's what they call it near you. My local Hobby Lobby sells 30x40" sheets of Foam-core which, math demands, divides up into twelve 10x10" squares.


If you want to get a really clean cut on your foam-core, I can't recommend FoamWerks Tools enough. You can get pretty fancy, but they have a straighedge and a cutter that slots onto it to make the straightest, cleanest foam cuts you'll get without using a light saber or something similar.

The next step involves glue. I tried at first to use a product called Mod Podge but the moisture content was a little high so there was some minor warping after the paper was glued to the foam-core and dried. So I found this stuff...


It's a good idea to read the warnings on the label as this is a serious adhesive product. I'd recommend spraying outside and into a box or other container as shown below.


Yes, it's indoors for the photo-op. I like to keep my bad lighting consistent for photos! Still, you can see the two halves of the tile cut out and placed into the box. A quick spray with the adhesive and they will be good and tacky. For a short time you can place and remove them, but after they have been adhered for a while, they are good and stuck on.

Here is a shot of the first half placed on the foam-core. Note that one half has a bit of extra material. This is so you can glue the two halves together even if you are not attaching them to anything. I could cut it off for this method, but chose to leave it on.


I like to line up the edge closest to myself then work my way forward. It helps me keep the tile straight as it goes down on the foam-core.

After the first half is down, I rotate the tile 180 degrees and place the other half on using the same method.


Close counts, so I'd not get to fidgety and stress about perfection. These are hand drawn, remember, so computer precision was never the goal. Character is the goal, and the tiles have tons of it.

Here are a couple tiles together to show how they fit.


Is the cavern just inside this dungeon filled with Kobolds? Maybe a troll? Who knows, but the neighborhood is nice! The set is 64 tiles, with mirror images included for a total of 128 tiles of dungeon. Each tile being two pages means printing it all out can get ink/toner heavy, but you can always print them out as you need them as opposed to every tile at once. Or, if you work in IT, you can send a couple hundred pages of "test prints" through a repaired printer... or so I hear.

Inked Adventures also makes a series of Modular Dungeon Cut-Up Sections that are in color and offer a ton of options for building a dungeon out of tiles. I use a similar method to mount these to foam-core, but I use black foam-core as I feel it looks a bit fancier that way.


The Modular Tiles have several inter-related products that are all compatible. There are also several free sample sets if you dig around a bit. They are all pretty and make me want to play HeroQuest something fierce!

As an aside, the Large Geomorph tiles inspired me to make some tiles of my own to playtest a Sci-Fi-Dungeon Crawl-RPG-Boardgame I've been working on. With just nine double sided tiles I can create a LOT of maps...


Thanks for having a look. It was fun hopping back on the ole' blog for a morning. Maybe it will inspire me to blog more than once a year... maybe...

Wednesday, November 27, 2013

Olde World Miniatures (Kickstarter Loot!)


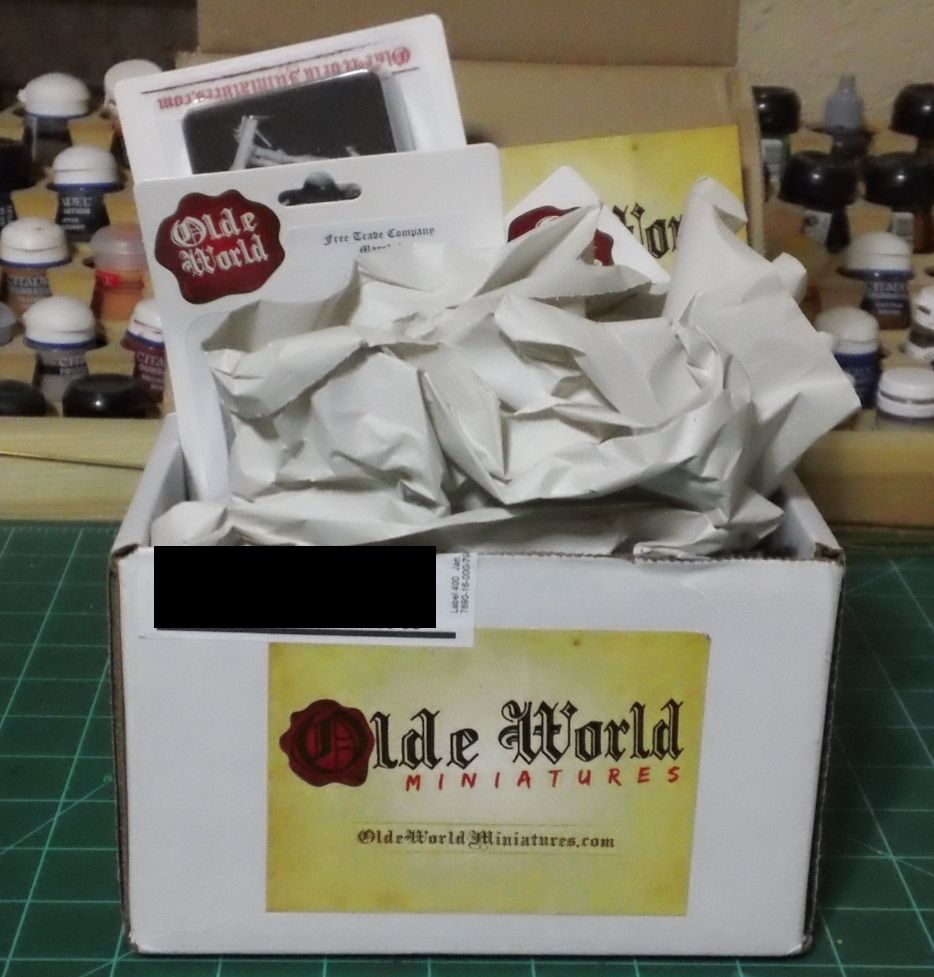
I arrived home this past Saturday to find a lovely box from Olde World Miniatures on my porch. Hooray for Kickstarter's that actually produce rewards!

I didn't go too far in on this one, but there were a couple minis that just looked like they'd be fun to paint and too nice to miss out on.

Here is what I got...

A box!

They include a copy of the same classy sticker as on the box inside the box
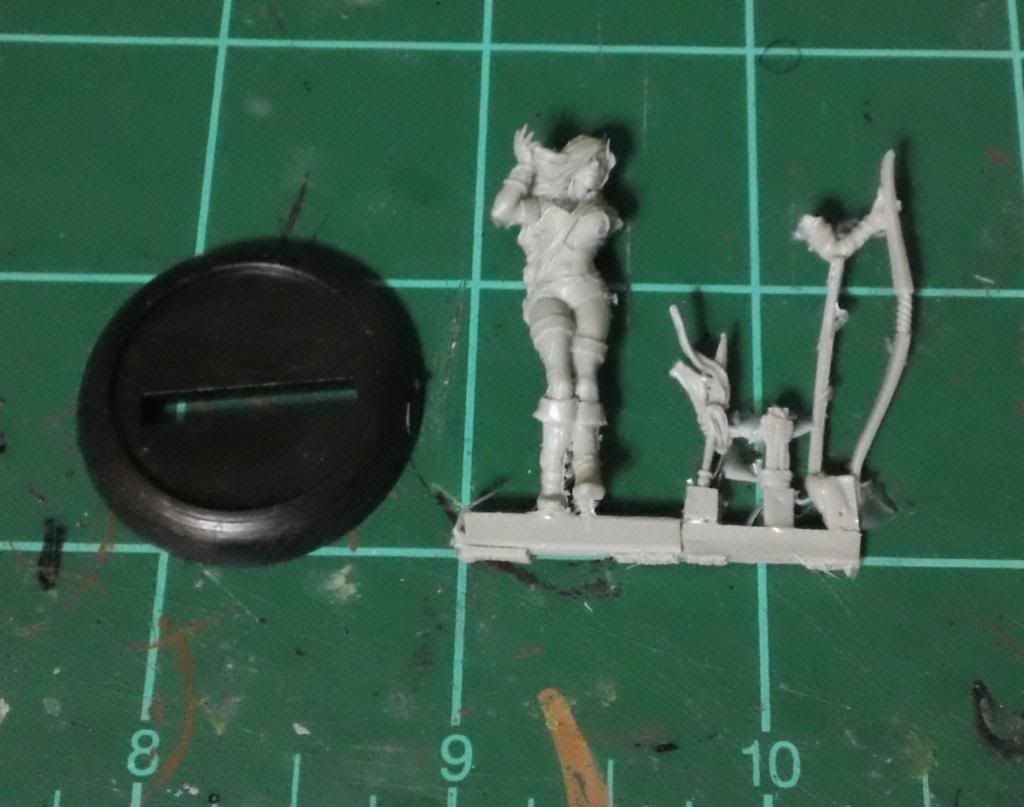
First up was the mini that originally suckered me in, Lilly, the Huntress...

Elf chick with a bow... not feeding any stereotypes here!
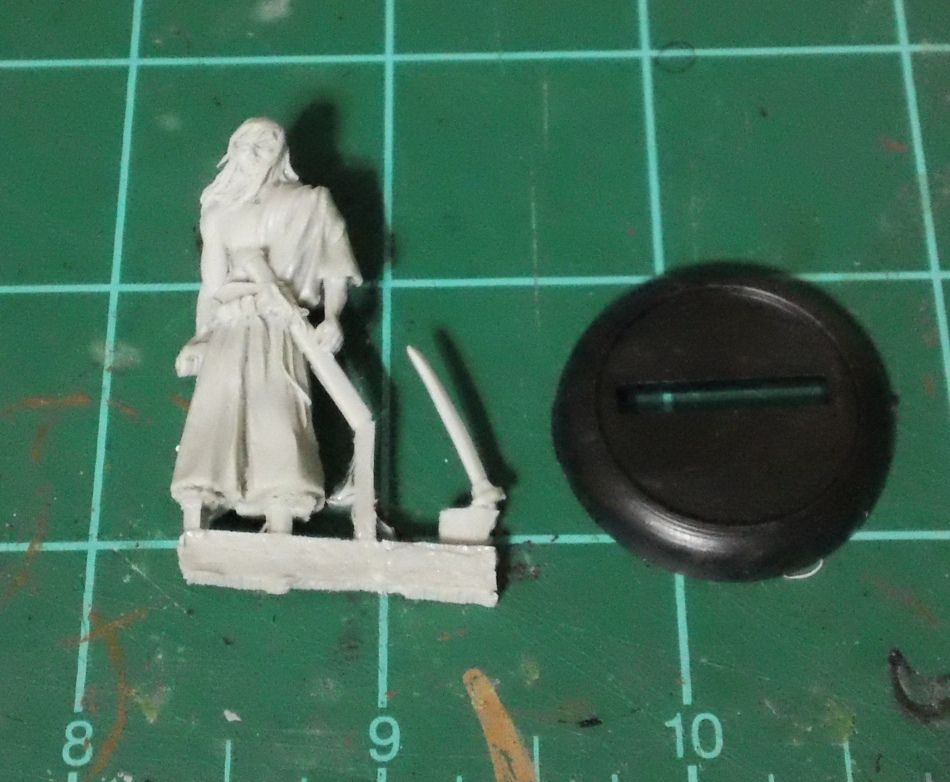
Next up, is a mini that I just found too interesting to skip, Inin the Wonderer...

Awesome Ronin looking dude!
And last we a have what I think looks like a goblin with a Napoleon complex, the Free Trade Company Field Marshal...

There is a lot going on here...
The hat that really sold me on this guy...
I know it's hard to tell just what you are looking at when a mini is pieces, so jump over to the Olde World Miniatures website and you can see what these minis look like all put together...

But how is the quality? Well, to be honest, I'd forgot these were going to be resin minis till I opened the package! How is the resin? It's good! It's not as clean as Ax Faction or Kingdom Death resin, but also not as expensive. There are a couple mold lines that will take a bit of cleaning, but nothing unreasonable. I'd say they compare well with minis in their price range.

I'm on a bit of a plastic kit kick right now, but these look like they will be a lot of fun to paint up when I get to them!

Thanks for stopping by, comments are always welcome.

Saturday, November 23, 2013

Yamato 2199 Cosmo Fleet Set 1


I've just about finished the three 1/1000 scale ships that come with the Yamato 2199 Cosmo Fleet 1 box set. There are a couple of details I plan to hit later, but I'm saving them until I have several ready to do all at once. The windows on the ships bridges, for example will be done with a mix of Future and Tamiya Clear Green acrylic, but I'm going to wait until I have several ships ready for that step. The stands are also going to be done in either a very gloss, or all matte coat. Currently they are a little jumbled as I used them to hold the ships whilst spraying them with gloss, then matte coating.

These ships are a fairly small scale, 1/1000. For the first three I decided to go with a no paint option, but I did do some panel lining and applied decals. Here are the results...

The first ship, the Destroyer, Yukikaze...


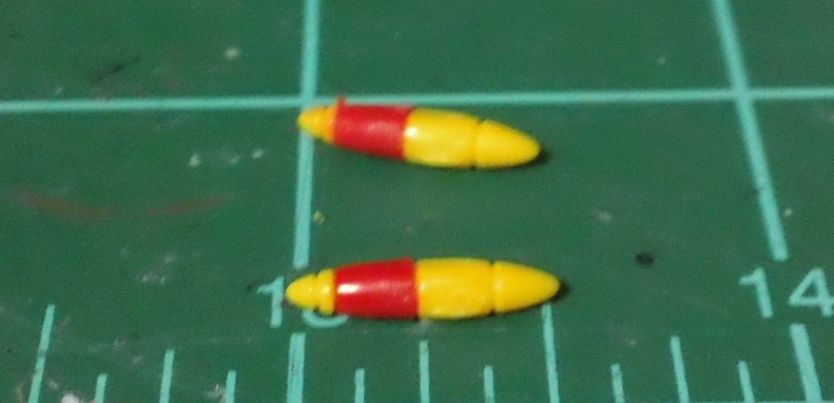
This is a small ship. A very small ship. But that didn't keep Bandai from putting a lot of detail into it. Nearly invisible in the picture above are two little cigar shaped bits that hang from the bottom of the ship. Here are a couple shots of those while I was working on them...

The grid is 1 inch...
Total length of all four parts on each, about 1/2"!
The next ship in the fleet is the Cruiser, Murasame...


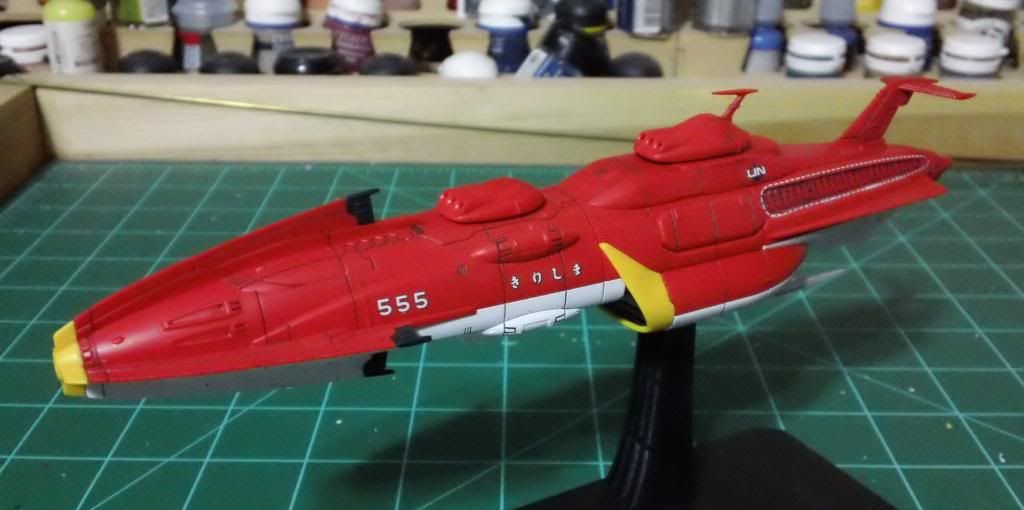
And the last 1/1000 ship that comes in this box, the Battleship, Kirishima...


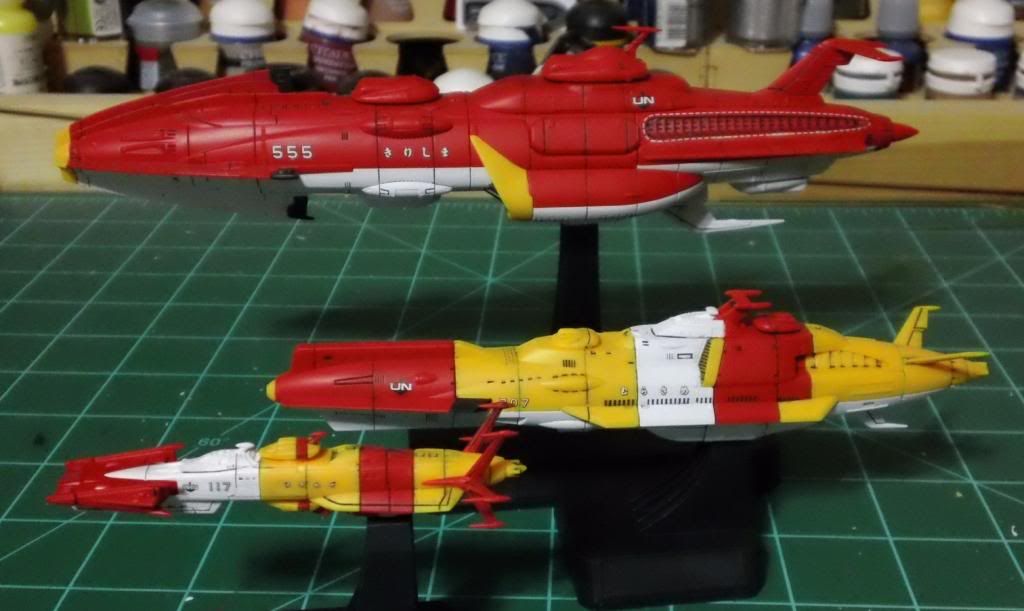
 Finally, a group shot...


 All in all these were very enjoyable ships to assemble. Some of the parts are tiny and prone to diving for the carpet when not held firmly, but that's the price of detail I suppose. As I mentioned above, there is no paint on these at this time. The panel lining was done using a method of mixing enamel paint with lighter fluid... sounds odd, eh? The details are explained better on Major Williams Gundam Blog than I could ever communicate. That site has a lot of other useful how-to's as well and is worth a look. The decals I used are of the three ships named, but the kit comes with many alternate names (in Japanese so I can't read them!) and ship numbers. To get a good finish on the decals, I first used the airbrush to spray the assembled kits with straight Future Floor Polish, then applied the decals. The high gloss surface prevents the 'silvering' that often makes decals look... well, like decals. After panel lines and decals, I mixed some Tamiya Flat Base (part# X-21) with Future to apply a matte coat. A good guide to this can be found on the Fichtenfoo website (along with a metric ass-ton of other awesome/useful stuff).

I wanted to see how these came out with minimal to no painting and, because of Bandai's full color parts, I think they came out great! The flat coat helps to take the plastic 'shine' off and give them a more finished look. The panel lines add a bit of depth and detail. And the decals round out the visual package. So what's next? Well, for my next Yamato kit(s) I think I want to try some pre-shading. It will be a challenge at this scale and my current airbrush skill level but you never get better if you don't stretch!

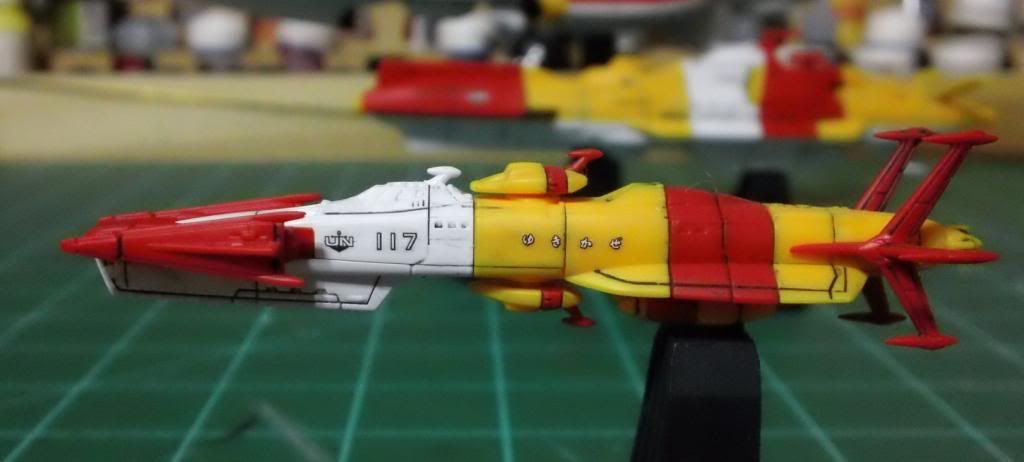
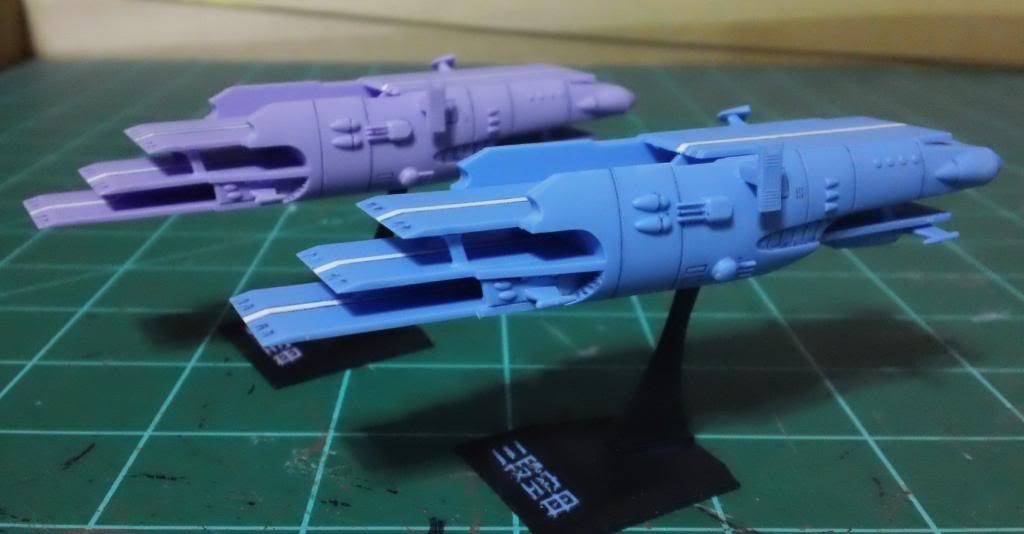
I also mentioned in a previous post that Bandai has kept with the tradition of including a small bonus kit of some sort with each model (though this only seems to happen in the good guy ship kits). Here is a quick shot of two of the bonus ships, one from the Cosmo Fleet 1 set and one from the Yamato kit.


They seem a little pastel, but that is actually the colors they were in the story. I've painted the white lines on the landing deck and that is all. I used a marker for the panel lines and then just hit them with Testors Dullcote.

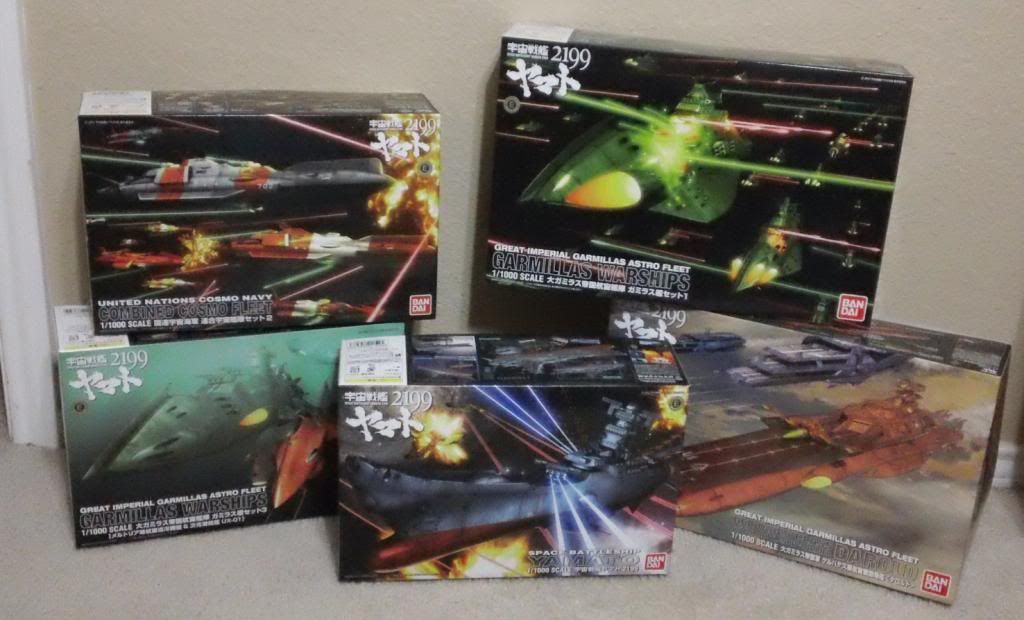
As for the next kit to work on? Well thanks to John at Starship Modeler, I have quite a selection to chose my next Yamato 2199 project from!


I can't recommend that store enough for model spaceships. They stock a lot of kits and upgrade parts for kits. The shipping is reasonable and fast too. Plus, he threw in a little pin with my latest order... I'm a sucker for little extras.


Thanks for stopping by and taking a look, I'm off to fiddle with plastic kits for a bit!

Related Posts with Thumbnails