Tuesday, July 26, 2011

Scratch Built Titan Pt. 10 (Build Complete... ish)

Finally! The building of the Titan is complete! This blog will conclude the build process of the Scratch Built Titan Project. There is still more to to with detailing and such, but this is the point at which you can call this build done.

If you've been following along, you know the work that's been put in, but not the cost. I'm going to lay that out for you briefly, then on to the pics!

3 x sheets of matte board on sale at $4.00 each
1 x bottle of Gorilla brand Superglue at $5.00 each
3 x Aleene's Quick Dry Tacky Glue at $2.77 each
3 x Excel #11 exacto blades package of five at $1.99 each
1 x package of assorted rubber bands at $0.99 each
1 x Krylon Easy-Tack adhesive spray at $7.59 each
1 x brass rod at approximately $2.00 each
1 x package of six ping pong balls at $1.99 each
1 x Gorilla Glue at $7.00 each
2 x pvc pipe pieces from DIY store at approximately $1.75 each
Several sheets of printing paper (if you have a printer, you likely have this already)
Several recycled Cereal Boxes at $0.00 each

So the entire project up to this point has cost about $54.35 US. Getting to this point should not require a top hat... Decorating and details will cost additional. But, as I've mentioned before, the point of this part of the project is to show what you can build for the bare minimum. Will it look better after detailing... yep. But I think it already looks pretty cool as it is! On to the pics!

First is a shot with some IG and a Leman Russ for scale...
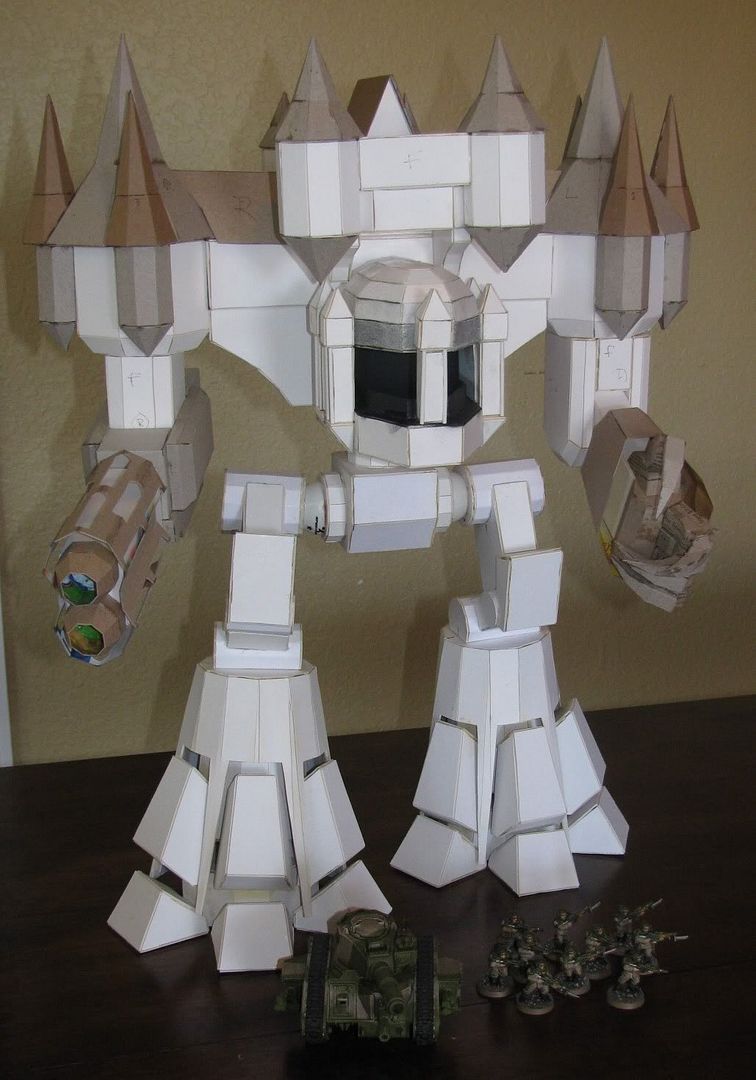


A shot of the side...
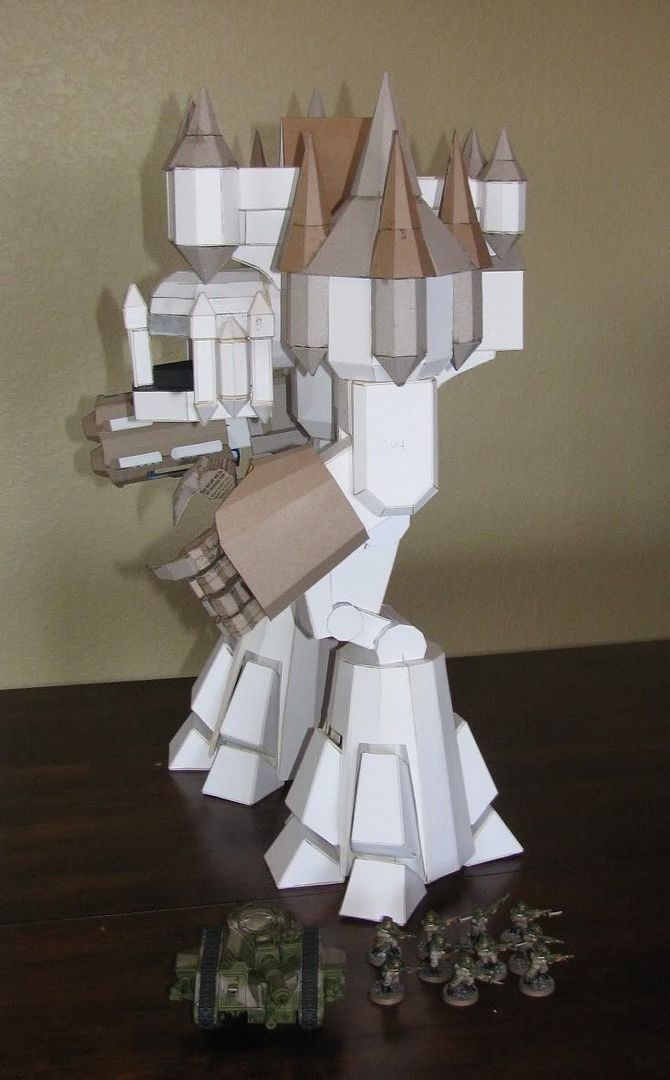


The rear angle...


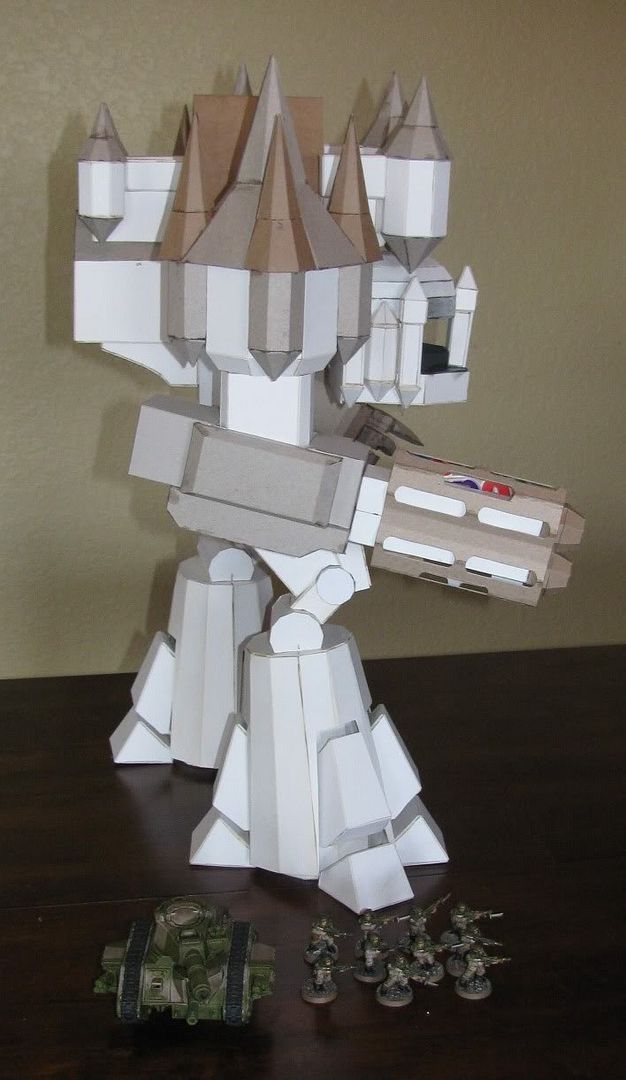
The other side...


Here is a picture showing the Titan broken down into its parts...


Strangely, I also noticed there is a baby in the gun???


A couple more pictures for scale purposes. A shot with the Reaver Titan...


And a shot with Godzilla... why not...


I don't think the Godzilla is 28mm Heroic scale, but he's still cool...


A quick note on the building materials. I'm very happy with how the matte board is holding up. It wasn't the easiest to cut, but it is very solid. As an example; I'd been trying to ignore the fact that the front balcony was slightly crooked. I couldn't take it anymore and decided to remove and straighten it. It took some serious doing to get that one piece to come lose. It is now replaced in a straighter position since these pics and I'm quite happy with it. There is, in fact, only one place that I think is a little weak which brings me to the next paragraph...

While the Titan is perfectly fine the way it is, I'm going to put it on a base due to the nature of how the lower toes are attached and their inherent weakness. The base will be just big enough to set the feet on with a small 'bridge' in the middle to prevent the legs from trying to splay at the hips. This is a lesson I learned with the Reaver. This Titan stands very well on it's own and this will simply be an insurance policy against toe breakage in the future.

One last note. In the title it says, "Complete... ish". The ish is because there are more weapons available in the plans. There is a large chain sword type of close combat weapon, and a giant belt fed cannon. I will likely build these in the future, but they aren't coming anytime particularly soon.

I hope you've enjoyed watching this project move forward, I know I've enjoyed working on it. While it's probably a project for an advanced modeler, the great thing is you can always try again if you mess up a part. So even a novice can make this work if they have a bit of patience!

Comments, questions, and witty insults are welcome as always!

Friday, July 22, 2011

Forge World Has a Chick on a Dragon!

On a freakin dragon!


It's a little known fact that the Inner Geek has an Empire army for Fantasy Battle. Mostly in boxes. But man, this is a super cool mini. I wonder if it will be in Chicago next week? I wonder what time I'll have to line up outside to get to the Forge World booth in time to buy anything?

Wednesday, July 20, 2011

Scratch Built Titan Pt. 9 (Legs Assembly)

This week brings us to the legs. Getting this titan to stand on it's own two feet takes some doing.

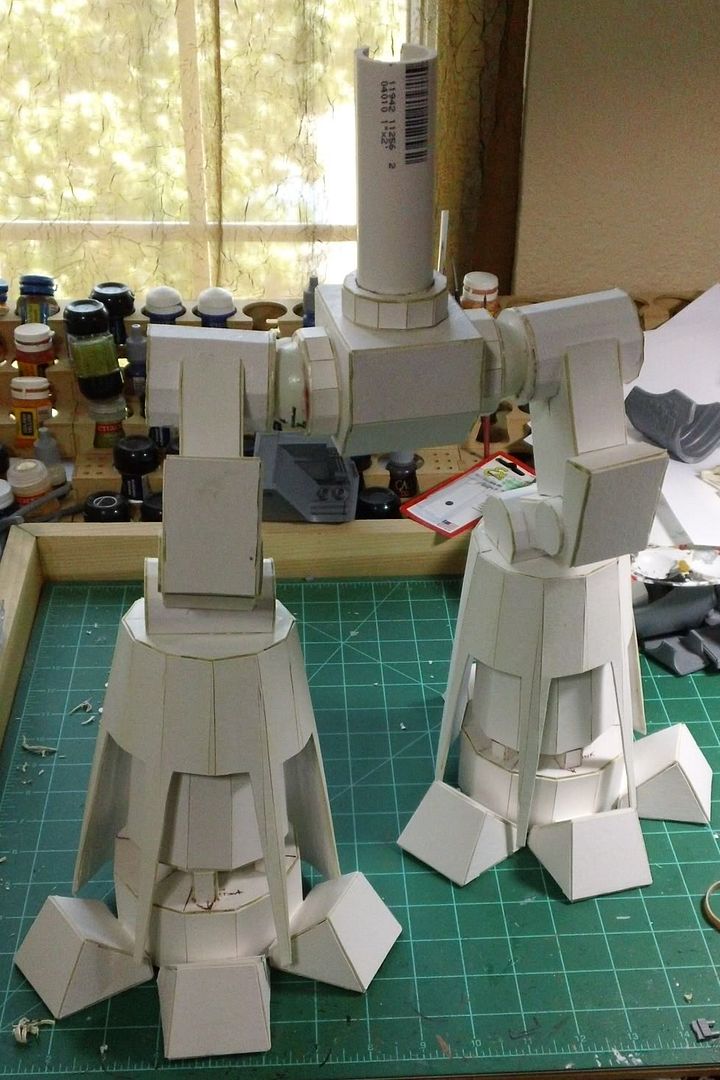
In the interest of making the pose... er... interesting, I played around with the legs a good amount before gluing anything. Because of the way the legs go together I realized that you can adjust them from the hips to the knees and if the hips and knees still line up, you're set. In the picture below you can see that the hips are level with each other and the part that will attach to the lower leg are both on the same plane but the legs are angled differently...


There are some random pieces holding the parts in position by resting the knee caps on them...


Confident that I had two legs in slightly different positions, but still able to line up, I moved on to another area that needed some help.

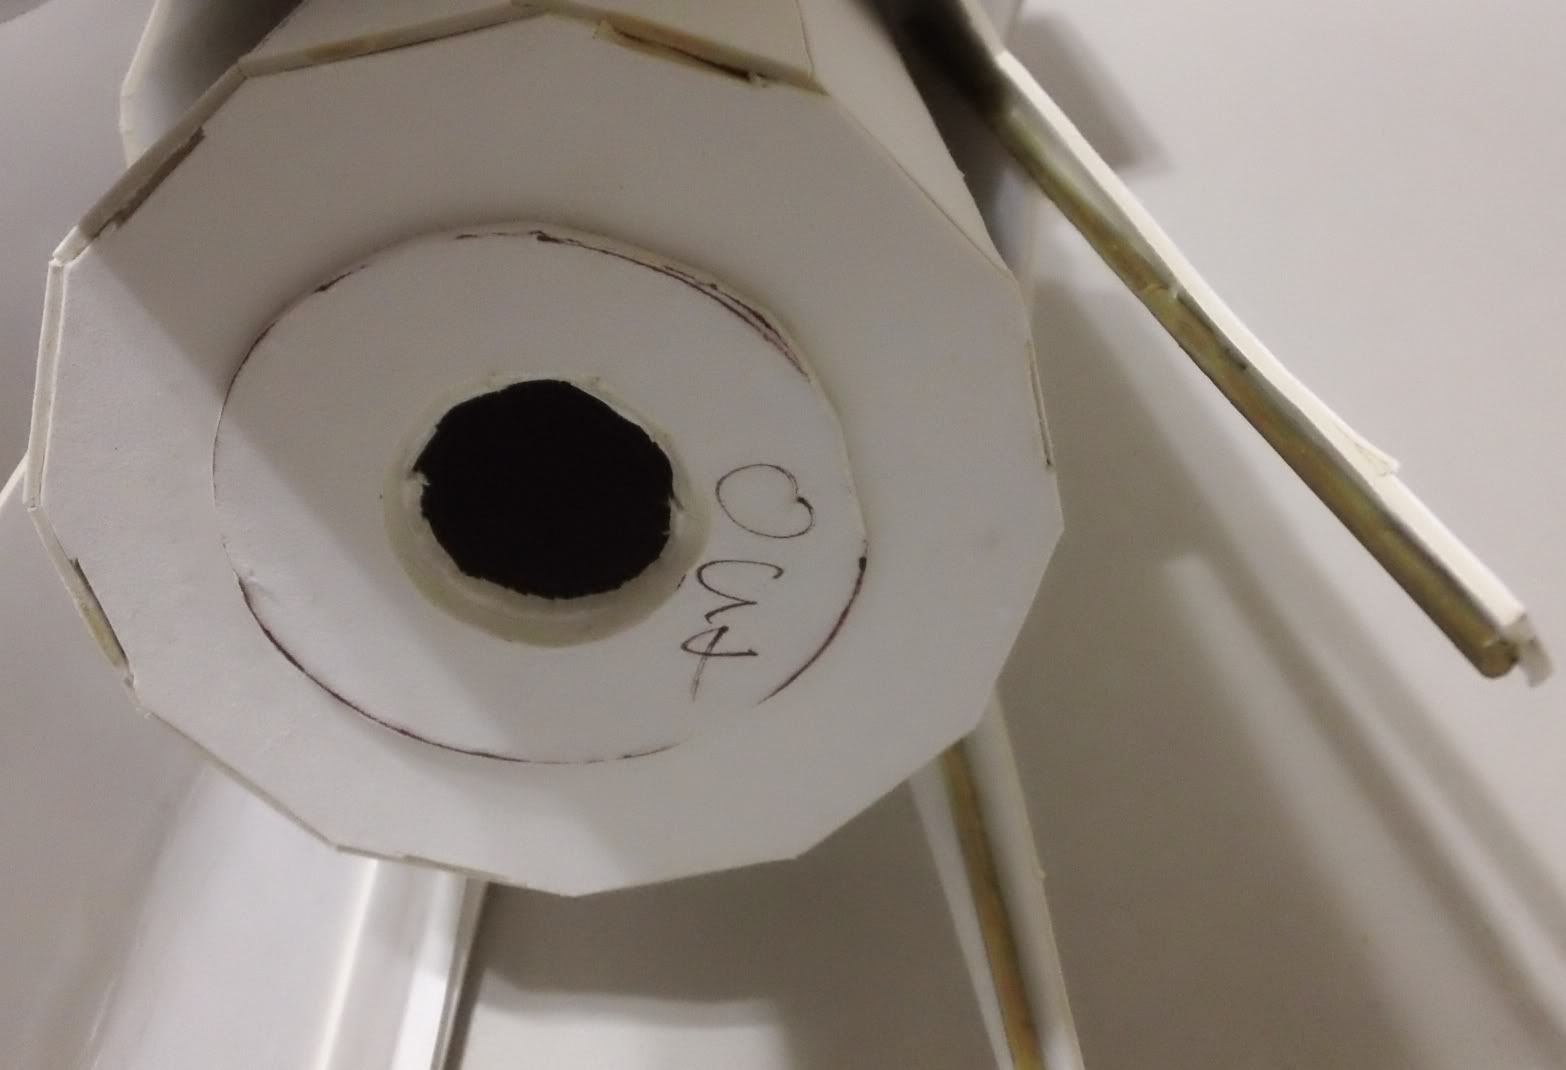
The lower legs are modified from the original plans and this causes the 'shin' to be very thin where it comes down between the front toes. To correct this I glued brass rods inside the shins running from the thin points to the top. When I say glued I mean I tacked them on with superglue then drenched them in regular tacky glue for a solid hold...


There was some fun times gluing the legs to the hips. The trick there is to set the legs on the ball joint ankles, but don't glue them down. Once they were firmly attached to the hips using Gorilla Glue, patience, and prayers then you can glue the ankles at their ball joints. I didn't get any pics of this, because it would just look like the pictures at the end of this blog but with various items propping things up.

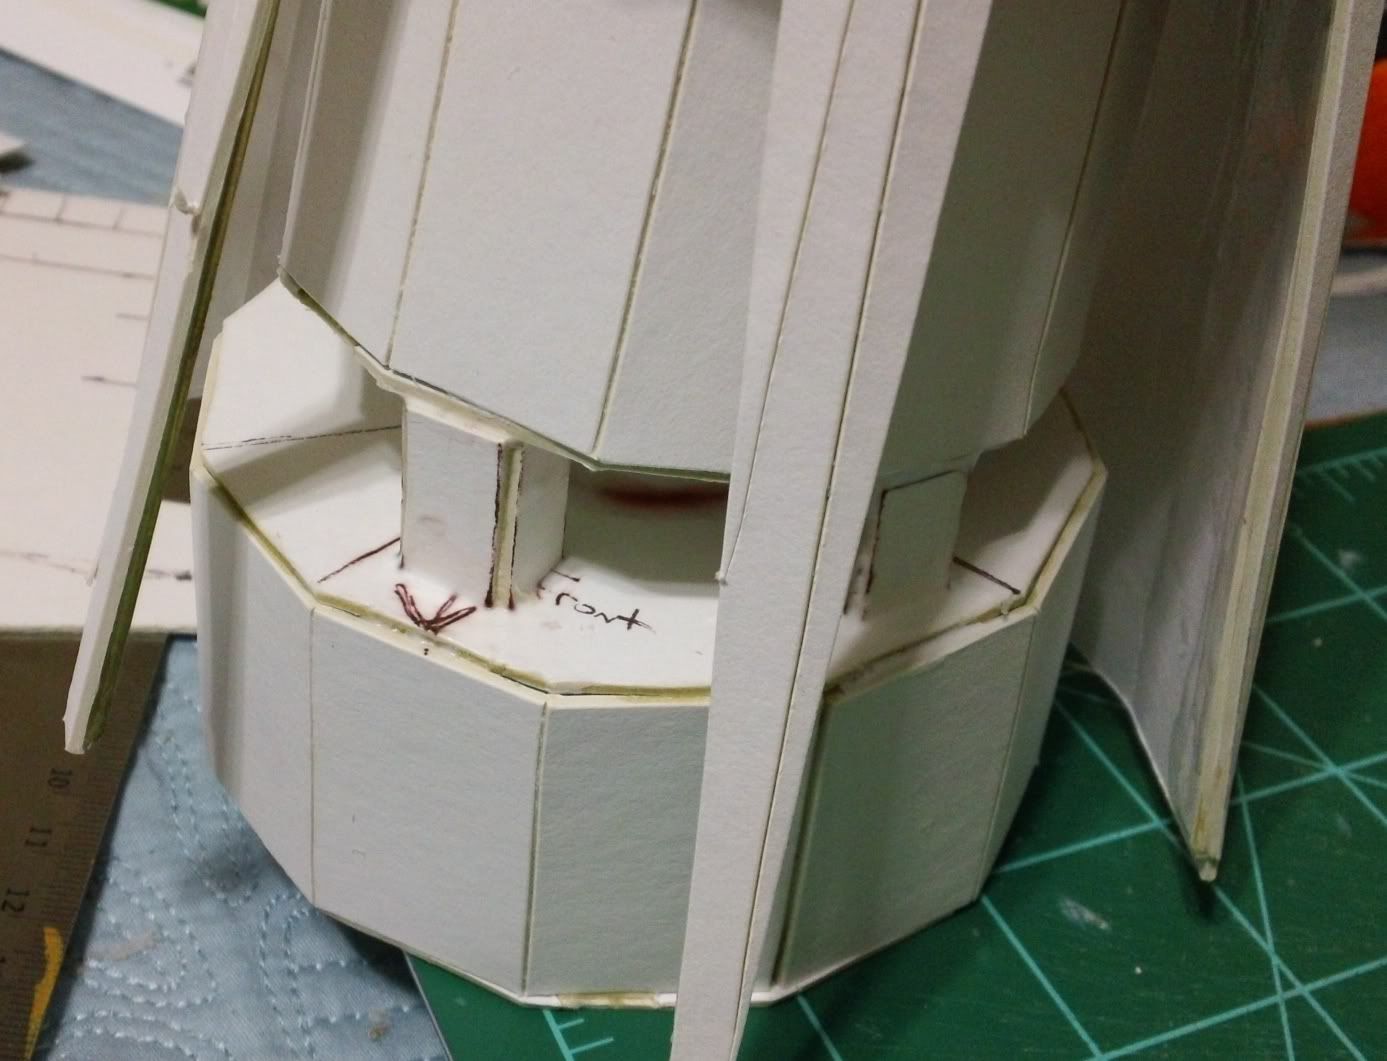
At this point I realized that the ankles were going to be a weak point. While securely attached, they had a lot of 'flex' to them. So I made some homemade braces. First I cut some strips out of matte board...


Then, for the sake of speed, I superglued them into shape...


Then I trimmed them to fit between the inner shin piece and the actual foot. Once installed, I slopped a good bit of glue around them to secure them and help hold them together. Below you can see a couple of them in place...


This only left the toes to add! The lower toes were simply glued on using tacky glue, then reinforced with more tacky glue. Here you can see them added...


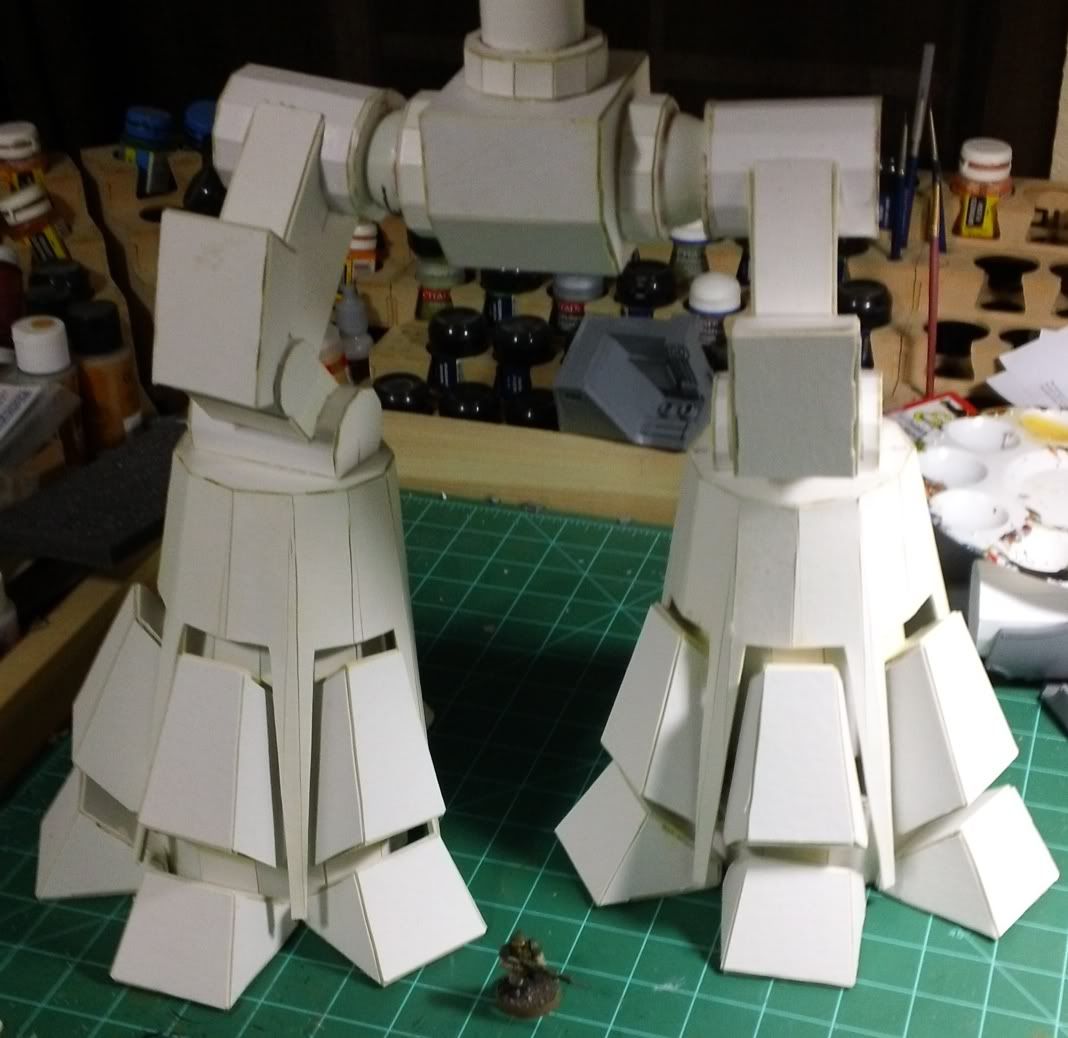
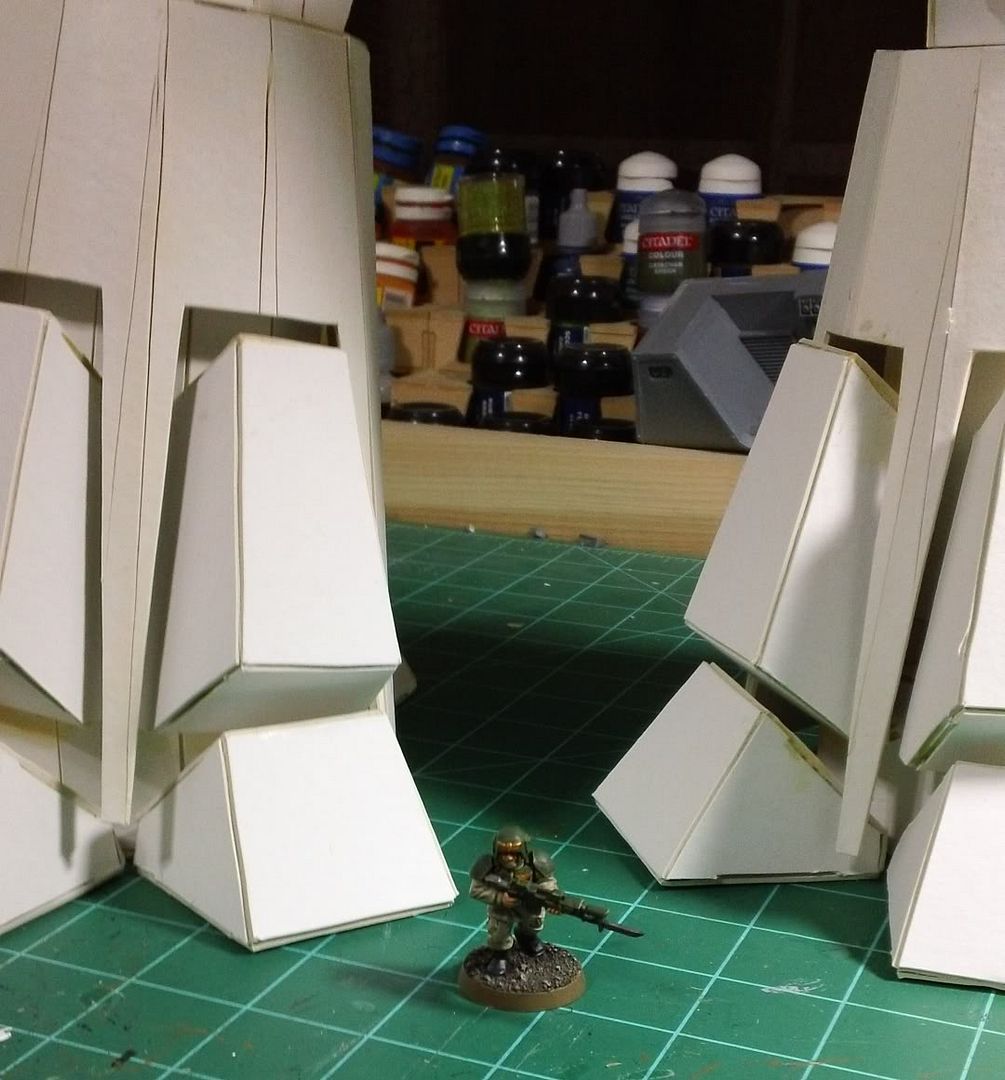
This brings us to the final leg piece, the upper toe thingies. These I tacked on with super glue, then I used an old brush and a q-tip to apply glue to the areas where the pieces made contact... which weren't always large areas. I'm happy to report they feel reasonably solid though! Here are a couple shots of the legs in all their glory...


The tiny object at his feet is an Imperial Guardsman...


So what's left? Not much really. There is finishing the fist by way of gluing the fingers on. Finishing the weapon arm and... that's about it. Next post on this project should see a completed titan ready to be detailed. I'll also try to put together a materials list and prices to show about how much this project costs. I'm doing this before detailing because the point is to show what you can do with a minimum expenditure and any detailing would be to the builders taste, budget, and discretion. Some folks have asked and I'll be putting up pics with more objects to demonstrate scale, including the Reaver. I may even make you suffer through some Inner Geek fiction and write some fluff about this titan... lucky you!

As always, thanks for stopping by. I know you have a choice of rambling blogs, and we appreciate you choosing The Inner Geek blog!

Thursday, July 14, 2011

Scratch Built Titan Pt. 8 (The Weight of the World)

It's on your shoulders! Well, ok, maybe not the weight of the world... but the weight of a 40k Cathedral.


Work continues on the Titan. I've had to move around and work different parts at different times, but I'm going to try to keep blog posts focused on one area at a time. This week that area is the shoulders.

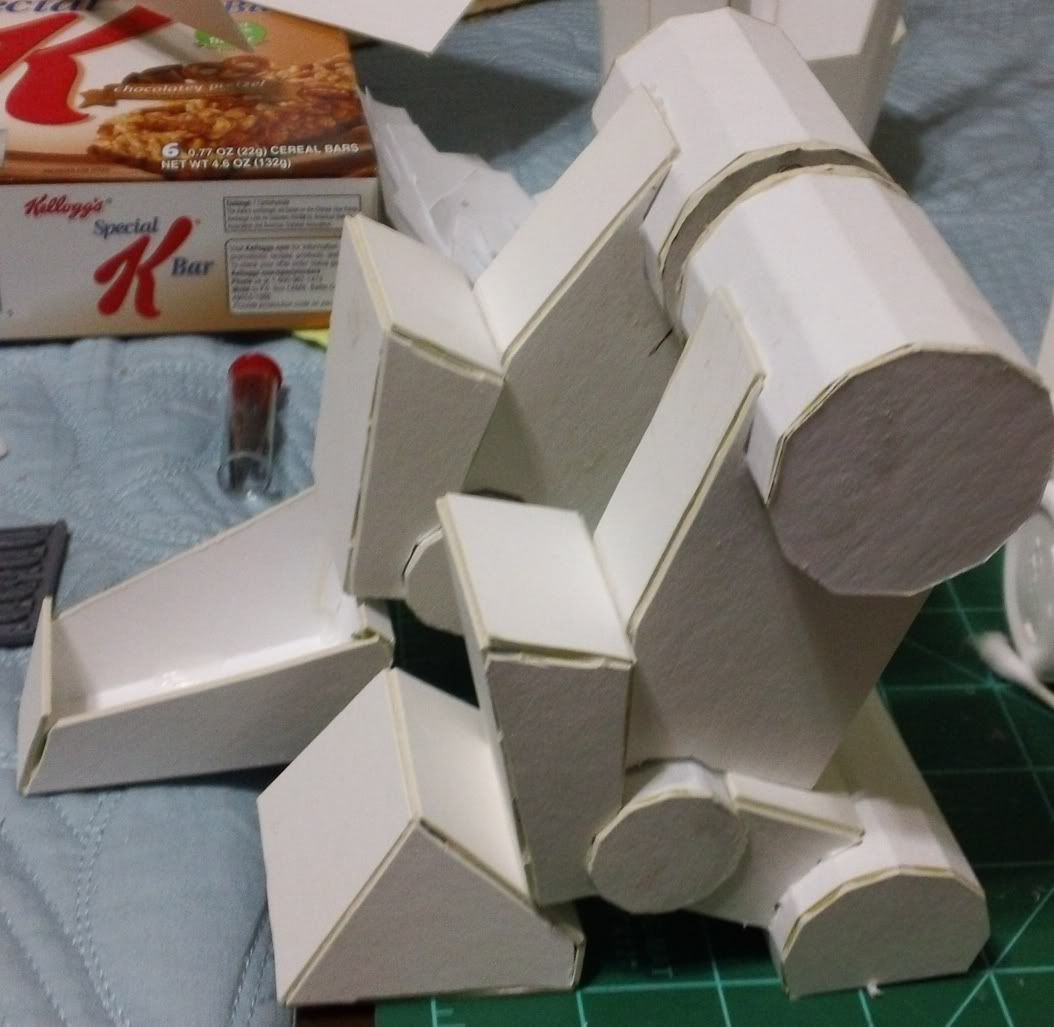
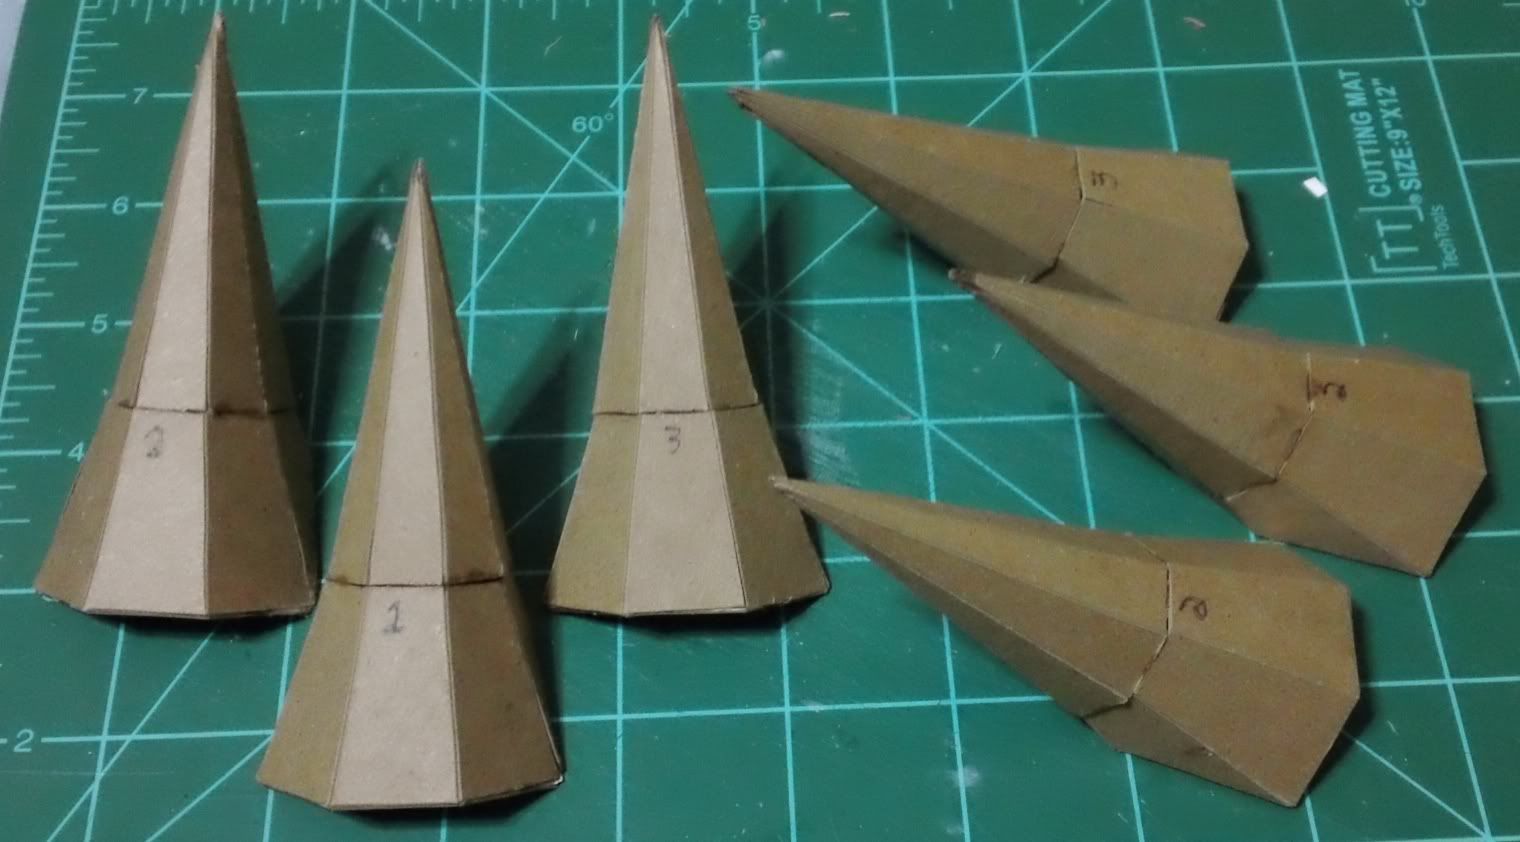
Not a lot of pictures this week. The shoulder amounted a lot of pieces that really didn't do much interesting until they started coming together. I would like to make mention of materials in this post though. I've been using a lot of "cereal box" cardboard for parts. It's lighter and easier to work than the matte board but sacrifices strength. I was concerned at first about obtaining this material as you usually have to invest in cereal to get it. However, I spread the word with my family and friends that I was looking for that type of material and it started flowing in. But I also wanted to note that it's not just cereal boxes. For example, this...


While odd shaped you can still find enough flat spots that are clear of glue or creases to make all of these...


These are each two parts put together, top and bottom.


My point is, don't get caught up in names, ie; "cereal box", there may be other sources of the same material. Also, just because you don't see a lot of potential in a material doesn't mean that it isn't there.

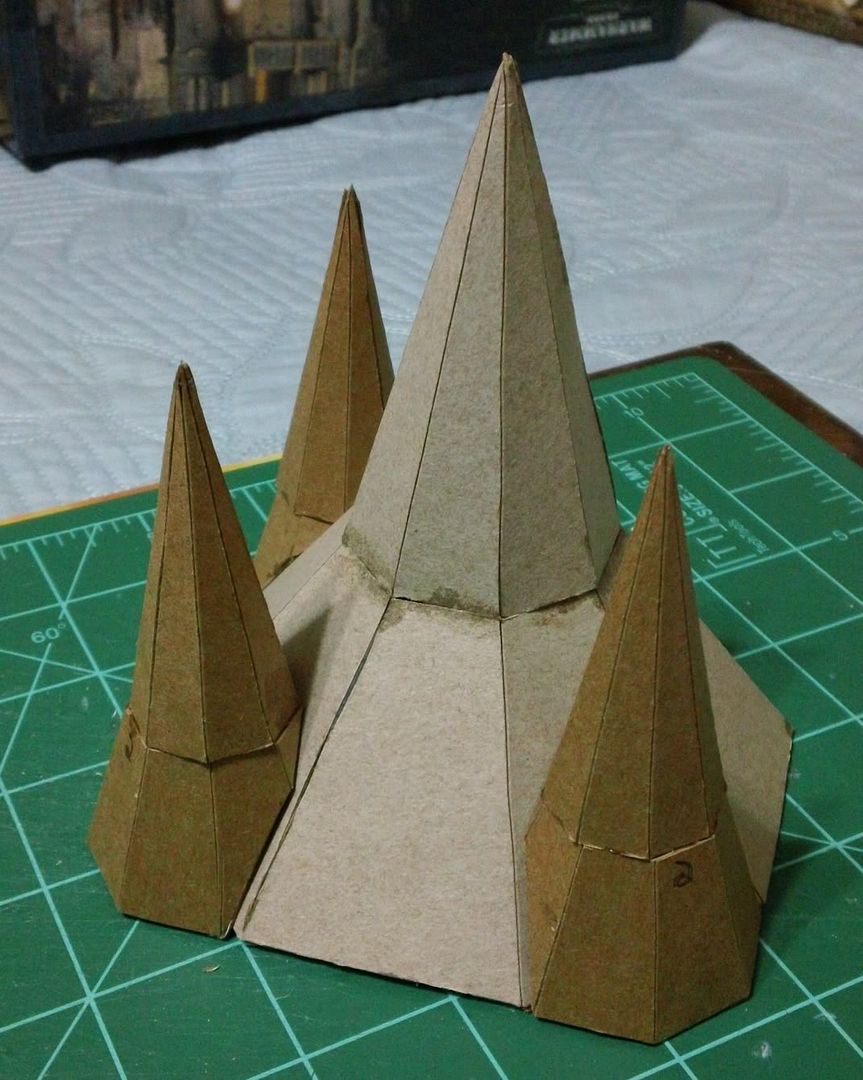
Here is a quick mock up of how the roof line of one shoulder goes together...


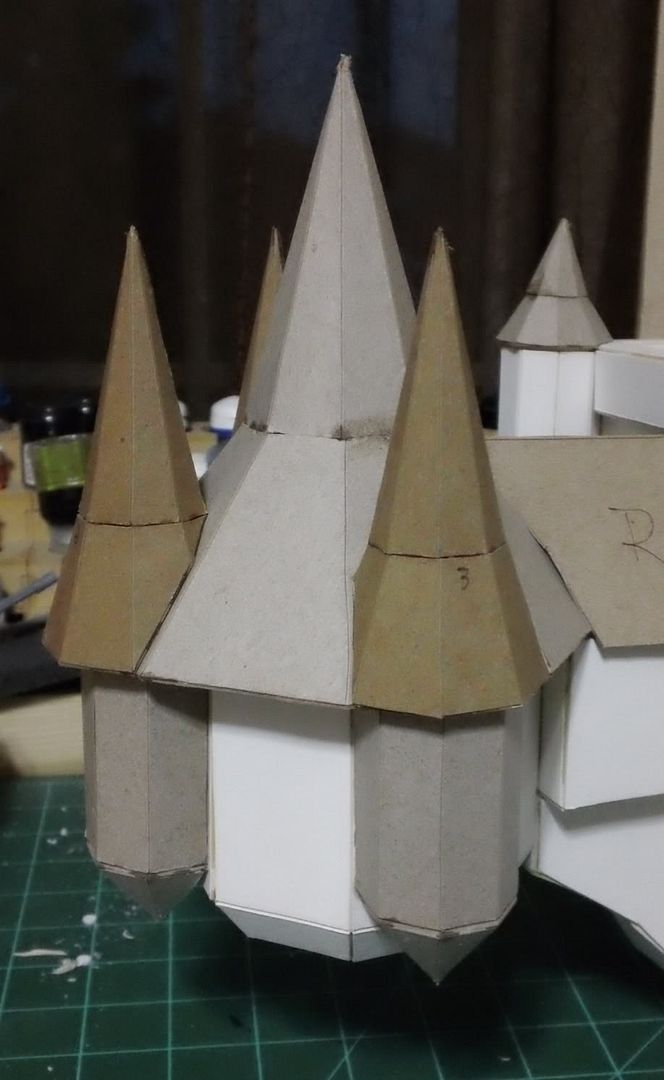
The instructions assume you are building the "Crusader" titan then adding the "Blockhead" bits so they put the large center spire on first then add the smaller spires. Since I'm moving straight to the "Blockhead" design I found it easier to glue the small spires onto the larger one, then add the whole fixture to the Titans shoulder.

Here is a picture of one shoulder completed...


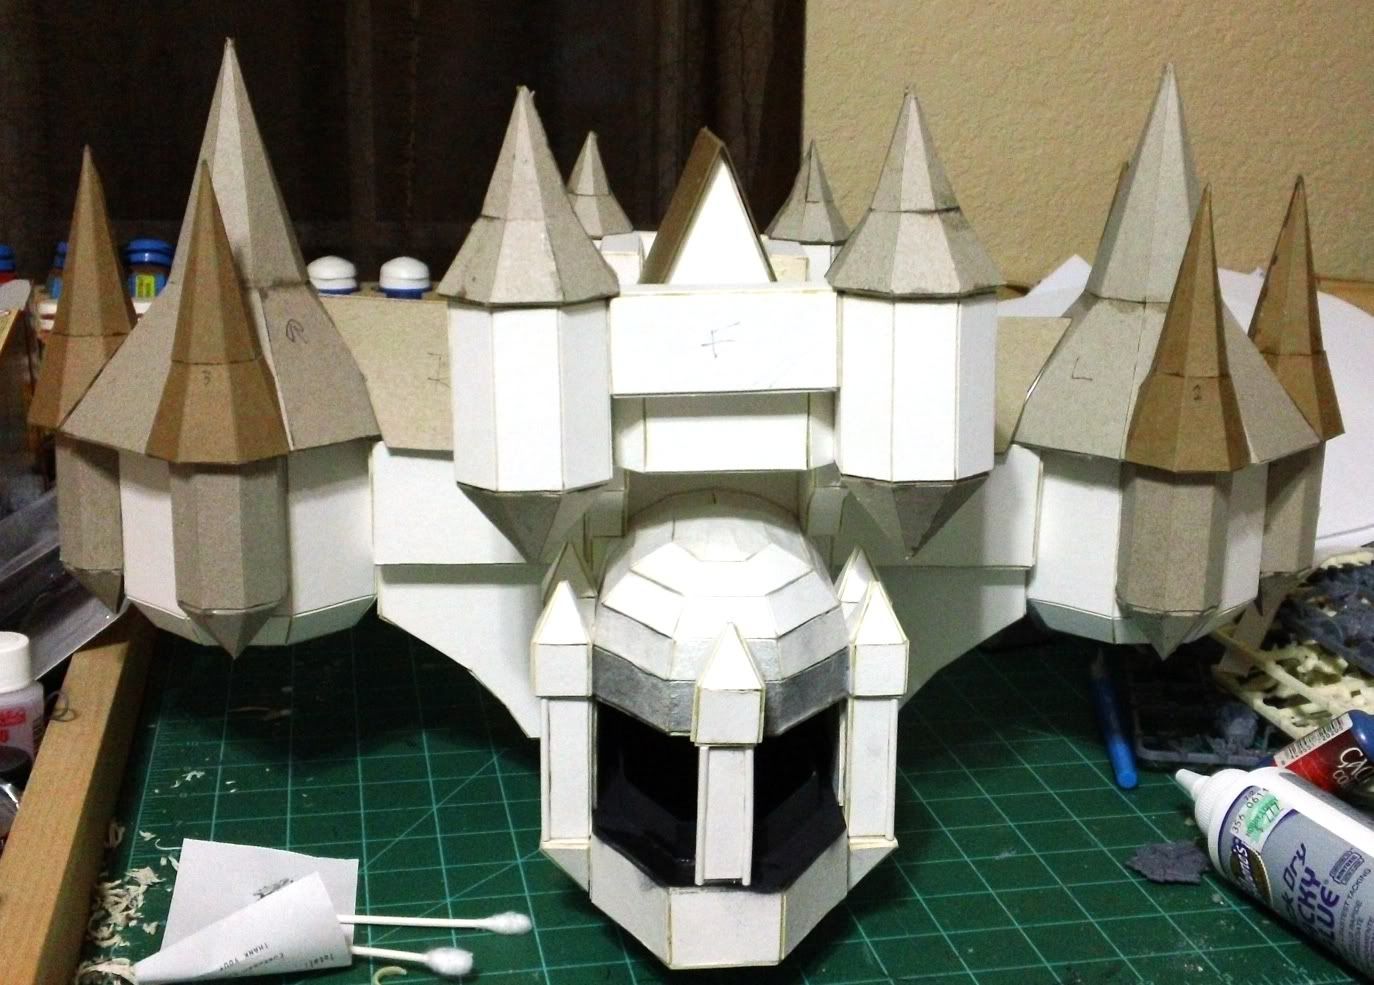
And a shot of the entire upper body so far...


That's all I have to show this post. There is a lot more work done though, and the end of the actual build is coming soon. There will be a ton of detailing to do as well as other loose ends to tie up along the way though.

Thanks for stopping by. I will add in parting that it may be time to start thinking of names for this Titan. I think Ferrus Pontifex "The Iron Priest" has a ring to it! Feel free to drop a comment if you have any thoughts on suitable titan names.

Oh yes! And google+... anyone up for starting a geeky circle of friends? As a geek I felt it my duty to get in on the ground floor of what ever the hell it is.

Thursday, July 7, 2011

Break Time Cometh!

So I've droned on between the lines for a couple months about how I could really use a break/vacation. Just a couple days to get away. I finally decided to pull the trigger and make a decision. The Inner Geek will be attending Games Day 2011 in Chicago!


Why Games Day? Well, despite my ire with GW's recent corporate activities I'm still a fan of the hobby. I'd like to go once before they run the company completely into the ground... joke... sort of. Also, I've never been to Chicago or even Illinois for that matter, so it sounds like an adventure. I'm all about adventure as long as it's reasonably safe and free of any real danger. On top of all that I think it might be fun to meet other bloggers or even blog readers who may be attending.

Thus, I'll be flying to O'Hare early Friday morning the 29th of July. Enjoying the scenery Friday day, some cold adult beverages Friday night, Games Day Saturday Day, some cold adult beverages Saturday night, and flying out Sunday around noon. I'll also try to mix in some Chicago style pizza at some point.

I'll be there, will you be there? As I mentioned above, I'd really like to get a chance to meet some of the folks I know only from their blogs. If you're reading this and you plan to be there, drop me a comment. Maybe we could enjoy a cold refreshing adult beverage (that's beer if you haven't picked up on it yet). If you see me at Games Day, stop and say hi. You'll know me because I'll be dressed as an albino polar bear wearing a space suit and scuba gear. Or I'll have a t-shirt on that says who I am. I'll decide which one morning of.

Monday, July 4, 2011

Scratch Built Titan Pt. 7 (A Big Hand for the Titan, Ladies and Gentlemen)

As work continues on the shoulders. I wanted to get an arm done to get some confidence up about my magnetized shoulders working. So I printed out the plans for the hands and got to cutting and gluing.

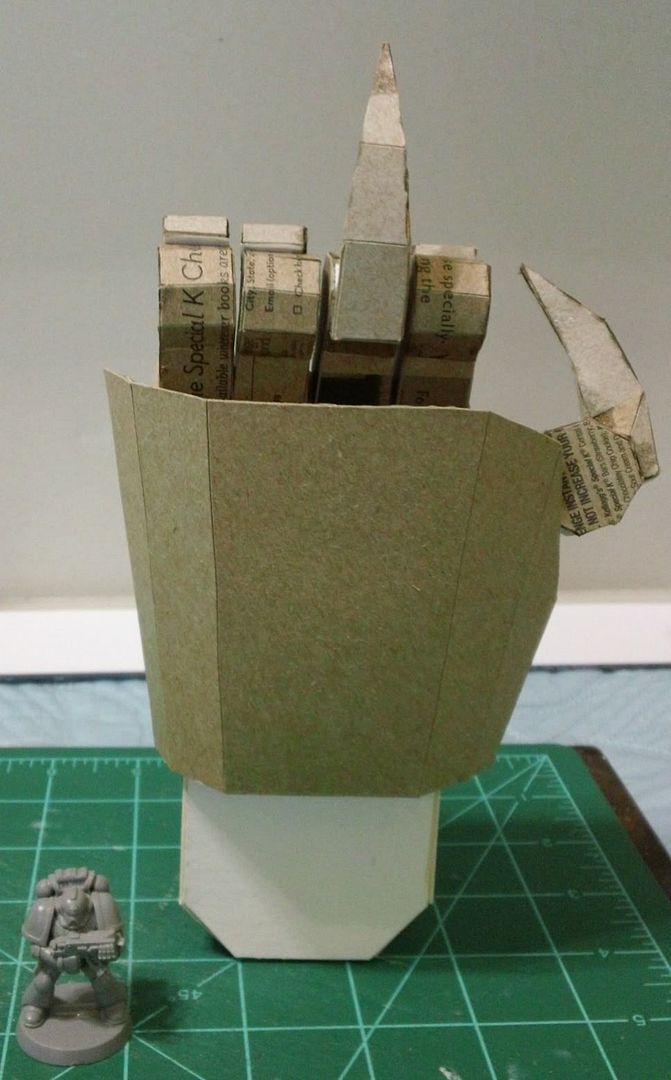
Here is a shot of the hand parts laid out. I've gone and glued one piece before photographing again... it may become my signature...


The finger tips were difficult to cut, fold, and glue. They are a pretty complex shape. I've done most of the arm in lighter "cereal box" cardboard to save weight.

Here is a shot with everything assembled except the fingers and thumb...


I put a lot of thought into how I might dry fit the fingers. I don't have any blu-tac handy but my wife does have some scrap booking supplies. So I scavenged some sort of little double sticky tape picture attachment thingies and decided to give them a shot.


How do you feel about Chaos Titans Mr. Scratch Built?


The sticky stuff was not as sticky as I would have liked and the fingers fell off/apart several times before I could get the above shot. So, I may be looking for something more like blu-tac after all. The cereal box material is paying off in the weight department. This arm weighs in at only 3.1oz including the upper arm with magnets (I finally found my scale)!

Finish the shoulders, one to three more weapon arms, and then it will be time to start decorating this beast with all sorts of bits. Well... not all sorts.

Thanks for stopping by and I'll see you next time!

Related Posts with Thumbnails