I've just about finished the three 1/1000 scale ships that come with the Yamato 2199 Cosmo Fleet 1 box set. There are a couple of details I plan to hit later, but I'm saving them until I have several ready to do all at once. The windows on the ships bridges, for example will be done with a mix of Future and Tamiya Clear Green acrylic, but I'm going to wait until I have several ships ready for that step. The stands are also going to be done in either a very gloss, or all matte coat. Currently they are a little jumbled as I used them to hold the ships whilst spraying them with gloss, then matte coating.
These ships are a fairly small scale, 1/1000. For the first three I decided to go with a no paint option, but I did do some panel lining and applied decals. Here are the results...
The first ship, the Destroyer, Yukikaze...
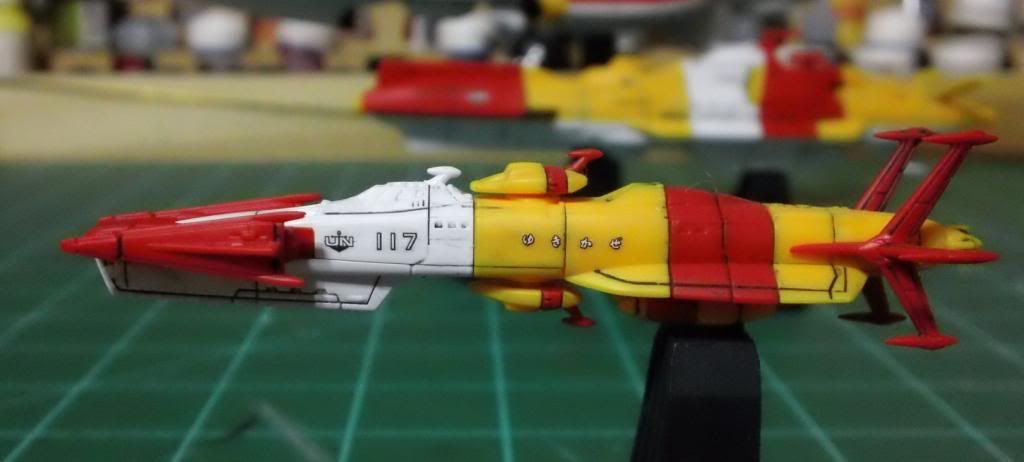
This is a small ship. A very small ship. But that didn't keep Bandai from putting a lot of detail into it. Nearly invisible in the picture above are two little cigar shaped bits that hang from the bottom of the ship. Here are a couple shots of those while I was working on them...
 |
| The grid is 1 inch... |
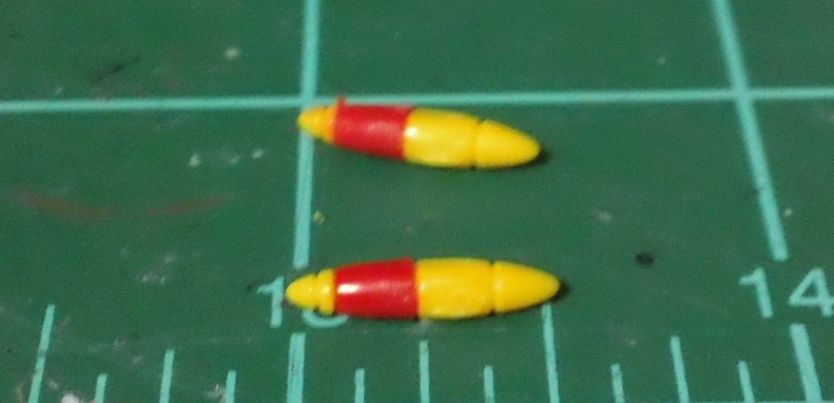 |
| Total length of all four parts on each, about 1/2"! |

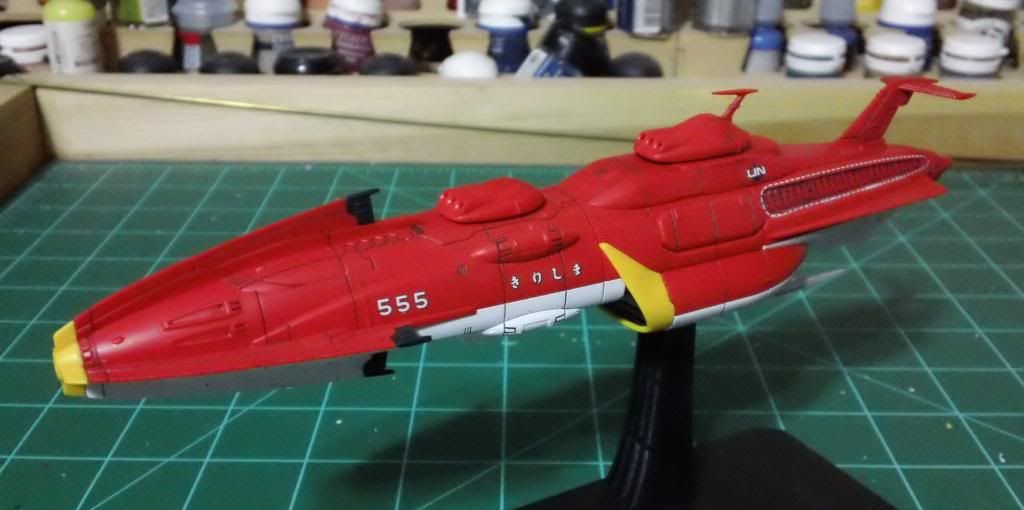
And the last 1/1000 ship that comes in this box, the Battleship, Kirishima...
Finally, a group shot...
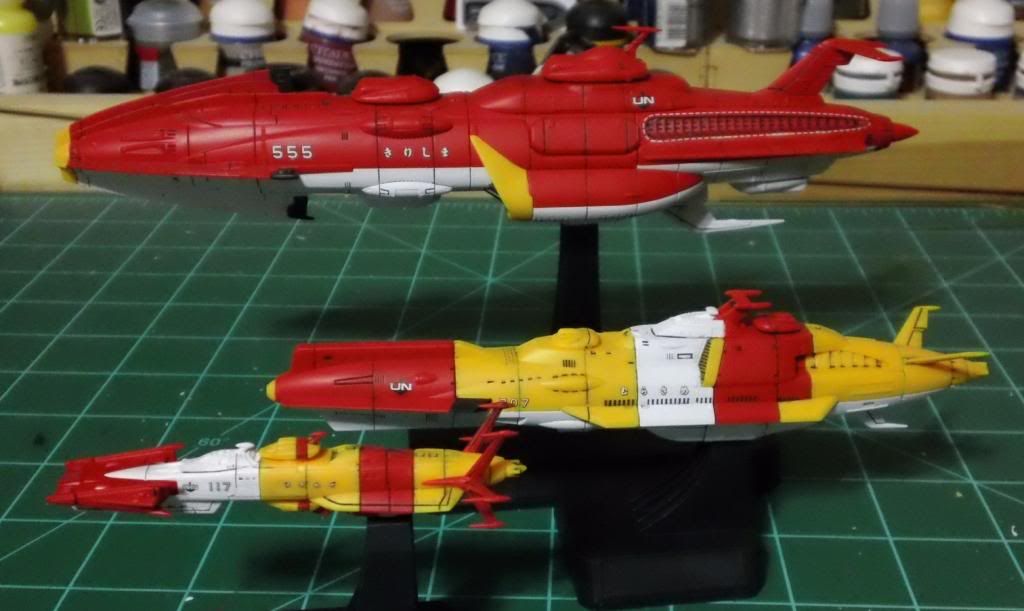
All in all these were very enjoyable ships to assemble. Some of the parts are tiny and prone to diving for the carpet when not held firmly, but that's the price of detail I suppose. As I mentioned above, there is no paint on these at this time. The panel lining was done using a method of mixing enamel paint with lighter fluid... sounds odd, eh? The details are explained better on Major Williams Gundam Blog than I could ever communicate. That site has a lot of other useful how-to's as well and is worth a look. The decals I used are of the three ships named, but the kit comes with many alternate names (in Japanese so I can't read them!) and ship numbers. To get a good finish on the decals, I first used the airbrush to spray the assembled kits with straight Future Floor Polish, then applied the decals. The high gloss surface prevents the 'silvering' that often makes decals look... well, like decals. After panel lines and decals, I mixed some Tamiya Flat Base (part# X-21) with Future to apply a matte coat. A good guide to this can be found on the Fichtenfoo website (along with a metric ass-ton of other awesome/useful stuff).
I wanted to see how these came out with minimal to no painting and, because of Bandai's full color parts, I think they came out great! The flat coat helps to take the plastic 'shine' off and give them a more finished look. The panel lines add a bit of depth and detail. And the decals round out the visual package. So what's next? Well, for my next Yamato kit(s) I think I want to try some pre-shading. It will be a challenge at this scale and my current airbrush skill level but you never get better if you don't stretch!
I also mentioned in a previous post that Bandai has kept with the tradition of including a small bonus kit of some sort with each model (though this only seems to happen in the good guy ship kits). Here is a quick shot of two of the bonus ships, one from the Cosmo Fleet 1 set and one from the Yamato kit.

They seem a little pastel, but that is actually the colors they were in the story. I've painted the white lines on the landing deck and that is all. I used a marker for the panel lines and then just hit them with Testors Dullcote.
As for the next kit to work on? Well thanks to John at Starship Modeler, I have quite a selection to chose my next Yamato 2199 project from!
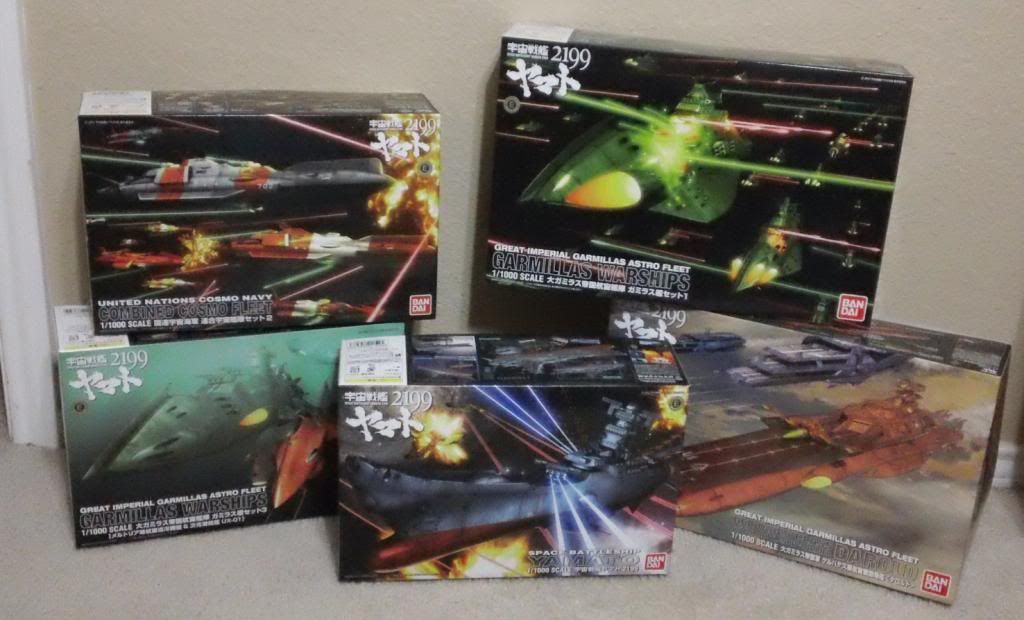
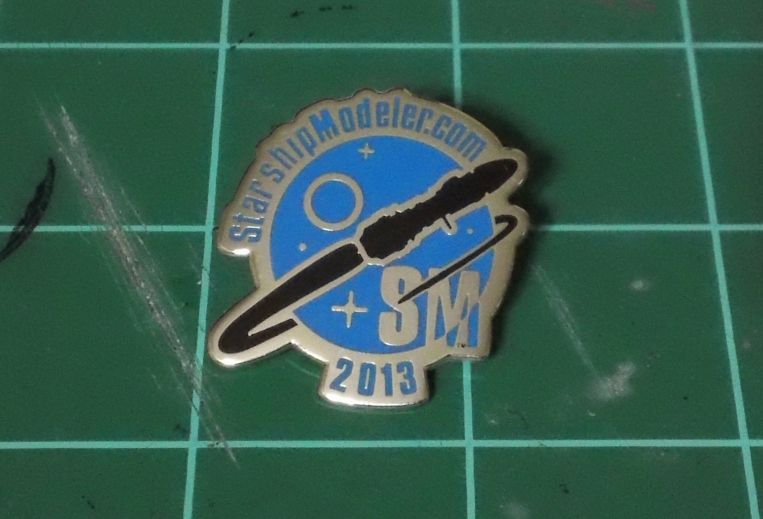
I can't recommend that store enough for model spaceships. They stock a lot of kits and upgrade parts for kits. The shipping is reasonable and fast too. Plus, he threw in a little pin with my latest order... I'm a sucker for little extras.
Thanks for stopping by and taking a look, I'm off to fiddle with plastic kits for a bit!