Showing posts with label Reaver Titan. Show all posts

Saturday, October 26, 2013

I'm Back!

I'm back. I started a Wordpress site for a while, but I just am too ingrained with the use of blogger for posting blogs. It was a fun learning experience, but I've decided this blog is going to be The Inner Geek blog of choice moving forward.

Am I still a bit off on GW? Yes, yes I am. But, I've found the "Oldhammer" movement and my Rogue Trader era minis are getting some love again. I may even try to find some local who'll play me a game of 3rd edition Warhammer Fantasy Battle! I've also got some Warmaster and some Epic scale 40k things around here that will get some love in the future.

Currently, I've got two big projects going. One is literally 'going'...

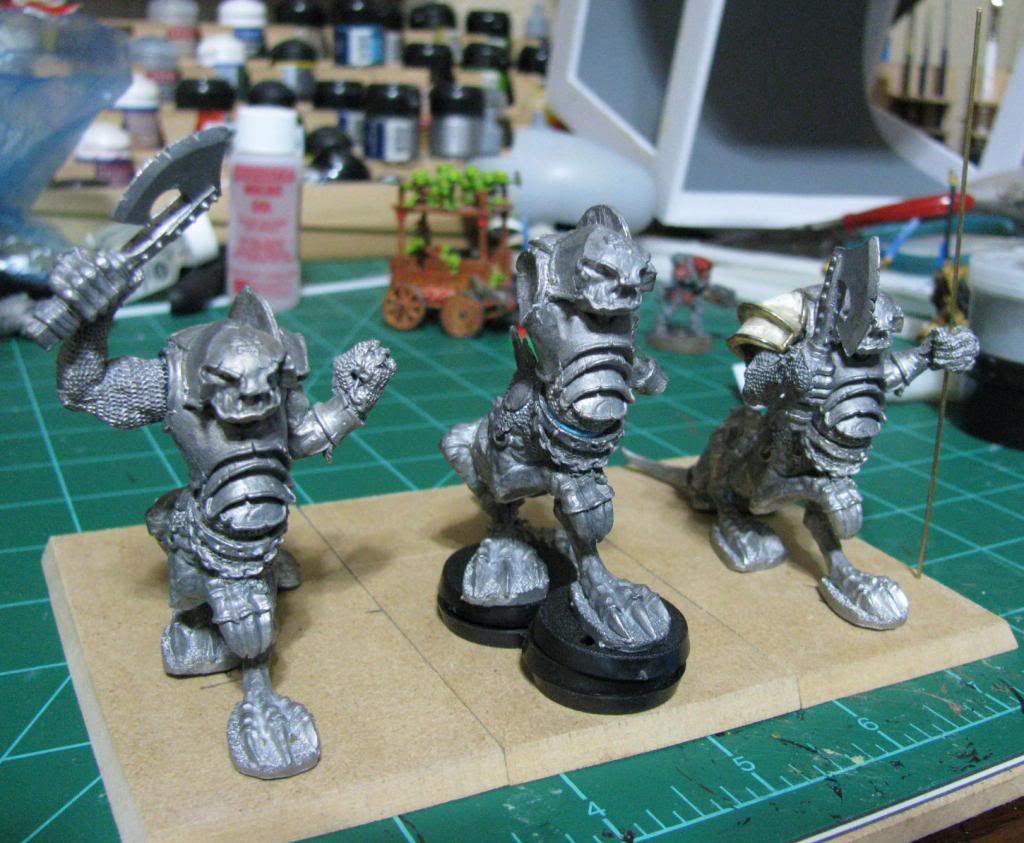
The first is a project to redo and finish my three beloved Nick Bibby Dragon Ogres. I never liked the later Dragon Ogres, but these are just dreamy... or nightmarey... whatever.

Here's a peak...


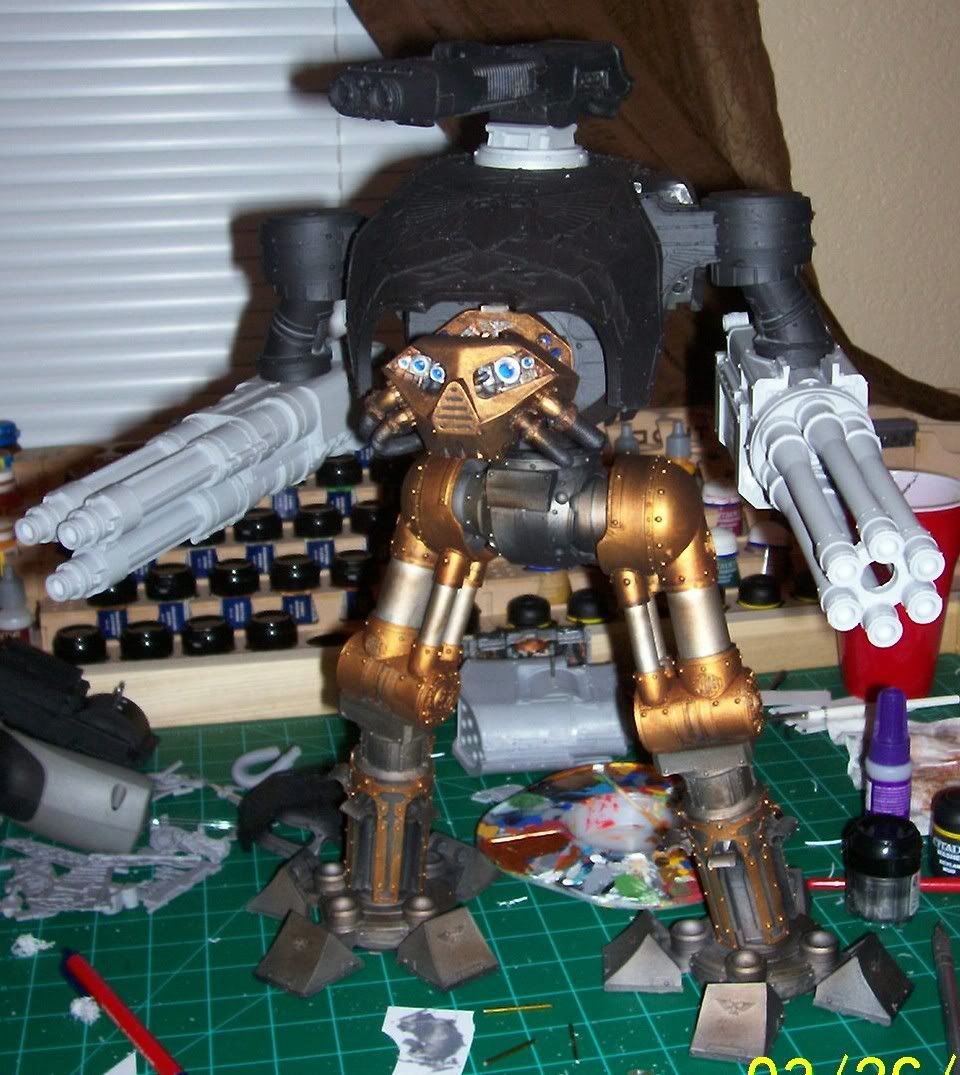
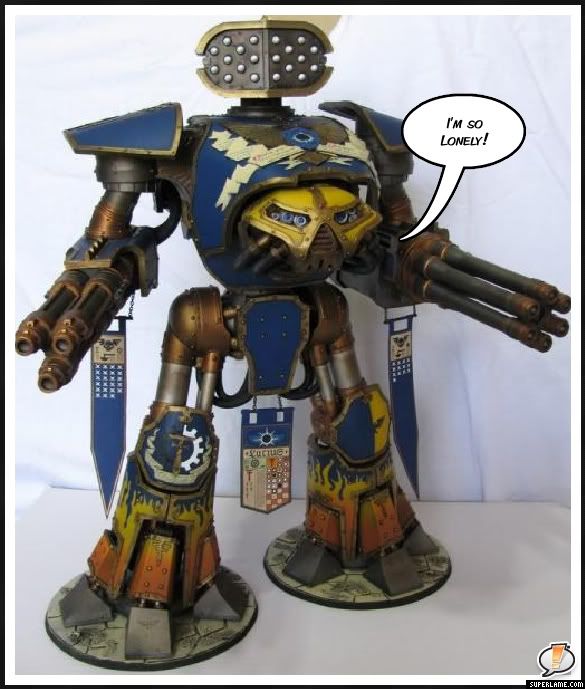
My other project 'going' is my Reaver Titan. It doesn't get any time on a gaming table and it's time that someone who could enjoy it had it. With this in mind I've placed it up for auction on eBay.

You will be missed...

There is really not much more to report. I'll get some updates up on the Dragon Ogres as they progress. One will remain stock, the other two will be converted... one heavily. It should be fun!

Monday, December 7, 2009

A worthy site (shame-less plug)

I recently found an awesome blog where a guy is doing a Chaos Reaver Titan! I recommend it to anyone interested in anything whatsoever. Go check him out at Acolite Reaver Art. Do it now! Those of you of the "Dakka Dakka" persuasion can also see his work on his Dakka Dakka post.

So far he looks to be doing a detailed build, so anyone thinking about doing either a Loyalist or especially a Chaos Reaver should check him out. I even learned something already. And drop him a comment and let him know what a horrible heretic he is too!

Sunday, July 12, 2009

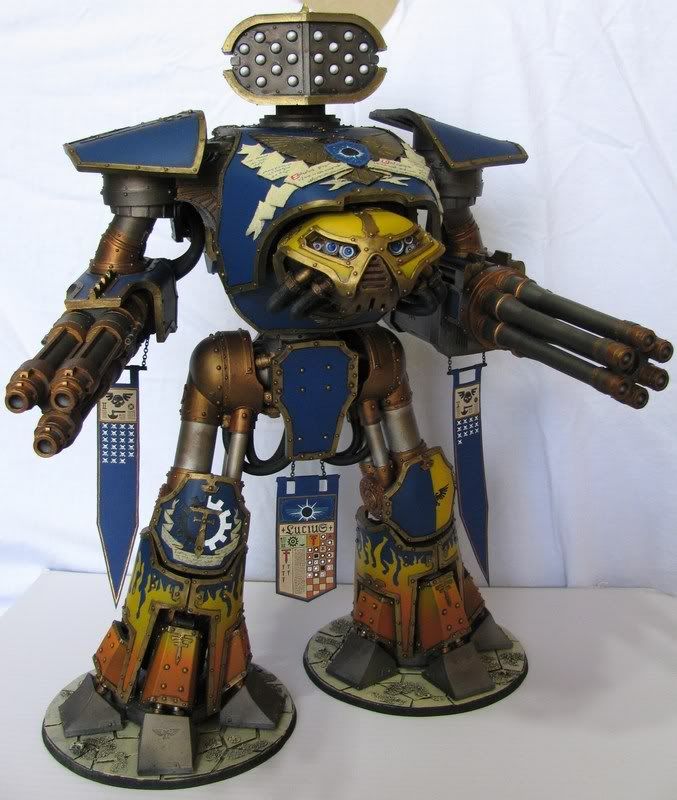
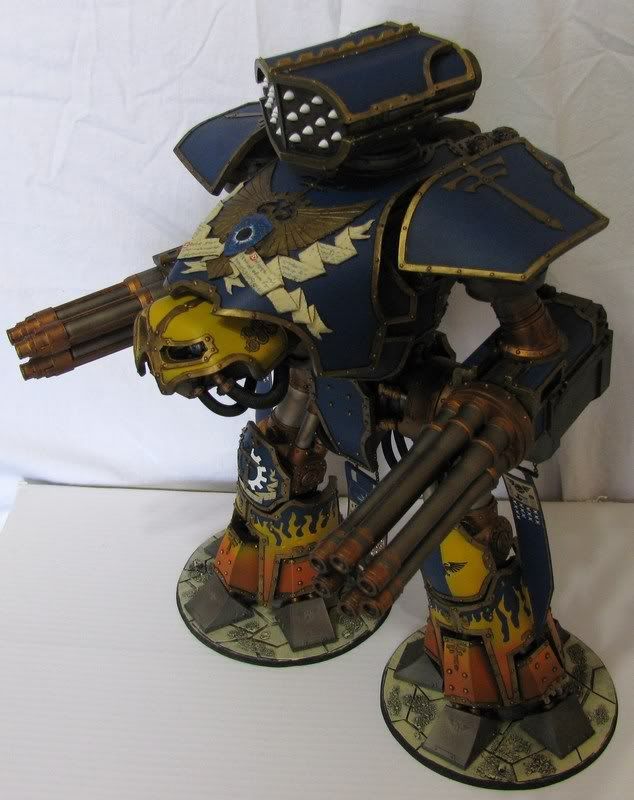
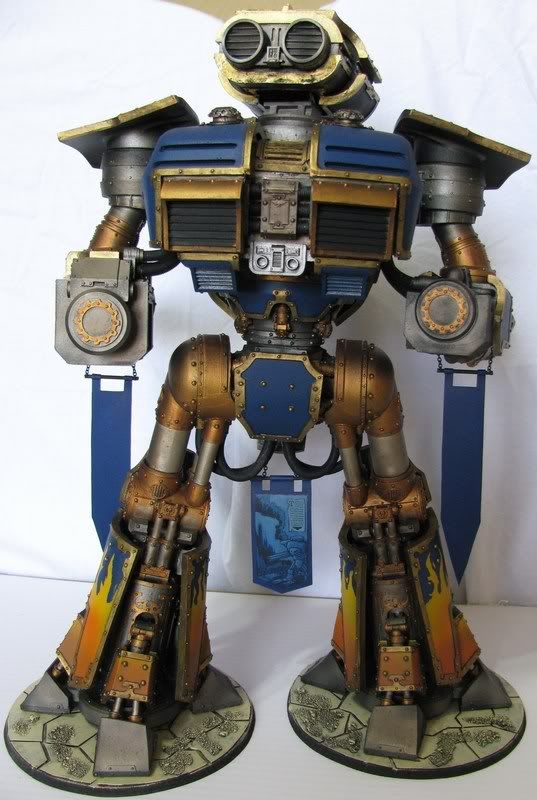
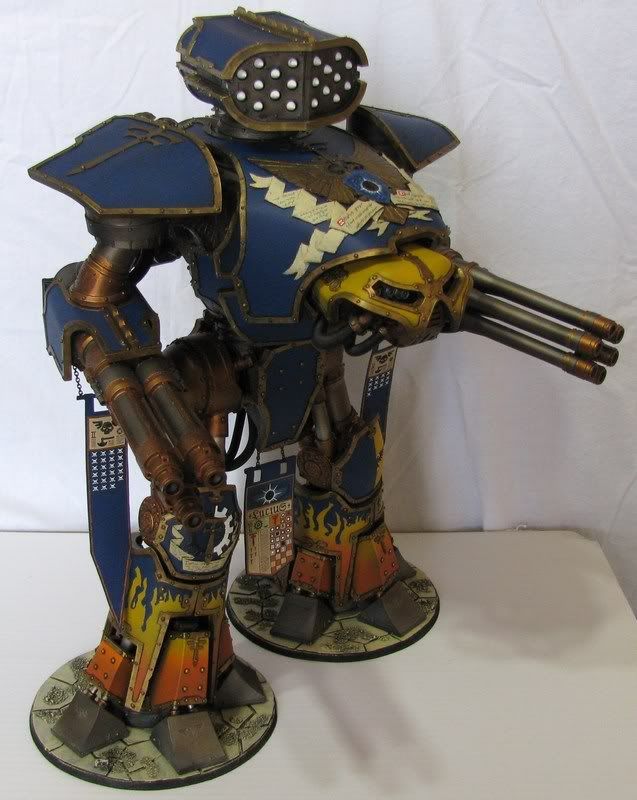
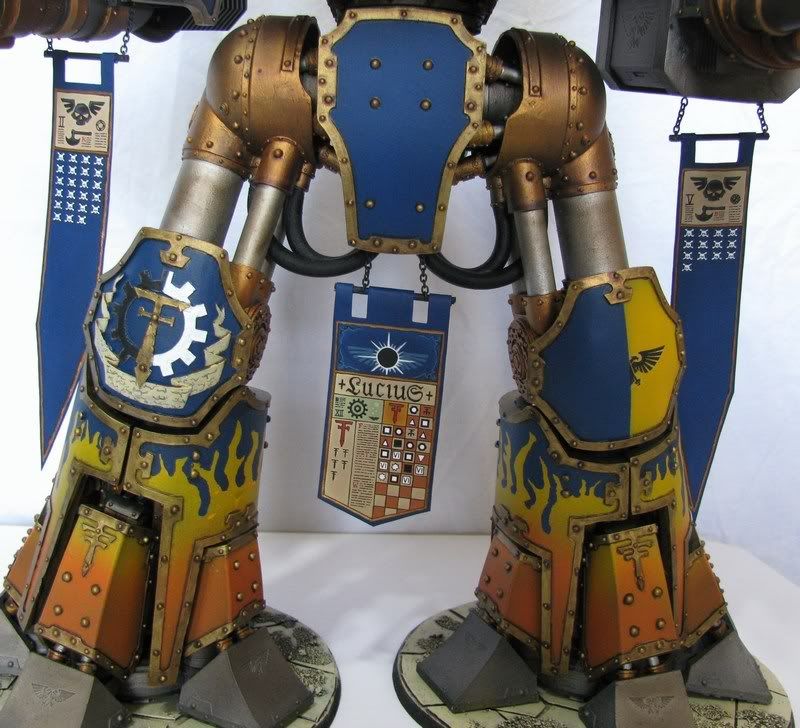
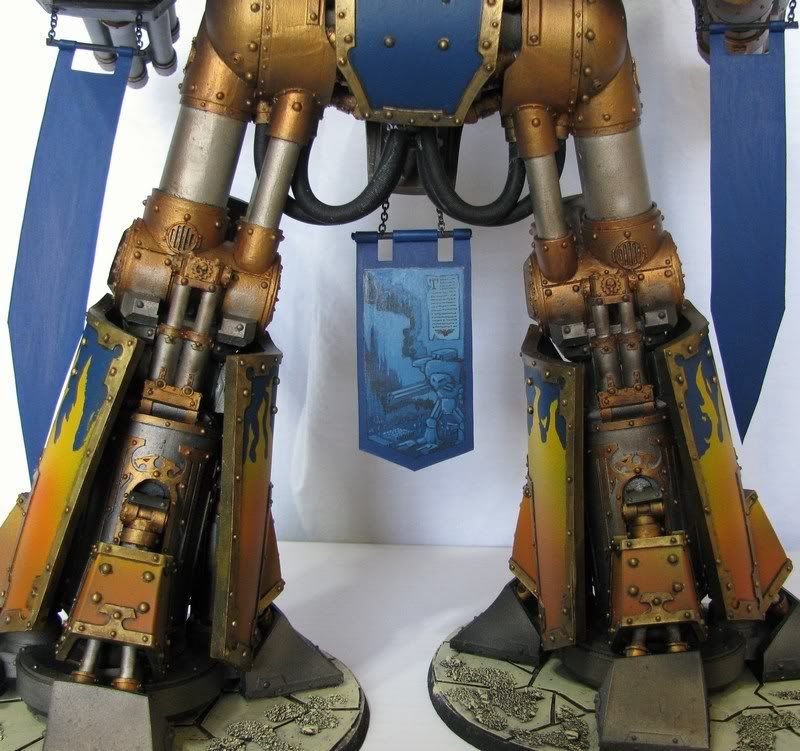
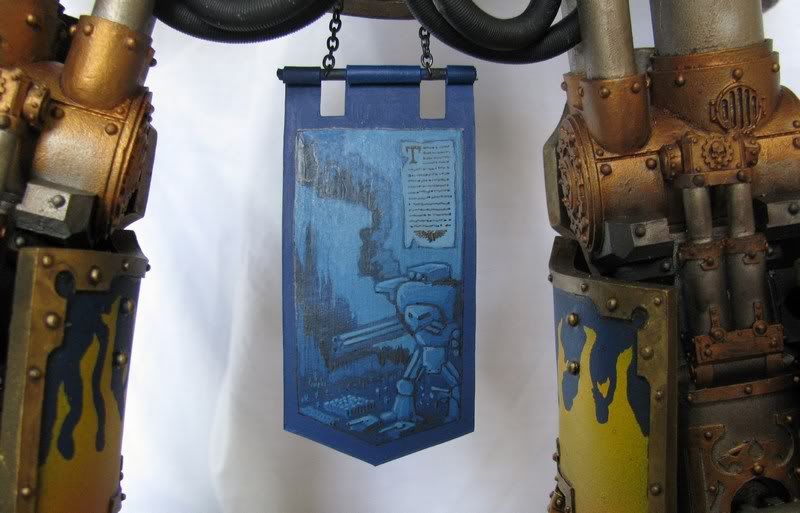
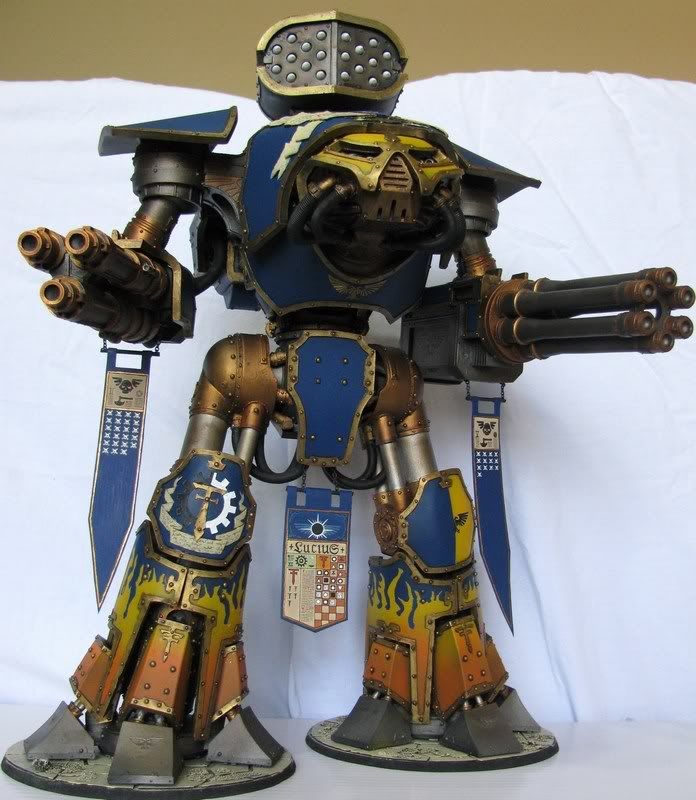
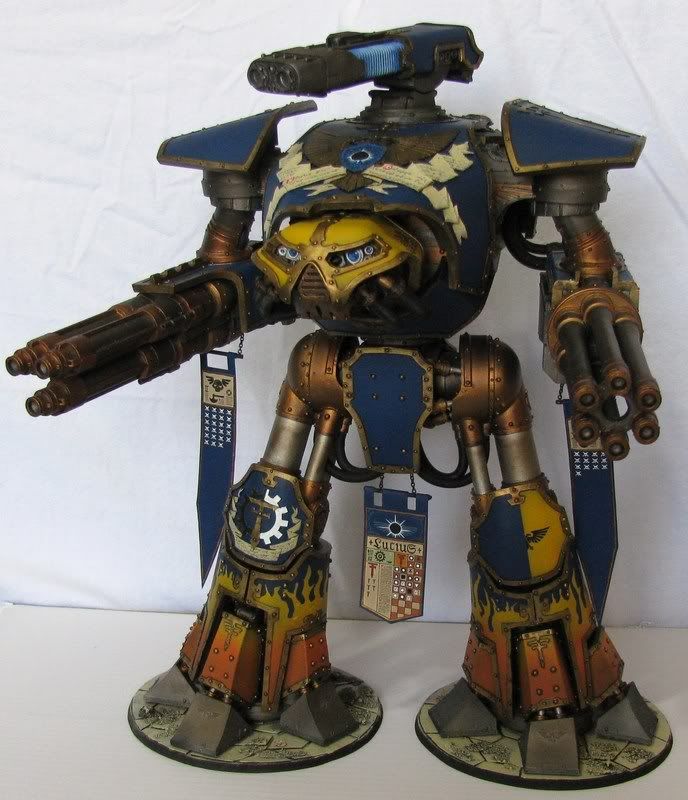
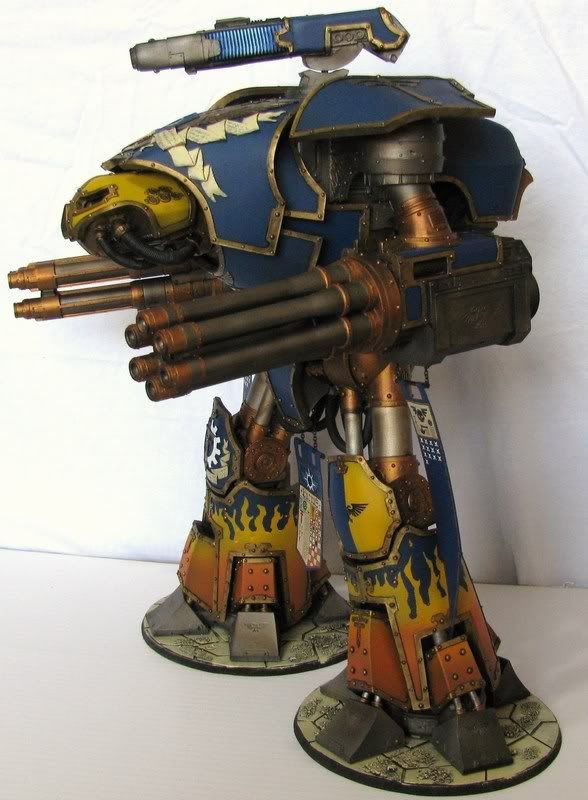
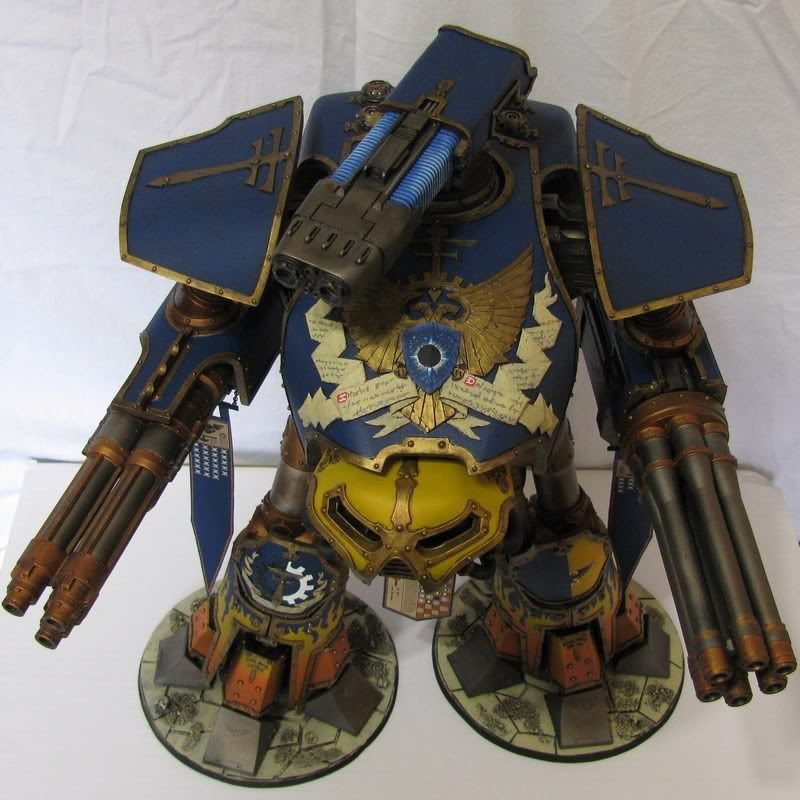
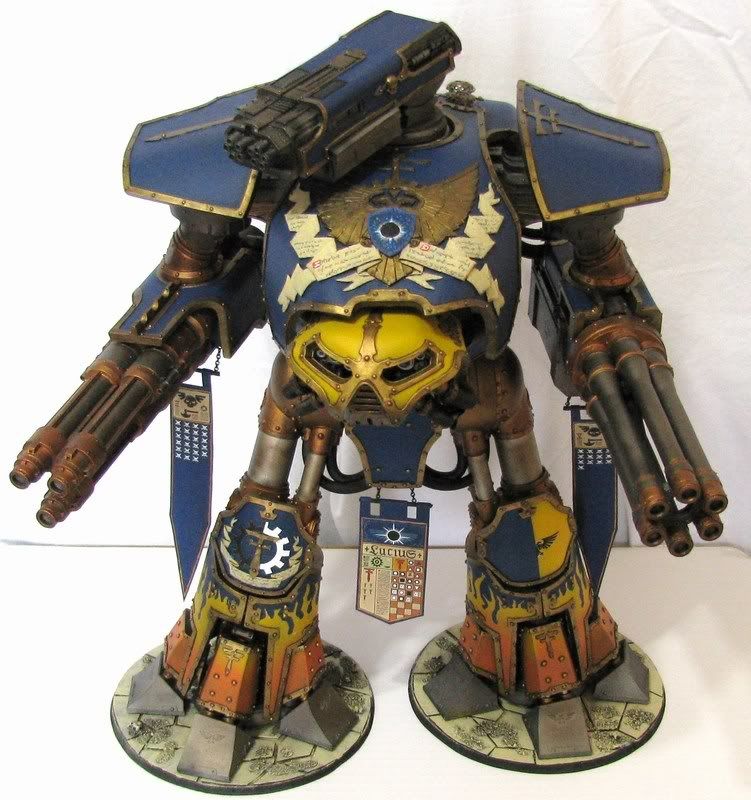
Finished Reaver Titan (pic heavy)

Here it is, the final Reaver Titan post. The following is mostly pictures of the finished Reaver. Questions and comments are welcome as always! I’m using a new blog editing tool, so if anyone has any strange issues with the appearance or functionality of my blog, please let me know that as well, thanks.


Some shots of the banner details follow. The banners were done by Ron over at From The Warp and he did an excellent job!


I always enjoy the looking up view…


Some various pics with alternate weapons on the carapace.


That’s it! This has been a challenging, but unbelievably fun project to work on. There are definitely things I’d do different, but that can wait for another post… or another Reaver?


I’d really like to thank all the folks who have been reading this blog and following along with this project. I’ve enjoyed it, and I’ve enjoyed bringing you all along for the ride. I hope you’ll all join me again for my next project… I think this Reaver needs some air support, Marauder Destroyer inbound!

Thursday, April 23, 2009

Reaver Titan Pt 17 (So close I can taste it!)

Work has progressed at as fast a pace as I could keep. My last estimation of 'one more week' was obviously a little optimistic in hindsight. The gold trim all over the Reaver took almost half a week by itself! It involved two to three layers of gold to get a good coat, using wash to line the boarder between trim and armor, then washing the actual trim, and in most cases going back and adding a little extra wash to rivets to pick them out. This part alone makes me think I'll probably never do another Reaver again!

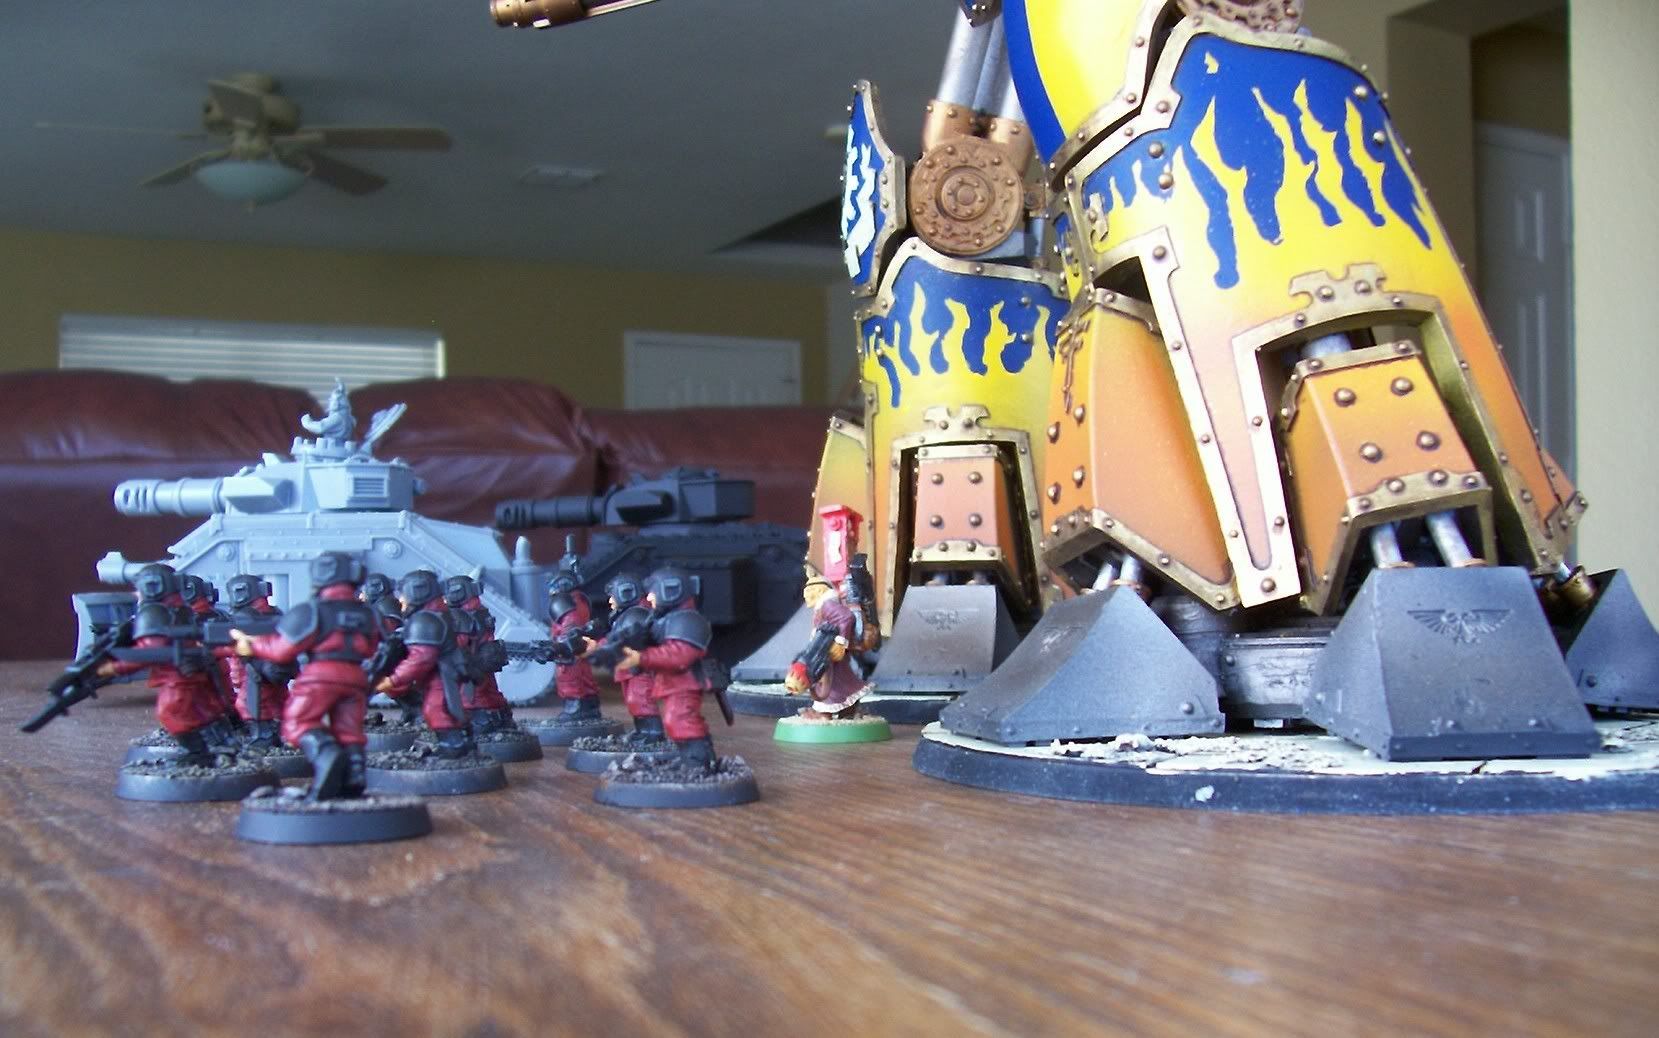
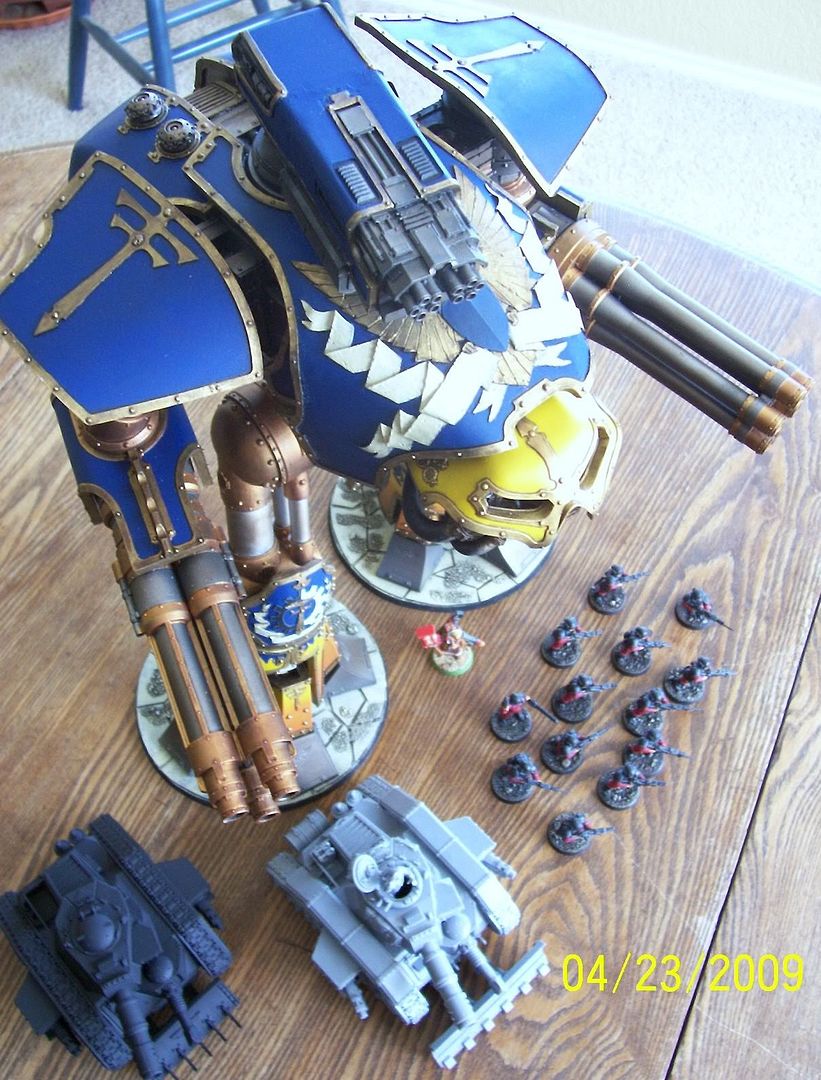
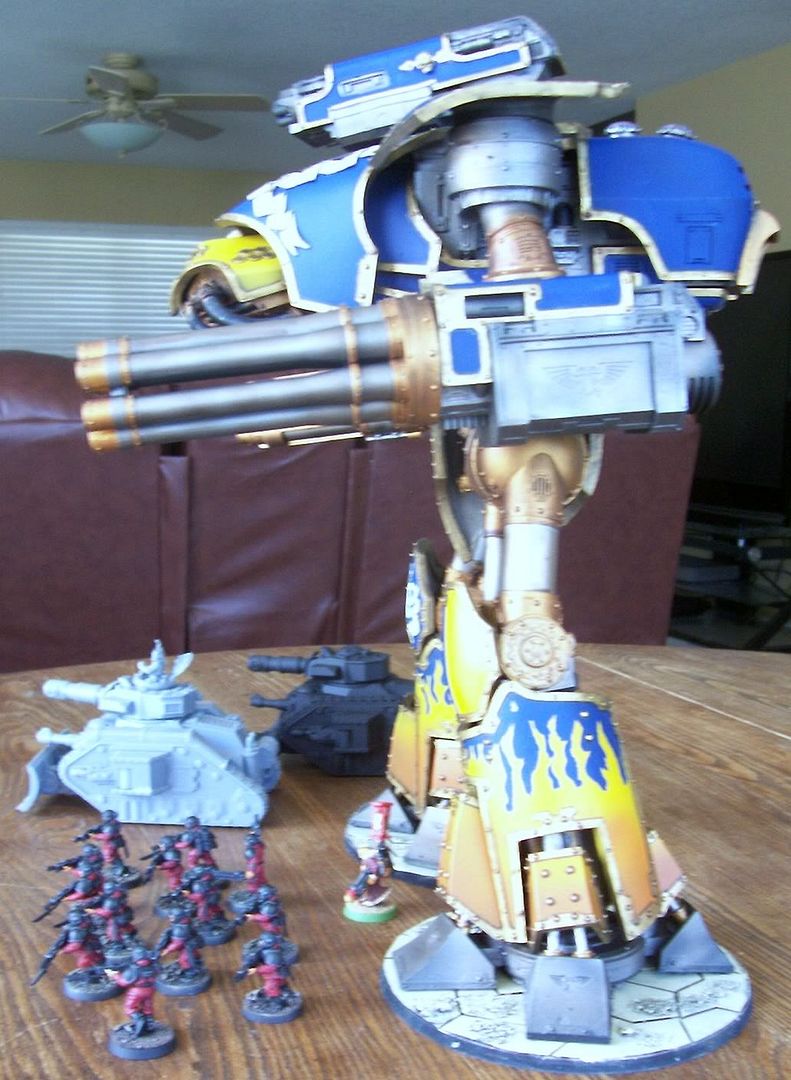
Anyway, the Reaver is almost done. I still need to add the Ad Mech guy in the back, the hoses to legs and arms, put some words on the scroll work, and add some other details like purity seals and what-not. Let's look at some pics of the almost finished titan with some guard minis for scale comparison... the priest from earlier posts even managed to sneak in there.

A group shot first...


A Guardsmen eye view...


A view from above...


A generic side view...


And, the last thing the enemy sees...


I wanted to share what I had so far as I won't be able to finish till after this weekend in all probability. We have company coming and so I don't expect to be able to wrap this up till next week. There will likely be two more Reaver posts. One will be mostly pictures when the Reaver is really completely finished. The other will be a small collection of things I've learned and things to watch out for if you ever build one of these. Not sure which will come first yet though.

Thanks for stopping by. I appreciate the name suggestions from the last post. So far Moridan 7th's Ignis Domini is looking like it may be the name. Comments, critiques, and criticisms are welcome as always and are appreciated most in that order!

Wednesday, April 22, 2009

Titan Names?

Time is fast approaching when the Reaver Titan will need a name. In fact, tomorrow when there is some decent natural light, I'll be posting pics of an almost finished Reaver! That's right tomorrow, mark your calendar... it's the day after today. Just scroll work and some details left to finish. In fact, I took it for a ride this evening to my local GW to see if it would hold together during transport and it came through without a hitch! It was a big hit there, by the way.

On to the question at hand. I'll be needing a name. Here is a list of Legio Astorum Reaver Titan names from the Imperial Armor Six book; Tritus, Honorum, Invictorus, Astor Tyrannis, Questor Tyrannis, Invigila Alpha, Invigila Beta. There are a couple others, but that should give a feel for the way the names go. I purposefully did not paint my Reaver to copy any in the book and so that's why I'm not borrowing names from it. I went to an English to Latin translator, but as we know, Imperial Gothic is more like latin-lite. I would appreciate suggestions in the comments. All suggestions will be taken seriously and I may pick my favorite few for a poll. Come on folks, gimme some ideas!

Monday, April 13, 2009

Reaver Titan Pt 16 (No Lack of Progress, Just Updates)

I'm sorry for the lack of updates on the Reaver Titan project this past week or so. I've had a lot going on and all of my free time has been spent working on the Reaver instead of blogging about it. I thought I'd give you guys at least a quick update to show that work is, in fact, continuing!

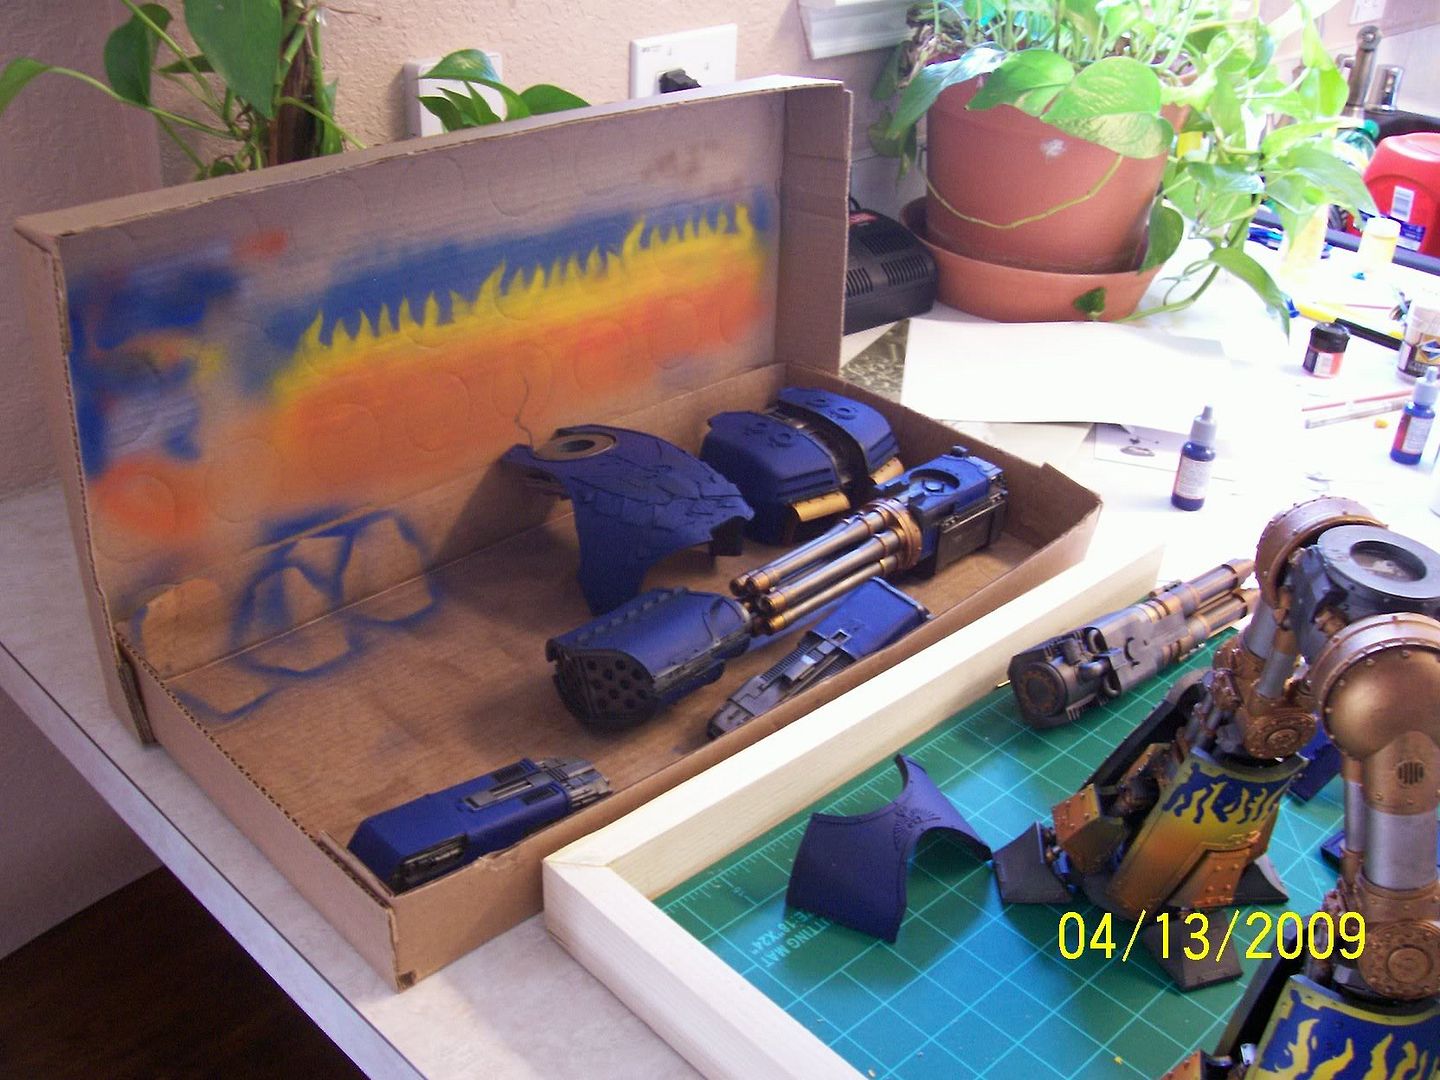
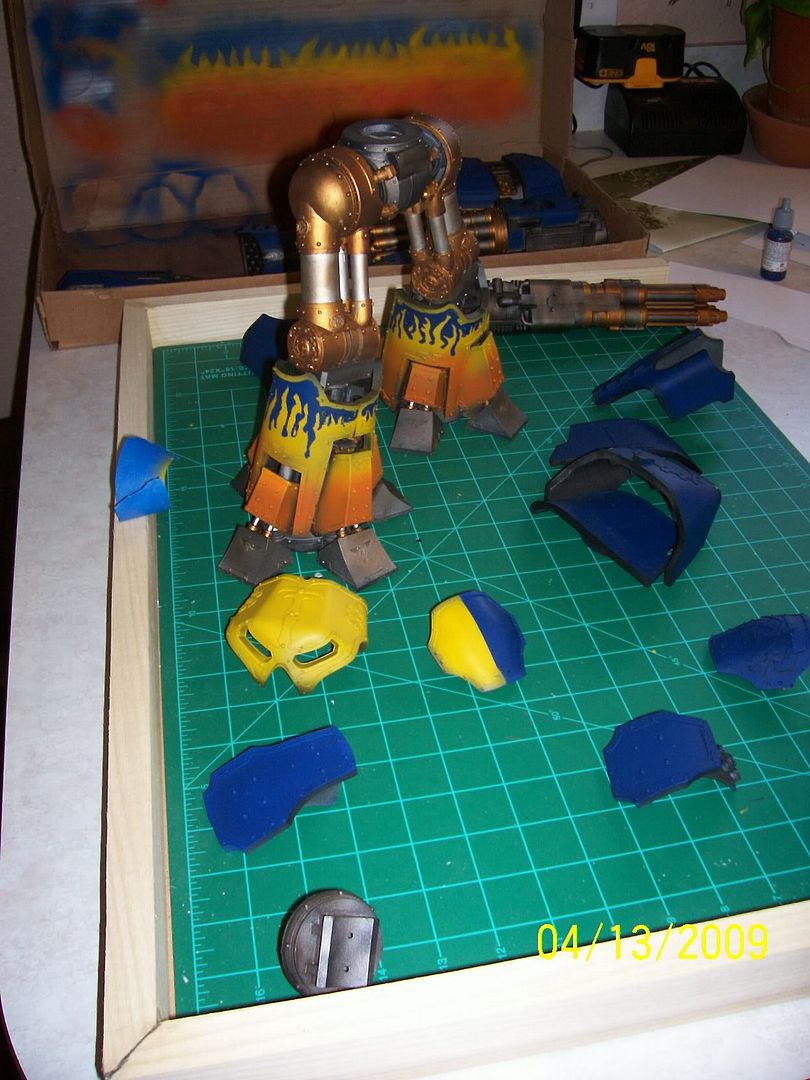
The past week has been spent airbrushing, masking off areas, more airbrushing, and in some cases repeating the whole process all over again. I've been working in the Kitchen as it affords me easy access to water for diluting paints as well as for cleaning up. A hearty Thank You to my lovely wife for being so understanding and sharing her counter space with me! Without further ado, on to the pics.


First off, let me explain the flames you may have noticed on the Titans legs. They are based off the art in the Imperial Armor Six book. Yes, the flames are reverse flames. A quick glance around the 40k universe will show that GW uses reverse flames on dark backgrounds and regular flames on light backgrounds. I'm sure this is for contrast. With that out of the way, the flames aren't as crisp as I would have liked them, but I'm going to call it good.

The work done to get to this point has been exhausting. What's left? Trim, touch-ups, basing, and final assembly. I'm hoping to be done in the next few days, certainly by the end of this week!

I thank you for coming to take a look. Feel free to leave a comment if you wish!

Friday, April 3, 2009

Reaver Titan Pt 15 (Warnings and Updates)

Just a quick update and words of warning/wisdom for any future Reaver builders out there...

While it's often advantageous to assemble things in a different order than the instructions show, be sure to test all variables first. When gluing the toes in place on the foot, I made extra sure that the large piston guards would be able to be put into place with the toe already on. What I did not test, probably due to it's smaller less important looking size, was the ability to place the smaller toe pistons into position with the toe already on. Because of the way the toe pistons (two per toe) go into the large piston guard, there is no way to do it without placing them as you slide the actual toe into position. So, I got to wrench, twist, wiggle, sweat, and pray in an attempt to get the toes back off the titan with minimal damage. Thank goodness they all came off without damaging the feet or legs!


Another spot that can be troublesome, whether you follow the directions or not, are the pistons that actuate the hip joint. These simply don't fit well as the plating on the outer hip (the gold part) gets in the way. Here is a shot of some titan butt, or as I like to call it, "mechanicus porn".


On to better news!

The legs are starting to go together (now that the toes have come apart). The banners are in the works and we can all watch them come together over at From the Warp as Ron works his magic! And, I've finally found the right size drill bit and flush mounted some magnets to hang the banners from when they're finished...


It's Friday, things are moving along nicely with the Reaver so I'm not even going to suggest any kind of off the wall prose for comments. I will say that Klaus over at DEI GRECI mentioning his beergarden may just convince me to grab some beer and head out by the pool this evening! The wireless reaches out there so I can even check up on my fellow bloggers whilst I chill. That sounds nice... why do I even come in the house at all?

Monday, March 30, 2009

Reaver Titan Pt 14 (Dry fit)

A quick up date on the Reaver progress...

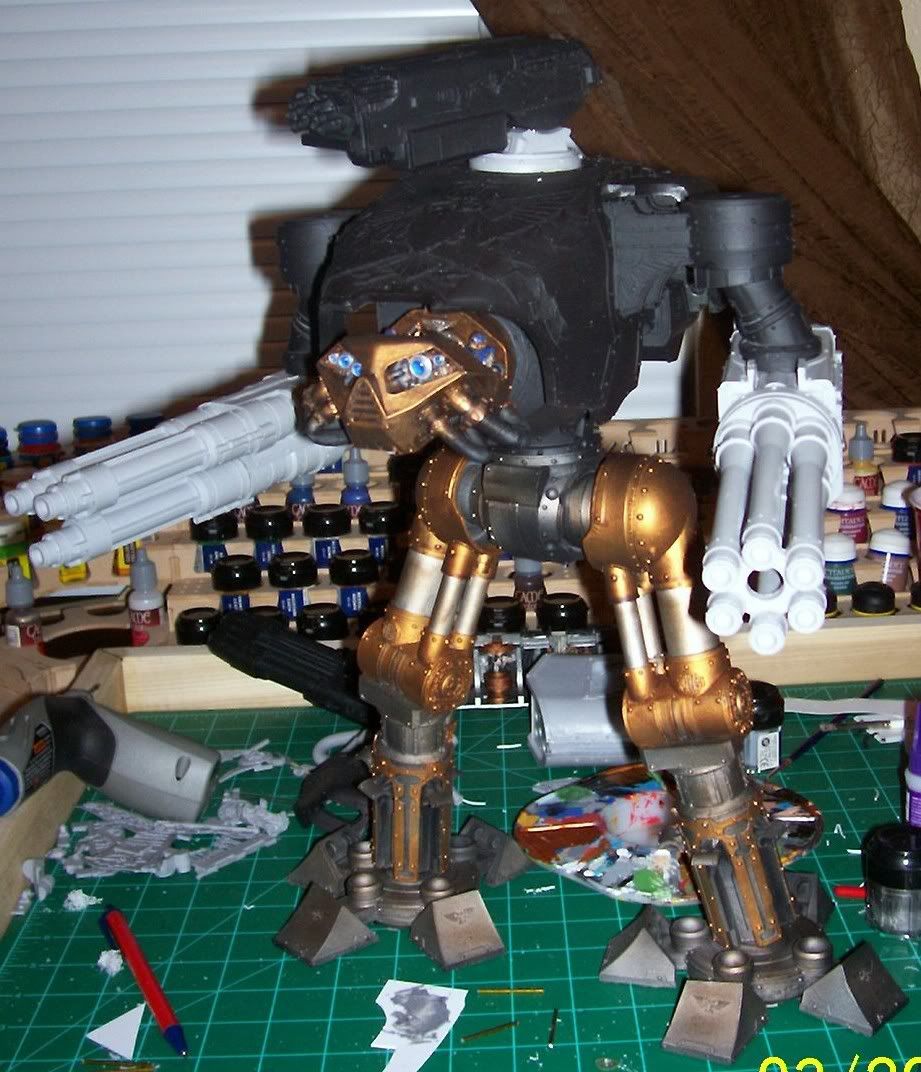
I've pinned the carapace weapons as well as the mount that the weapons sit on. The pin in the weapon mount which goes down into the carapace helps to prevent the weapons from making the weapon mount lean forward. The weapon pins allow the weapons to be swapped out, of course. Here are some pictures of the Reaver dry fitted with each carapace weapon on. Please excuse the messy work area, it looks like a titan has walked through it.

The Apoc Launcher.

The Vulcan Mega Bolter.

And, the Plasma Blast Gun.


Aside from writing this blog today, I'm also working on finishing up priming the larger pieces. The armor is getting a good coat of primer then the insides will be airbrushed with Boltgun Betal then Devlan Mud. I'm hoping to at least get the leg armor mounted this week. Plans on how I want to paint the armor are gelling and that might even come out later this week too.

Comments are welcome as always. Extra points for commenting in Iambic Pentameter. This may be your time to shine Drax!

Thursday, March 26, 2009

Reaver Titan Pt 13 (Be sure and Wash from the waste down)

Another short update on the Reaver.

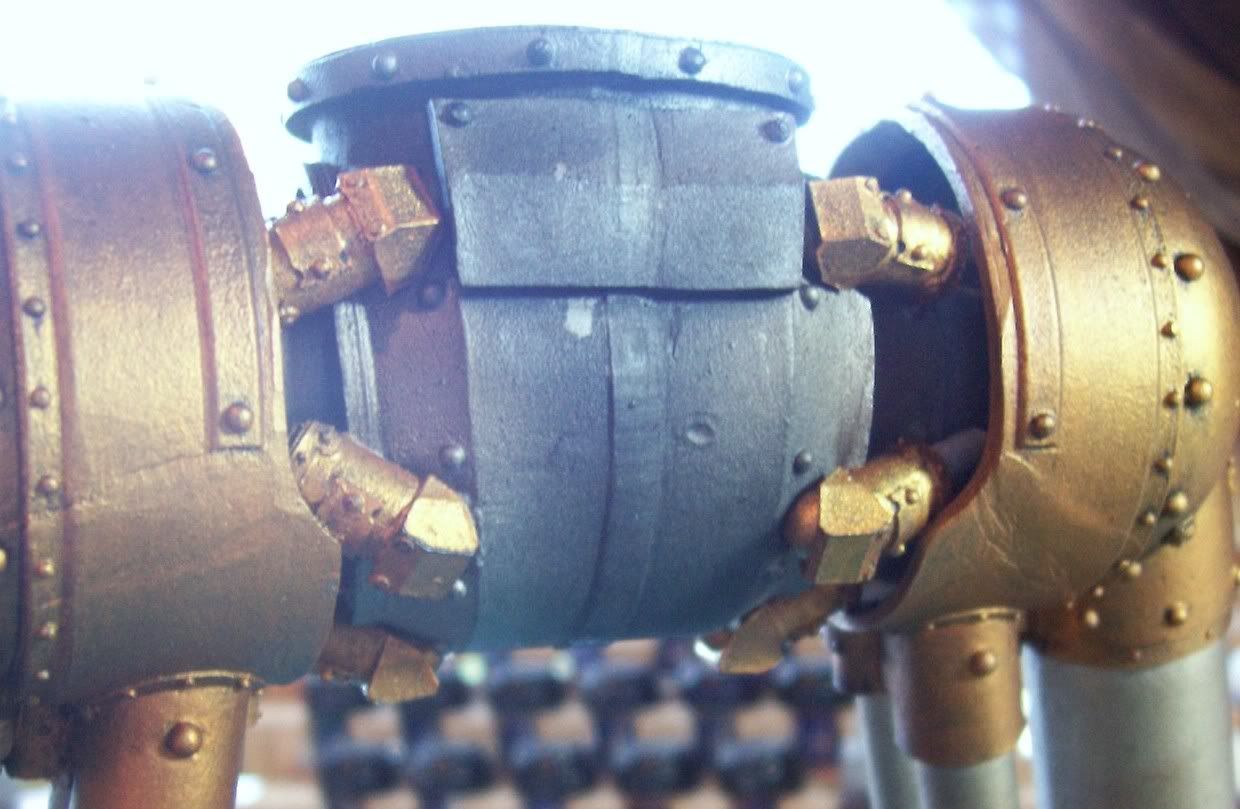
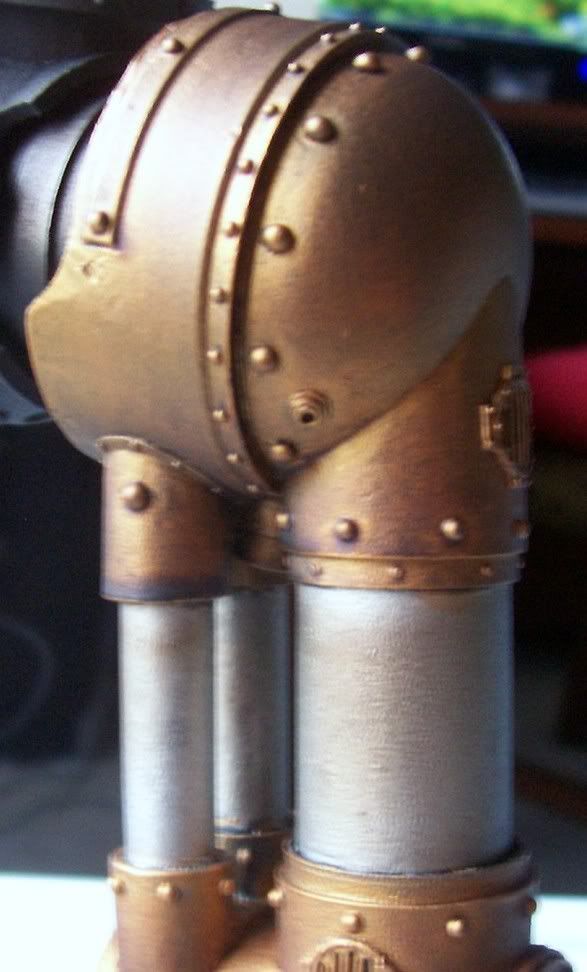
I've tried something new, and the results are better than I would have ever expected. After getting the base colors of the legs painted on, I decided I'd just wash the whole mechanical structure in Devlan Mud wash. Not wanting this to take forever I decided to shoot it through my airbrush. Wow. It acts like a wash in some areas, and like a transparent color layer in others. The crazy thing is, it seems to know which to do in which area. Now, I did use about half a bottle on just the legs, but if you invest in a model this big, the extra couple bucks for wash is worth it. It did an unbelievable job of giving the mechanical bits a grimy almost oily look in places. Here are the pics. I think it looks good in the pics, but I promise it looks even better in person.


Hope you enjoyed the pics. I'm going to try to do shorter posts more frequently, otherwise I feel like I'm forever getting a blog post put together. But, we'll see. Also, if you look carefully you can see a bit of blue comforter in the background of the pics. If any of my blogosphere friends are ever in North Texas and need a bed for the night, that's the comforter you'll get. I know Drax likes to sneak shots of Mrs Drax into his blogs, but all you folks get is a shot of a blue comforter.

Take care and enjoy yourself. And if you can't enjoy yourself, enjoy someone else. Comments and critiques are always welcome. No need to comment in limerick form, it's late in the week.

Monday, March 23, 2009

Reaver Titan Pt 12 (Quick update and cracks)

This is just a short post to show that I have been working. Granted, if I wanted to show you all the work I've accomplished this past week, you'd be suffering through pics of a half bath that's been repainted, had the pedestal sink replaced with a vanity & new faucet, new light fixture added, and another room partially primed for painting. But, between honey-do's I've got a bit of painting and work done on the Reaver too!

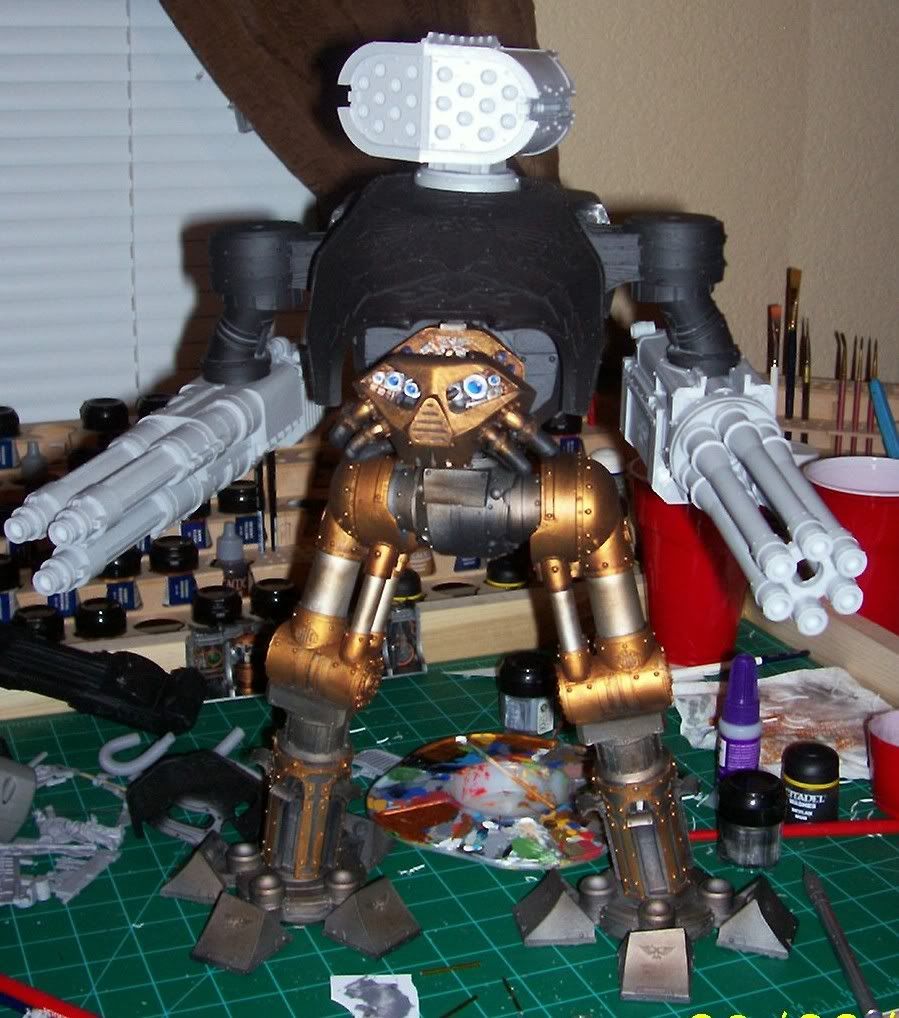
Probably the biggest step forward I took this week was to simply make a decision. I've decided that scouring the internet and finding pictures of Reaver Titans and how they've been painted, then trying to match those colors is an impossible task. The armored parts I know how I want. The mechanical parts have been the problem. So, I've decided that the mechanical bits will be the color I paint them. Period.

I did some painting on the Head/Cockpit and the interior walls of the Titan. I apologize for not showing the interior walls, but they refused to photograph well this evening so I'll save them for another more daylit sort of time. Here is a peek at the head...


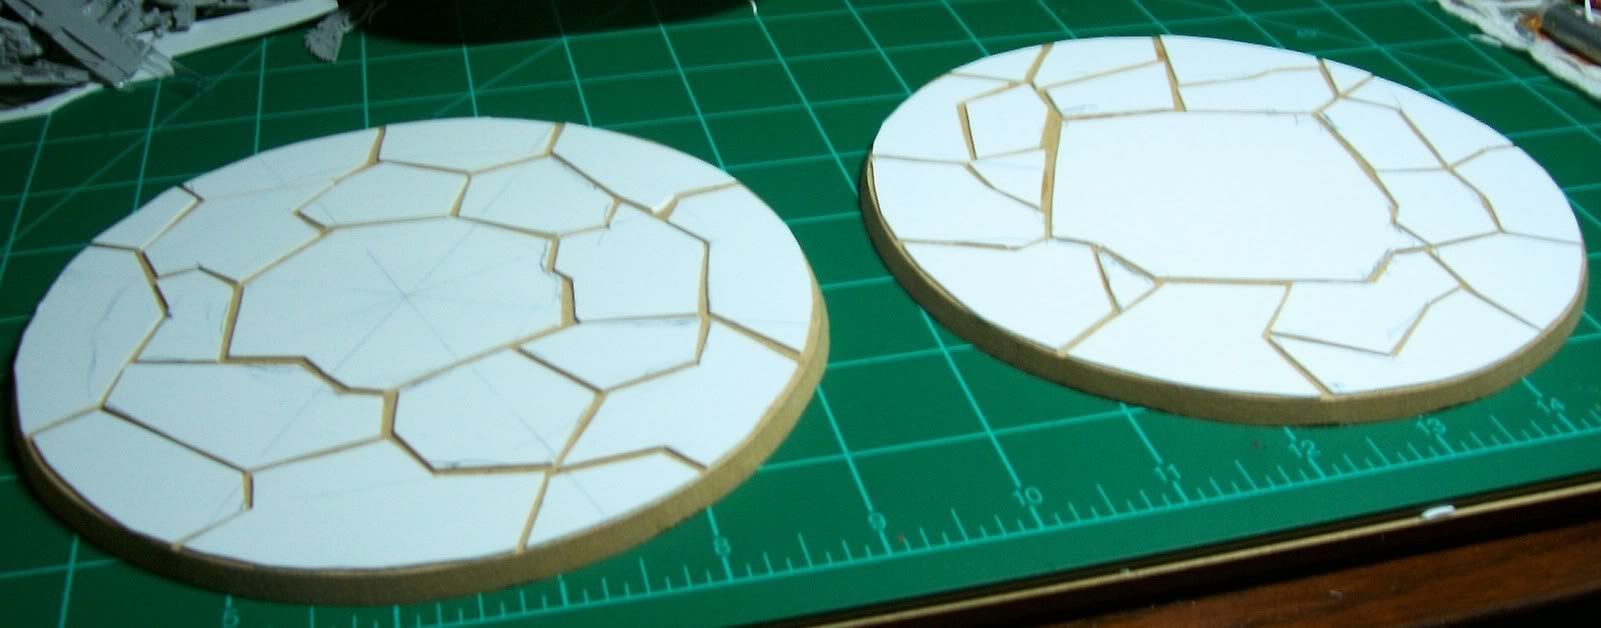
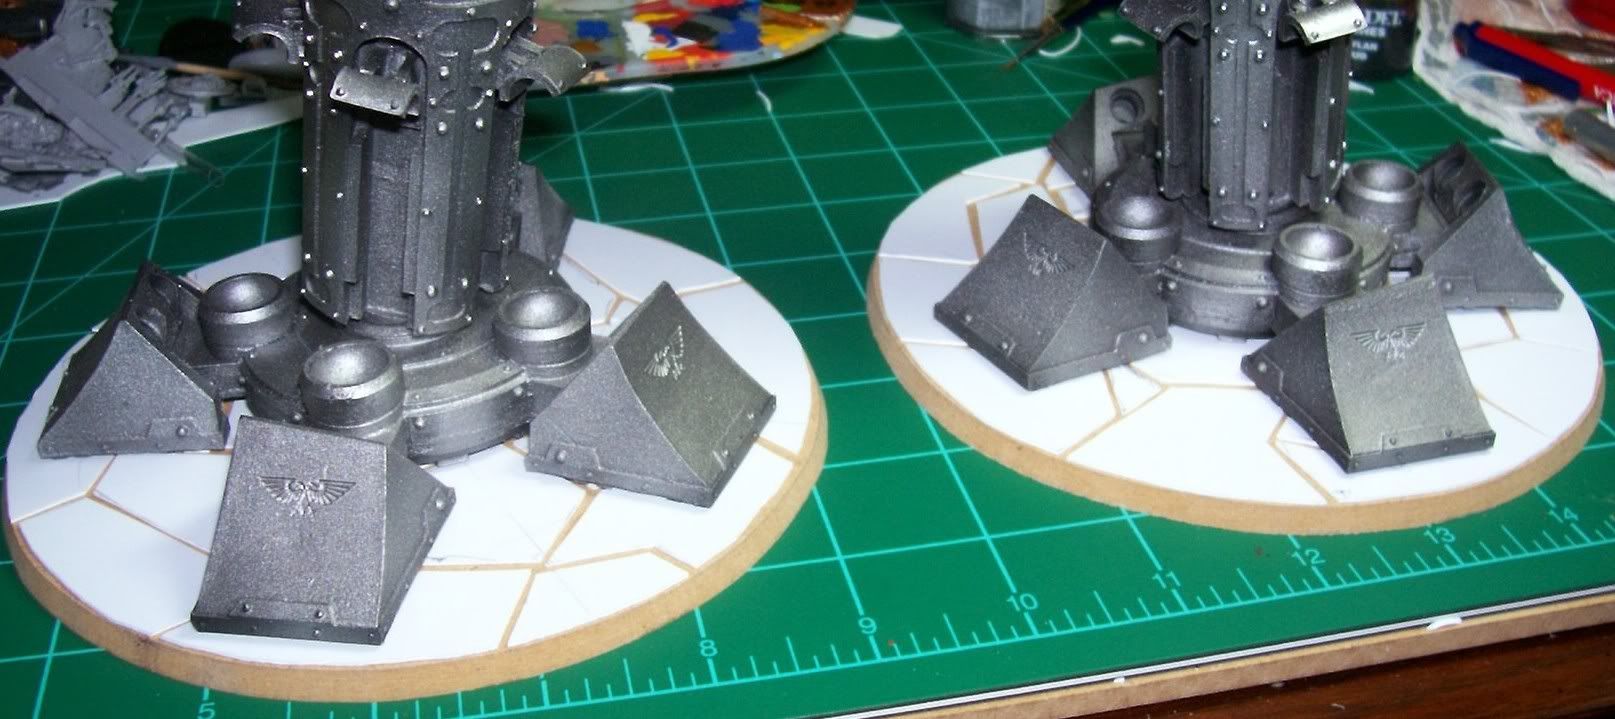
I've also been putting thoughts into where the Titan will stand. I've decided, for now, to go with a base on each foot. The beast balances fairly well, I just want to avoid putting pressure on the toes or legs. If balance does become an issue, I'll mount the two smaller bases on a large base I already have made. That said, it occurred to me that a Reaver Titan should be a heavy sort of thing. Since I'm modeling a base for each foot I decided to use plastic card and cut it up to simulate the ground cracking beneath the Titans feet. I also plan to use carefully placed texture around the toes to give the appearance that debris has flown out around the foot. Not too much, just enough. Here are the bases sans feet...


As you may notice, they are not identical. I got better at this from one to the next. However, with the feet on them, it makes little difference...


Sorry it's only three pics this week. I hope to get the carapace mounted weapons pinned in the next week. With that done, I should be able to dry fit the entire Titan together for a look.

As always, thanks for stopping by and having a look. Drop me a comment and tell me what you think. You can make it rhyme if you like, but it's not required... I have a dollar that says Master Darksol will opt in for the rhyme.

Wednesday, March 11, 2009

Reaver Titan Pt 11.5 (Carapace Weapon update)

Just a quick update on the Carapace Weapons project progress.

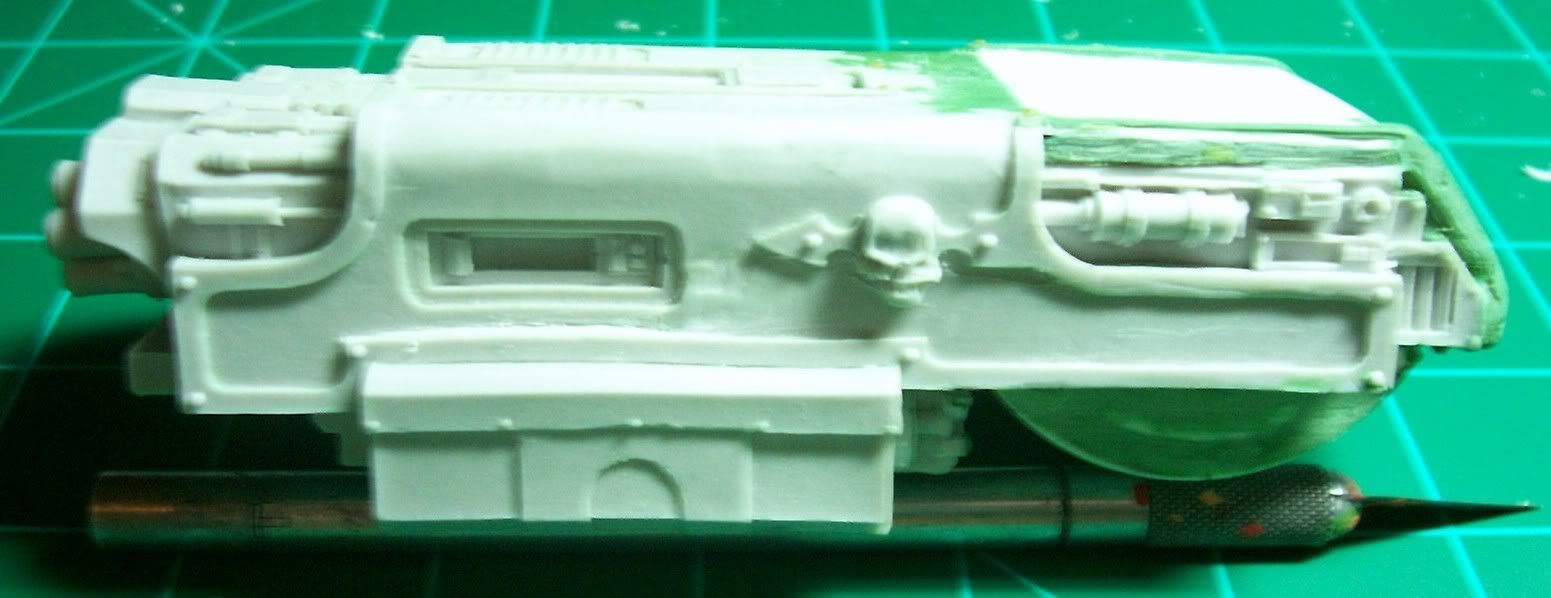
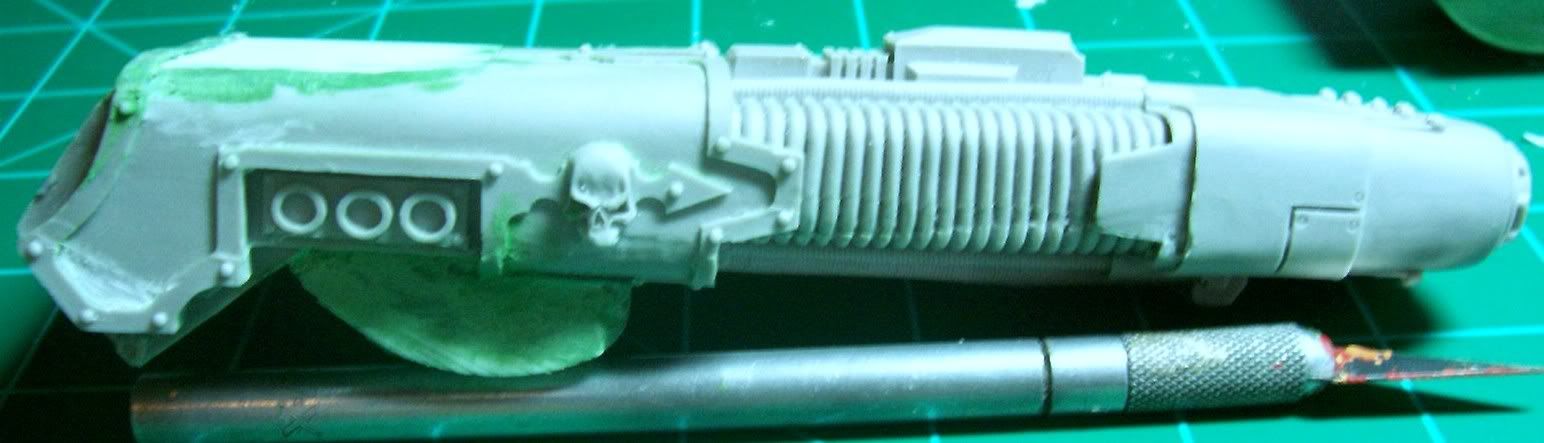
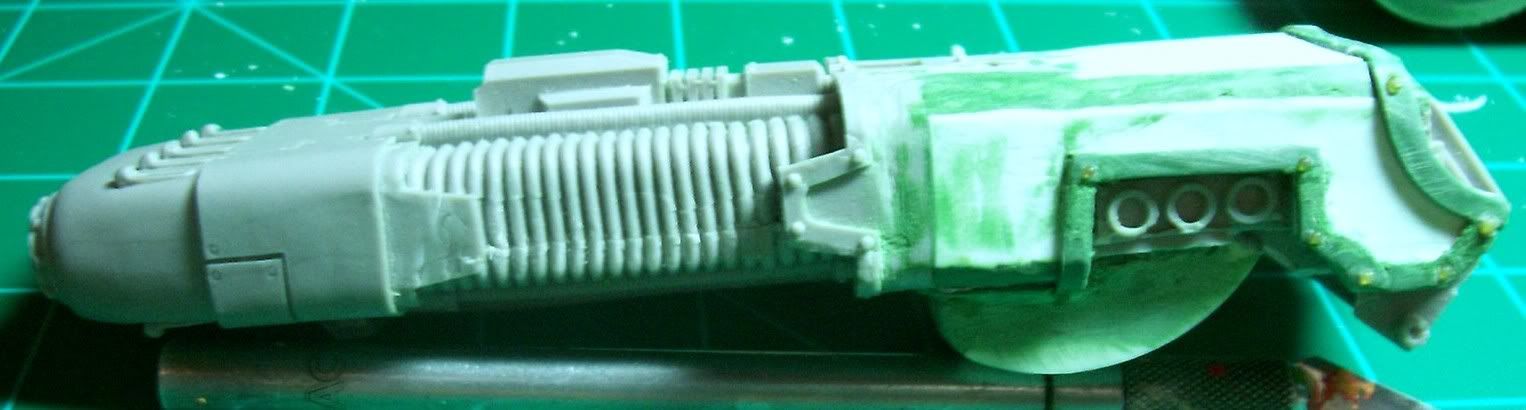
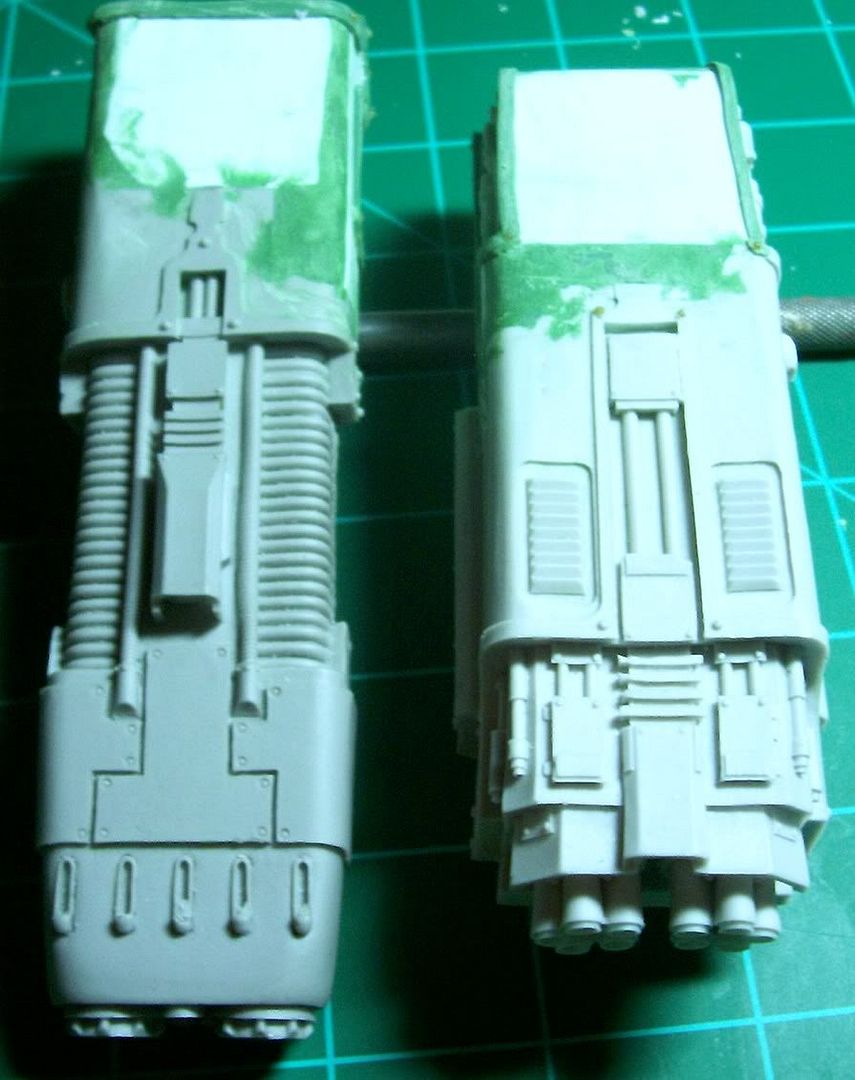
I've been working on getting the weapons introduced in the last post to look less like arm weapons and more like carapace weapons. The armor on the weapons was meant to look good on a Warhounds arms and thus was asymmetrical. I've been playing with plastic card, green stuff, and even Squadron Green Putty over the last couple days. The results won't win any beauty contests, but I think they'll look good with some strategic paint application. I even tried out the Rivet technique as featured on the Exponent Wargames site.

The photos will be presented all at once. The first two are the Vulcan Mega Bolter, Forgeworld armor side first then mine. The second two are the Plasma Blast Gun, again, original sculpted armor first, then my approximation. The last photo is a view of both weapons from the top. Enjoy!


Keep in mind I'm not a champion sculptor or scratch builder... yet. These skills need to be developed though... just in case... you know in case I have to start work on an Emperor Titan after this is finished. Oh come on! The Cyborg Trucker is doing it, I wanna be cool too!

Any comments, questions, or hideous laughter are welcome as always!

Sunday, March 8, 2009

Reaver Titan Pt 11 (What's on your back?)

Finally, back to the Reaver!

Warning, the camera is not my friend today. I'm completely out of practice and the pictures in this blog show it. I apologize up front.

The internet, being the glorious place it is, affords us a chance to meet a lot of people in exotic far away lands. One such person made me a rather unique offer a while back. This person was in a position to send me a couple of Warhound Titan weapons that were miscast. Now, the hows, whys, and WTFs I'm perfectly fine not knowing. The ends, in this case, justify my means.

This gives me the chance to do a little converting and add the possibility of variety on the Reavers Carapace mounted weapon. Except for the Apocalypse Launcher all the weapons available for a Reavers carapace are Warhound class weapons. So, I was more than a little excited when I got these in the mail a while back...
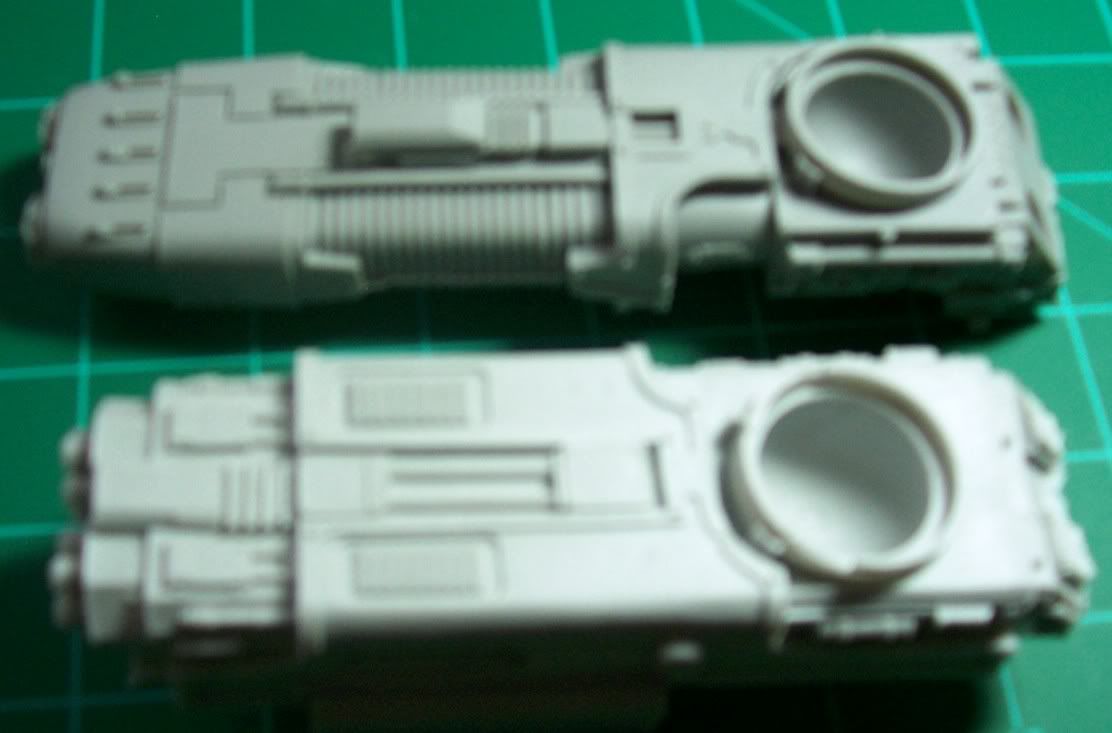


These will take a bit of cleaning up, and a good deal of conversion to look the way I would like. First off, the bottoms will have to have a bit of roundness added to them to mount to the part that rides in the carapace and allows the weapon to rotate. You can see the bottoms here, and the rounded area on the Apoc Launcher that the two new weapons are lacking...
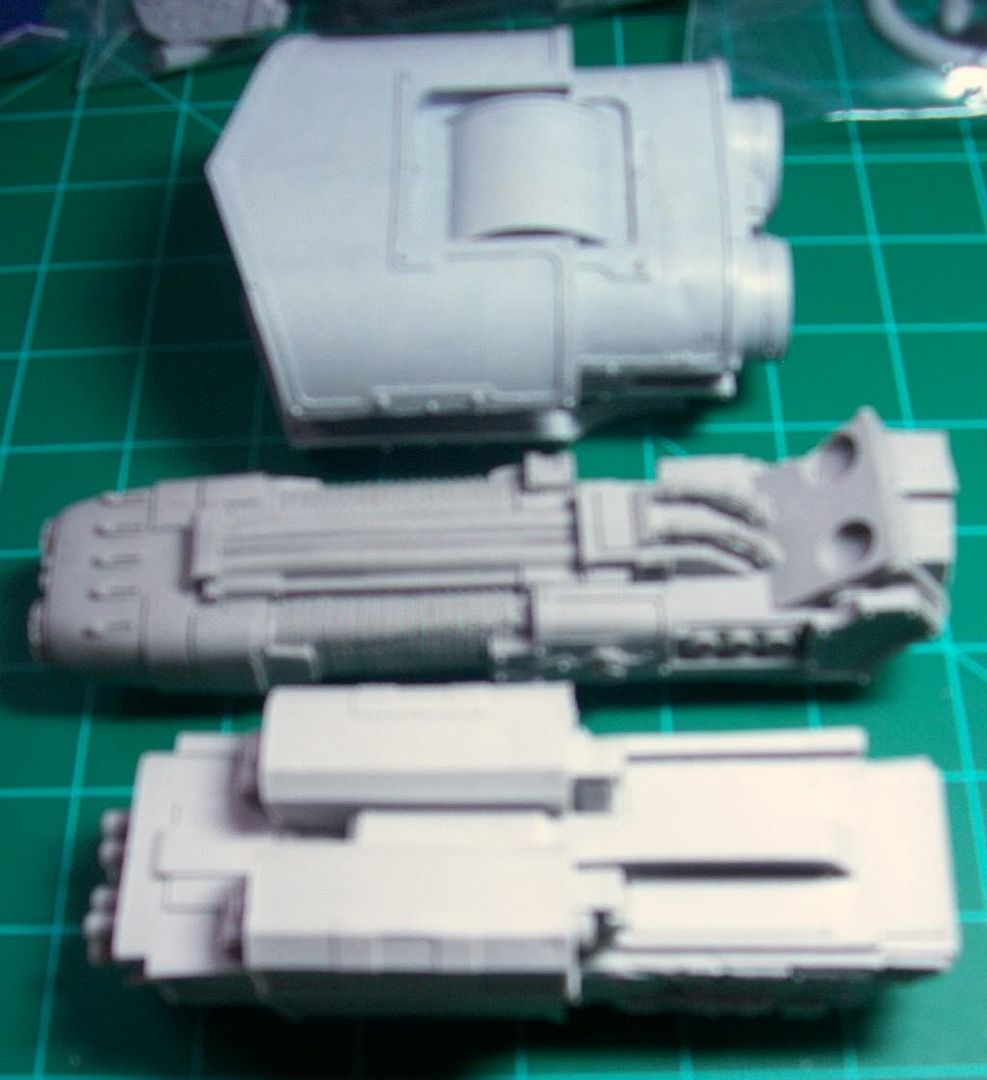


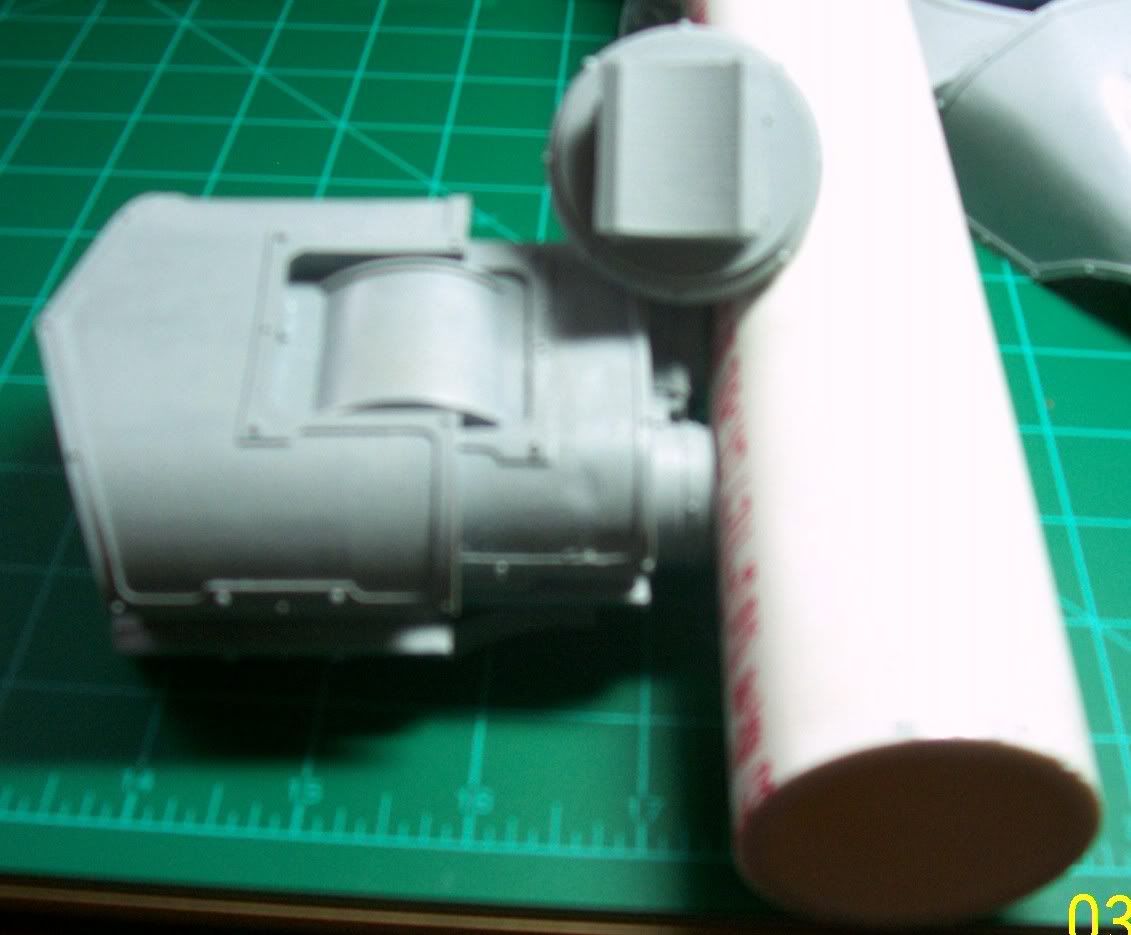
So, with this in mind, I went to my local DIY store and found a piece of PVC pipe. To my joy, I found that you can even buy it in two foot sections which is great as I don't need ten feet of the stuff. The curve matches that of the rounded part of the bottom of the Apoc Launcher perfectly!


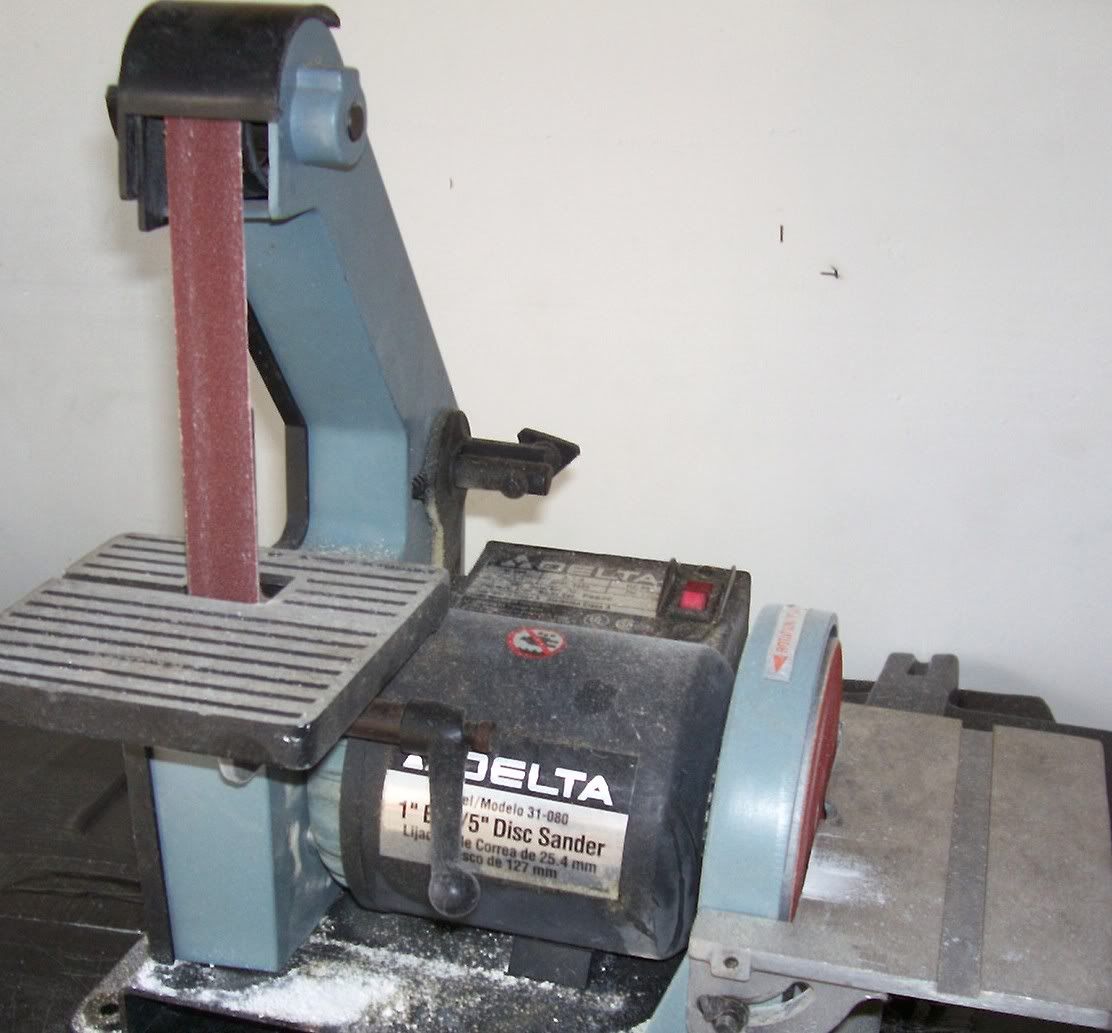
After a few minutes in the garage with two of my favorite tools, I had small pieces of rounded PVC pipe ready to attach to the new weapons. I really do love the Band Saw and the Disk/Belt Sander...



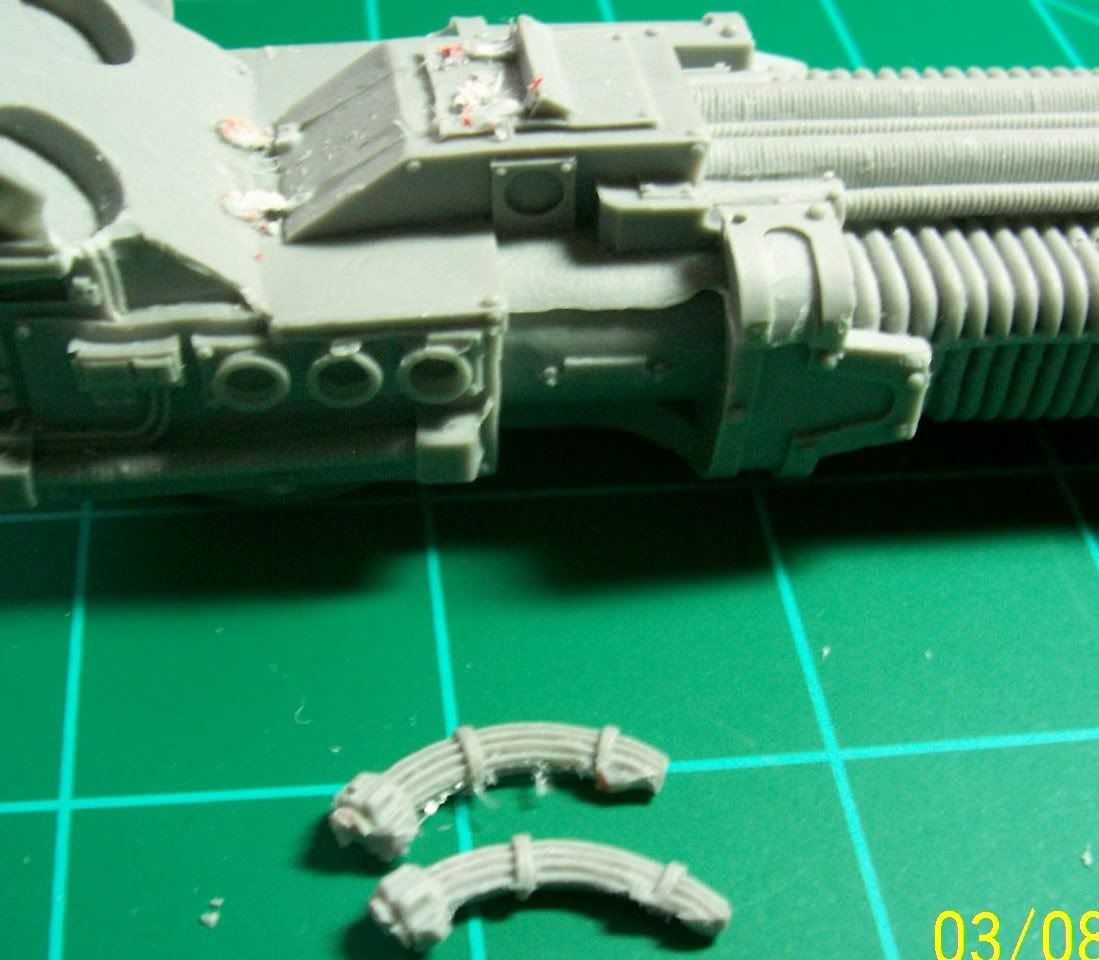
With the PVC bits ready to be added, I had to make sure that the weapons were ready for this step. The Plasma Blast gun has two small hoses that are right in the way of where the curved bit is going. As shown below...


A careful trim and I not only get the hoses out of my way, but have a couple of bits that can be used elsewhere sometime!


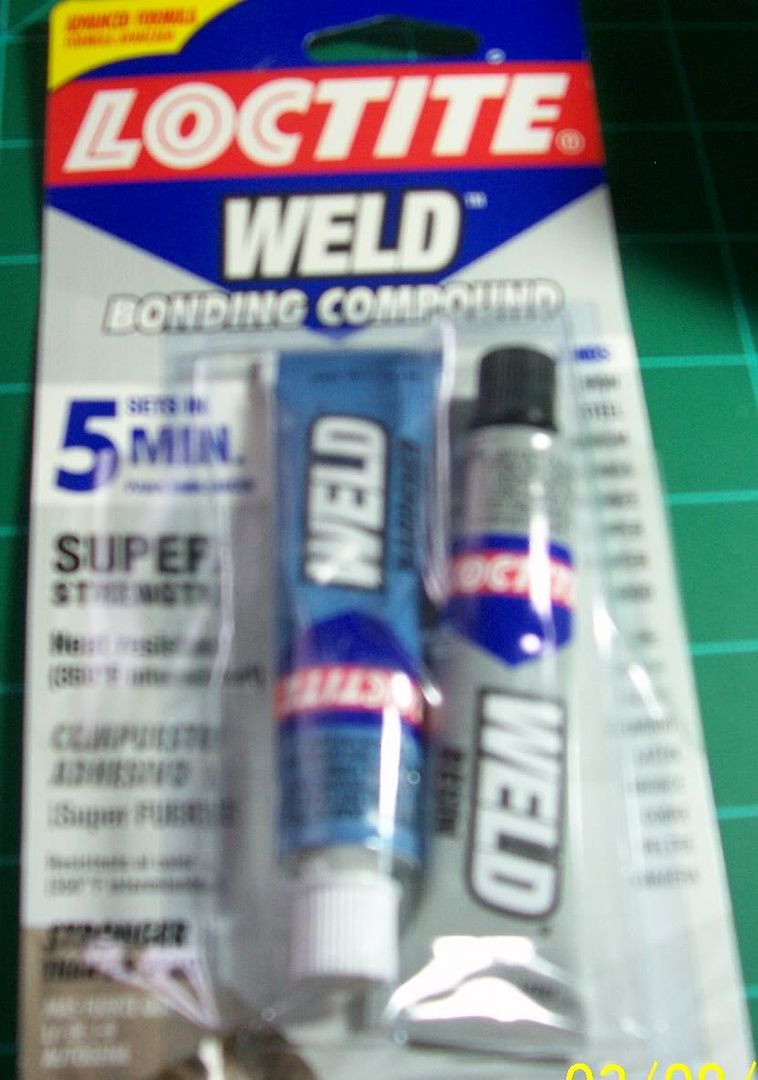
Two part epoxy is my weapon of choice for gluing large pieces. I'm a huge fan of JB Quick, but I found something new on the shelves at my DIY store. Loctite Weld. It claims right on the package to be a better bond than JB Weld (JB Quick's stronger slower big brother), so I decided to give it a go. So far so good, but I'll save a full review for another post...


Last I have a series of shots with the carapace propped up and each weapon mounted. Ignore the piece of cardboard holding the weapons up in the front, it's just for staging the mock up...

Standard Apoc Launcher
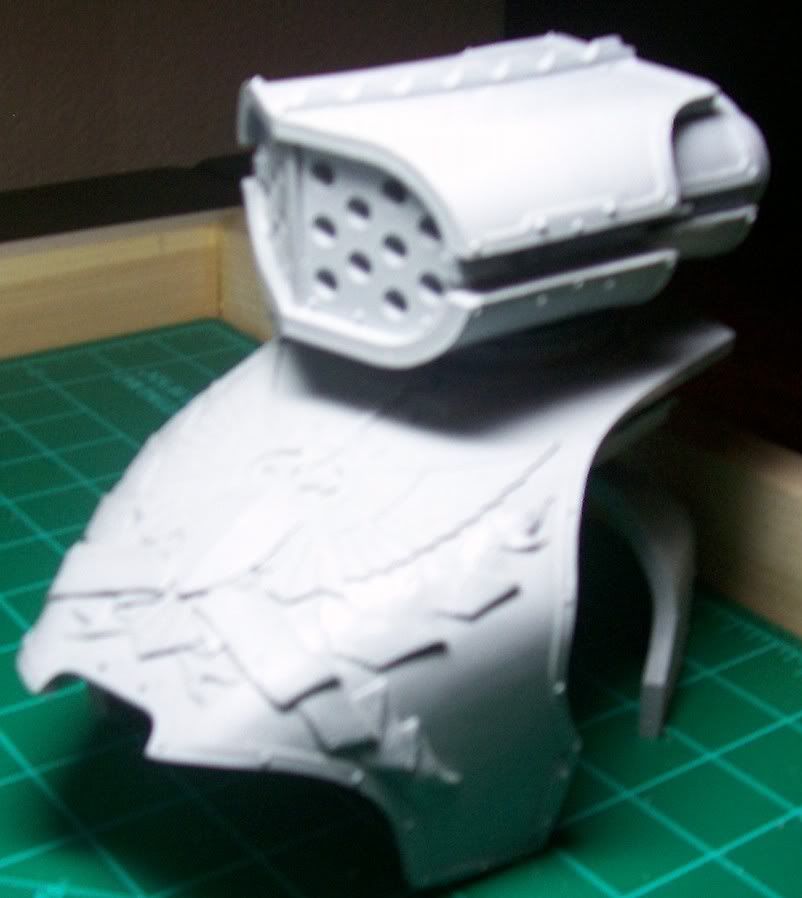
Vulcan Mega Blaster
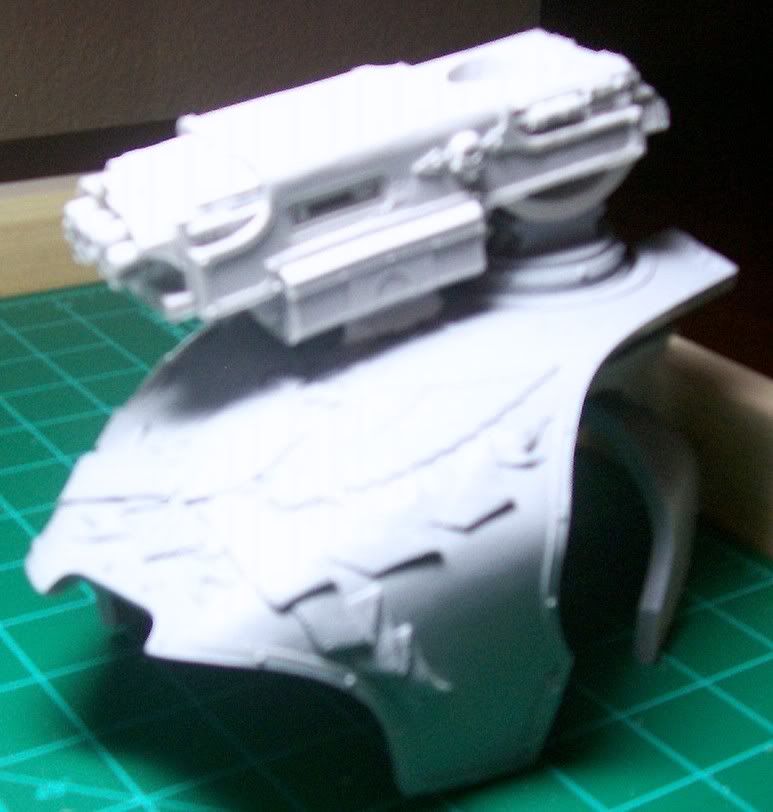
Plasma Blast Gun
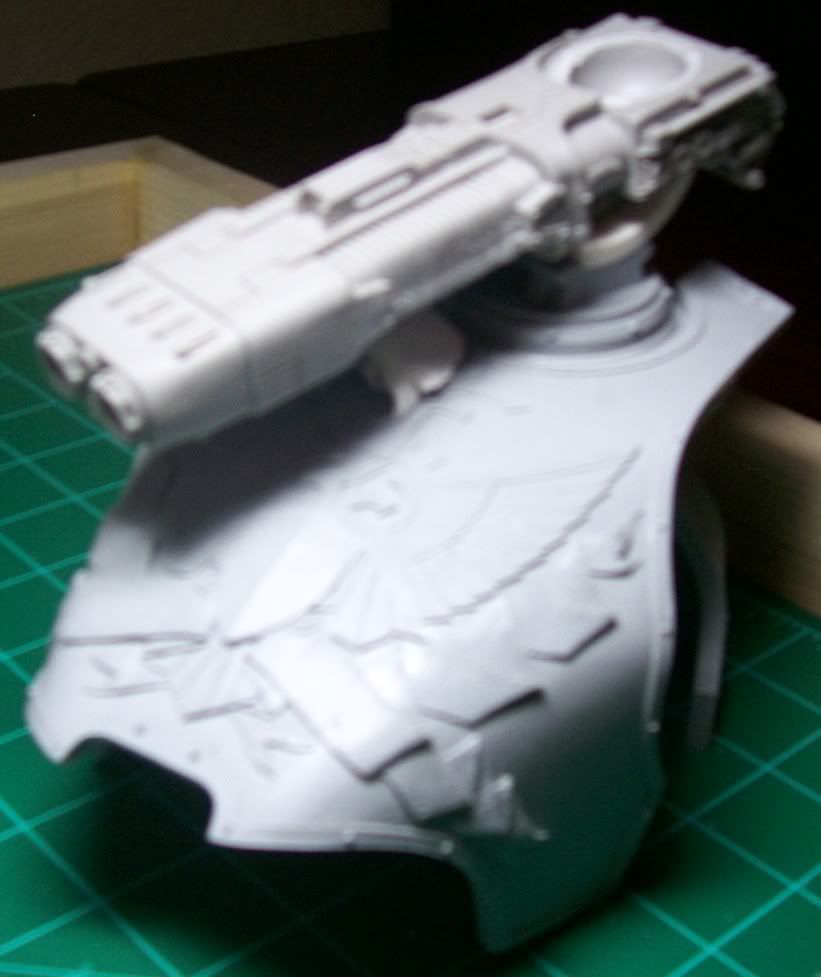

The weapons will take a good deal of work to make them look right, as I mentioned above. You can see from the pictures that the place where the Warhounds arm attached is a large socket joint. It is my intention to cover this and rebuild the armor plating to be more symmetrical. I also will try to extend the armor plating down to cover up part of the curved PVC that I added to each weapon the way the armor on the Apoc Launcher does. Some plasticard, putty, and bit of patience and I think I can do it.

Look for an update later this week in which I will have (hopefully) made some progress on the carapace weapon swap project. Please feel free to leave some feedback. Questions and comments are always appreciated!
Related Posts with Thumbnails