Showing posts with label Warhound Twins. Show all posts

Sunday, May 1, 2011

WHx2 Pt 6 (Torso, Back, and Turbo Lasers)

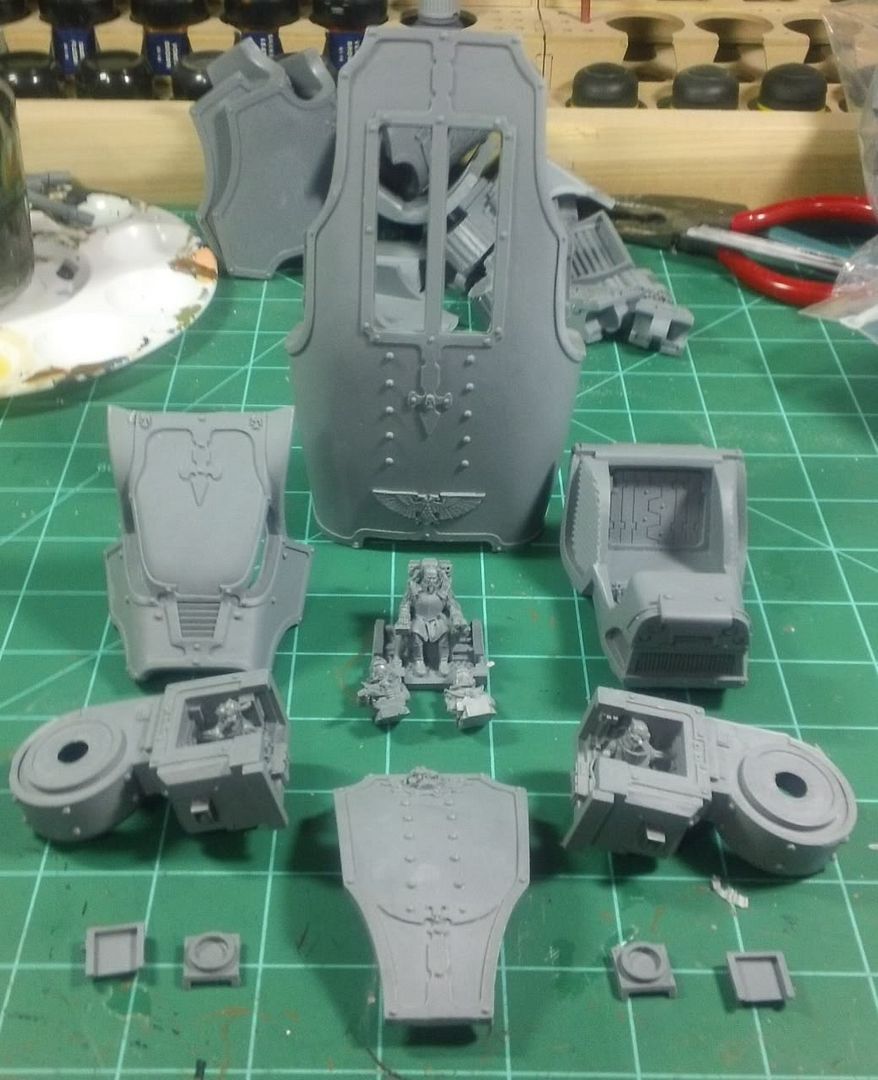
I'm combing the torso and back bag of parts with the Turbo Lasers bag. Both are pretty sparse in parts so there is no need to give them each their own blog.

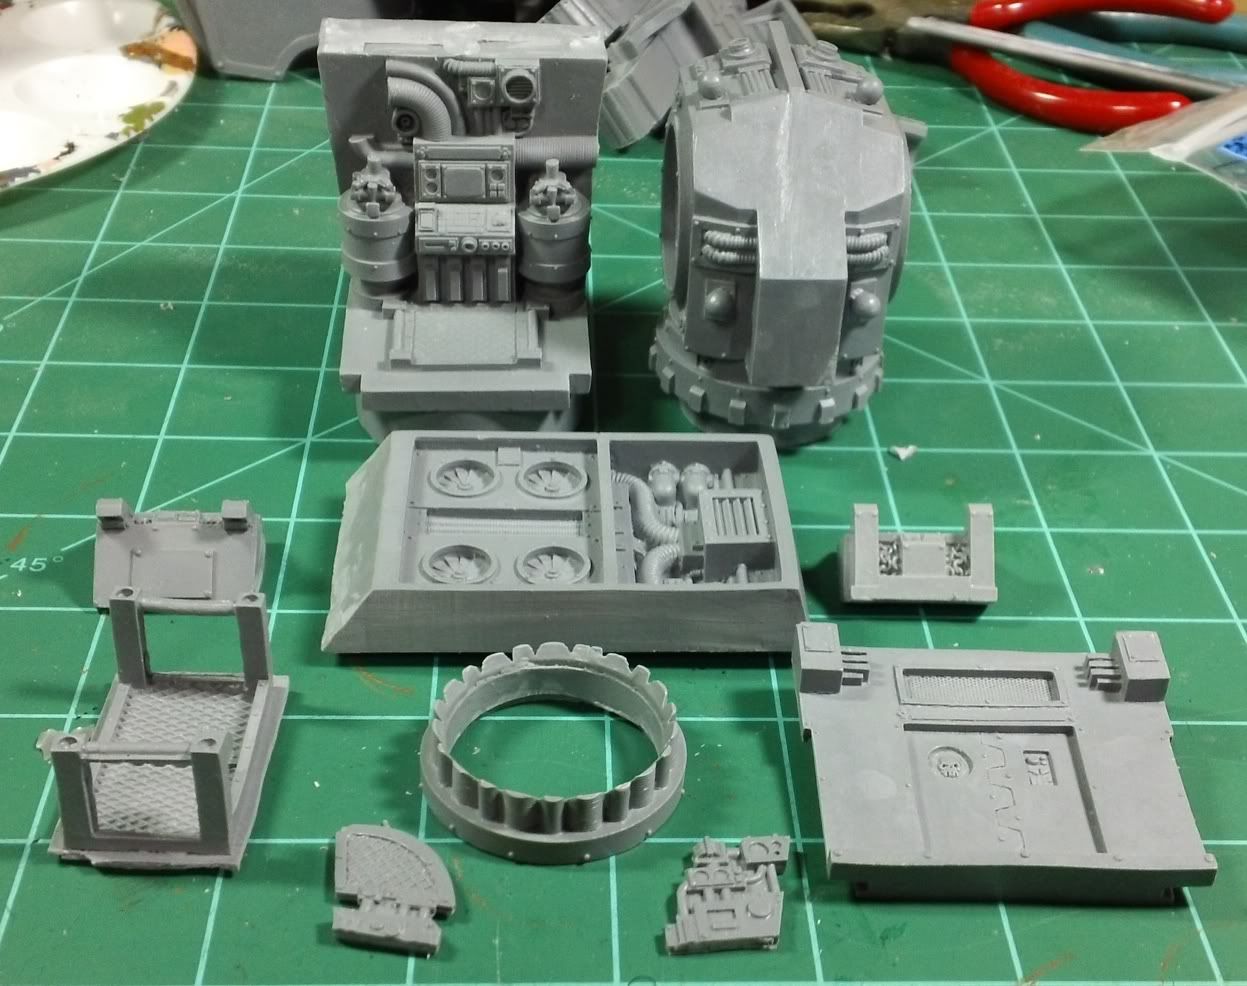
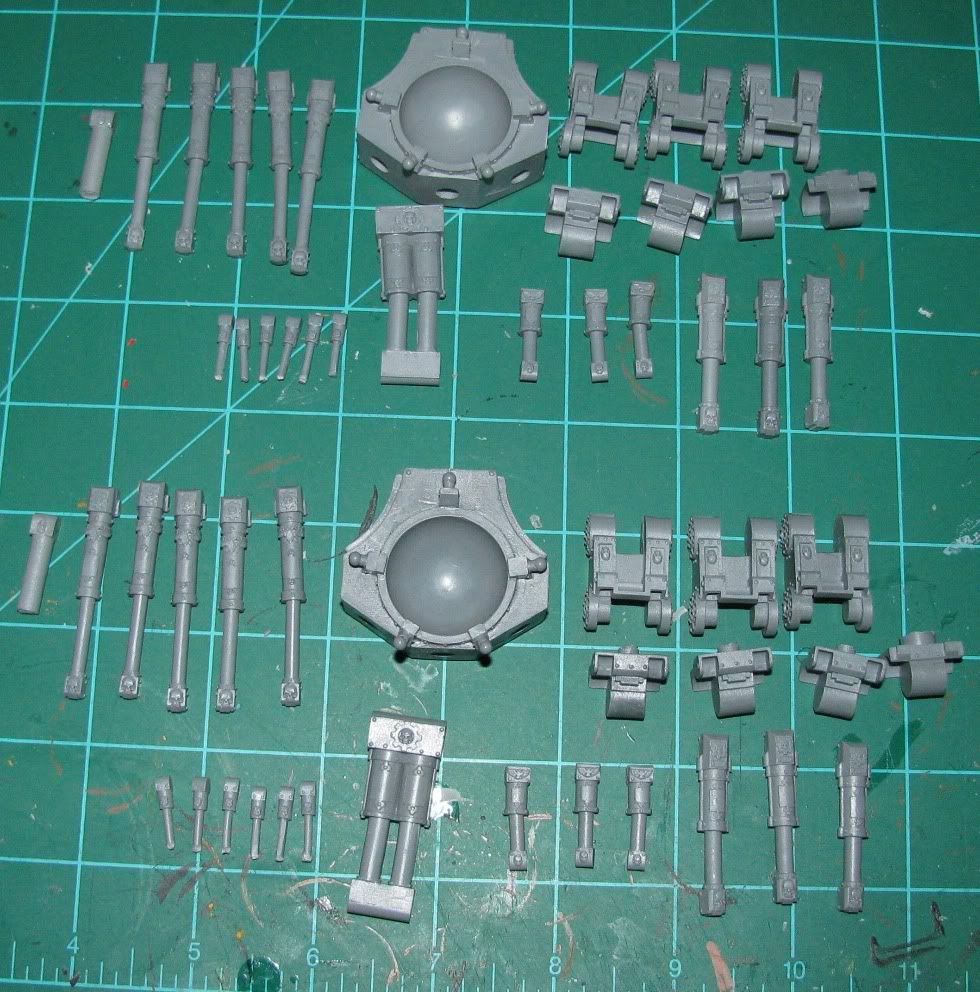
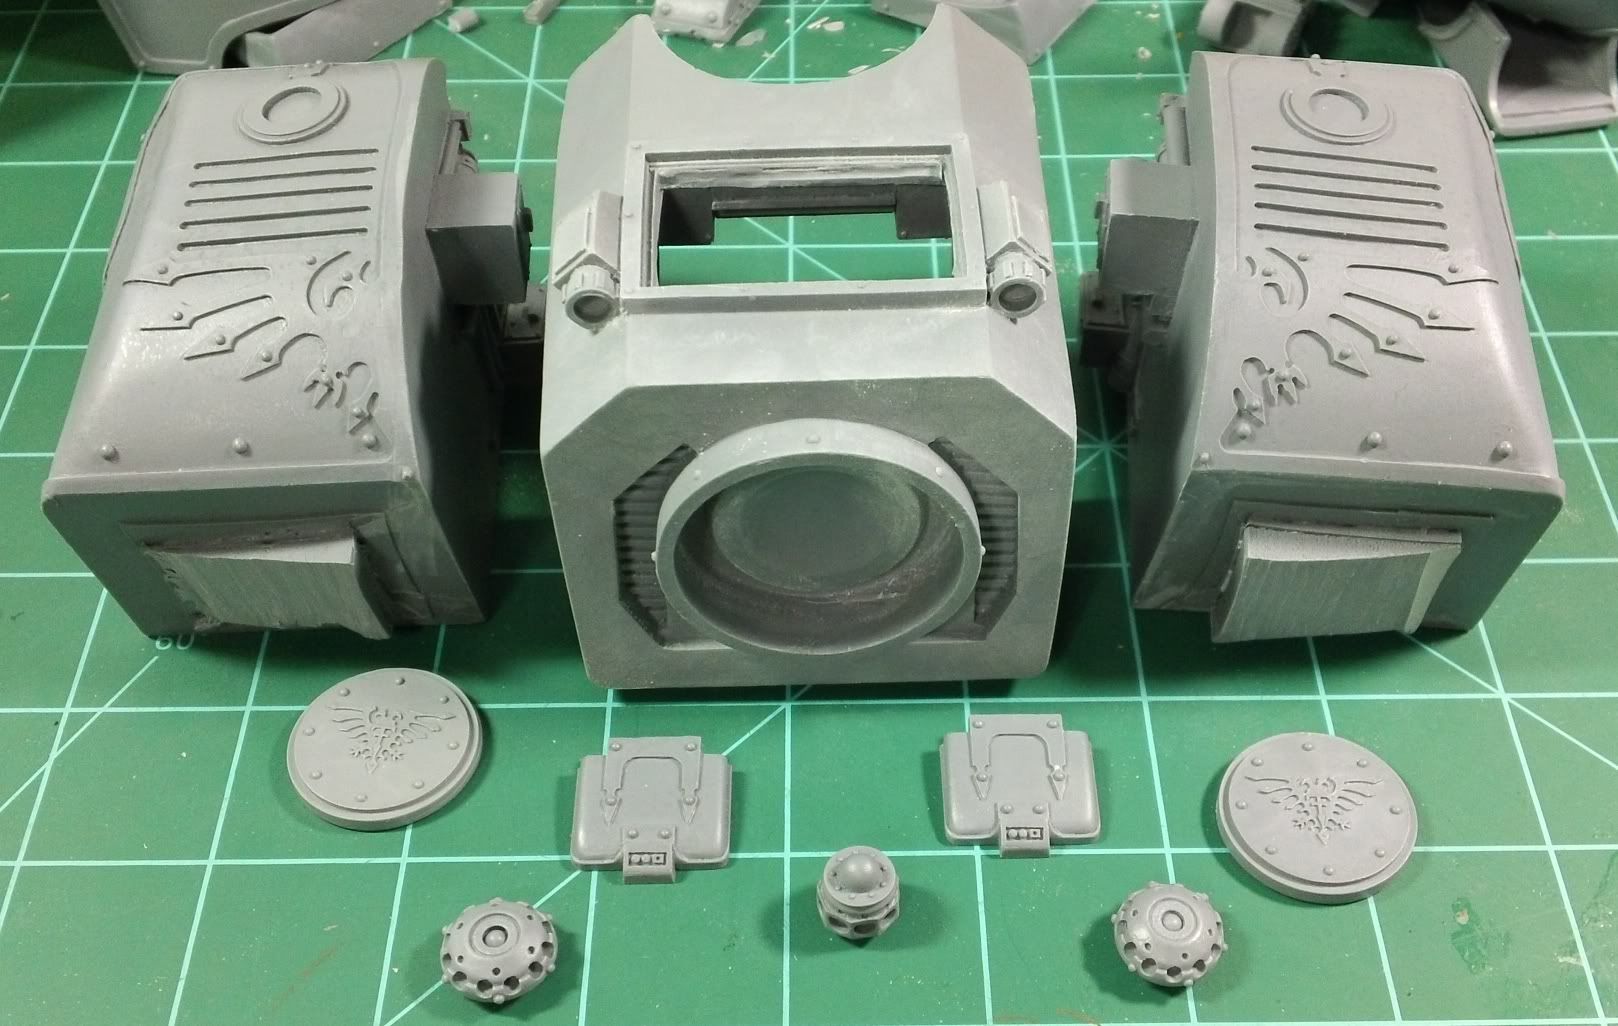
First a couple of shot's of all the parts.

Here is the torso and back parts bag...


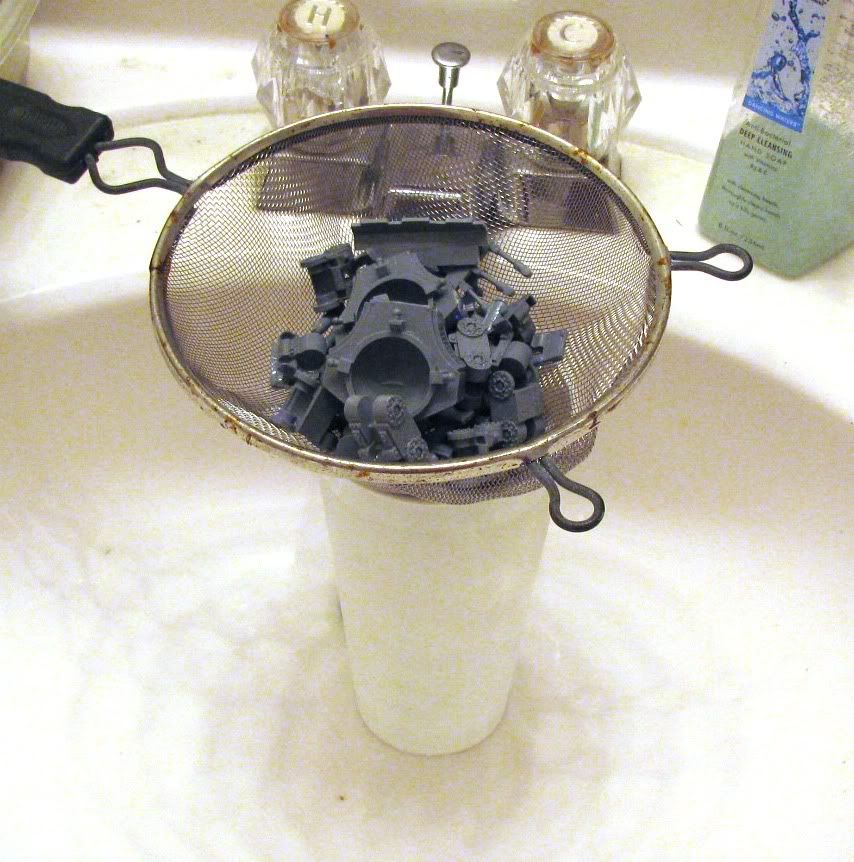
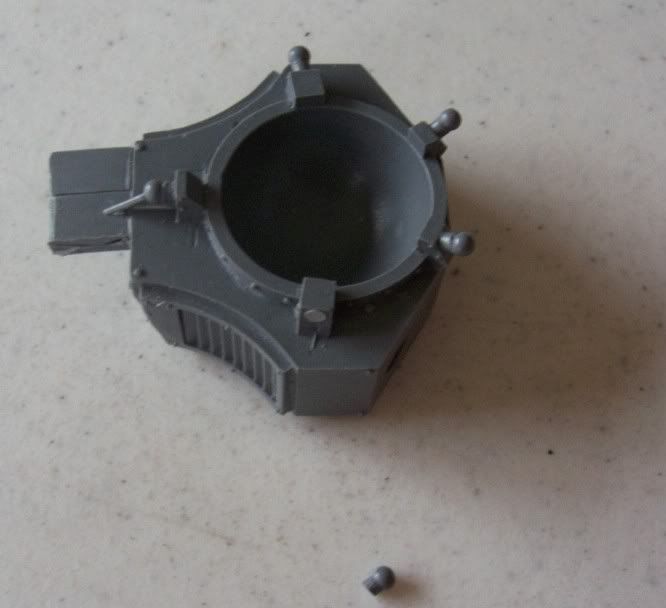
I have it on good authority that if you miss the strainer when rinsing this bag of parts, the small bit int he middle of the above photo will go down the drain. I can do a tutorial on how to retrieve a small bit that has gone down the drain from a "p-trap" under your sink if there is any need for it expressed by my readers...

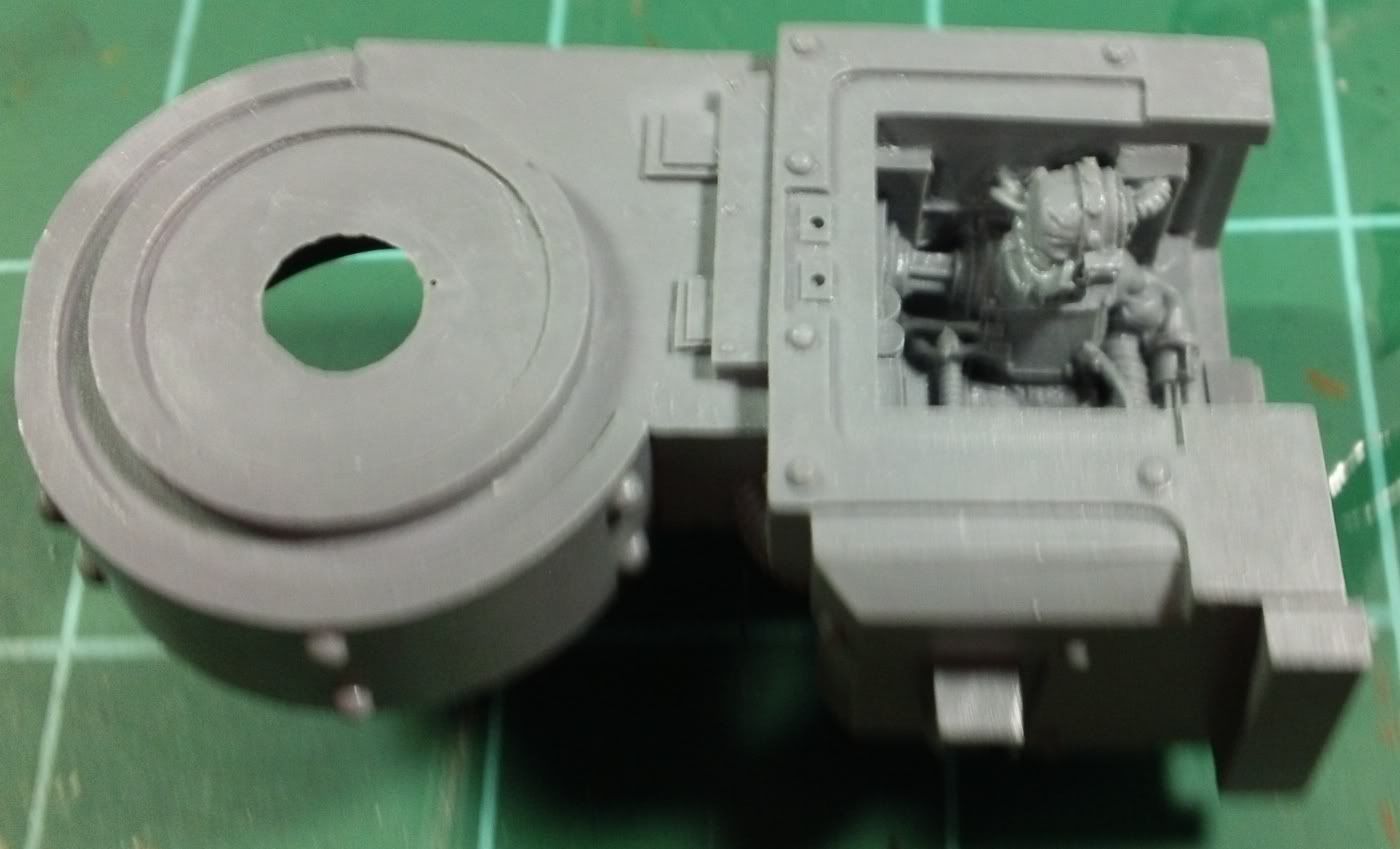
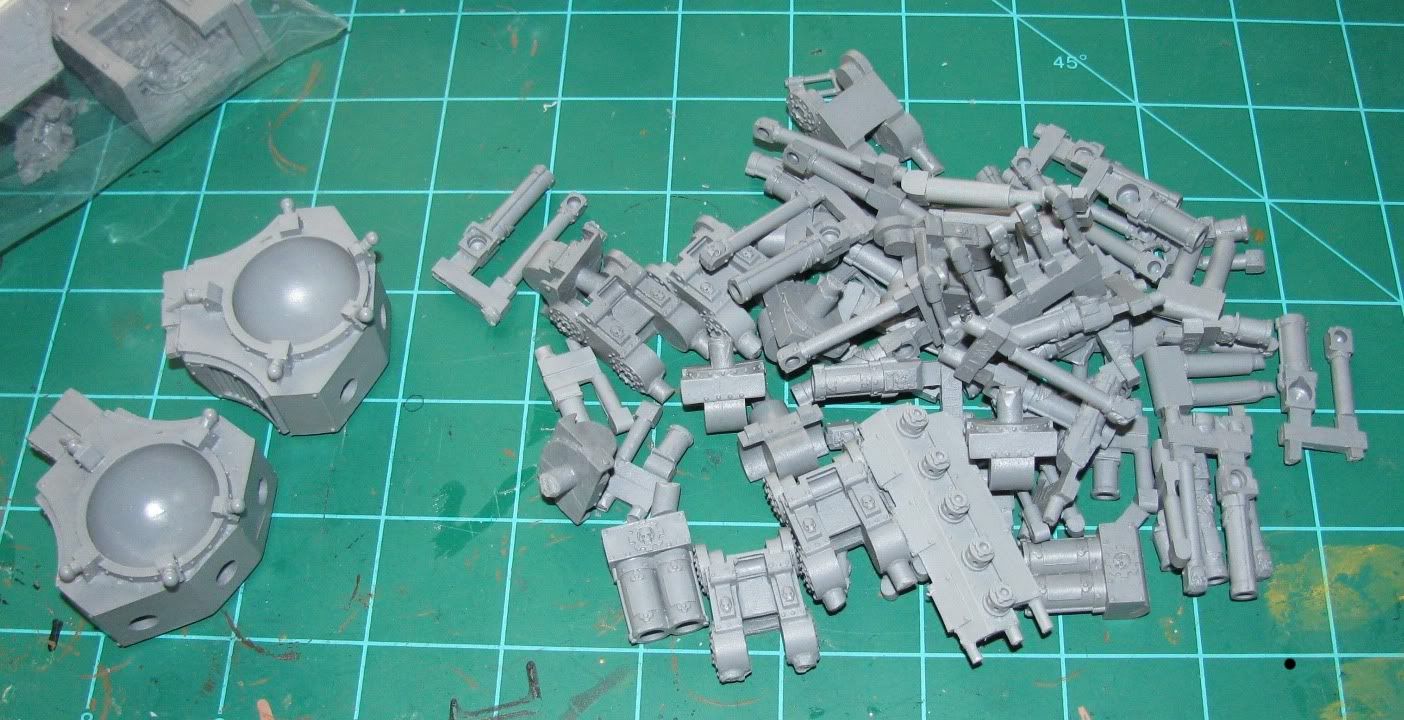
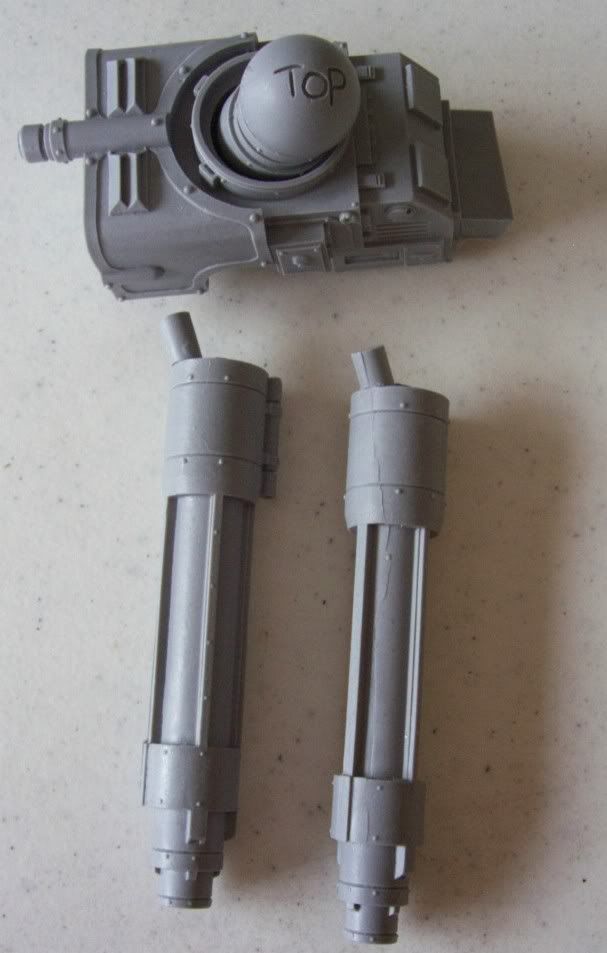
Next up are the Turbo Laser parts. Pictured below is enough parts to make two Warhound arms...
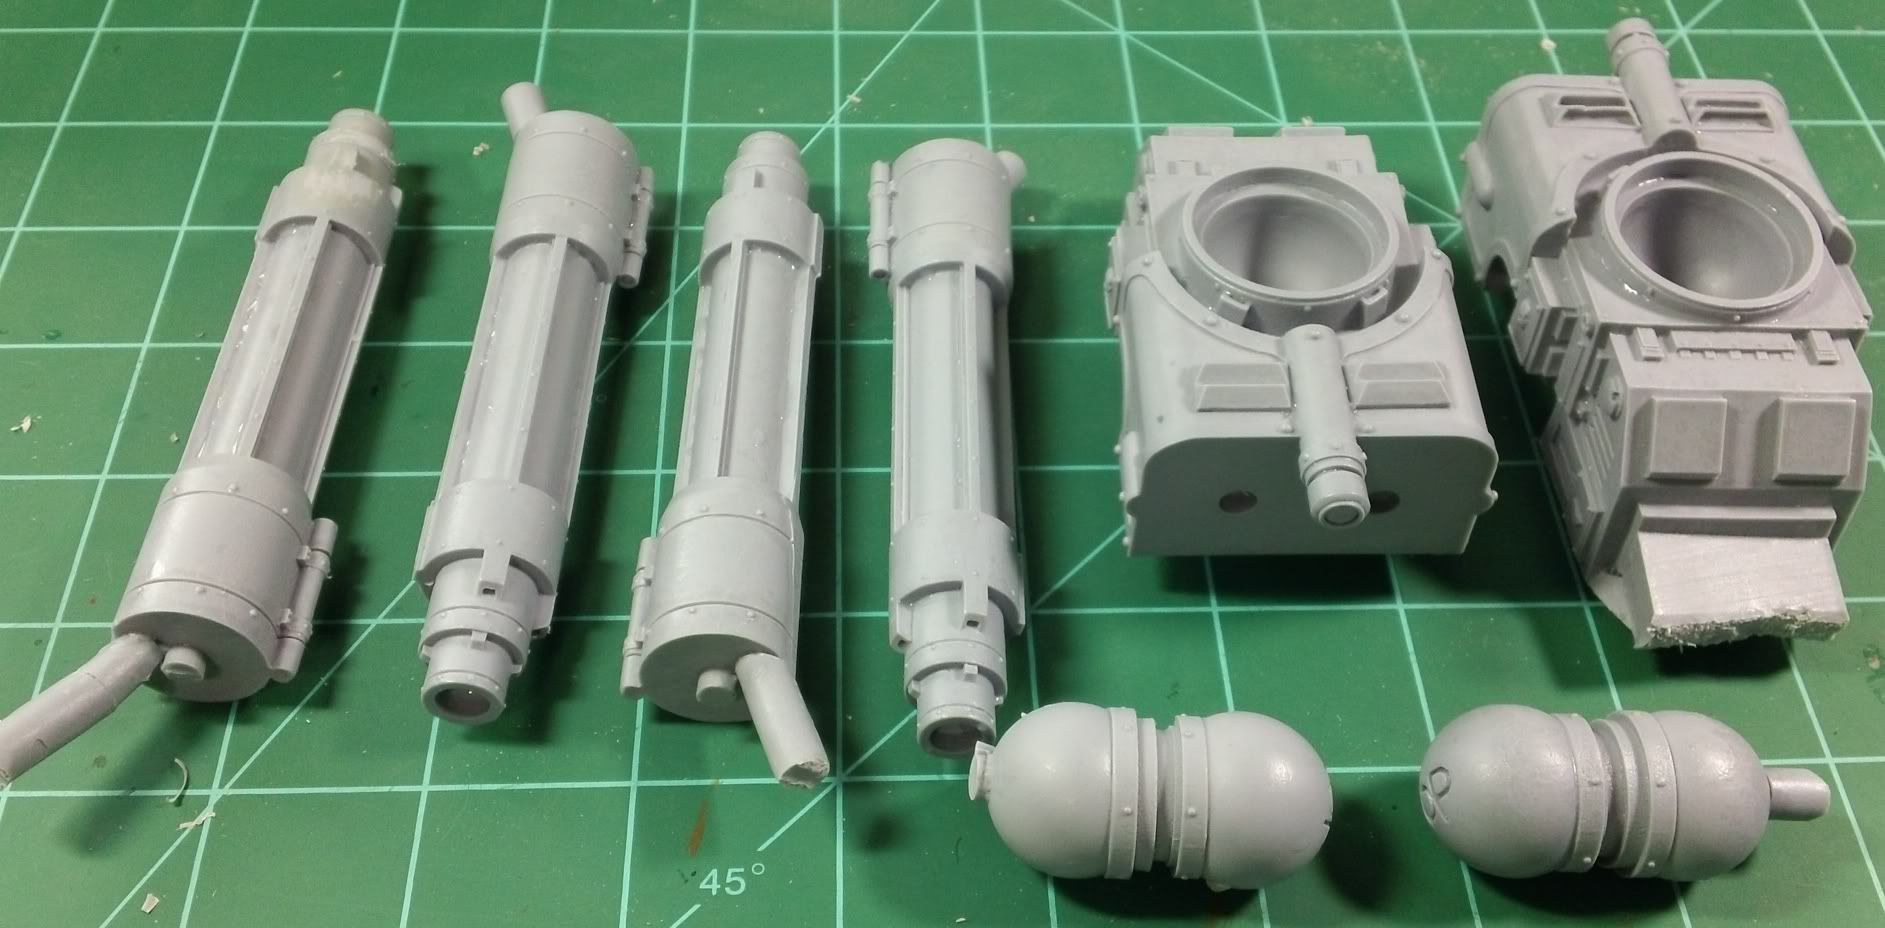


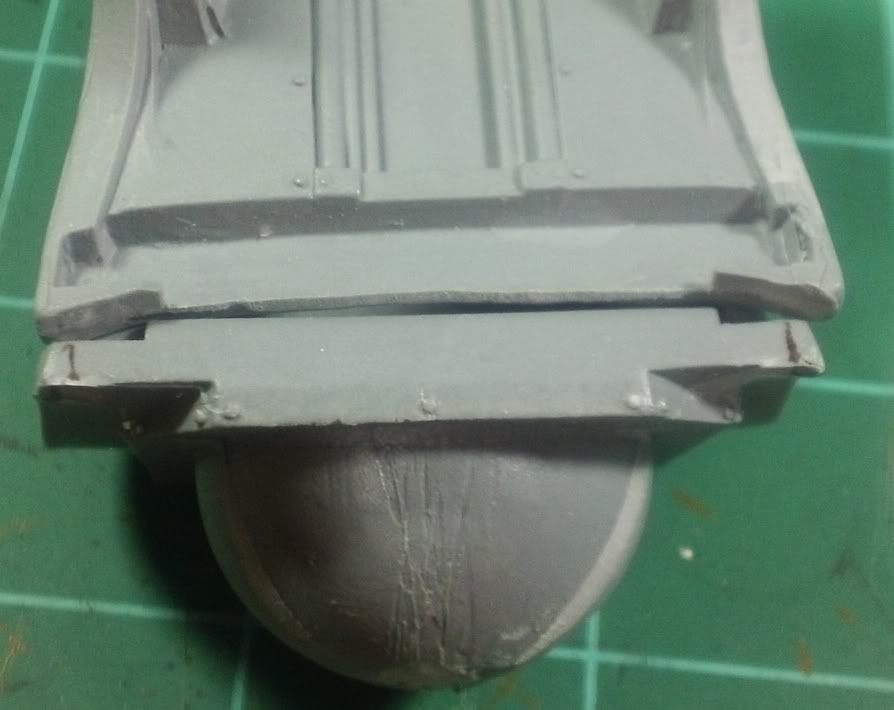
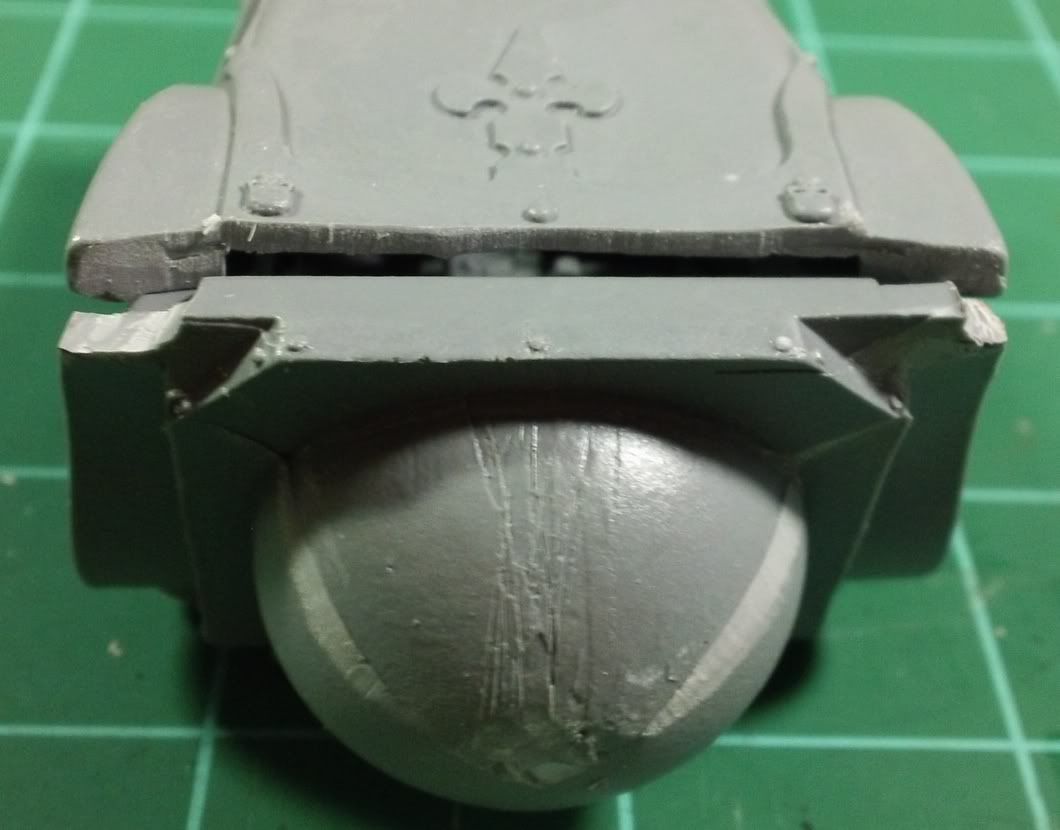
You may have noticed that these parts contain some of the largest channels in the entire kit. Notably on the back pieces...
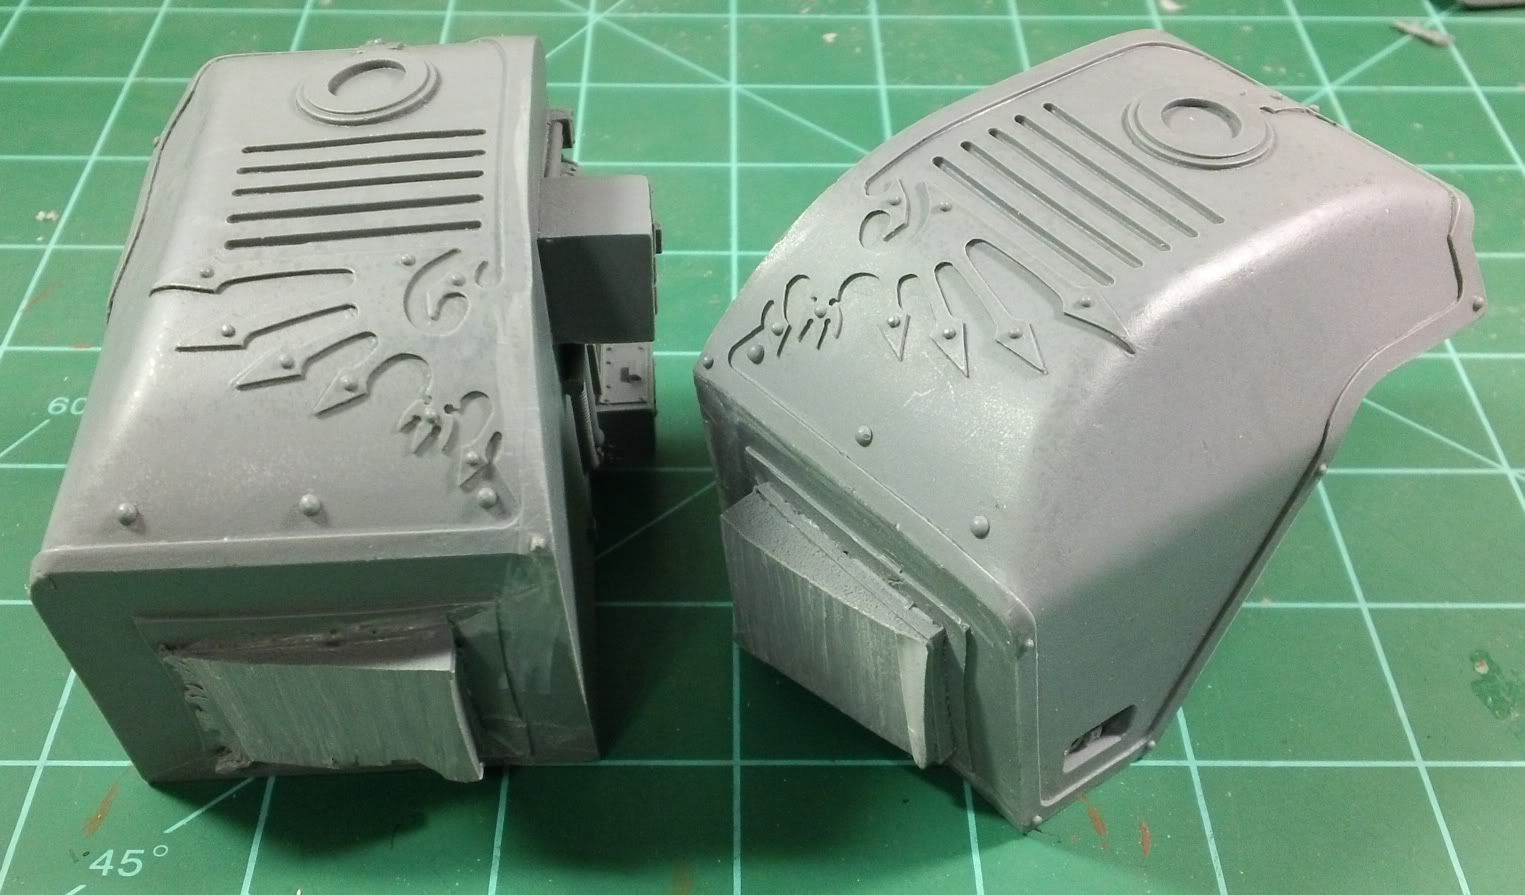


And the backs of the Turbo Lasers...
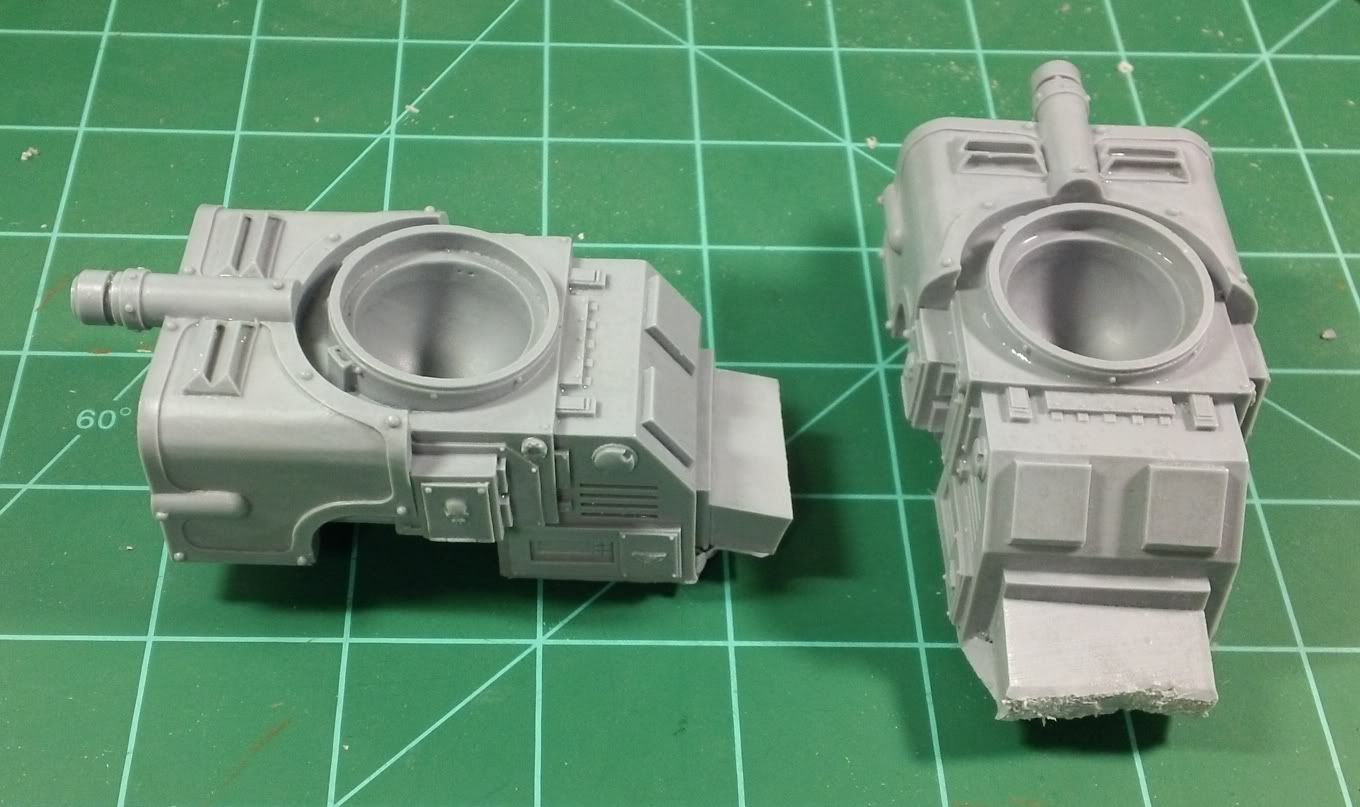


I'd like to share how I handle channels this large. Though my method is not an option for everyone, it does demonstrate how some extra tools can speed up a process.

Low Bandwith version:


High bandwith version:
(warning, you will hear my voice and the sound of my bandsaw in this video. Try not to fall in love with either, we will only break your heart)


There was a short follow up on the belt/disk sander and the results are below...
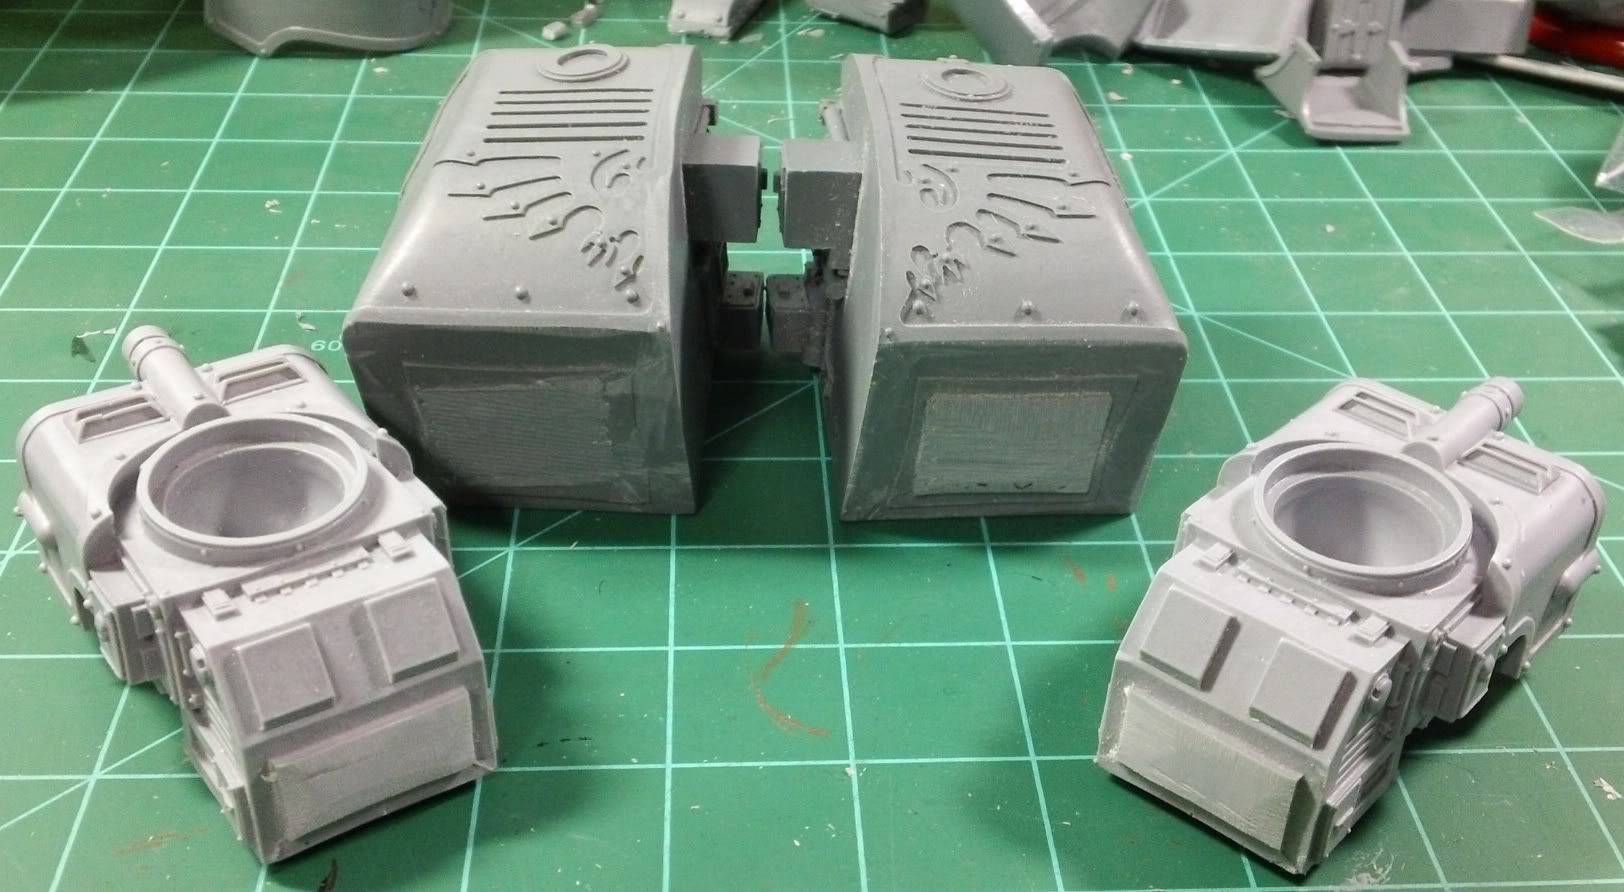


The back pieces still look a little rough, but the parts where the channels were are covered by the rear exhaust vents anyway. Good planning on that one Forgeworld!

If you watched the video and found it at all useful or entertaining, please feel free to leave some feedback in the comments. I'm playing around with video but I'm not yet sure how large a part it will play in future blogs.

Other news on the horizon. Have you heard of DreamForge Games? Did you know that the pre orders are up for the Mortis and Crusader kits?


I don't know about you, but that Crusader screams 'Knight Titan' to me, though it's a work of art with it's own merit. Expect a product review up once they ship. I'm pretty freaking excited myself. DreamForge has the assembly instructions posted on their website. I suggest anyone interested in these kits look those instructions over. They show a lot of the detail and planning that went into these kits that the webpages' photos don't quite do justice to.

Till next time, enjoy yourself... or if you can't enjoy yourself, enjoy someone else!

Friday, April 15, 2011

WHx2 Pt 5 (Head, Shoulders, Armor & Pilots)

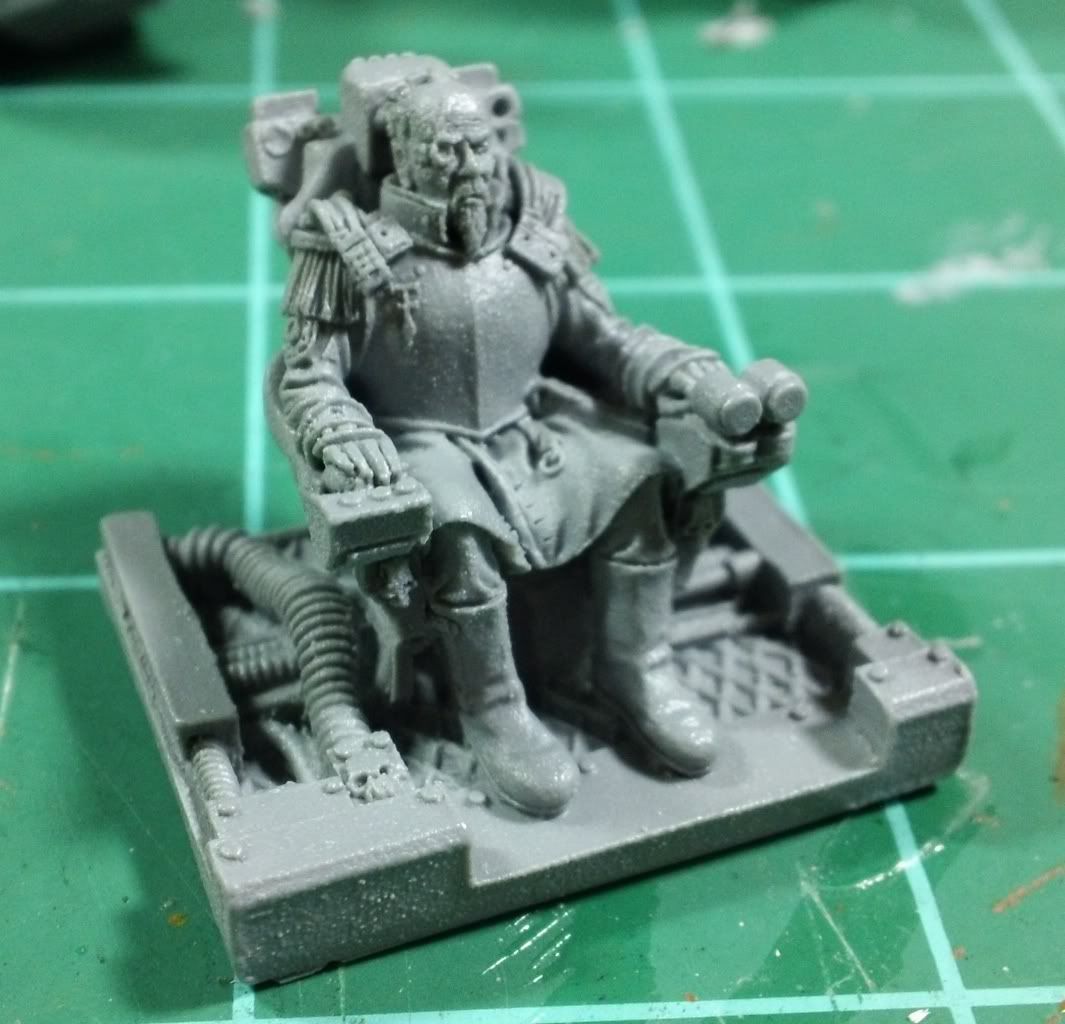
The next bag of parts is done. This one includes head, shoulder, Princeps, Moderati, some armor parts, and cable mounts. I've got big plans for the cable mounts, but that story will have to wait till a ways into build time.

Here is a family shot of the parts from this bag...


Of the two Warhounds, one had a parts fitting problem that the other didn't. I'm guessing that either they have multiple molds, or perhaps these Warhounds were just cast at times far enough apart that the mold started having issues. Since only one has the problem, I'd say it's a hit and miss issue that you may or may not see when building one of these.

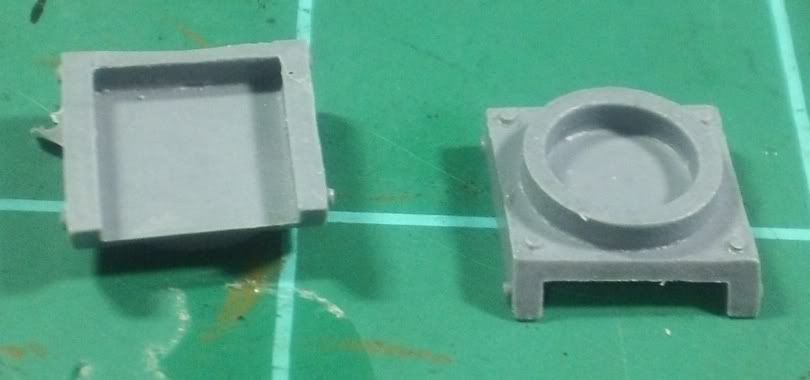
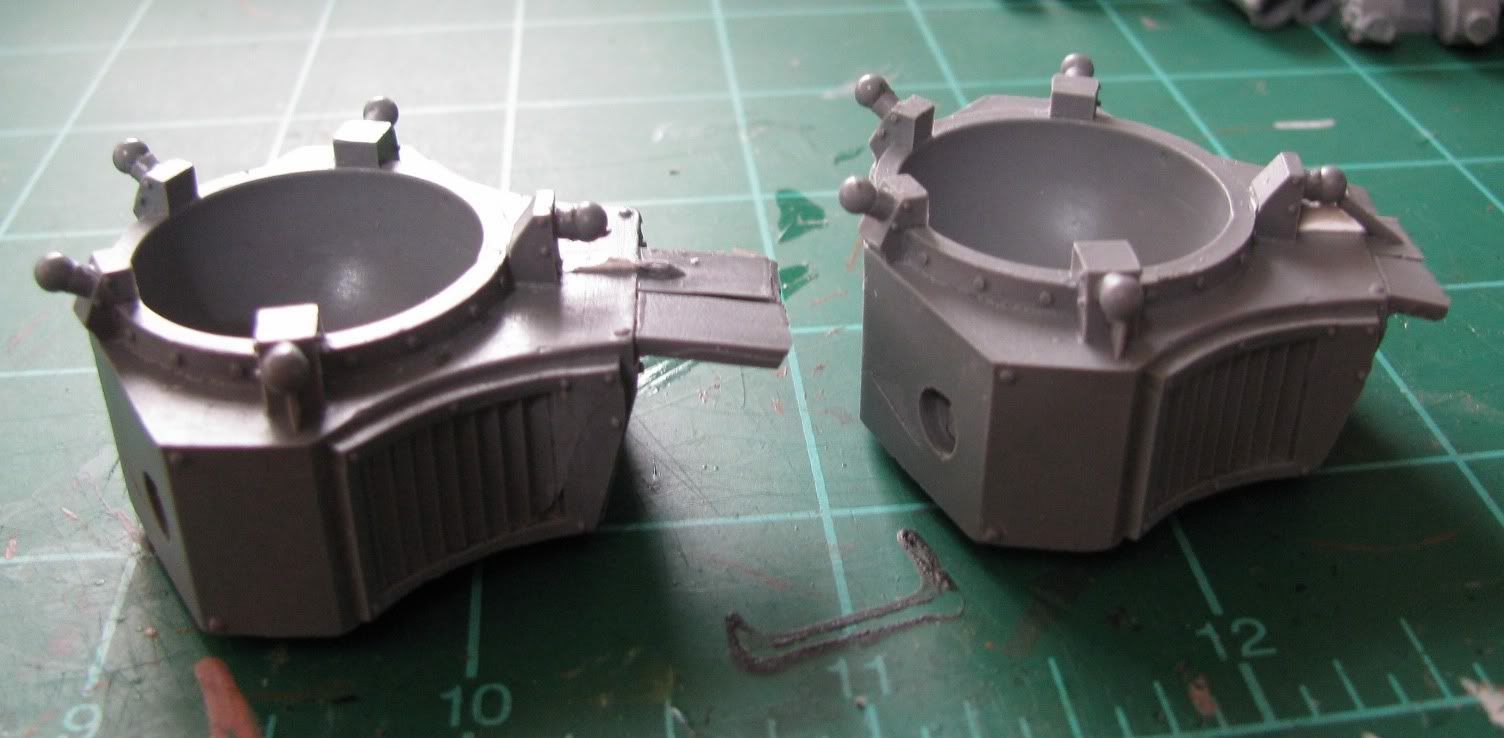
The issue comes down to the way the armor cover fits on the cockpit (head). In the pic below you can see where I've marked the head piece to be trimmed so that it will fit inside the armor piece which is inverted over it for easier viewing...


I used my hobby knife and carefully cut the piece to fit. Unfortunately, careful is not always good enough! There was a weak spot in the resin and I wound up losing more material that I had marked off due to splitting!


(Note the extra material missing on the viewers left side)


I'm not going to fret about it too much though, as the armor now fits beautifully and the bad spot is covered up when the armor is in place.


Just for fun I've thrown in a couple more detail shots.

The shoulder, complete with integrated servitor to assist with gun calculations...


The Princeps, sitting proudly on his command throne.


And, finally, the cable mounts I mentioned earlier...


(In the way of a hint, I'll tell you these are part of a plan that is going to make weapons magnetizing a cinch!)


This leaves us with just one more bag of part for the Warhound itself. Thank goodness! I'm so ready to start putting these together I could spit.

Comments, critiques, and riddles are welcome in the comments as always. Thanks for stopping by!

Tuesday, April 12, 2011

WHx2 Pt 4 (Hips & Guts)

Another bag of parts down! This time it's the hips and some internal pieces.

I'm afraid this will be a short post as there is not a lot to say about this bag O'parts. They cleaned up pretty easy and, except for some largish channels, were pretty quick going.

One item of note, I'm trying out a new camera. It's technically a video camera that also does still shots. I think the still shots have come out pretty well. I may have to try my hand at a video clip to drop in the blog. I wonder if that's something my readers would be interested in seeing? If you have an opinion, feel free to leave a comment and let me know what you think. I've also invested in a tiny desktop tripod which I failed to use at all.

Here is a shot of the parts for this installment.


The good news is, with this post being so small, the next is already well on the way. And it promises to be slightly more exciting as I've run into a part that actually needs a little fixing!

Thanks for stopping by for this quick post. They will get longer and more detailed I assure you! Comments, questions, and words that rhyme with Geek are welcome as always.

Sunday, April 10, 2011

WHx2 Pt 3 (The Rest of the Legs)

The final bits of legs are cleaned and trimmed! Hoo-frikkin-ray!

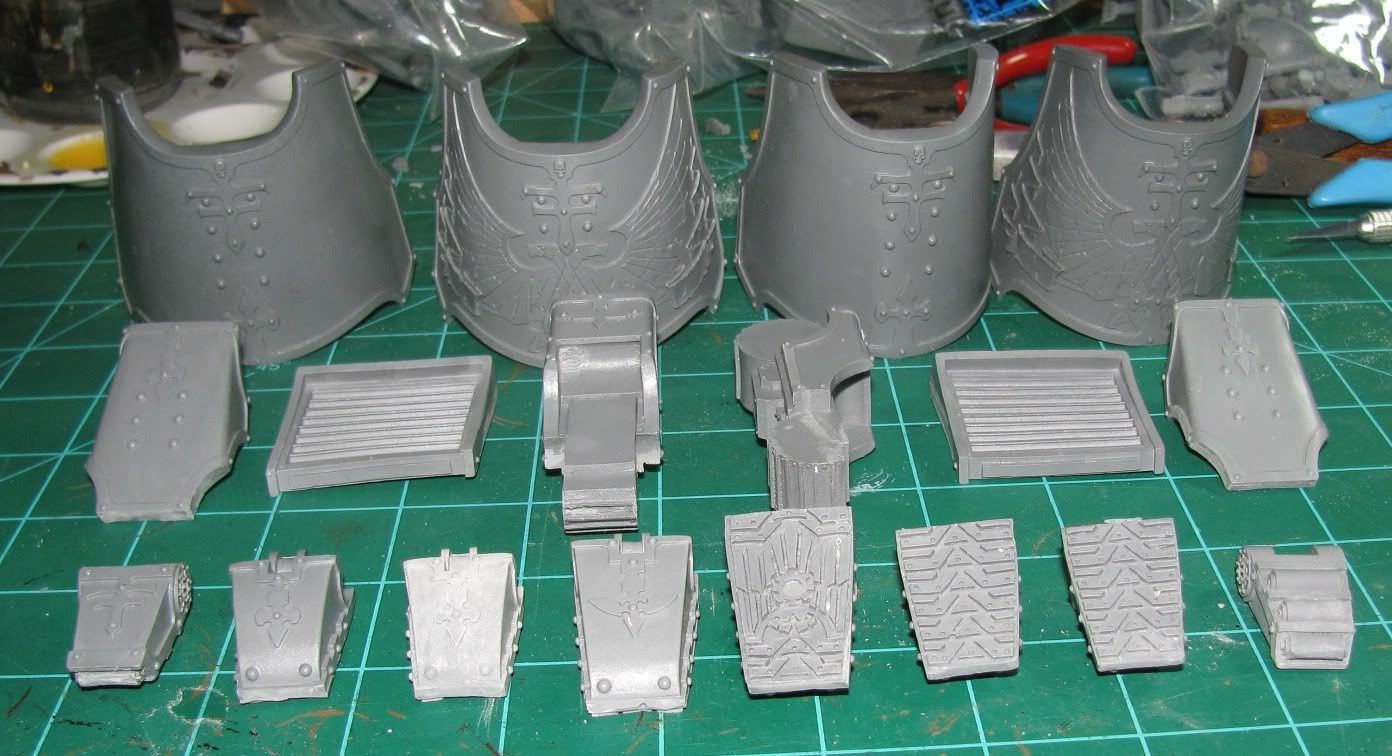
Yes the next bag of Warhounds parts through the wash & cutTM treatment is the last of the leg bits. This bag has the toes, thigh armor, mid-leg, cooling vents (not a leg bit, but yay for bits style ADD), and the large shin armor pieces.

These parts are also done quite well across both kits with very little needed in the way of trimming. Though that is not to say that some of these parts aren't full of mystery or in need of some work...

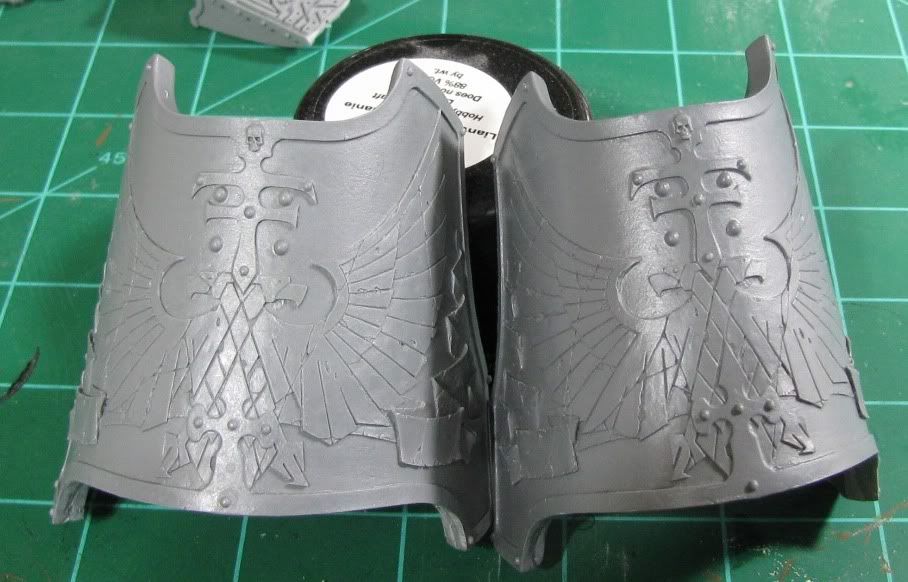
The shin armor in both Warhound sets includes two blank and two adorned with Imperial iconography, for a total of four per kit. When they pack these I believe they stack them... maybe even straight out of the mold? I believe this because in all cases one is wider and one is narrow. Enough so that one can fit inside the other.


This isn't too big a deal as I can easily reshape them using some very hot water. However, I'm not sure if the narrow one needs to be the size of the wide one, or if they need to meet in the middle? I'll figure it out when assembly starts.

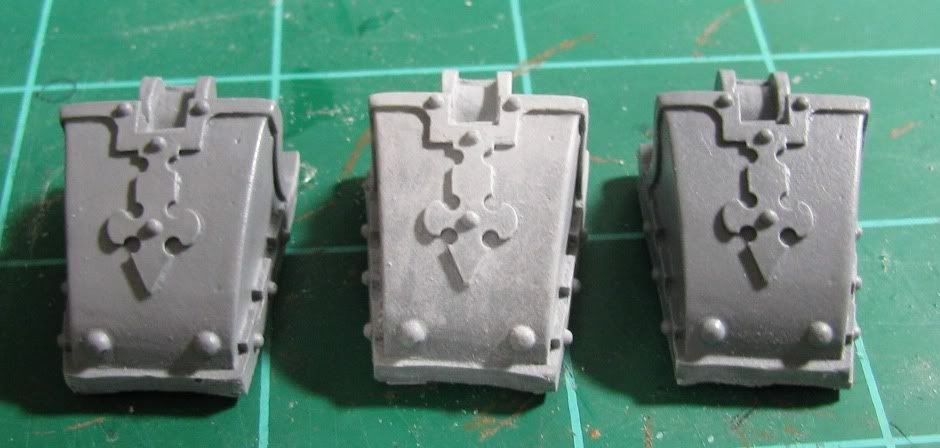
Another mystery has surfaced as well. Ironically it has surfaced on the surface of a part. After soaking in Simple Green, rinsing well, and allowed to dry I find one part that looks almost oxidized? Here is a shot of the strange toe with a more normal one on either side...


If you click for a larger pic you can see that it almost looks powdery, though it's not. This bit was treated identically to the other two in all respects so I have to assume it is something to do with manufacturing? I'll see how the part takes primer before I get too worried though.

Here is a shot of all the parts cleaned, trimmed, and laid out.


That wraps up this installment. Just three more bags of parts (per Warhound) to go, then we can start the fun stuff! Truthfully, it's five bags if you count weapons, but those will clean super fast and all at once.

Thanks for stopping by. If you like, you can leave a comment. If you know anything about resin parts turning albino I'd especially like to hear from you!

Wednesday, April 6, 2011

WHx2 Pt 2 (More Leggy Bits)

For the sake of time and simplicity, I'm only photographing one set of parts during cleaning. Unless of course there is a worthwhile reason to show both sets of parts.

The next bag o'bits is another bunch of leg parts. Well, primarily leg parts. There also some detail bits included, likely to cushion the heavy leg parts. These parts have been pretty easy to trim as there is not too much in the way of molding defects. This goes for both Warhounds.


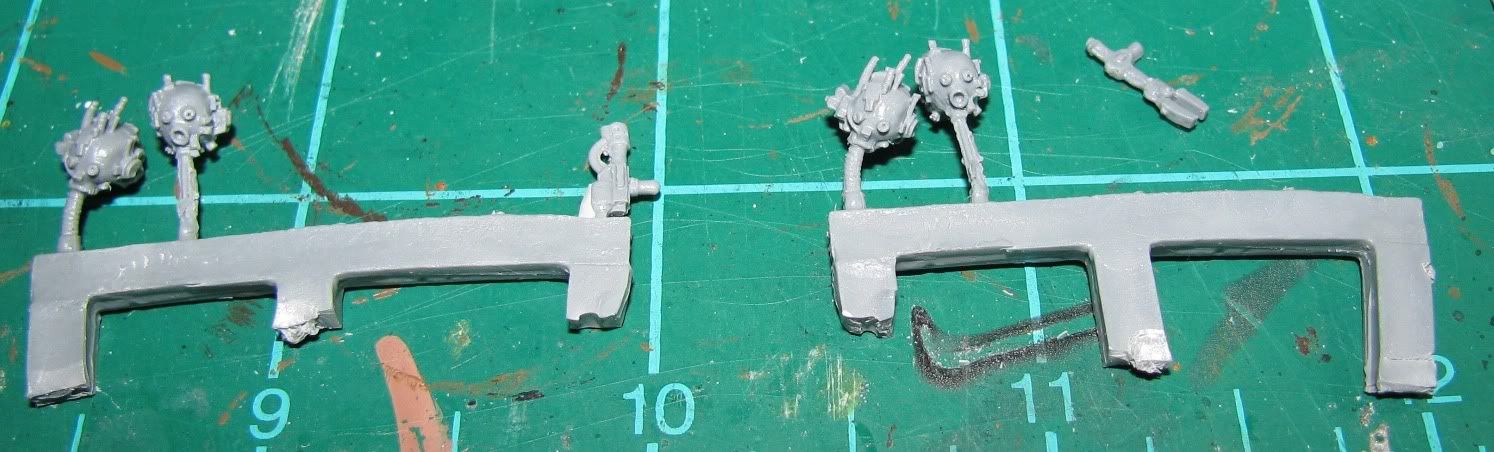
As you can see I've left some of the detail bits on the sprue. This keeps them together and also gives them a bit of survivability when being tossed around. Safety in numbers! The only bits I'm finding a bit fiddly are the servo skull bits...


They are super small, barely attached, and many of the parts are prone to wandering off! Honestly, they are likely to go in the bits box for a while anyway. Servo skulls are pretty far down on the priority list right now!

Not the most exciting update, I know. But we're taking baby steps here. Painfully slow ones, and for that I apologize. I've been a bit distracted lately. Besides having a completely awesome wife and two beautiful babies I've been gaming on the pc a bit... and if anyone needs help hacking their Epic 4G phone I'm now competent in that art too. I've even tried my hand at photo editing. But it's back to 40k now, back to resin, and back to blogging!

Thanks for stopping by and I welcome any and all comments.

Friday, March 4, 2011

WHx2 Pt 1 (saving the worst for first)

Welcome to Pt 1 of what will undoubtedly be an extremely many parted series. The project is to build two Mars Pattern Warhound titans simultaneously. I know what you're thinking, "what a great way to really slow down a cool project". I feel that if I build them at the same time they'll develop intertwined personalities as we go. Kind of deep and tree-hugger-ish I know, but trust me on this one.

The plan is to start at the bottom and work my way up. I have a goal to make the pose on one, or maybe both, extremely dynamic... like, how does that thing stand up, dynamic. We'll see if that is able to happen. I also plan to magnetize the weapons for interchange-abilty. I know a lot of folks have done that, but I have a plan that will allow me to still use the cabling that goes to the weapons. So let's get on with it!

The title of this post is Saving the worst for first, and for good reason.


(welcome to piston hell)


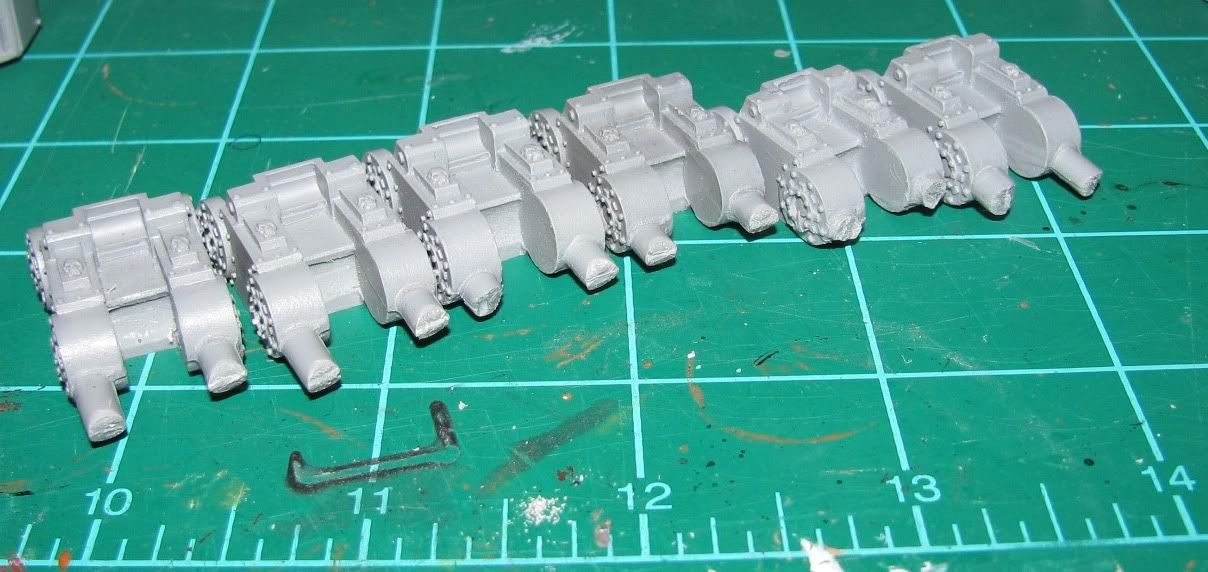
As I mentioned I'll be working from the bottom up. So that means two Warhounds worth of hip, leg, ankle, and toe pistons. Note: above you see only one Warhounds worth. In tedious matters such as cleaning and prepping parts I'll not make you look at pictures of two identical processes.

I'm happy to report that there is very little in the way of mold lines on all this mess. Sure, a little trimming, but not bad at all. Some pieces, like these toe bits shown below, needed nothing more than the resin channels trimmed off...


A quick shot of the feet themselves shows the kind of trimming that is needed there...


On to the washing we go. For cleaning resin I'm firmly in the Simple Green camp. I typically soak in it for a day or so then scrub with an old toothbrush and rinse well (the parts that is). In this case I've soaked all the pieces in a large cup. I would like to salvage my liquid for another batch of resin to soak in. I've found with small pieces (like hellish pistons) there is a common household item that can help me remove the pieces and keep the liquid...


A Strainer! I won't lie, I felt a lot smarter than I should have for thinking of this one. If you want to use one of these I suggest you a) use one your wife no longer uses, b)take it out of the kitchen while she isn't looking, and c) know if she reads your blog so you know whether 'a' or 'b' is your best option.

After much patience I've found that ForgeWorld was kind enough to place some extras of most of the piston types in the bag. Or else even they get so sick of them that they just throw a bunch in. Here they are all trimmed and laid out in their piston-y goodness...


(one Warhounds worth)


I already have the next bags of parts going through the cleaning process and hope to have all the leg parts cleaned and trimmed in the next week or so. I'll post as I get each bag of parts (x2) ready to go.

Thanks for visiting! Comments are welcome, as always. See you next time!

Thursday, February 24, 2011

Proposition, Name Calling, and a Peak into the Future

Two posts in one week! You lucky readers!

First off, I'm looking for a date. Don't worry, my wife knows. I have seats for Inner Geek plus one reserved for the theatrical showing of the Ultramarines Movie on Saturday February 26th in Denton, TX @ 11:00am. If anyone in the greater North Texas area would like to go, I'm only using one of my two seats. Email me, there is email info in the left sidebar. On a side note, the movie is at a studio movie grill, so if it's as bad as the folks on the interwebz say, we can drink beer till it doesn't matter. (beer is assumed to be available and will not be provided by The Inner Geek)

Nextly, I'd like to start off a sentence with a made up word. Done.

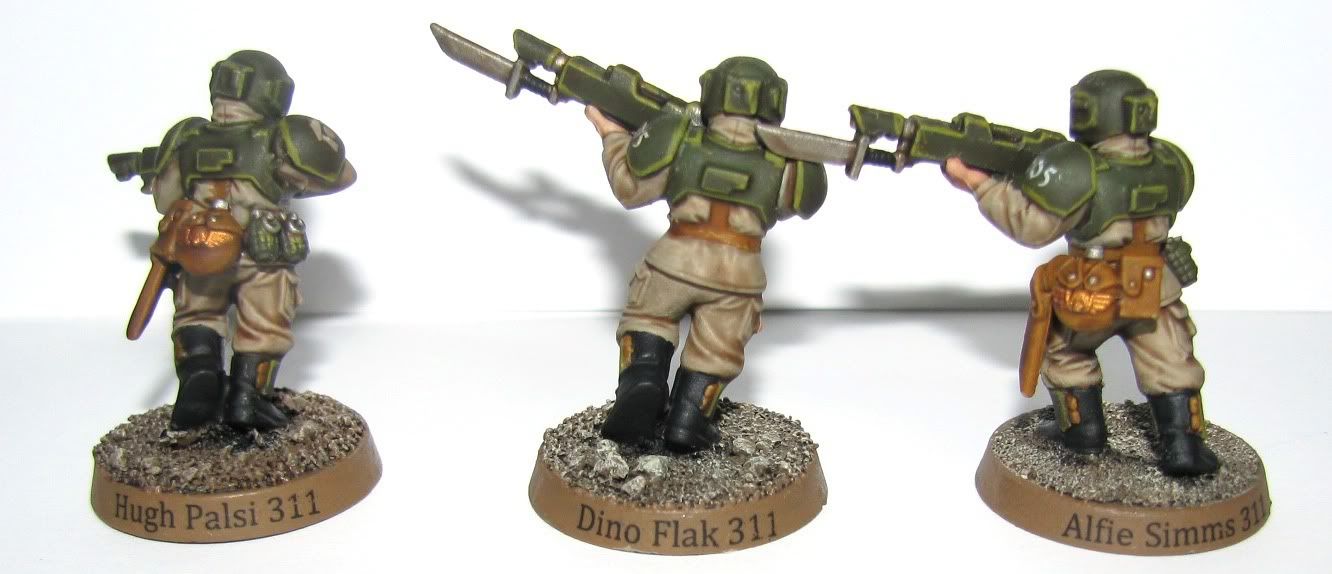
If you read my previous post and the ensuing comments, you will have noticed that there was some discussion on naming/designating miniatures. If not, you can go read it now, or just hang tight as we move forward. The gist of it is that I'd like to name my minis to add some personality to each one. I got the idea of marking their bases from my pal across the pond, Admiral Drax. I've printed out some homemade decals and given it a go. Here are some troops from the Cadian 5th regiment, 3rd company, 1st platoon, 1st squad.


I've learned that Testors decal paper works in a Brother laser printer (black only anyway) and that the decals suck. When trying to remove them from the paper and add to mini the decals curl back and stick to themselves like the most infuriating sort of sticky tape you can imagine. For the record, 8pt font fits about right on a standard base. The curvature of the base is a bit of a pain, but not too bad to if you use a decal solvent like MicroSol.

Anyone interested in being immortalized as a lowly guardsman is welcome to email me their name and I'll be happy to get you inducted. It's that many less random names I have to come up with. I'm trying not to get to the point of resorting to names like 'Jack Handy' and 'Phil MacKrevice'.

So what's coming up on on the blog? Of course now that I'm making some progress on my IG, my attention span is starting to wane. I'm not stopping them, but I am going to keep another project going so I can switch back and fourth in hopes of avoiding burn out on either. So what will it be? Here's a clue...


It should make for some exciting times as I'm really wanting to push the proverbial envelope on dynamic posing.

Thanks for stopping by. As always comments, critiques, and giggling are all welcome in the comments. Oh, and I'm serious about that Ultramarines Movie. If anyone in the North Texas area wants to go, email me. All the reservations are filled so I intend to get there early to get my seat(s).

Wednesday, January 27, 2010

WHx2 (What's on my porch?)

Quick break from the Marauder... I know, we just got started, but this is important stuff!

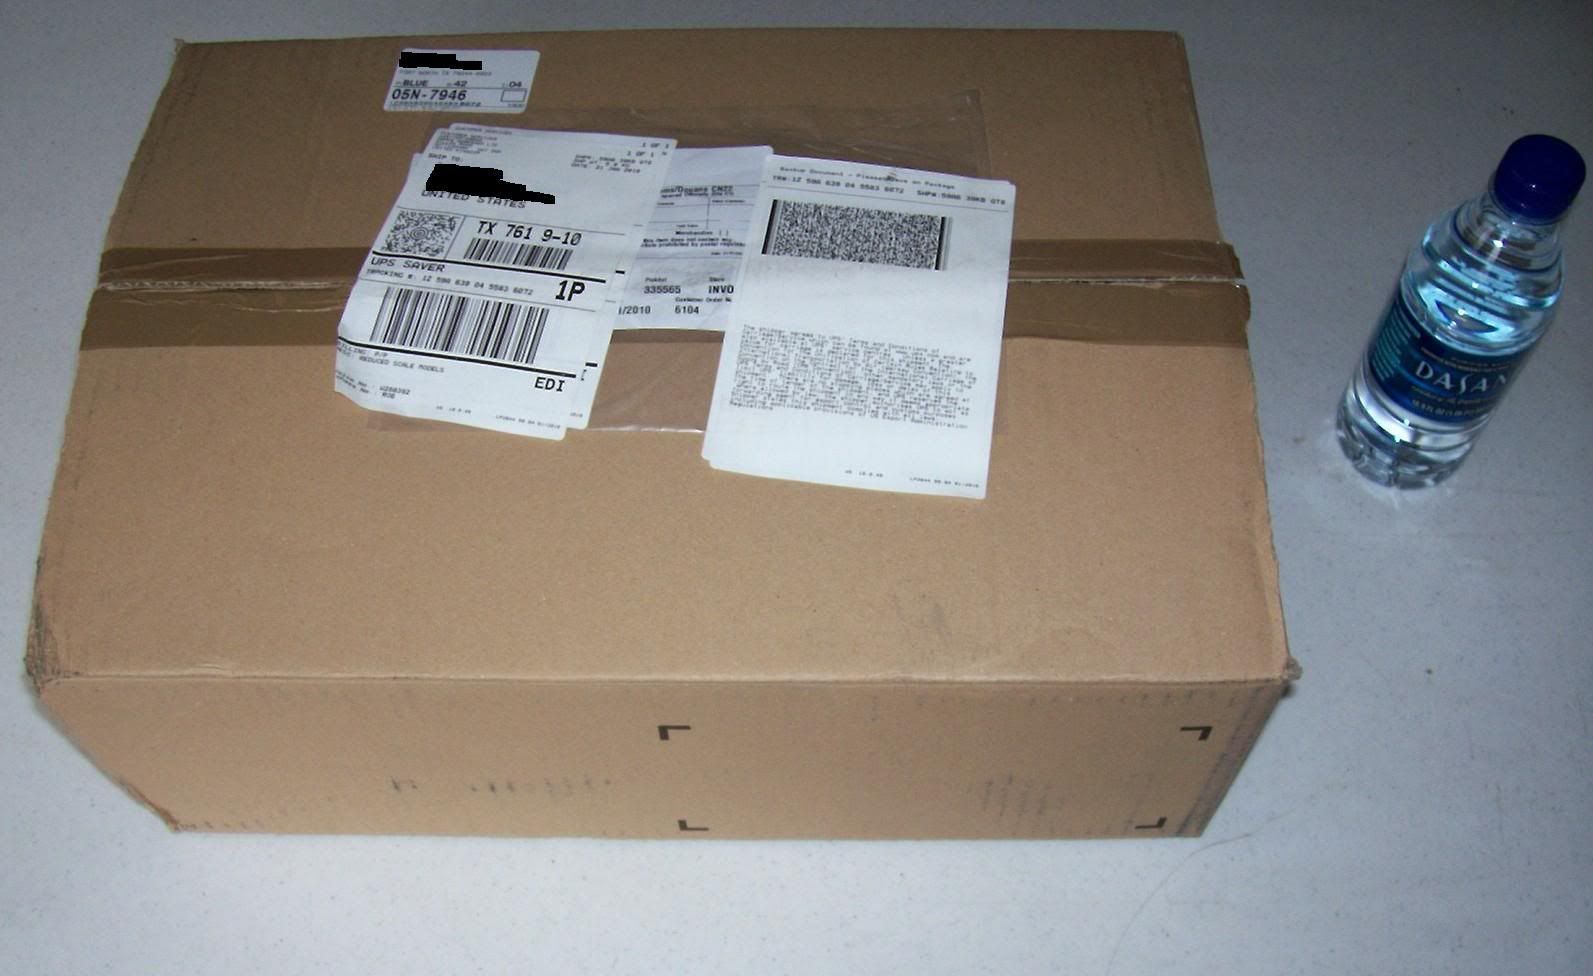
The parcel delivery person rang my bell and left a box on my porch...


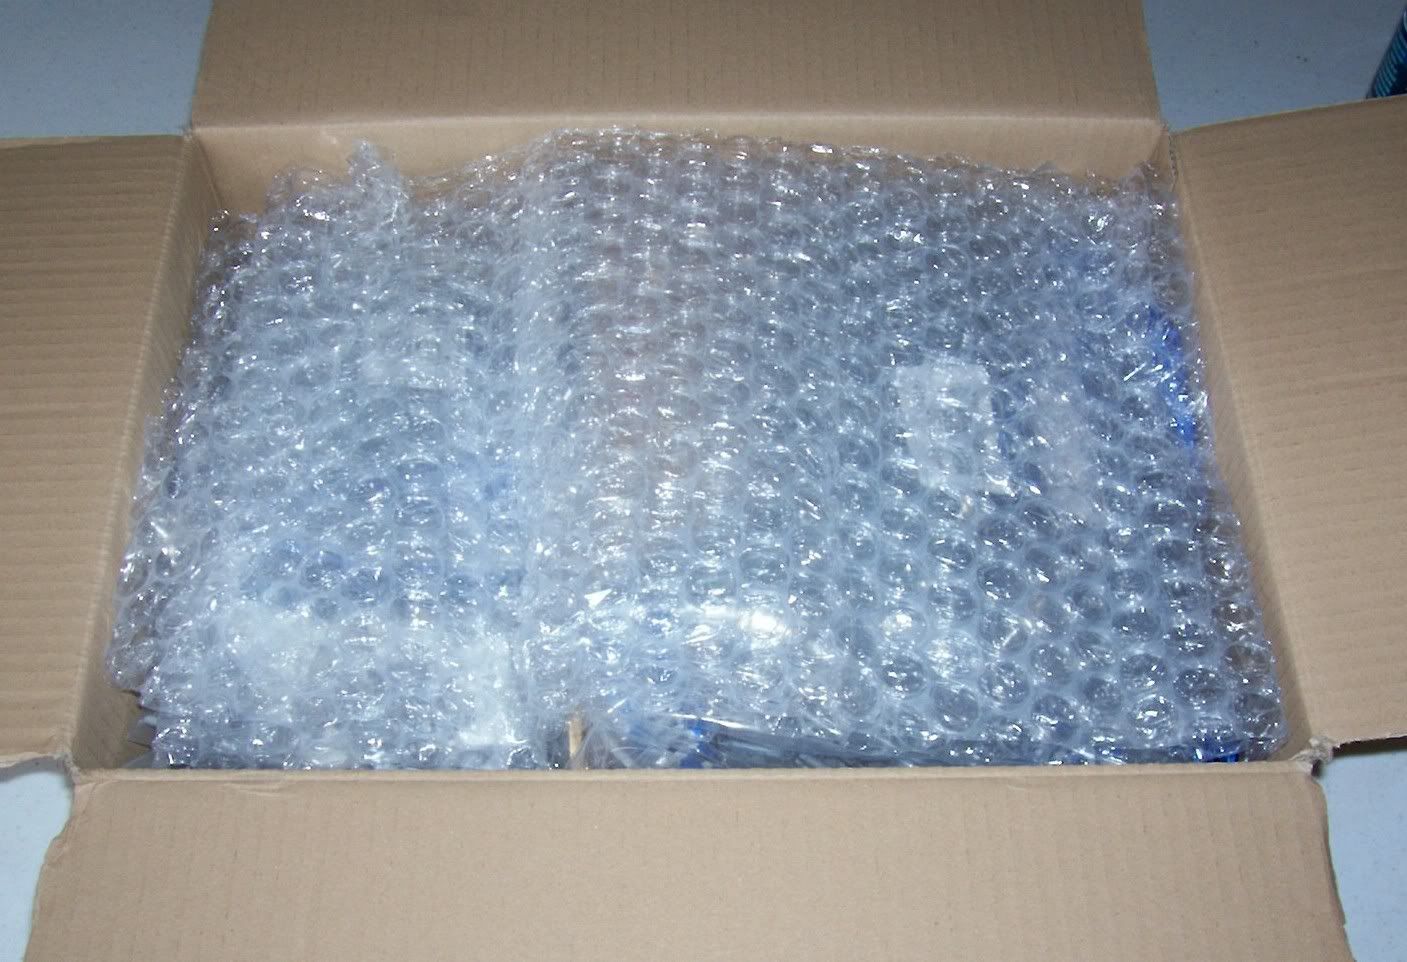
Well, the insides looked packed nicely. (Spoiler: I won't be able to get it packed that nicely when I'm done rummaging thought it.)


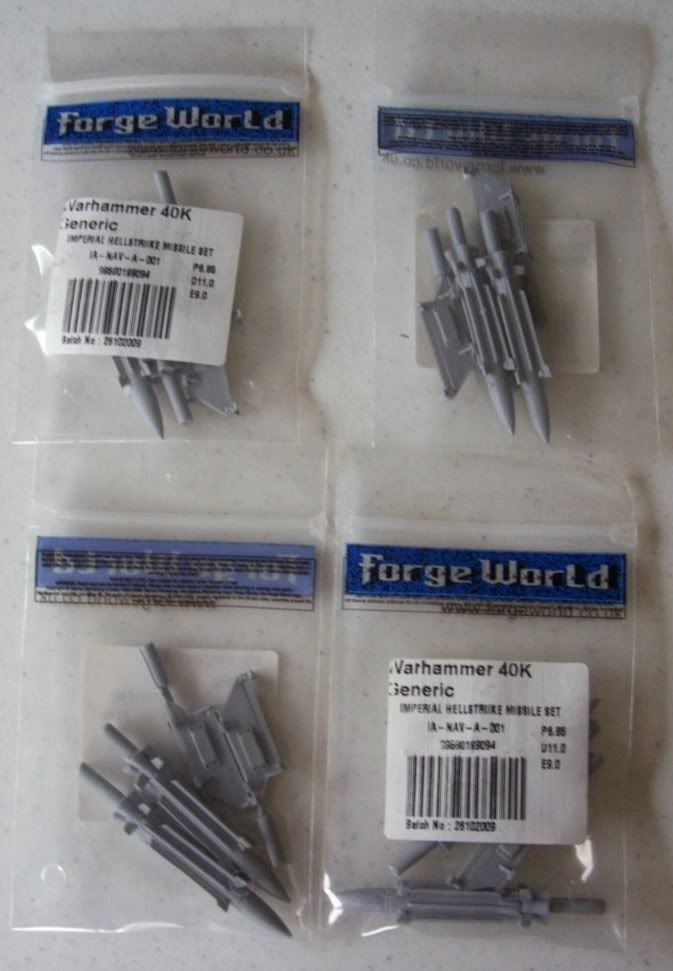
Not a bad start, we have the eight Hellstrike missiles I'll need soon for the Marauder Destroyer!


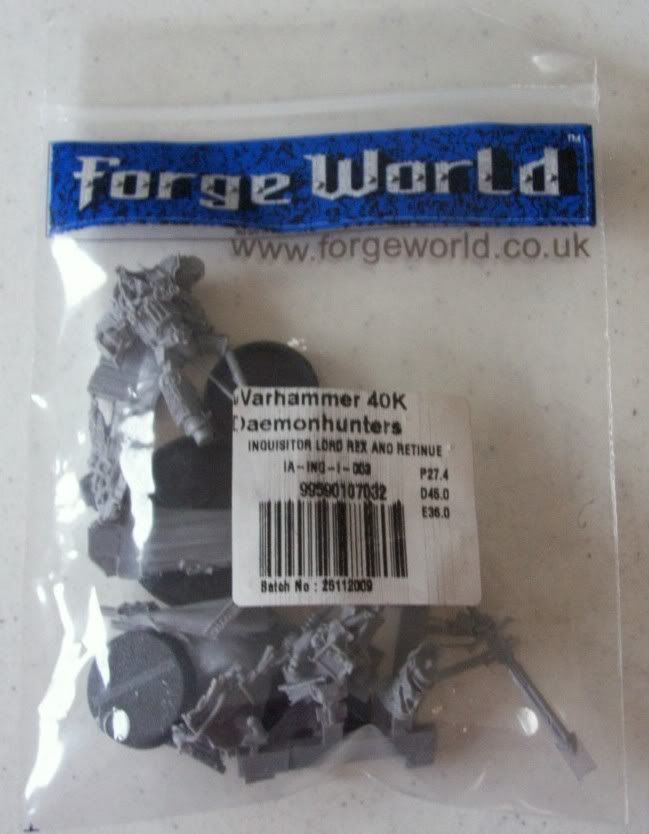
Next I find an Inquisitor Rex and retinue set. He's super cool looking and maybe will inspire me to dig out and repaint some Daemon Hunter stuff!


But wait, there's something hiding beneath all this (really it's not that hard to see, but I'm going for drama here)!


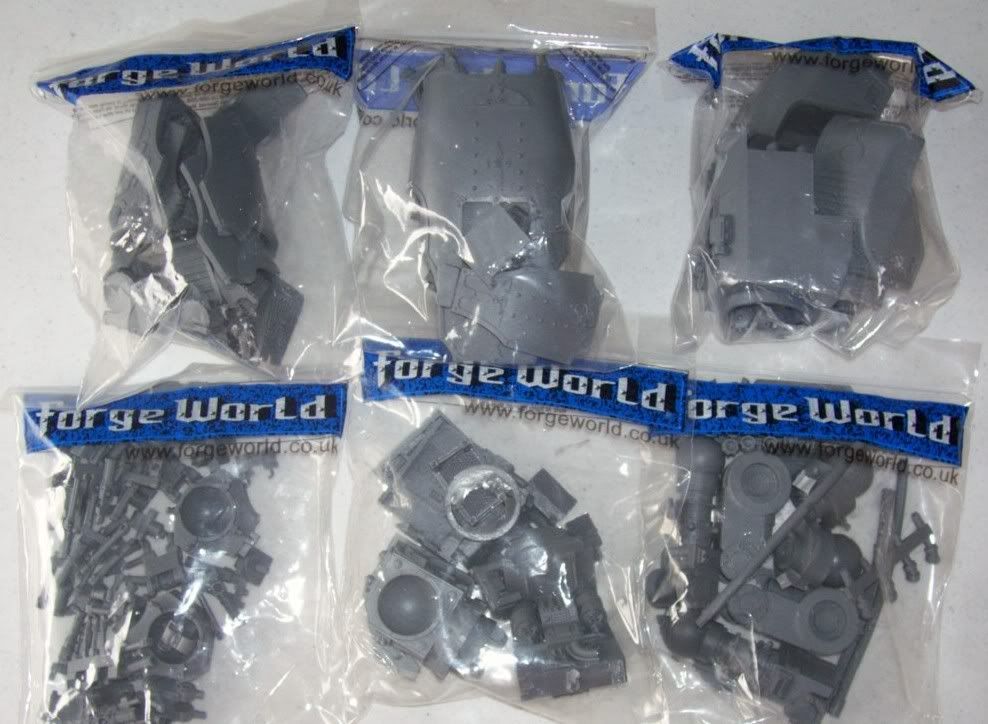
Yep, two Mars Pattern Warhound bodies! Here is a shot of the bits within their protective bags.


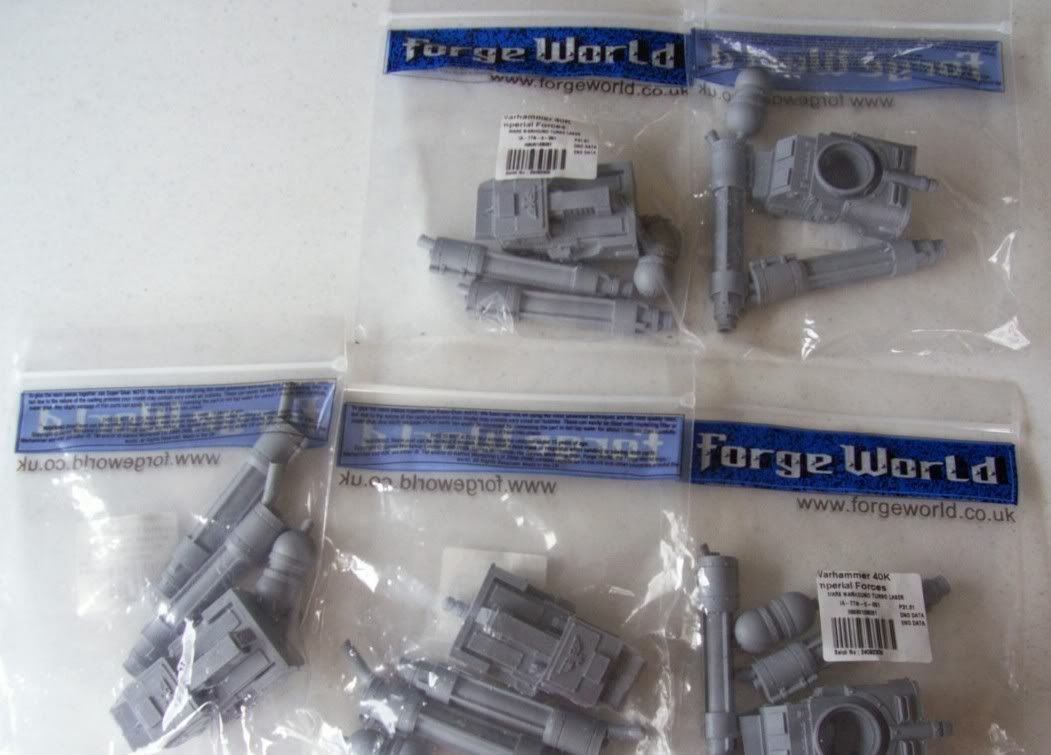
And for weapons? Eventually there will be a variety that are interchangeable via magnets, but for now, five Turbo Lasers...


I know, five is too many for two Warhounds. I plan to modify one to go on the carapace mount of my Reaver Titan.

I'm happy to say that after going through each bag of parts, the quality is amazing. Nothing like the problems I had with the Marauder Destroyer upon arrival. All parts are cast well with minimal air bubbles. Some minor, but expected, warpage that will easily be straightened out during assembly. I'm sure tiny flaws may come to light during wash when I handle each piece more extensively. But as of now, I was only able to find one tiny fault as shown below.


Not bad for two large kits worth of parts! The tiny ball joint has been mended using my nemesis, Super Glue. Overall, I'm extremely pleased with the kits. That and the super fast shipping. It was maybe three days in process and post to Texas, USA.

I'm excited to start on these Warhounds, but I'm not going to rush the Marauder to get to them. Well... maybe a little. I'm thinking they will be a simultaneous build, but honestly once I get started that idea may change. Of course, at some point down the road I'll be pestering Ron over at ++ From the Warp ++ to work me up some of his amazing banners like the banners for my Reaver Titan he did.

I'm always looking for ideas and input from you folks out there in internet-land so feel free to drop me a comment.

Related Posts with Thumbnails