Monday, March 30, 2009

Reaver Titan Pt 14 (Dry fit)

A quick up date on the Reaver progress...

I've pinned the carapace weapons as well as the mount that the weapons sit on. The pin in the weapon mount which goes down into the carapace helps to prevent the weapons from making the weapon mount lean forward. The weapon pins allow the weapons to be swapped out, of course. Here are some pictures of the Reaver dry fitted with each carapace weapon on. Please excuse the messy work area, it looks like a titan has walked through it.

The Apoc Launcher.

The Vulcan Mega Bolter.

And, the Plasma Blast Gun.


Aside from writing this blog today, I'm also working on finishing up priming the larger pieces. The armor is getting a good coat of primer then the insides will be airbrushed with Boltgun Betal then Devlan Mud. I'm hoping to at least get the leg armor mounted this week. Plans on how I want to paint the armor are gelling and that might even come out later this week too.

Comments are welcome as always. Extra points for commenting in Iambic Pentameter. This may be your time to shine Drax!

Thursday, March 26, 2009

Reaver Titan Pt 13 (Be sure and Wash from the waste down)

Another short update on the Reaver.

I've tried something new, and the results are better than I would have ever expected. After getting the base colors of the legs painted on, I decided I'd just wash the whole mechanical structure in Devlan Mud wash. Not wanting this to take forever I decided to shoot it through my airbrush. Wow. It acts like a wash in some areas, and like a transparent color layer in others. The crazy thing is, it seems to know which to do in which area. Now, I did use about half a bottle on just the legs, but if you invest in a model this big, the extra couple bucks for wash is worth it. It did an unbelievable job of giving the mechanical bits a grimy almost oily look in places. Here are the pics. I think it looks good in the pics, but I promise it looks even better in person.


Hope you enjoyed the pics. I'm going to try to do shorter posts more frequently, otherwise I feel like I'm forever getting a blog post put together. But, we'll see. Also, if you look carefully you can see a bit of blue comforter in the background of the pics. If any of my blogosphere friends are ever in North Texas and need a bed for the night, that's the comforter you'll get. I know Drax likes to sneak shots of Mrs Drax into his blogs, but all you folks get is a shot of a blue comforter.

Take care and enjoy yourself. And if you can't enjoy yourself, enjoy someone else. Comments and critiques are always welcome. No need to comment in limerick form, it's late in the week.

Monday, March 23, 2009

Reaver Titan Pt 12 (Quick update and cracks)

This is just a short post to show that I have been working. Granted, if I wanted to show you all the work I've accomplished this past week, you'd be suffering through pics of a half bath that's been repainted, had the pedestal sink replaced with a vanity & new faucet, new light fixture added, and another room partially primed for painting. But, between honey-do's I've got a bit of painting and work done on the Reaver too!

Probably the biggest step forward I took this week was to simply make a decision. I've decided that scouring the internet and finding pictures of Reaver Titans and how they've been painted, then trying to match those colors is an impossible task. The armored parts I know how I want. The mechanical parts have been the problem. So, I've decided that the mechanical bits will be the color I paint them. Period.

I did some painting on the Head/Cockpit and the interior walls of the Titan. I apologize for not showing the interior walls, but they refused to photograph well this evening so I'll save them for another more daylit sort of time. Here is a peek at the head...


I've also been putting thoughts into where the Titan will stand. I've decided, for now, to go with a base on each foot. The beast balances fairly well, I just want to avoid putting pressure on the toes or legs. If balance does become an issue, I'll mount the two smaller bases on a large base I already have made. That said, it occurred to me that a Reaver Titan should be a heavy sort of thing. Since I'm modeling a base for each foot I decided to use plastic card and cut it up to simulate the ground cracking beneath the Titans feet. I also plan to use carefully placed texture around the toes to give the appearance that debris has flown out around the foot. Not too much, just enough. Here are the bases sans feet...


As you may notice, they are not identical. I got better at this from one to the next. However, with the feet on them, it makes little difference...


Sorry it's only three pics this week. I hope to get the carapace mounted weapons pinned in the next week. With that done, I should be able to dry fit the entire Titan together for a look.

As always, thanks for stopping by and having a look. Drop me a comment and tell me what you think. You can make it rhyme if you like, but it's not required... I have a dollar that says Master Darksol will opt in for the rhyme.

Monday, March 16, 2009

Product Review: Miniature Scenery Paint Racks

I have been eyeballing the products over at Miniature Scenery for a while now. Since I'm getting my work space organized, I thought I'd go ahead and pull the trigger. And, since I planned to do a review here on the blog, I decided to get the Master Workstation Combo... to provide the best information to my readers of course!

First off, the purchase itself. The company's website has a lot of information to try and explain their international shipping. They even have charts and graphs that would make a mathematics major blush. However, the gist of it is, the price they charge for international orders is higher than for Australian orders but the shipping is subsidized into the price. There is also weight and method of shipment to take into account. I'd say, if you're interested, drop some stuff in their online basket and see what you get with shipping. For this purchase, the fastest shipping was actually the cheapest and because of the subsidy ended up crediting me about $4 off the price. With the purchase out of the way, let's continue to customer service and shipping time. I purposefully emailed the orders department and inquired when my purchase might ship. Within 12 hours I had a response explaining that Monday was a holiday in Oz and there would be no post, but that it would ship out Tuesday. I was promptly sent a shipped notice when the items were in the post which included a tracking number (note: not all shipping methods include tracking). Friday early afternoon, and my product had arrived here in Texas. Not a bad three days to make it from Australia to Texas!

The products arrived in a smaller box than I had envisioned, but all was accounted for and packed neatly within.

Each 'module' of the paints and tool racks is individually packaged.


The modules are, of course, supplied in kit form on sheets of 3mm thick MDF approximately A4 in size.


Assembly is not too complicated, nothing an experienced gamer/modeler can't handle. The instructions are simple but to the point. It's not rocket science and it doesn't pretend to be. The only thing I would caution is to make sure you know exactly what you are cutting out. Sometimes scrap can look like a part and vice versa. I thankfully had no flubbs, but I did very carefully cut and trim a couple pieces of scrap thinking it looked like something important. Cutting is easy to do with clippers. The pieces of "sprue" need to be trimmed off the parts after they are removed form the frames. This can be done with a hobby knife, files, or as I found out, a belt sander! What a time saver that was. Once the pieces are cut out, you can assemble them using whatever glue you prefer for wood work. I personally use a fast setting wood glue I found at my local DIY store. It sets reasonably fast and is stronger than wood when it's cured. I'm not going to go into the assembly of the modules as I believe that anyone who has even beginner level experience with model building will be able to accomplish this.

The finished product is sturdy. Much more sturdy than you would believe when you hold one of the parts sheets. Everything fit together perfectly and not once did I have to pry, bend, or trim any part to go where it was meant to. Here are some shots of the finished product.

Some corner paint modules details...

The straight paint racks...

The corner tool modules...

And a shot of one of the parts holder modules. Note the opening drawer and removable dividers...


Overall I'm very satisfied with this product and the company that provided it. The customer service was excellent. The product lives up to all the manufacturers hype. The modular design means you can place each piece where ever you feel comfortable. All eight pieces are completely interchangeable (the corners in my layout are actually two pieces each). I don't think the price is cheap, but I do believe it is fair for what you get. It's definitely more of a convenience than a necessity, but I'd say if you have some tax return money or birthday cash laying around... or if you just want to get your hobby more organized, go for it!

Wednesday, March 11, 2009

Reaver Titan Pt 11.5 (Carapace Weapon update)

Just a quick update on the Carapace Weapons project progress.

I've been working on getting the weapons introduced in the last post to look less like arm weapons and more like carapace weapons. The armor on the weapons was meant to look good on a Warhounds arms and thus was asymmetrical. I've been playing with plastic card, green stuff, and even Squadron Green Putty over the last couple days. The results won't win any beauty contests, but I think they'll look good with some strategic paint application. I even tried out the Rivet technique as featured on the Exponent Wargames site.

The photos will be presented all at once. The first two are the Vulcan Mega Bolter, Forgeworld armor side first then mine. The second two are the Plasma Blast Gun, again, original sculpted armor first, then my approximation. The last photo is a view of both weapons from the top. Enjoy!


Keep in mind I'm not a champion sculptor or scratch builder... yet. These skills need to be developed though... just in case... you know in case I have to start work on an Emperor Titan after this is finished. Oh come on! The Cyborg Trucker is doing it, I wanna be cool too!

Any comments, questions, or hideous laughter are welcome as always!

Sunday, March 8, 2009

Reaver Titan Pt 11 (What's on your back?)

Finally, back to the Reaver!

Warning, the camera is not my friend today. I'm completely out of practice and the pictures in this blog show it. I apologize up front.

The internet, being the glorious place it is, affords us a chance to meet a lot of people in exotic far away lands. One such person made me a rather unique offer a while back. This person was in a position to send me a couple of Warhound Titan weapons that were miscast. Now, the hows, whys, and WTFs I'm perfectly fine not knowing. The ends, in this case, justify my means.

This gives me the chance to do a little converting and add the possibility of variety on the Reavers Carapace mounted weapon. Except for the Apocalypse Launcher all the weapons available for a Reavers carapace are Warhound class weapons. So, I was more than a little excited when I got these in the mail a while back...


These will take a bit of cleaning up, and a good deal of conversion to look the way I would like. First off, the bottoms will have to have a bit of roundness added to them to mount to the part that rides in the carapace and allows the weapon to rotate. You can see the bottoms here, and the rounded area on the Apoc Launcher that the two new weapons are lacking...


So, with this in mind, I went to my local DIY store and found a piece of PVC pipe. To my joy, I found that you can even buy it in two foot sections which is great as I don't need ten feet of the stuff. The curve matches that of the rounded part of the bottom of the Apoc Launcher perfectly!


After a few minutes in the garage with two of my favorite tools, I had small pieces of rounded PVC pipe ready to attach to the new weapons. I really do love the Band Saw and the Disk/Belt Sander...


With the PVC bits ready to be added, I had to make sure that the weapons were ready for this step. The Plasma Blast gun has two small hoses that are right in the way of where the curved bit is going. As shown below...


A careful trim and I not only get the hoses out of my way, but have a couple of bits that can be used elsewhere sometime!


Two part epoxy is my weapon of choice for gluing large pieces. I'm a huge fan of JB Quick, but I found something new on the shelves at my DIY store. Loctite Weld. It claims right on the package to be a better bond than JB Weld (JB Quick's stronger slower big brother), so I decided to give it a go. So far so good, but I'll save a full review for another post...


Last I have a series of shots with the carapace propped up and each weapon mounted. Ignore the piece of cardboard holding the weapons up in the front, it's just for staging the mock up...

Standard Apoc Launcher

Vulcan Mega Blaster

Plasma Blast Gun


The weapons will take a good deal of work to make them look right, as I mentioned above. You can see from the pictures that the place where the Warhounds arm attached is a large socket joint. It is my intention to cover this and rebuild the armor plating to be more symmetrical. I also will try to extend the armor plating down to cover up part of the curved PVC that I added to each weapon the way the armor on the Apoc Launcher does. Some plasticard, putty, and bit of patience and I think I can do it.

Look for an update later this week in which I will have (hopefully) made some progress on the carapace weapon swap project. Please feel free to leave some feedback. Questions and comments are always appreciated!

Tuesday, March 3, 2009

The Work Space

Just a quick post to share the workspace I'm working on. Since moving into a larger house with more bedrooms, I've somehow lost the dedicated office/geek cave I had before. So, now I'm getting organized and will try to squeeze the same amount of geekdom into a smaller space. I'll be sharing the geek cave with the guest bedroom. This would be ideal if I only ever had guests who were into GW hobbies. But, I pretty much never have those sorts of guest. In fact, I really never have guests. Does anyone want to come see me? Anyway, as pictured below, I have acquired a desk that should allow plenty of room for computer related mischief and still have a large work area for the hobby fun.


The item on the work area is a tray I've made to work on. It's MDF board with 1x2" wood for the frame. I put felt on the bottom of it to prevent scratches on the desk. The cutting mat is a standard 18x24" one that can be found at your local neighborhood hobby store. I can considered gluing it down, but decided it would be better left unglued, as then I can replace it when wear and tear take a toll. Here's a couple of close ups.


That's it for now. I'm off to start unpacking the Reaver. Titan update in a day or two! Take care and thanks for stopping by.


Monday, March 2, 2009

Because A Hive Mind is a terrible thing to waste...

Some news to follow at the bottom.

So, I was thinking. A dangerous pass time, I know. And the following occurred to me in no particular order...

On a backwater planet near the Eastern Fringe of the galaxy in the 38th millennium Tech Priests found a completely intact STC. When it was discovered that this STC would produce a previously unheard of Universal Translator, there was much excitement and waving of mechadendrites. This discovery came none too soon as reports had begun to come in of a Tyranid Hive Fleet approaching the system. Requests for assistance were issued, but there would be no one close enough to dispatch help in time. So, the Adepts of Mars took the most logical approach. They commenced work on the translator in hopes that it might finally allow communication with the completely alien Tyranids. Maybe they could be put off the idea of completely destroying this peaceful little rock if only reasoned with?

Six hundred years previously a world beyond Imperial control is being systematically destroyed. This world is so far out there that if a well traveled Rogue Trader were to come across it, he'd say, "Wow, this is really way out there". The world was only inhabited by one sentient being type, humans. Upon processing all the DNA and studying it, the Hive Mind picked up on an interesting tidbit of genetic information. There was a single species of insect on this planet that the humans were genetically predisposed to find, "cute". The Tyranids adapted this insects DNA in hopes of disguising itself as something less obviously dangerous in an effort to sustain less damage in future conflicts with this species that called itself 'human'. Thus was born, "Hive Fleet Ladybug"!

Flash forward six hundred years. The planet is under attack and the disciples of the machine god are working feverishly to finish the translator. Guardsmen are outside dying by the tens of thousands. For some reason the Tyranids are able to close to within just a few meters before men start firing their las rifles. The priests continue to work even as there is a thunderous pounding on the very walls of their sanctum. They finish the translator only seconds before a Carnifex, grown for siege work, busts through the rockcrete walls. As it lets out a mighty roar, the Universal Translator repeats its message in a loud monotone voice, "I'M CUTE!!!". And for a split second, the Tech Priests believe it...

The Ordo Xenos was able to acquire all the transmissions received from the planet before it was overrun. They have made some startling discoveries. Apparently, the Hive Fleet Ladybug Tyranids have combined an appearance that humans instinctively find harmless and cute with a strong psychic suggestion to believe this is true. The effect is that many of the defenders of the planet simply didn't think to fire their weapons till the true horror of what was happening was strong enough to deny the psychic manipulation. Thus far the Inquisition is at a loss as to how to combat this new weapon. But, it has been suggested that commanders in the field no allow their soldiers to look at the enemy during an attack.


Now, if I was some sort of GW guy, or even a White Dwarf lackey, I'd probably try to come up with some rules for this Hive Fleet and publish them. But I'm not, so my super awesome Hive Fleet Ladybug rules will never be seen...except by you! Besides the genuine psychological edge it could give you to field an army painted like giant mutant ladybugs, I'd suggest the following rules; For a few extra points per model, all brood size Tyranids could get the 'Harmless Appearance' special rule. Larger size creatures would have to pay significantly more, possibly 100 points per model or unit. The 'Harmless Appearance' rule would basically only allow HQ units, psykers, or units with one of the above attached to it to fire on turn one. All other units are completely taken in by the color scheme and psychic suggestion being broadcast. Units with no psyker or HQ unit to lead them would have to roll a 6 on a D6 to fire on turn one. On turn two they may fire on anything but a 1 on a D6 (some folks just don't get it).

Just the mad ramblings of a crazed (hive) mind.


On to the news!

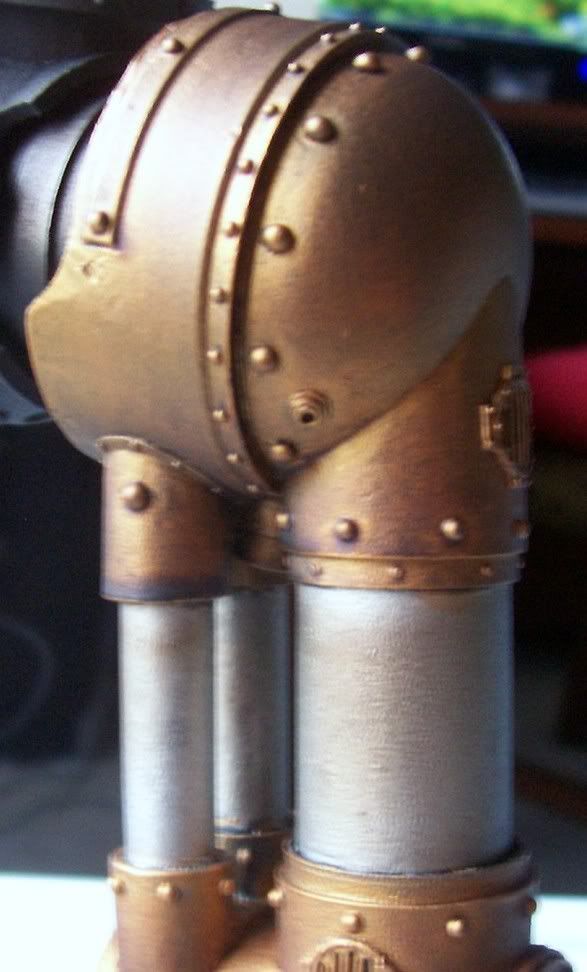
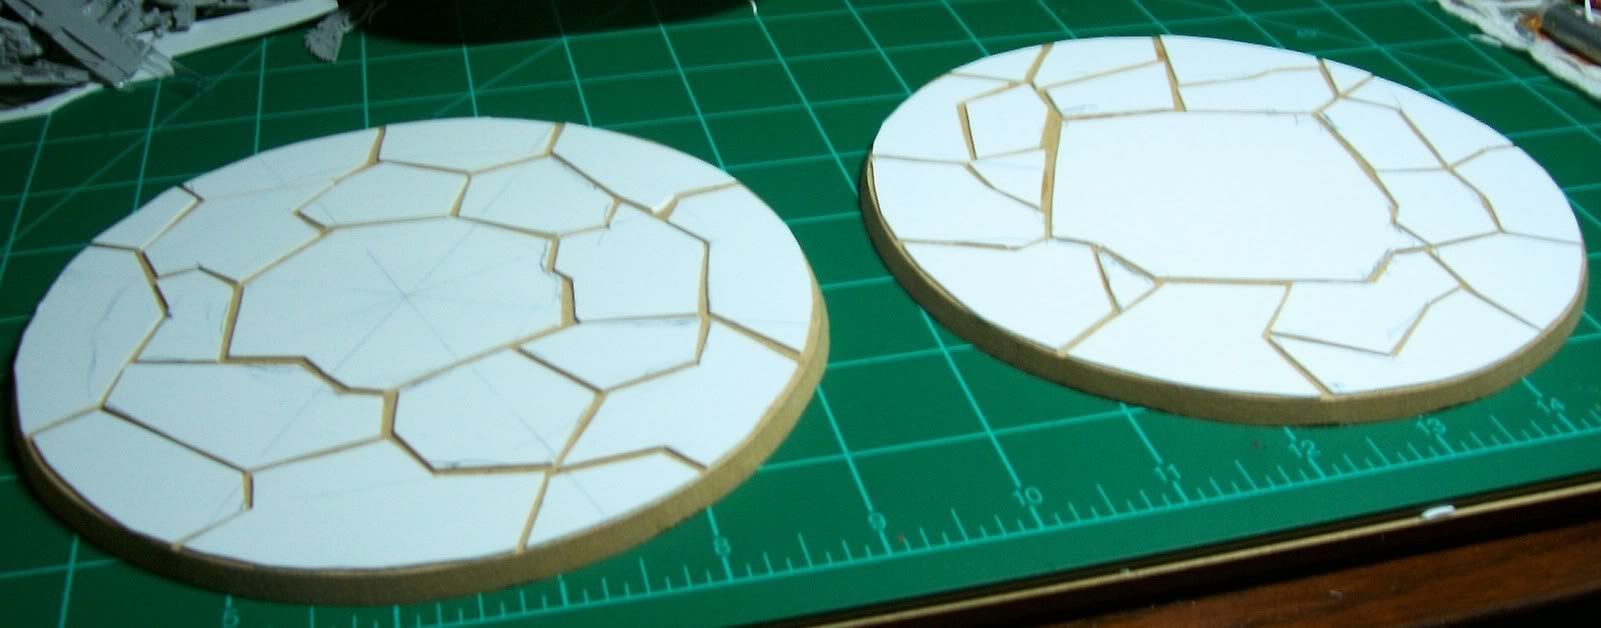
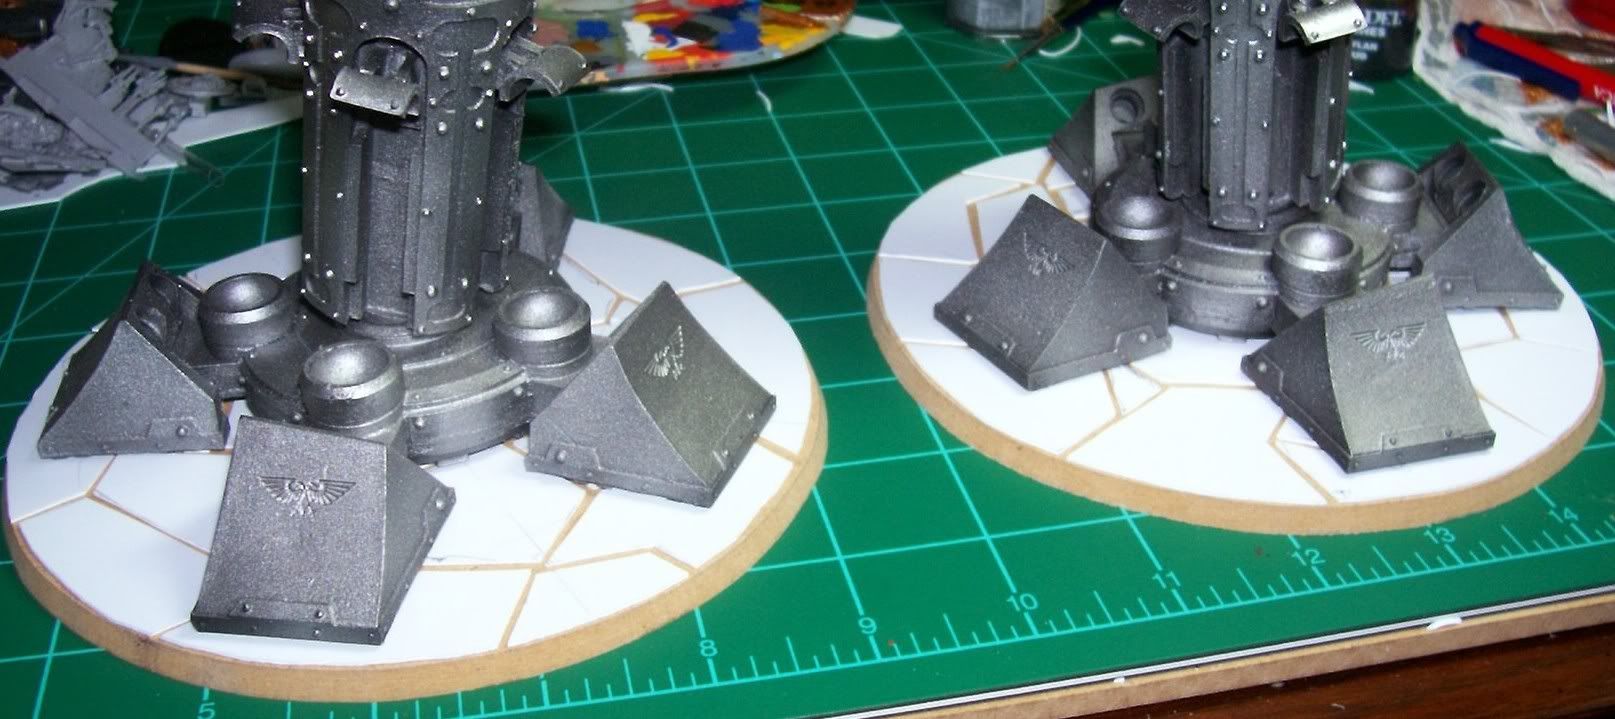
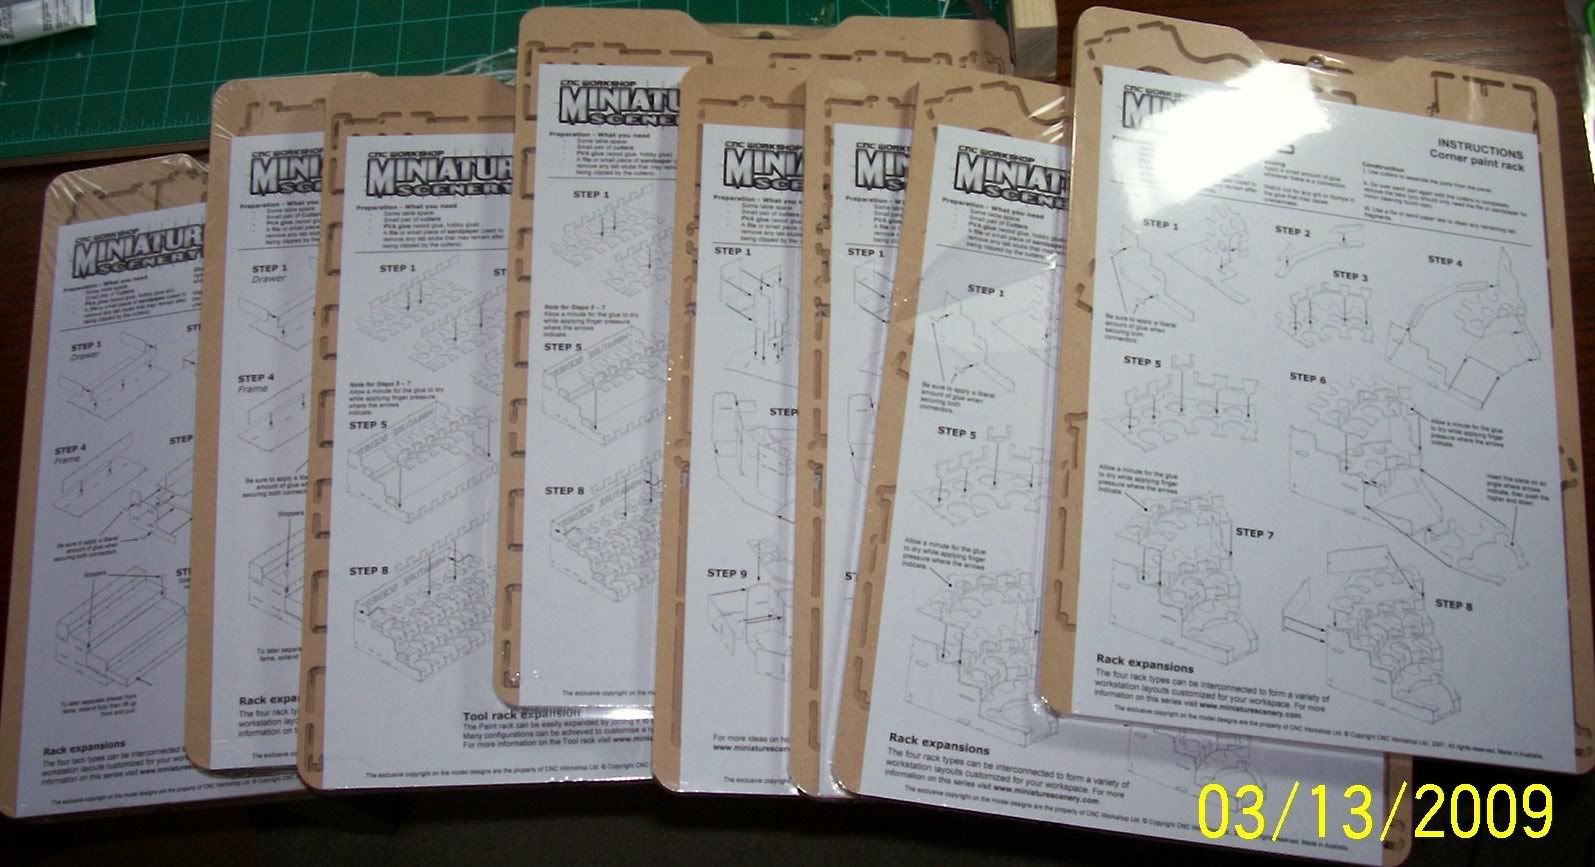
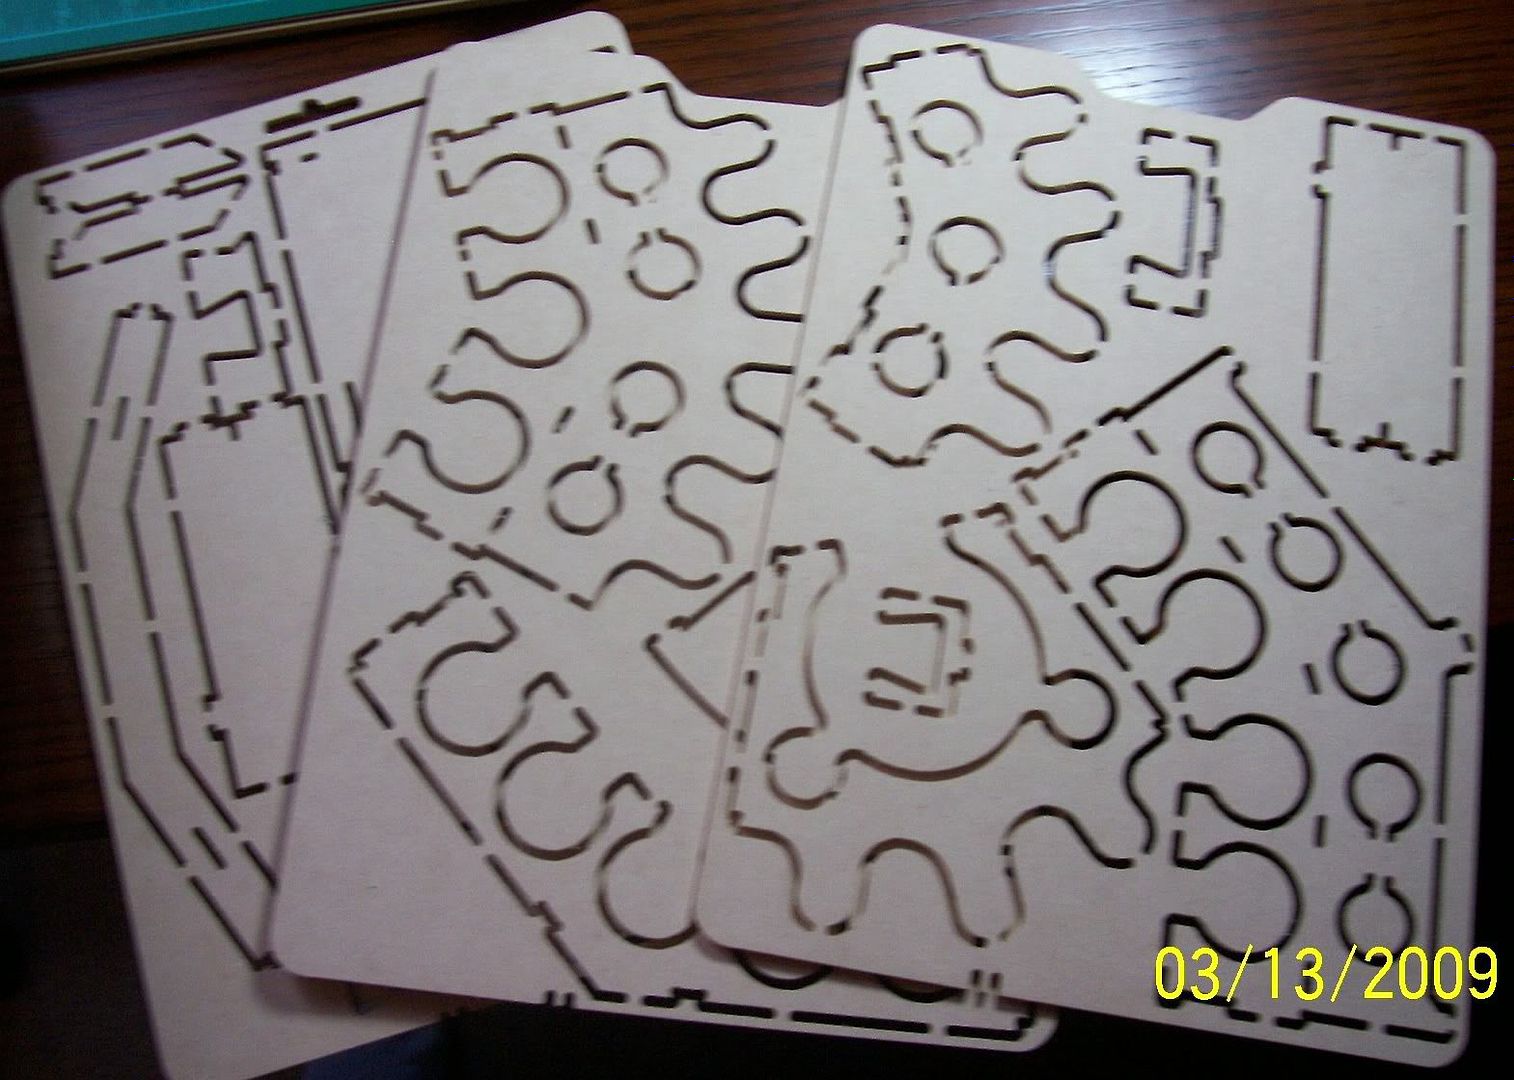
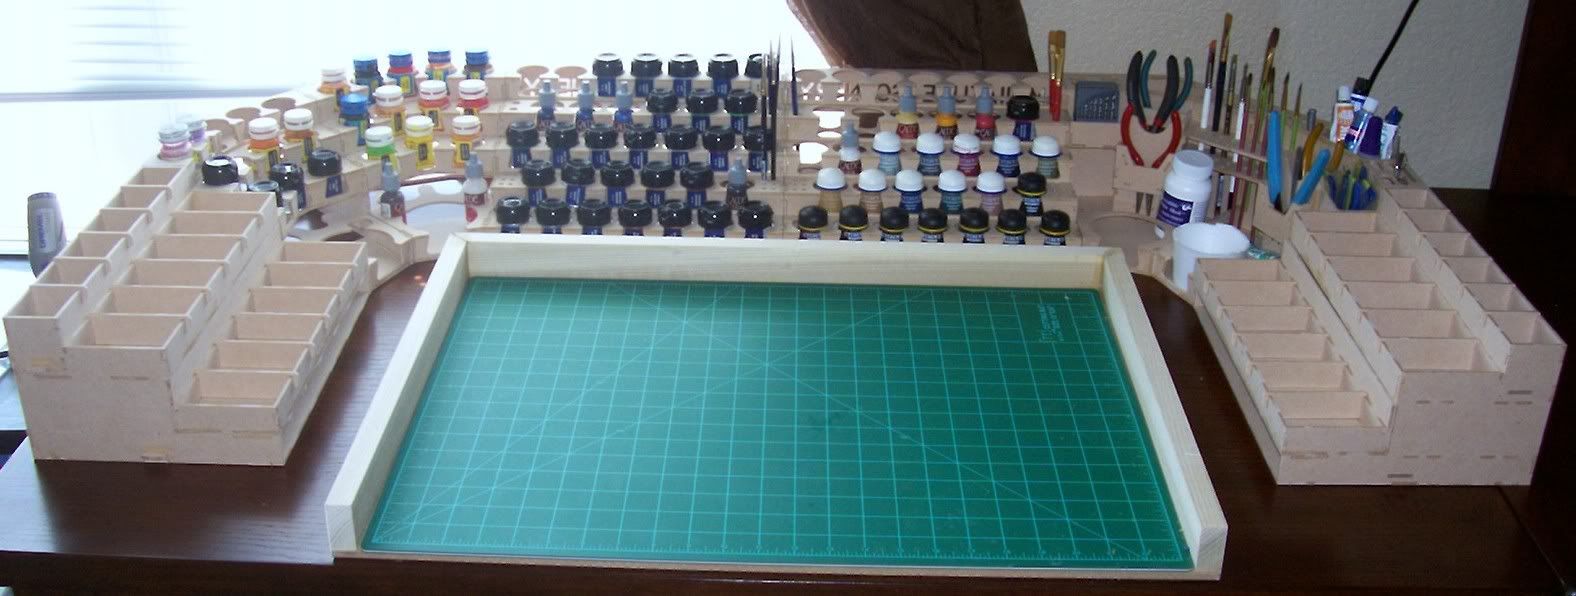
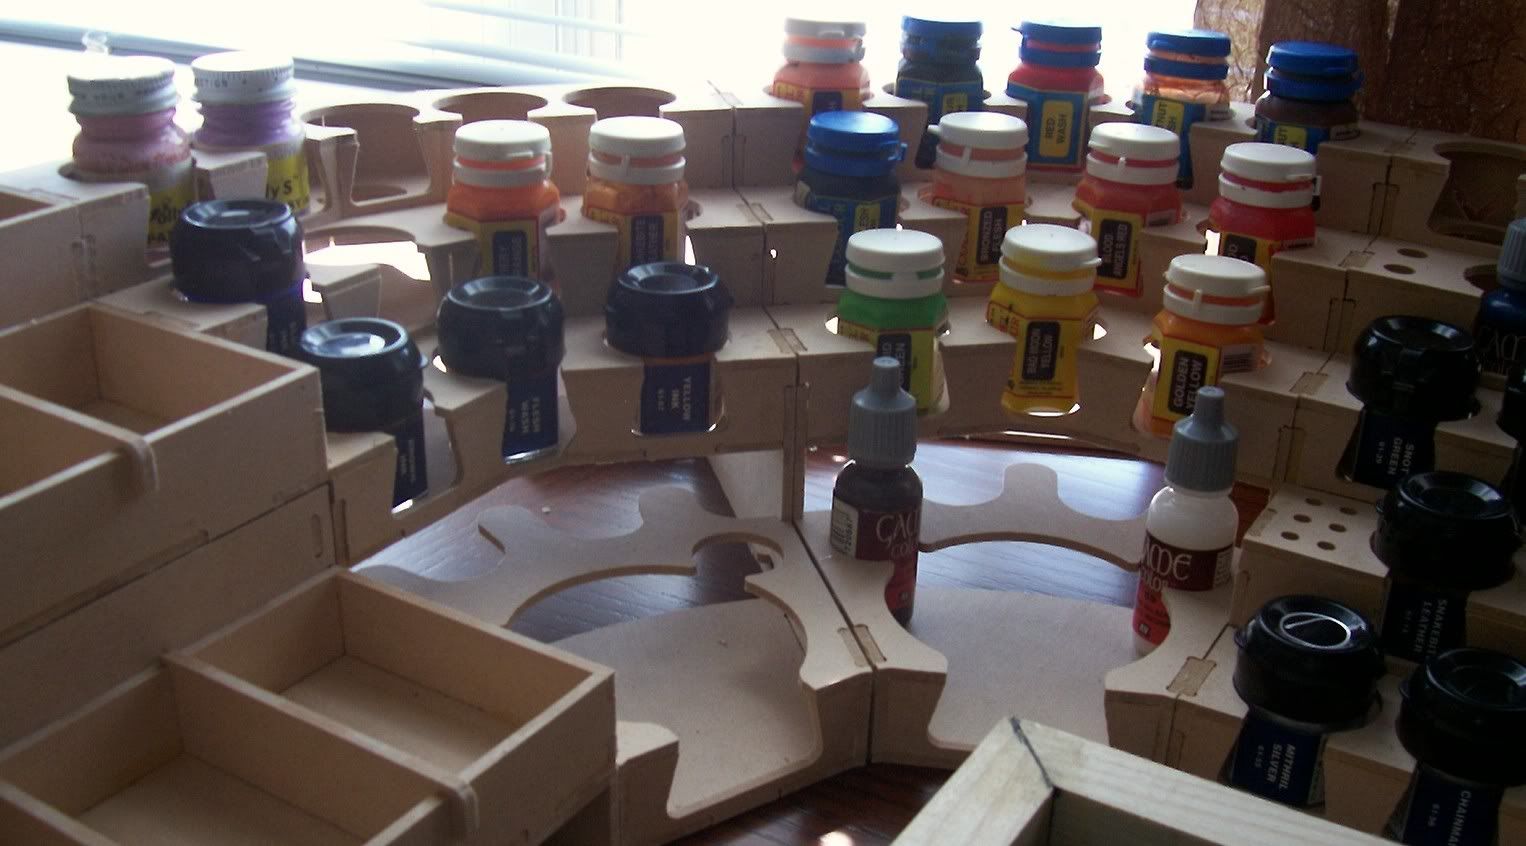
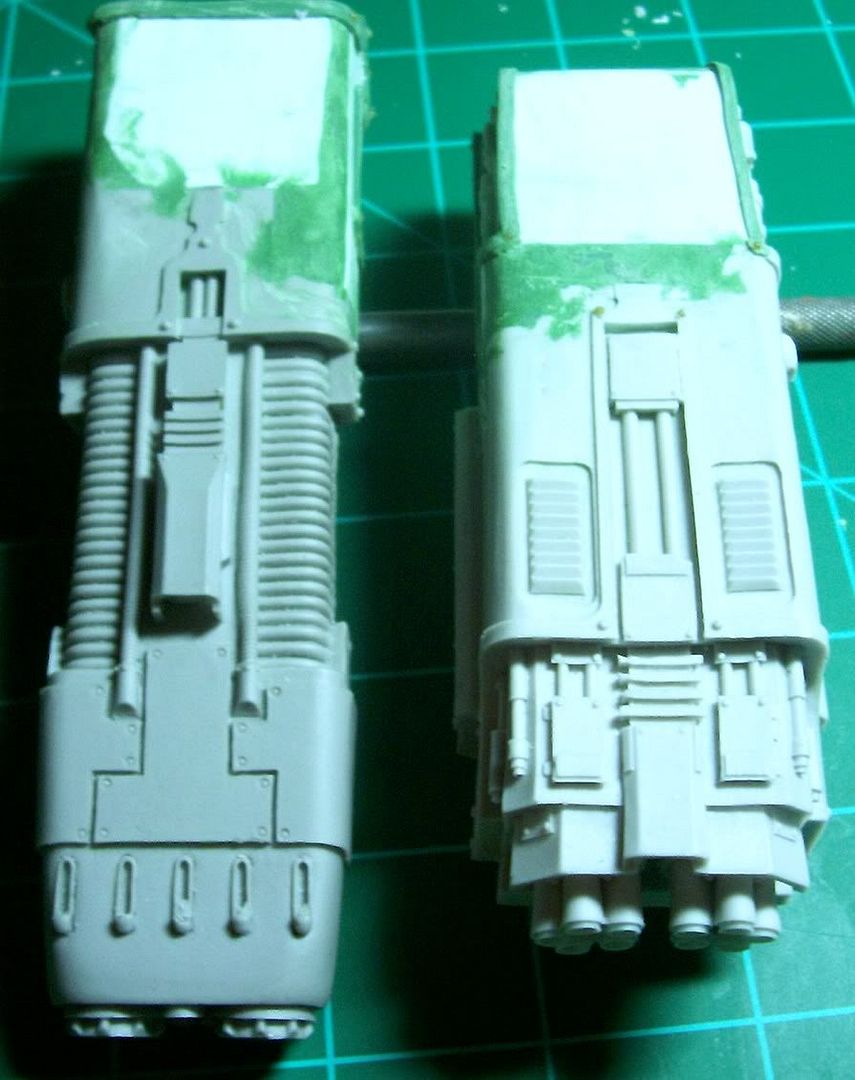
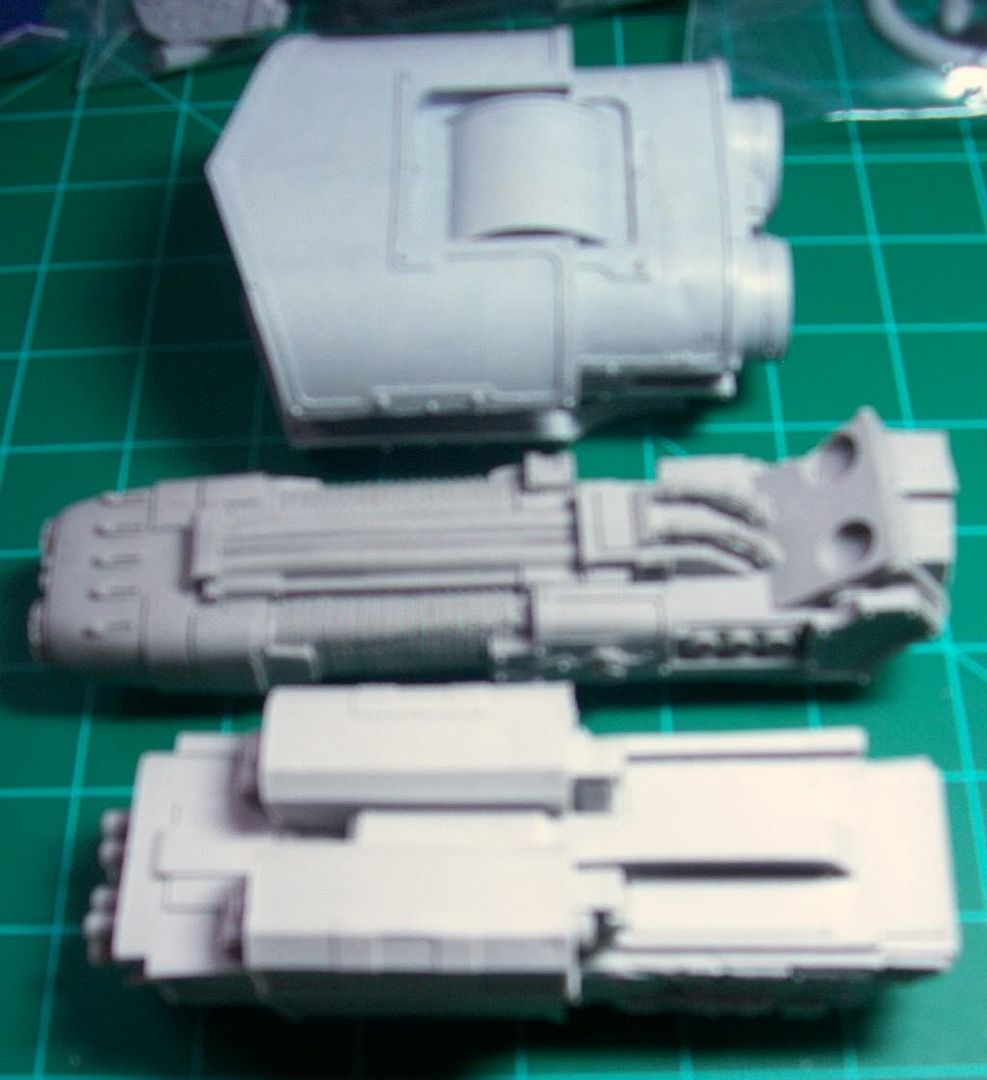
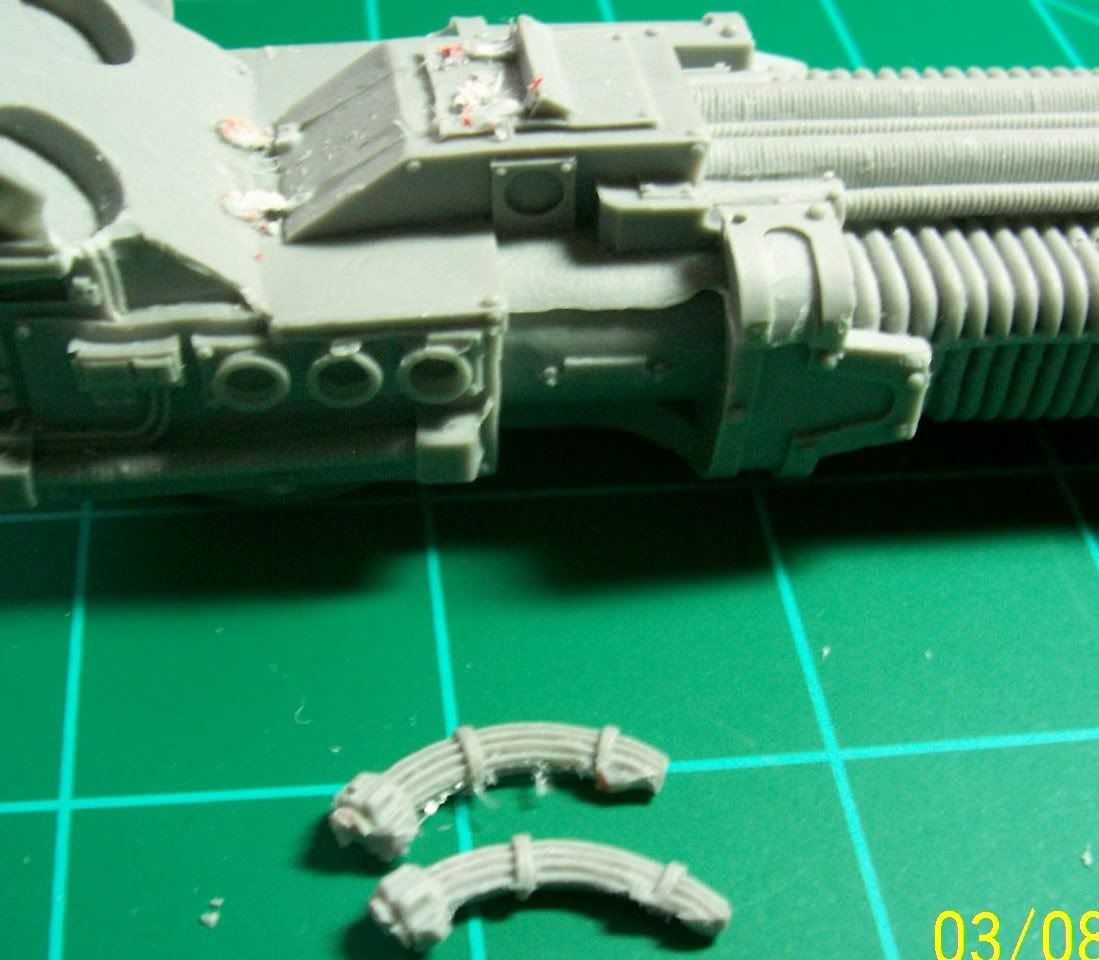
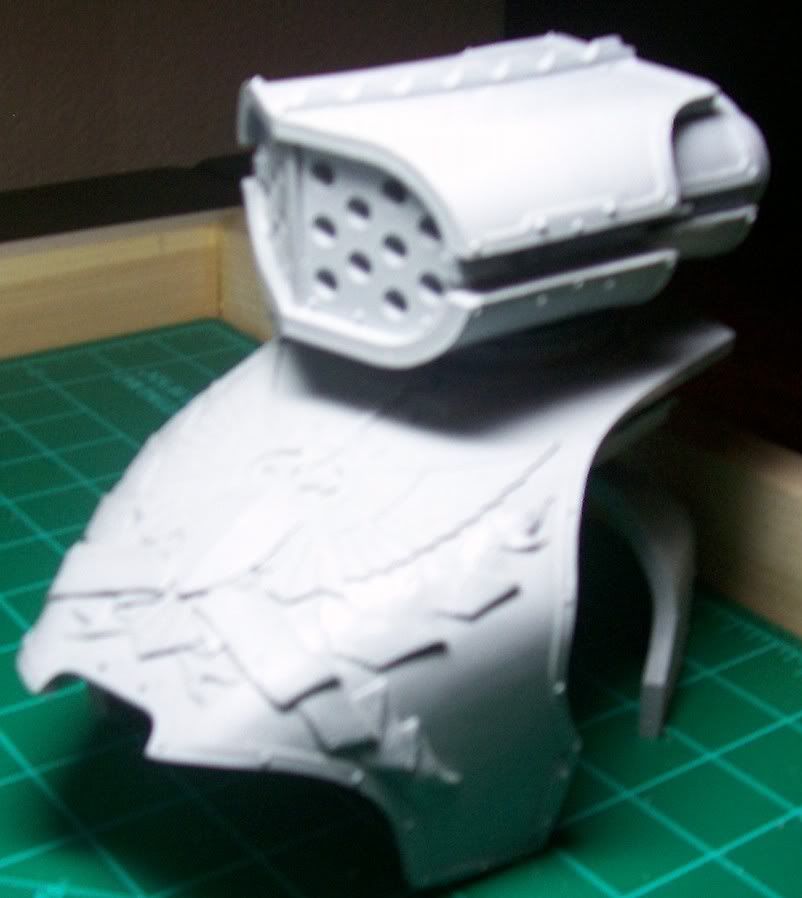
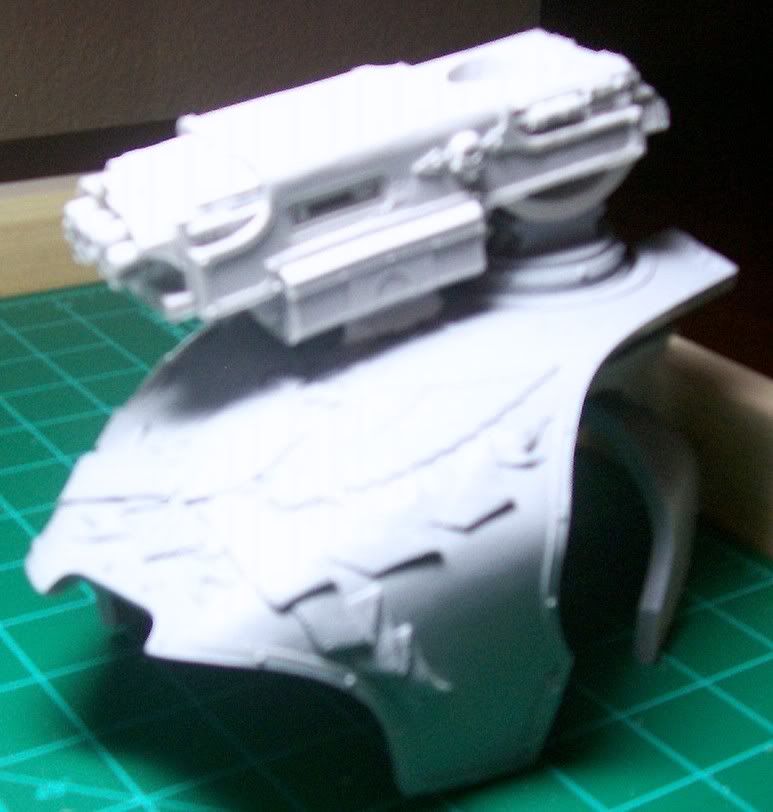
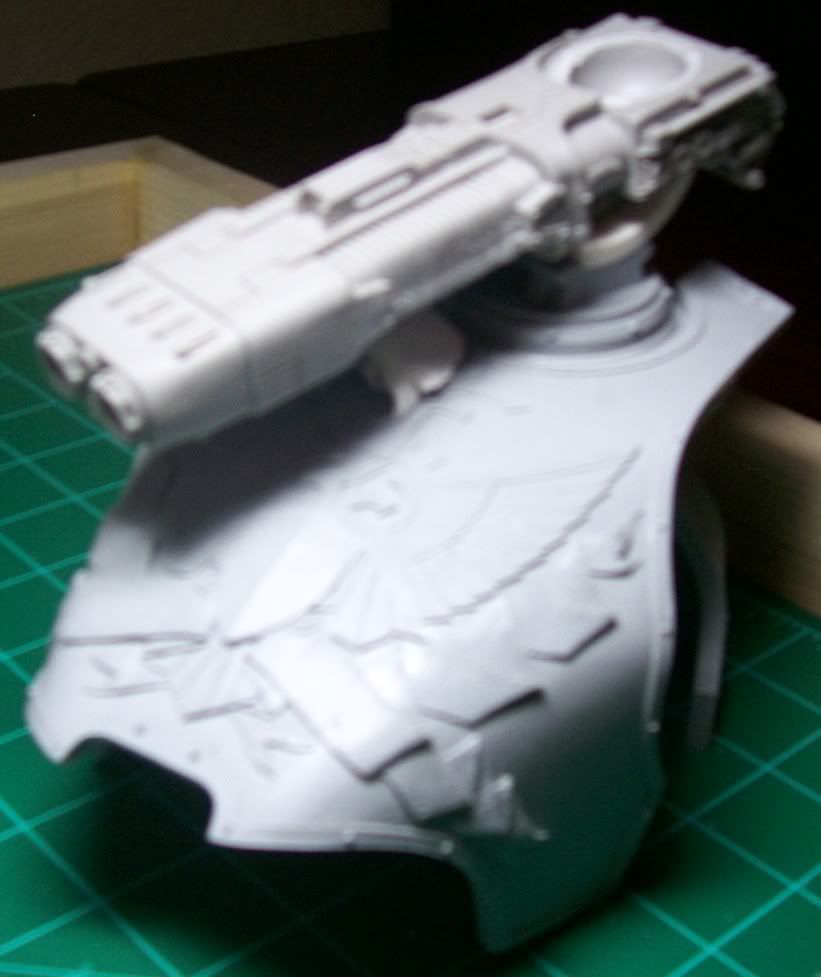
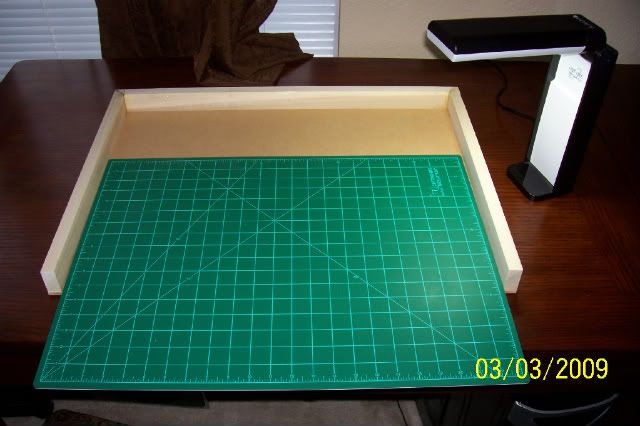
I'm back! New house, tons of excitement and tragedy and stuff has been going on. I've just about got my workspace set up, so work on the long languishing Reaver Titan should be picking up soon (within the next week). I've not painted or built anything since last November, so I'm totally going nuts to work on some stuff. Ideas are bouncing around my head like small rubber balls on crack. I've been playing a little "Dawn of War II", and if you like pc games, I recommend it. I'm in possession of a home with a garage, and I've come into some tools, so a gaming table of some sort may be an upcoming project here on the blog. I've, obviously, still got a rambling problem...

Thanks for stopping by. Feel free to leave some feedback in the ole comments section. I'm always happy to hear from you... yes, you!
Related Posts with Thumbnails