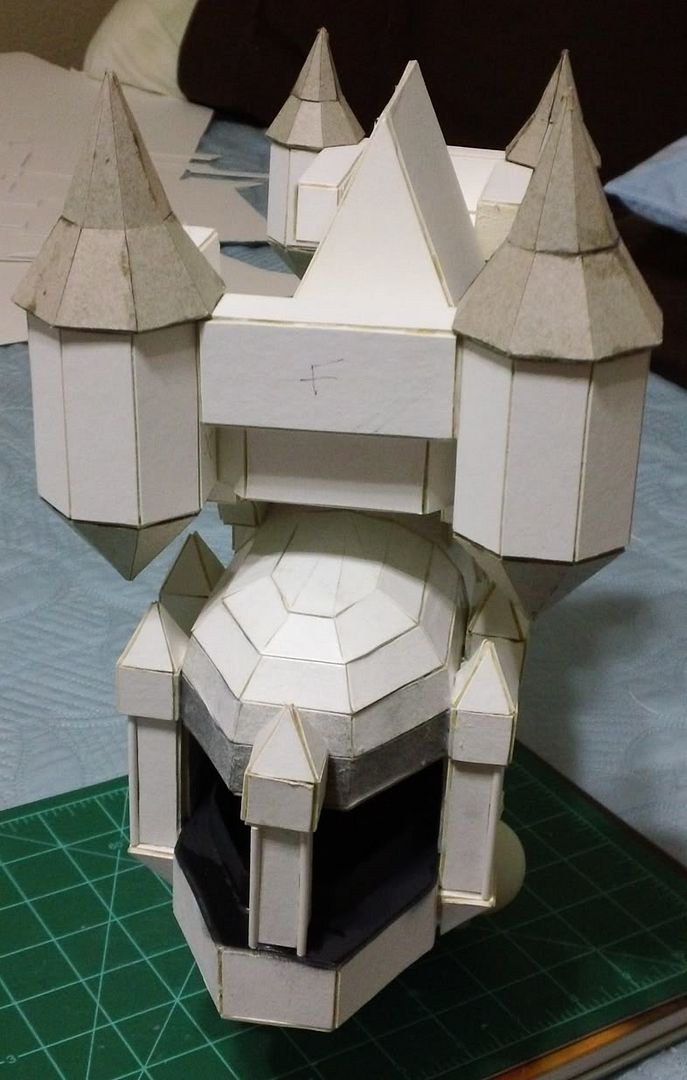
Monday, December 12, 2011

Need Some WHFB Empire Advice


I'd like to get something out of the way right off the top. I'm not asking for advice because I'm too lazy to research, I've done that. It's more a matter of incompetence.

On to the blog...

Being a well rounded Geek I dabble in a wide variety of Geeky things. One thing I've always wanted is an Empire army for fantasy. While I technically have one, it is mostly in boxes... packed safely in bigger boxes. Having some precious free time recently I decided to take an inventory and see if I had enough Empire junk to make an army. When I was done I looked at the list and realized, I have no idea what it takes to have a decent Empire army? So, I would like to show to you the Grand List of Empire minis and solicit advice as to the following; is there enough for an army here, how should I build some troops (still on sprues you know), and what will popular in 13th edition as that is how long it would take me to get this all together.

On to the list!

2x General/Standard sprues
4x wizards (two boxes)
1x Empire Champ w/mace
1x Empire Captain w/sword & shield
1x Freelance Knight on foot & mounted (from Mordheim but cool looking)
1x Warrior Priest w/2 hammers
1x Warrior Priest w/hammer & Shield
2x Champion w/pistol & hammer
1x Marius Leitdorf
1x Kurt Helborg
1x Pirate Ogre (I was going to use him as "filler" in a state troops unit or a pirate themed free company unit)
24x Knights
25x Pistoliers/Outriders (still on sprue can go either way)
40x Militia/free company
40x Flagellants (20 assembled)
87x State Troops (37 assembled with swords, the rest on sprues)
60x Handgunners/Crossbowmen (20 partly assembled as handgunners)
20x Greatswords (10 finished)
1x Cannon/Mortar sprue
2x Hellgun/Rocket sprues

I also have some old loose metal minis from long ago...

12x metal Flagellants
3x metal Engineers w/repeater musket (outrider equivalent)
2x metal Pistoliers
5x metal knights of the white wolf (two missing legs, all missing horses)
1x metal volley gun with crew


Behold the Empire in all its glory...

I know it is a lot of stuff, I just don't know if it can be carved down to a decent Empire army? For State Troops, Sword, Halberd, shield? The interwebs can't seem to decide. HandGunners or crossbowmen, what are the cool kids doing? Pistoliers or OutRiders, they both look cool but which typically sucks less?

So, if you have any knowledge of Fantasy or Empire, I'd love to get your thoughts. If you don't but you have a friend who does, send'em over!

Thursday, November 10, 2011

So, What Ever Happened to The Inner Geek?

Blogs come and go. This one hasn't gone, but it is on pause. Here is to the whys..


It's hard to say where I lost my GW Hobby oomph exactly. I know I had it before Games Day in Chicago. I got to meet some awesome bloggers there and hang out with all the coolest folks. Really, I think that was the high point and the Games Day was just kind of going on at the same time. Whatever the reason, interest waned. I started thinking about other things I could do with my time, and going back to school seemed a likely candidate.


I signed up for a couple of classes at the local College and away I went. Between school, working full time (until recently), and family, I've had very little time for distraction (and that tiny bit has been squandered on Battle Field3).

I've tried to keep up with at least a few blogs and comment now and again. I really do enjoy the antics of my fellow bloggers. I just haven't felt too bloggy myself of late. Maybe this post will break the ice? I was recently laid off work so you'd think I'd have more time, but seeking work and a newly expanded honey-do list has left me about the same amount of free time as before! Even as I write this I'm looking at a pile of stuff I need to mail off to people (Drax I need your address again).

I have been looking longingly at the Scratch Built Titan and thinking I need to put some detail on it. Not to mention some other projects I'd like to find a little time to mess with. When I do, I'll be sure to share it here on the rusty old blog. While the lack of hobby time has me looking longingly at some projects, it has me feeling like letting some of them go. I have too many armies, too many minis, and not enough time. Maybe there is some ebay in my future? Some of these thoughts, no doubt, come from the fact that I recently reorganized the closet where the game stuff lives. Holy crap you can accumulate a lot of stuff over twenty years in a hobby!

Anyway, I pegged out the ramble-meter some time ago, so I'm going to close for now. There will be more posts, there will be more hobby, but it may be slow. So be patient... or go away. Till next time!

Saturday, August 20, 2011

Painting Across the Pond Inner Geek Edition Pt III


I don't have much money, but if I did, I'd spend it buying some time. Since I can't buy time, this will be a post short on words.

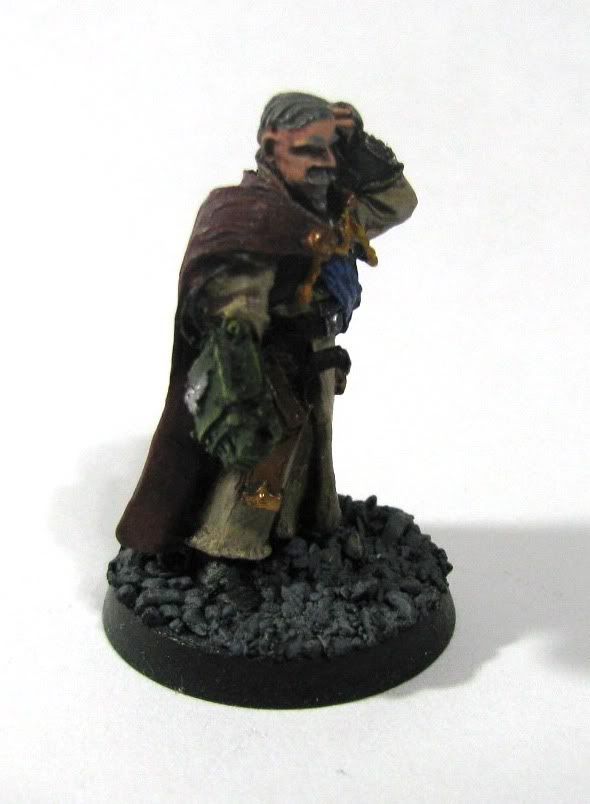
Drax and I engaged in a project some time back. The idea was to each send the other a mini to paint then send back. Basically painting a mini for each other. I sent him an Ogryn, as I'd never seen him paint one and I have a cruel streak. He sent me a ForgeWorld Cadian IG Colonel!

Here are the results...


Not being one to leave well enough alone, I decided to fabricate a little extra work for myself. He is painting a rather larger model for me after all.

I decided that every great commander needs that certain special someone in their life. For this commander, that person is his personal body guard Major Payne. Being a trusted member of the Colonels inner circle, he has access to exotic weapons like his antique las pistol. I meticulously cut, greenstuffed, and stretched my modeling abilities to give this guy a bigger chest and beef him up a bit. After all my trouble I noticed that there is a plastic Catachan torso with flak armor available. It's technically better than what I made, but mine has that home made look... kinda like your kids macaroni art. Anyway, here is the Major.


And finally a group shot. I think this photo, even with the flash on, most closely represents the colors of the models.


While taking these photos it occurred to me that I forgot to paint the bodyguards las pistol... or maybe it's just really dark... no I forgot. Anyway, I'll leave this for Drax. That way he can say he worked on the pair too! Now, to say that these look a hundred times better in person would be an exaggeration. But two to three times better would be accurate. I've purposely given the bodyguard a pretty generic load out so he can be used a sergeant if preferred. I hope Drax enjoys them and they bring him lots of luck on the table.

That's all for now folks. Be sure to check out the Admiral Drax blog
as he should be posting his edition of Painting Across the Pond about the same time this one hits the blog rolls!

Tuesday, July 26, 2011

Scratch Built Titan Pt. 10 (Build Complete... ish)

Finally! The building of the Titan is complete! This blog will conclude the build process of the Scratch Built Titan Project. There is still more to to with detailing and such, but this is the point at which you can call this build done.

If you've been following along, you know the work that's been put in, but not the cost. I'm going to lay that out for you briefly, then on to the pics!

3 x sheets of matte board on sale at $4.00 each
1 x bottle of Gorilla brand Superglue at $5.00 each
3 x Aleene's Quick Dry Tacky Glue at $2.77 each
3 x Excel #11 exacto blades package of five at $1.99 each
1 x package of assorted rubber bands at $0.99 each
1 x Krylon Easy-Tack adhesive spray at $7.59 each
1 x brass rod at approximately $2.00 each
1 x package of six ping pong balls at $1.99 each
1 x Gorilla Glue at $7.00 each
2 x pvc pipe pieces from DIY store at approximately $1.75 each
Several sheets of printing paper (if you have a printer, you likely have this already)
Several recycled Cereal Boxes at $0.00 each

So the entire project up to this point has cost about $54.35 US. Getting to this point should not require a top hat... Decorating and details will cost additional. But, as I've mentioned before, the point of this part of the project is to show what you can build for the bare minimum. Will it look better after detailing... yep. But I think it already looks pretty cool as it is! On to the pics!

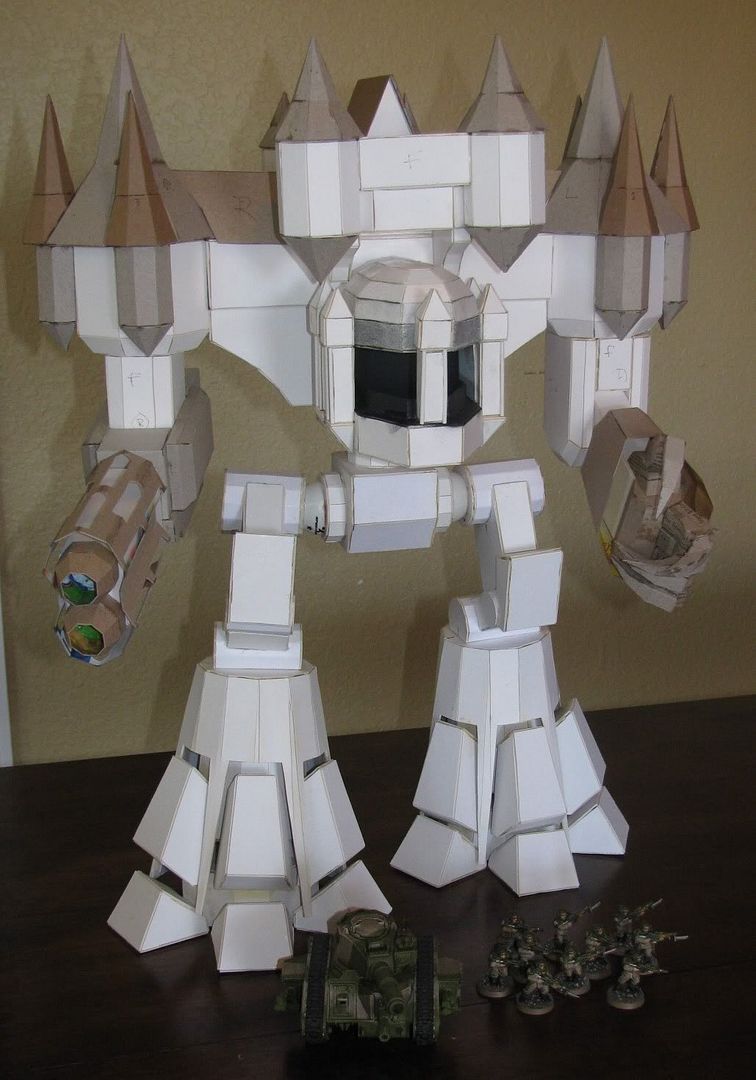
First is a shot with some IG and a Leman Russ for scale...


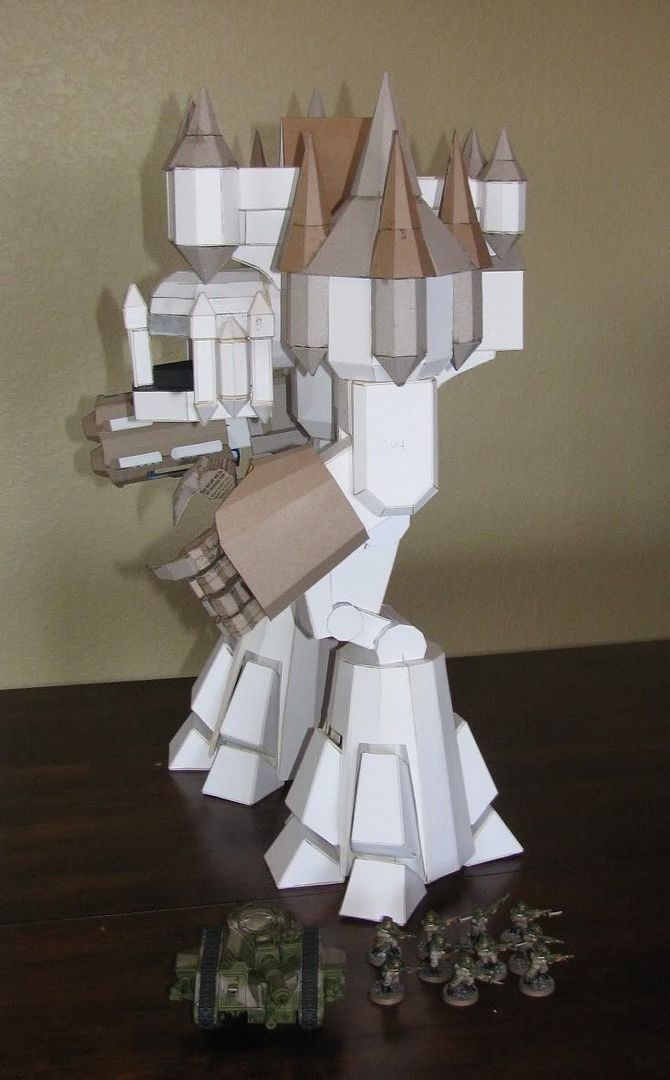
A shot of the side...


The rear angle...


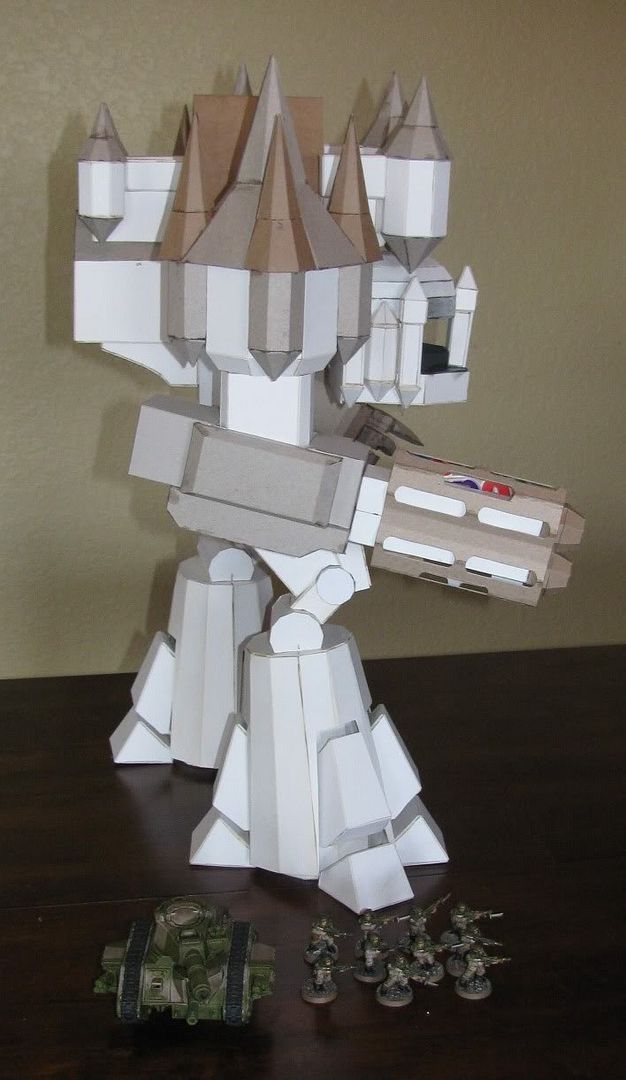
The other side...


Here is a picture showing the Titan broken down into its parts...


Strangely, I also noticed there is a baby in the gun???


A couple more pictures for scale purposes. A shot with the Reaver Titan...


And a shot with Godzilla... why not...


I don't think the Godzilla is 28mm Heroic scale, but he's still cool...


A quick note on the building materials. I'm very happy with how the matte board is holding up. It wasn't the easiest to cut, but it is very solid. As an example; I'd been trying to ignore the fact that the front balcony was slightly crooked. I couldn't take it anymore and decided to remove and straighten it. It took some serious doing to get that one piece to come lose. It is now replaced in a straighter position since these pics and I'm quite happy with it. There is, in fact, only one place that I think is a little weak which brings me to the next paragraph...

While the Titan is perfectly fine the way it is, I'm going to put it on a base due to the nature of how the lower toes are attached and their inherent weakness. The base will be just big enough to set the feet on with a small 'bridge' in the middle to prevent the legs from trying to splay at the hips. This is a lesson I learned with the Reaver. This Titan stands very well on it's own and this will simply be an insurance policy against toe breakage in the future.

One last note. In the title it says, "Complete... ish". The ish is because there are more weapons available in the plans. There is a large chain sword type of close combat weapon, and a giant belt fed cannon. I will likely build these in the future, but they aren't coming anytime particularly soon.

I hope you've enjoyed watching this project move forward, I know I've enjoyed working on it. While it's probably a project for an advanced modeler, the great thing is you can always try again if you mess up a part. So even a novice can make this work if they have a bit of patience!

Comments, questions, and witty insults are welcome as always!

Friday, July 22, 2011

Forge World Has a Chick on a Dragon!

On a freakin dragon!


It's a little known fact that the Inner Geek has an Empire army for Fantasy Battle. Mostly in boxes. But man, this is a super cool mini. I wonder if it will be in Chicago next week? I wonder what time I'll have to line up outside to get to the Forge World booth in time to buy anything?

Wednesday, July 20, 2011

Scratch Built Titan Pt. 9 (Legs Assembly)

This week brings us to the legs. Getting this titan to stand on it's own two feet takes some doing.

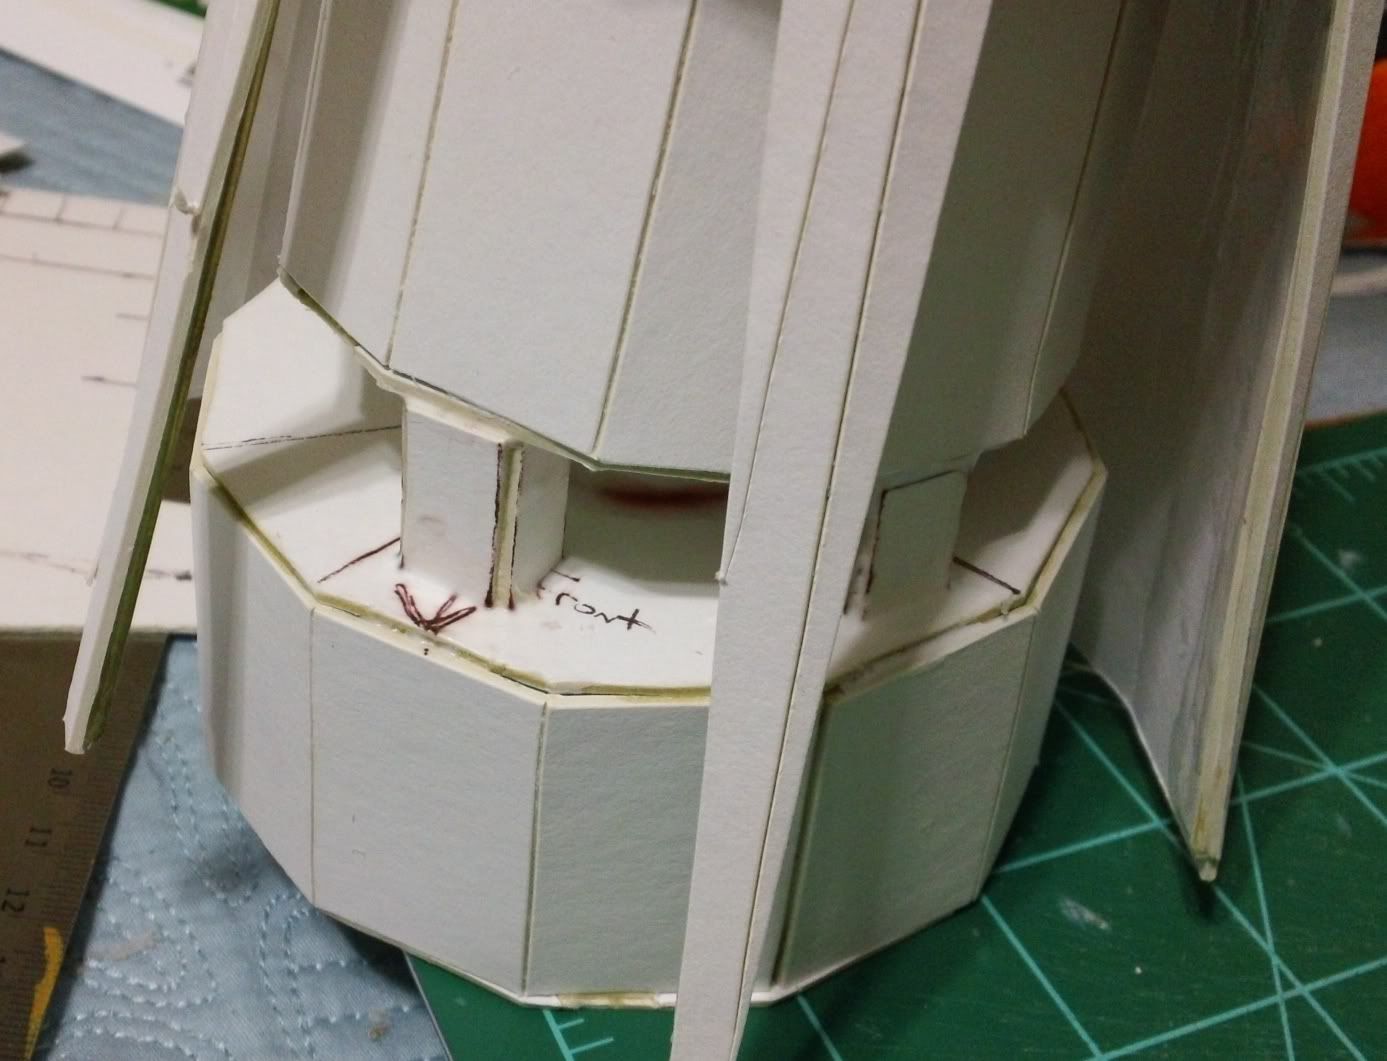
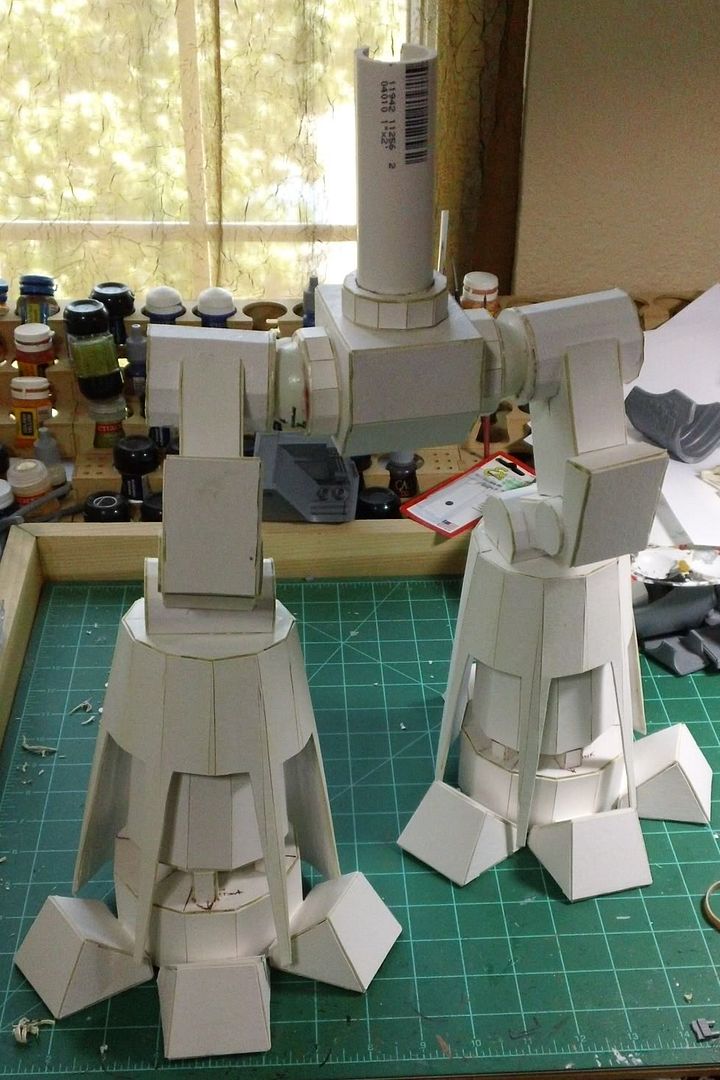
In the interest of making the pose... er... interesting, I played around with the legs a good amount before gluing anything. Because of the way the legs go together I realized that you can adjust them from the hips to the knees and if the hips and knees still line up, you're set. In the picture below you can see that the hips are level with each other and the part that will attach to the lower leg are both on the same plane but the legs are angled differently...


There are some random pieces holding the parts in position by resting the knee caps on them...


Confident that I had two legs in slightly different positions, but still able to line up, I moved on to another area that needed some help.

The lower legs are modified from the original plans and this causes the 'shin' to be very thin where it comes down between the front toes. To correct this I glued brass rods inside the shins running from the thin points to the top. When I say glued I mean I tacked them on with superglue then drenched them in regular tacky glue for a solid hold...


There was some fun times gluing the legs to the hips. The trick there is to set the legs on the ball joint ankles, but don't glue them down. Once they were firmly attached to the hips using Gorilla Glue, patience, and prayers then you can glue the ankles at their ball joints. I didn't get any pics of this, because it would just look like the pictures at the end of this blog but with various items propping things up.

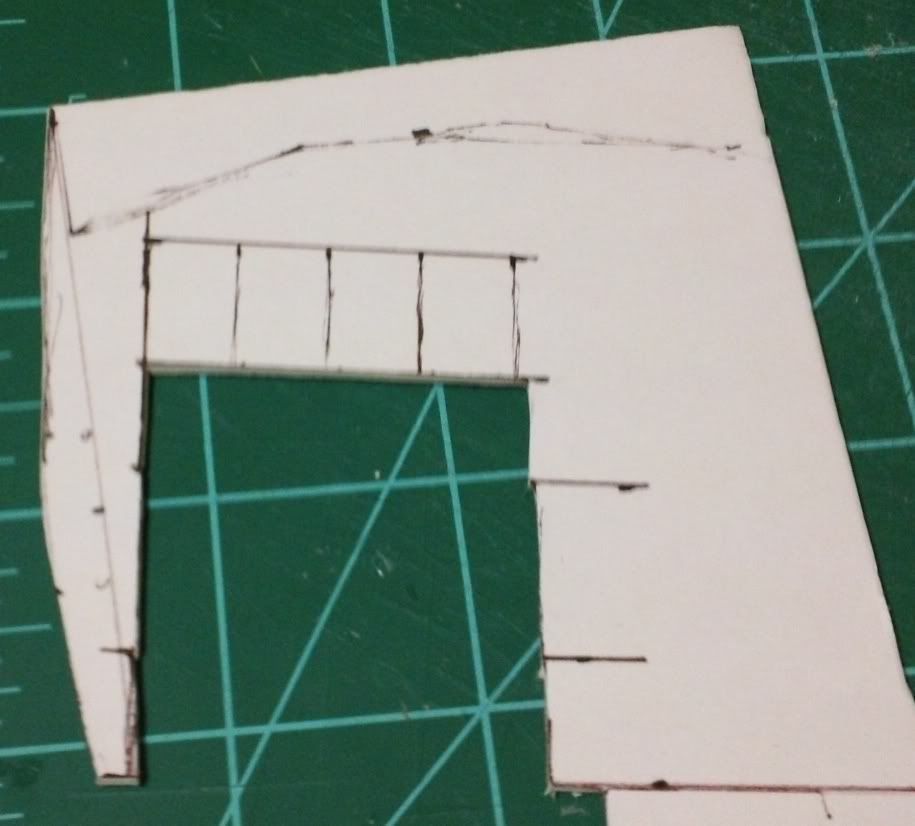
At this point I realized that the ankles were going to be a weak point. While securely attached, they had a lot of 'flex' to them. So I made some homemade braces. First I cut some strips out of matte board...


Then, for the sake of speed, I superglued them into shape...


Then I trimmed them to fit between the inner shin piece and the actual foot. Once installed, I slopped a good bit of glue around them to secure them and help hold them together. Below you can see a couple of them in place...


This only left the toes to add! The lower toes were simply glued on using tacky glue, then reinforced with more tacky glue. Here you can see them added...


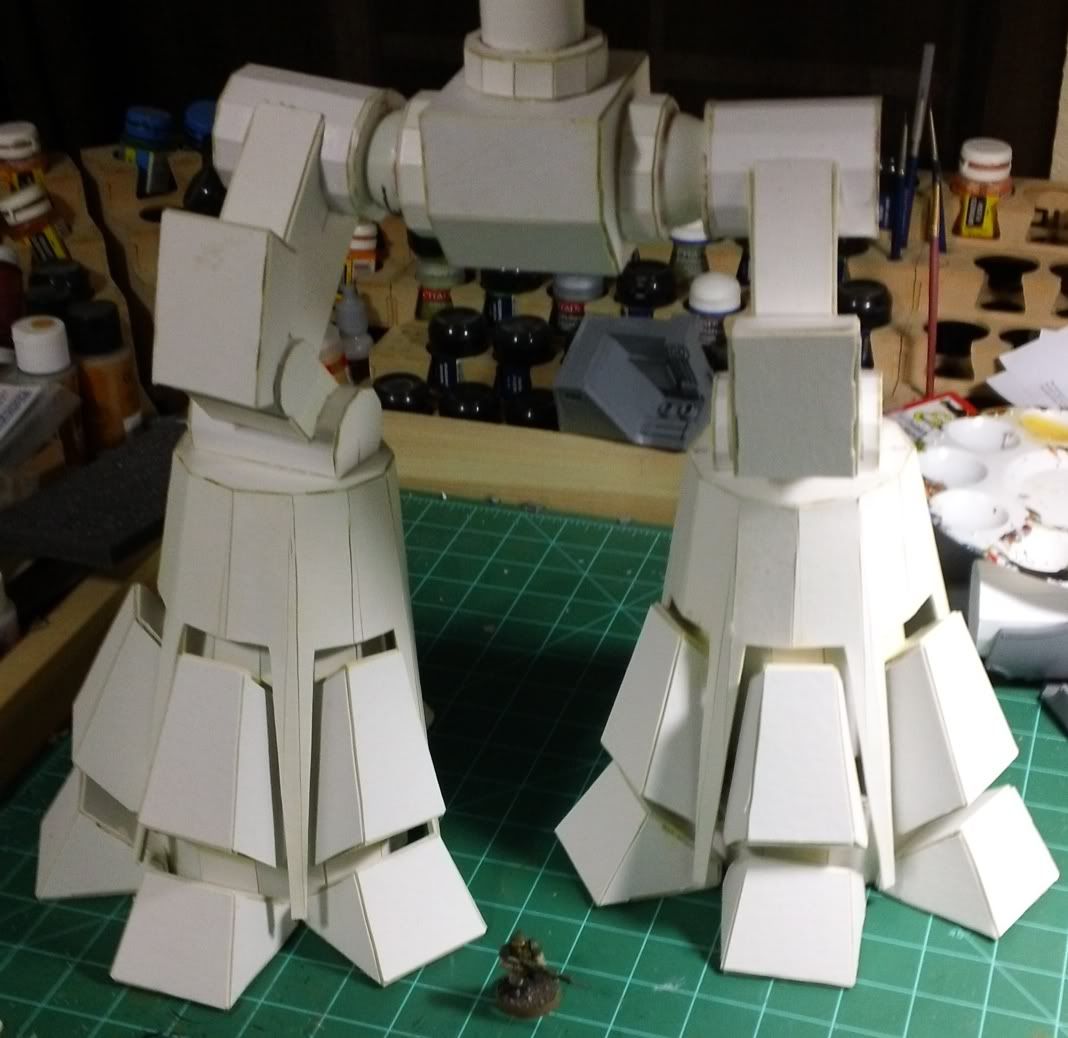
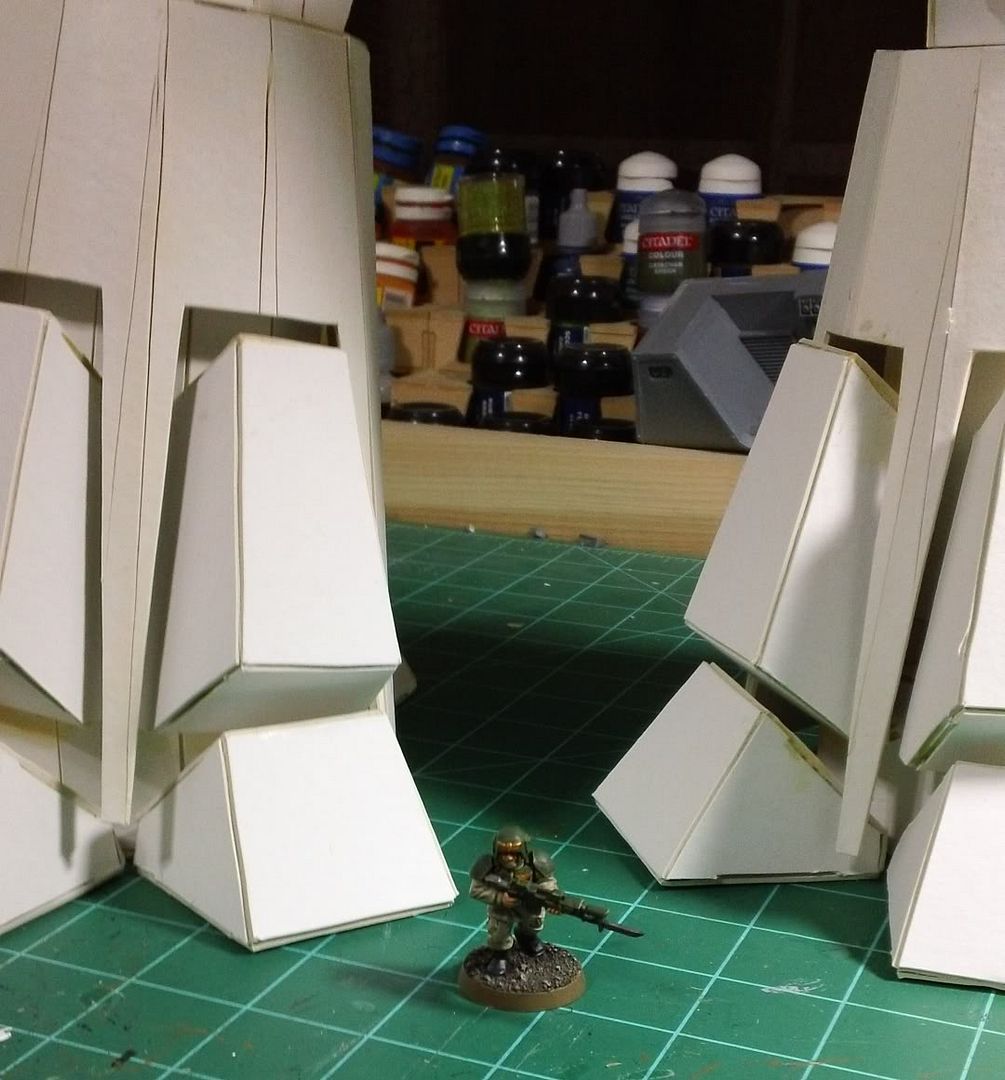
This brings us to the final leg piece, the upper toe thingies. These I tacked on with super glue, then I used an old brush and a q-tip to apply glue to the areas where the pieces made contact... which weren't always large areas. I'm happy to report they feel reasonably solid though! Here are a couple shots of the legs in all their glory...


The tiny object at his feet is an Imperial Guardsman...


So what's left? Not much really. There is finishing the fist by way of gluing the fingers on. Finishing the weapon arm and... that's about it. Next post on this project should see a completed titan ready to be detailed. I'll also try to put together a materials list and prices to show about how much this project costs. I'm doing this before detailing because the point is to show what you can do with a minimum expenditure and any detailing would be to the builders taste, budget, and discretion. Some folks have asked and I'll be putting up pics with more objects to demonstrate scale, including the Reaver. I may even make you suffer through some Inner Geek fiction and write some fluff about this titan... lucky you!

As always, thanks for stopping by. I know you have a choice of rambling blogs, and we appreciate you choosing The Inner Geek blog!

Thursday, July 14, 2011

Scratch Built Titan Pt. 8 (The Weight of the World)

It's on your shoulders! Well, ok, maybe not the weight of the world... but the weight of a 40k Cathedral.


Work continues on the Titan. I've had to move around and work different parts at different times, but I'm going to try to keep blog posts focused on one area at a time. This week that area is the shoulders.

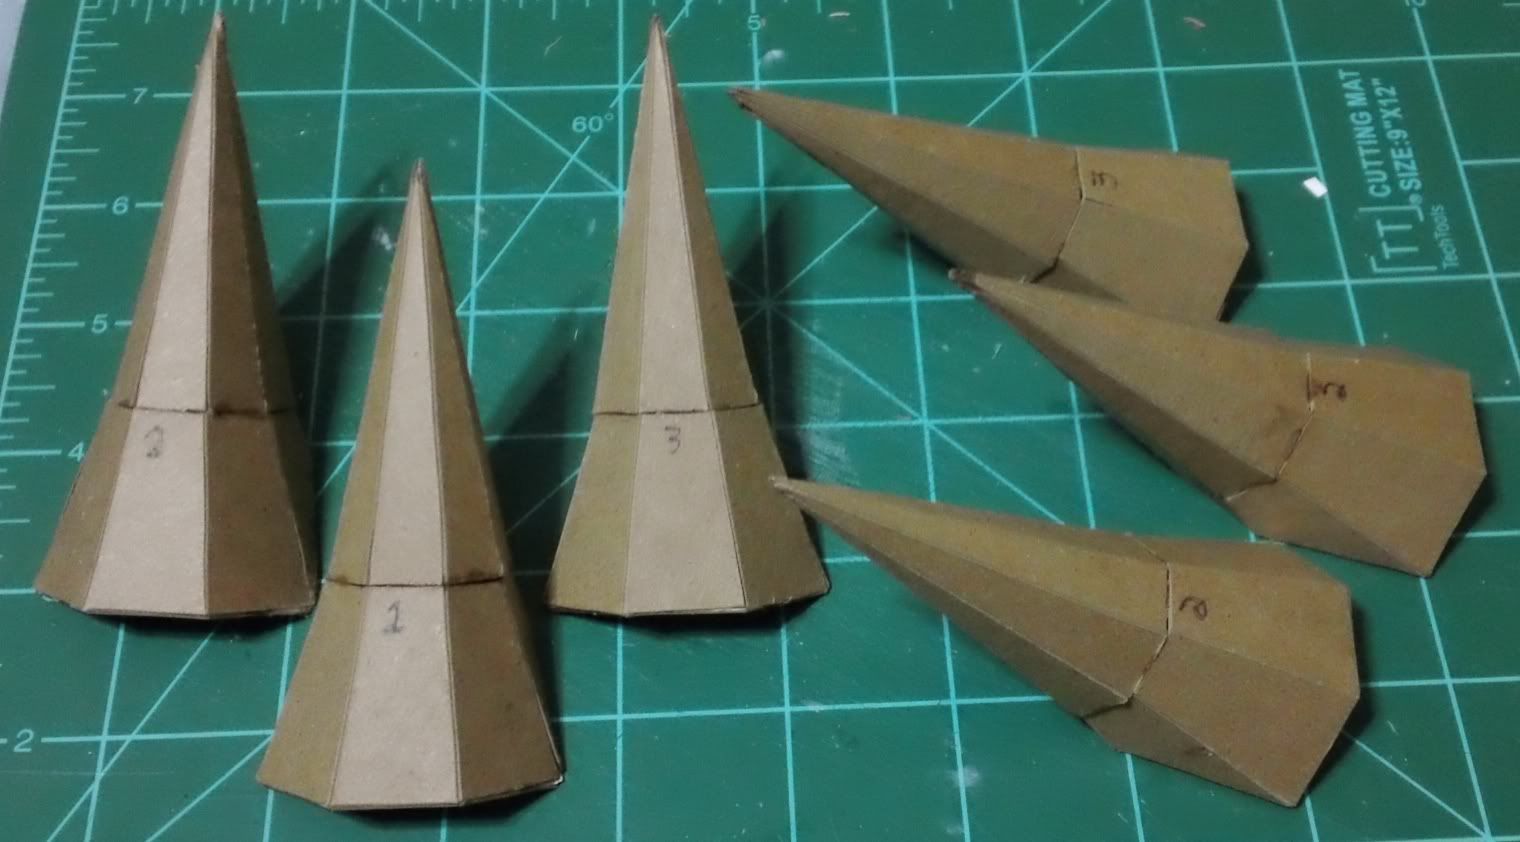
Not a lot of pictures this week. The shoulder amounted a lot of pieces that really didn't do much interesting until they started coming together. I would like to make mention of materials in this post though. I've been using a lot of "cereal box" cardboard for parts. It's lighter and easier to work than the matte board but sacrifices strength. I was concerned at first about obtaining this material as you usually have to invest in cereal to get it. However, I spread the word with my family and friends that I was looking for that type of material and it started flowing in. But I also wanted to note that it's not just cereal boxes. For example, this...


While odd shaped you can still find enough flat spots that are clear of glue or creases to make all of these...


These are each two parts put together, top and bottom.


My point is, don't get caught up in names, ie; "cereal box", there may be other sources of the same material. Also, just because you don't see a lot of potential in a material doesn't mean that it isn't there.

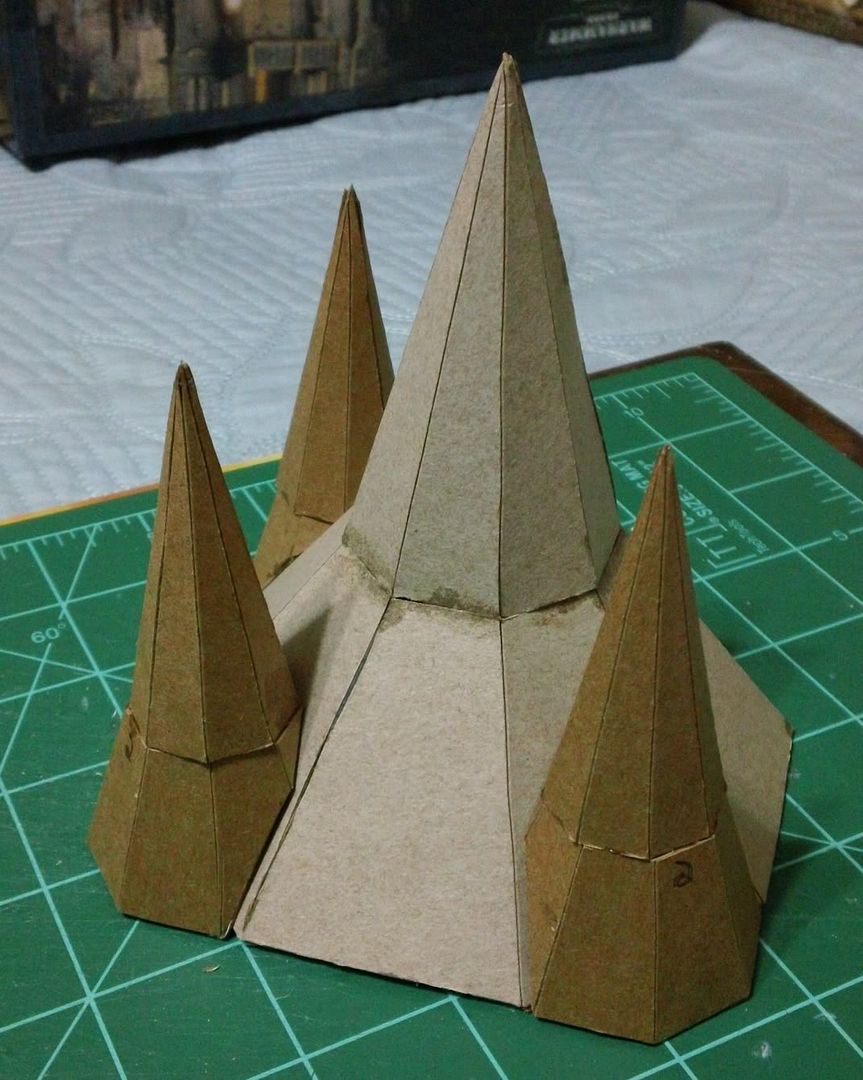
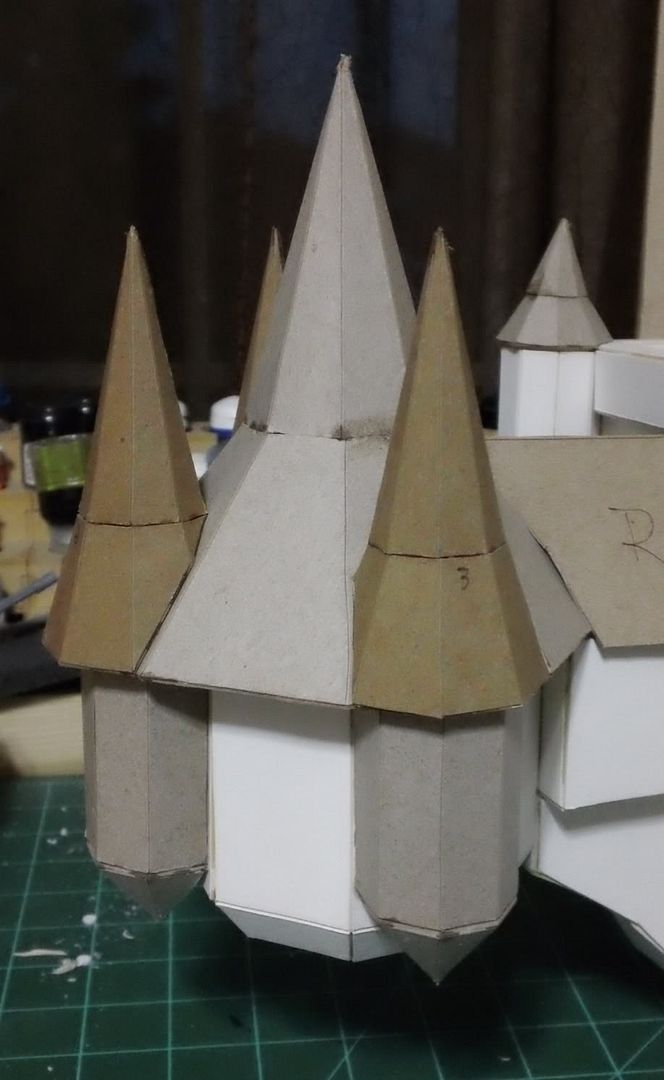
Here is a quick mock up of how the roof line of one shoulder goes together...


The instructions assume you are building the "Crusader" titan then adding the "Blockhead" bits so they put the large center spire on first then add the smaller spires. Since I'm moving straight to the "Blockhead" design I found it easier to glue the small spires onto the larger one, then add the whole fixture to the Titans shoulder.

Here is a picture of one shoulder completed...


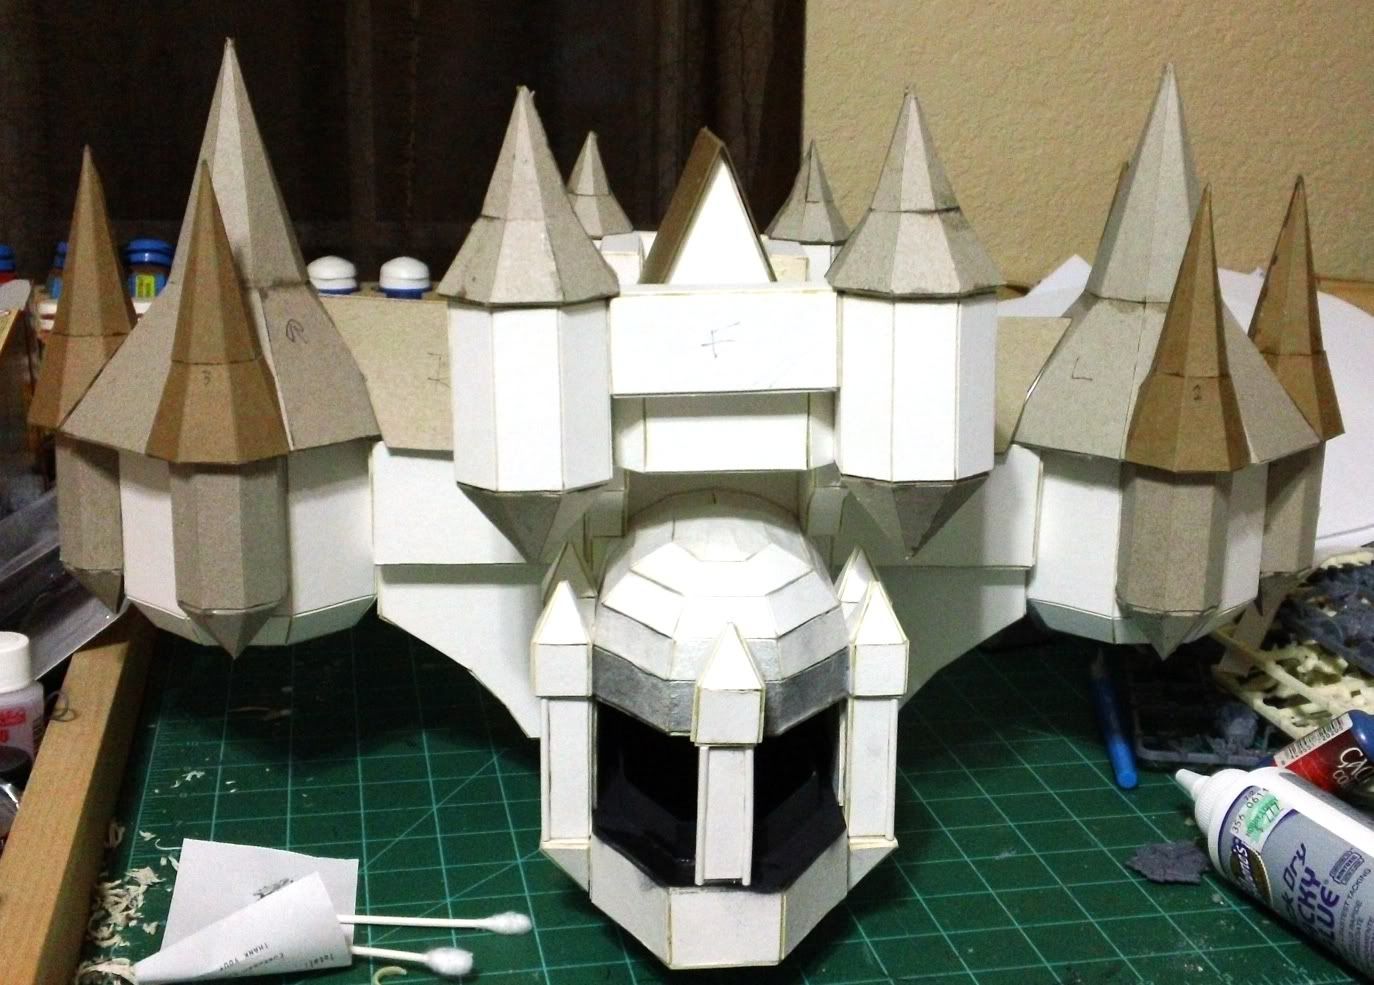
And a shot of the entire upper body so far...


That's all I have to show this post. There is a lot more work done though, and the end of the actual build is coming soon. There will be a ton of detailing to do as well as other loose ends to tie up along the way though.

Thanks for stopping by. I will add in parting that it may be time to start thinking of names for this Titan. I think Ferrus Pontifex "The Iron Priest" has a ring to it! Feel free to drop a comment if you have any thoughts on suitable titan names.

Oh yes! And google+... anyone up for starting a geeky circle of friends? As a geek I felt it my duty to get in on the ground floor of what ever the hell it is.

Thursday, July 7, 2011

Break Time Cometh!

So I've droned on between the lines for a couple months about how I could really use a break/vacation. Just a couple days to get away. I finally decided to pull the trigger and make a decision. The Inner Geek will be attending Games Day 2011 in Chicago!


Why Games Day? Well, despite my ire with GW's recent corporate activities I'm still a fan of the hobby. I'd like to go once before they run the company completely into the ground... joke... sort of. Also, I've never been to Chicago or even Illinois for that matter, so it sounds like an adventure. I'm all about adventure as long as it's reasonably safe and free of any real danger. On top of all that I think it might be fun to meet other bloggers or even blog readers who may be attending.

Thus, I'll be flying to O'Hare early Friday morning the 29th of July. Enjoying the scenery Friday day, some cold adult beverages Friday night, Games Day Saturday Day, some cold adult beverages Saturday night, and flying out Sunday around noon. I'll also try to mix in some Chicago style pizza at some point.

I'll be there, will you be there? As I mentioned above, I'd really like to get a chance to meet some of the folks I know only from their blogs. If you're reading this and you plan to be there, drop me a comment. Maybe we could enjoy a cold refreshing adult beverage (that's beer if you haven't picked up on it yet). If you see me at Games Day, stop and say hi. You'll know me because I'll be dressed as an albino polar bear wearing a space suit and scuba gear. Or I'll have a t-shirt on that says who I am. I'll decide which one morning of.

Monday, July 4, 2011

Scratch Built Titan Pt. 7 (A Big Hand for the Titan, Ladies and Gentlemen)

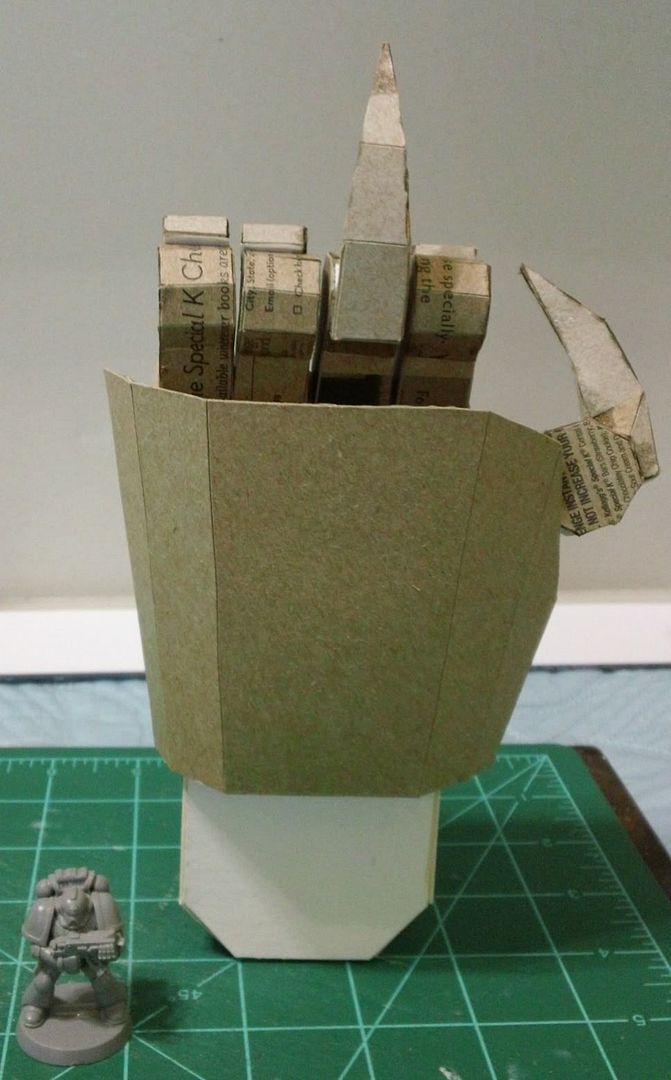
As work continues on the shoulders. I wanted to get an arm done to get some confidence up about my magnetized shoulders working. So I printed out the plans for the hands and got to cutting and gluing.

Here is a shot of the hand parts laid out. I've gone and glued one piece before photographing again... it may become my signature...


The finger tips were difficult to cut, fold, and glue. They are a pretty complex shape. I've done most of the arm in lighter "cereal box" cardboard to save weight.

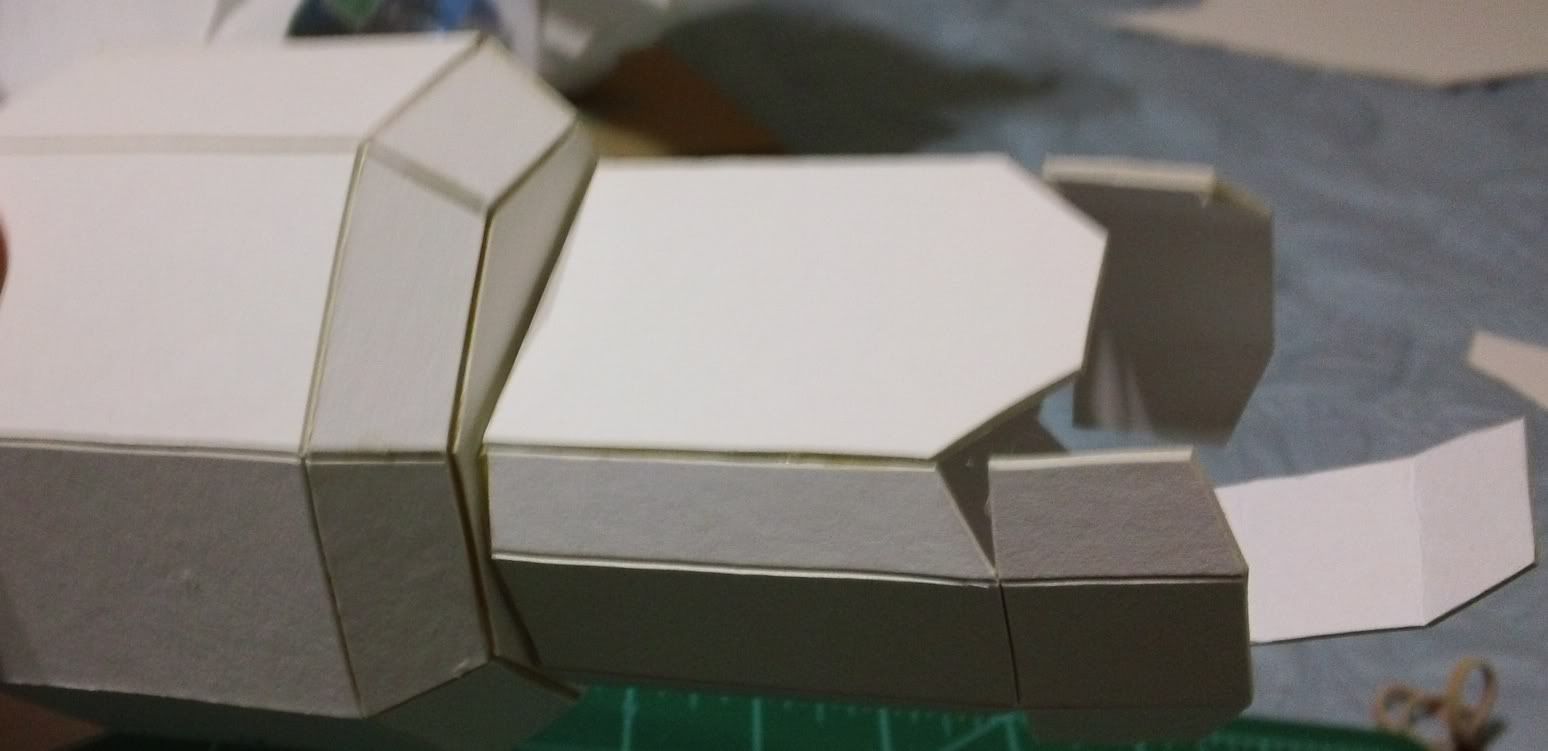
Here is a shot with everything assembled except the fingers and thumb...


I put a lot of thought into how I might dry fit the fingers. I don't have any blu-tac handy but my wife does have some scrap booking supplies. So I scavenged some sort of little double sticky tape picture attachment thingies and decided to give them a shot.


How do you feel about Chaos Titans Mr. Scratch Built?


The sticky stuff was not as sticky as I would have liked and the fingers fell off/apart several times before I could get the above shot. So, I may be looking for something more like blu-tac after all. The cereal box material is paying off in the weight department. This arm weighs in at only 3.1oz including the upper arm with magnets (I finally found my scale)!

Finish the shoulders, one to three more weapon arms, and then it will be time to start decorating this beast with all sorts of bits. Well... not all sorts.

Thanks for stopping by and I'll see you next time!

Thursday, June 30, 2011

Scratch Built Titan Pt. 6 (Titans are Disarming)

As I began work on the shoulders of the Titan, it occurred to me that being able to remove the arms would serve a couple of purposes. First, any dis-assembly should improve transport-ability. Second, there are a total of Four weapon arms on offer from the plans I'm working off, so being able to swap arms down the road may be cool as well. But how to accomplish such a feat of magic? With magnets!

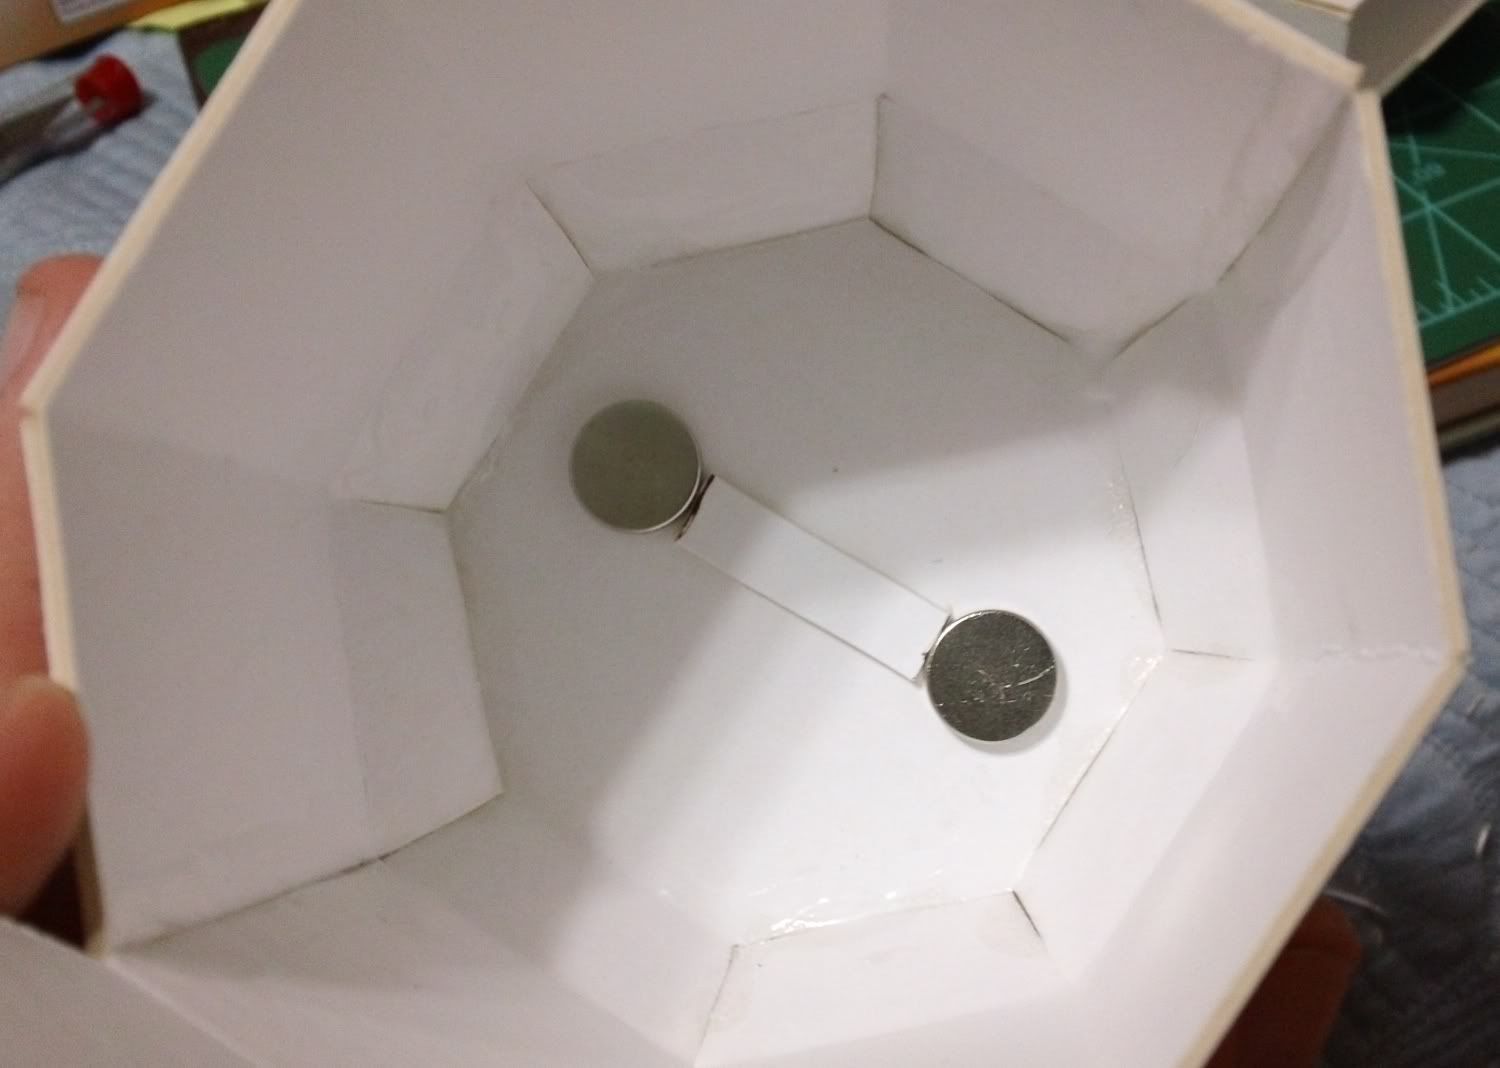
I've had some decent size rare earth magnets left over from another project and by sheer luck, I had just the right amount (after one broke in half). Most of this process will be explained in the following pictures. A couple of bits O'knowledge for reference; the shoulder is a large octagon. The arm bit is intended to be glued straight to the bottom of this octagon. The upper arm is different for guns vs fist. Only the upper arm for guns is shown in the pictures. Ok, lets go!

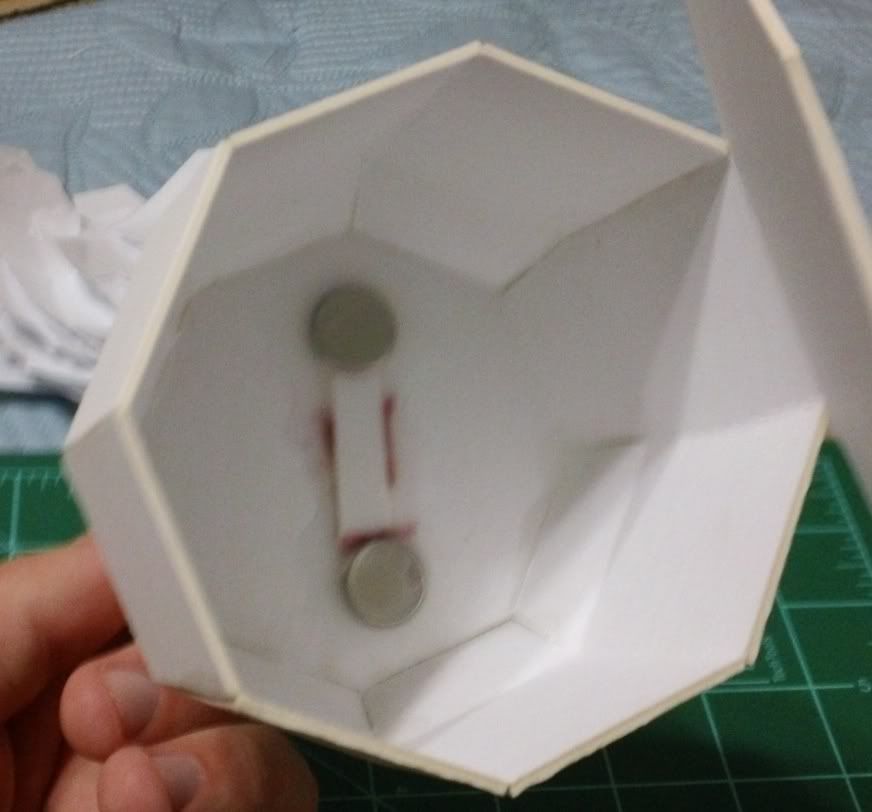
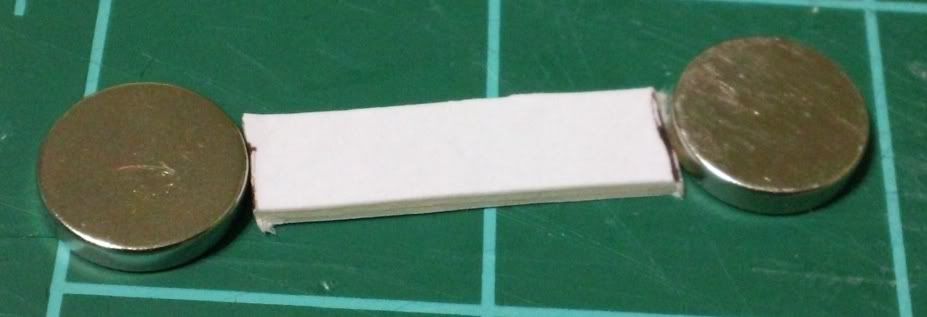
The plan is to put to magnets in each shoulder that will be mirrored in the removable upper arm pieces. After some measuring I found that these magnets can be placed about 1" apart and still fit nicely. I cut some pieces of scrap matte board to 1" to help line up the magnets while they are glued...


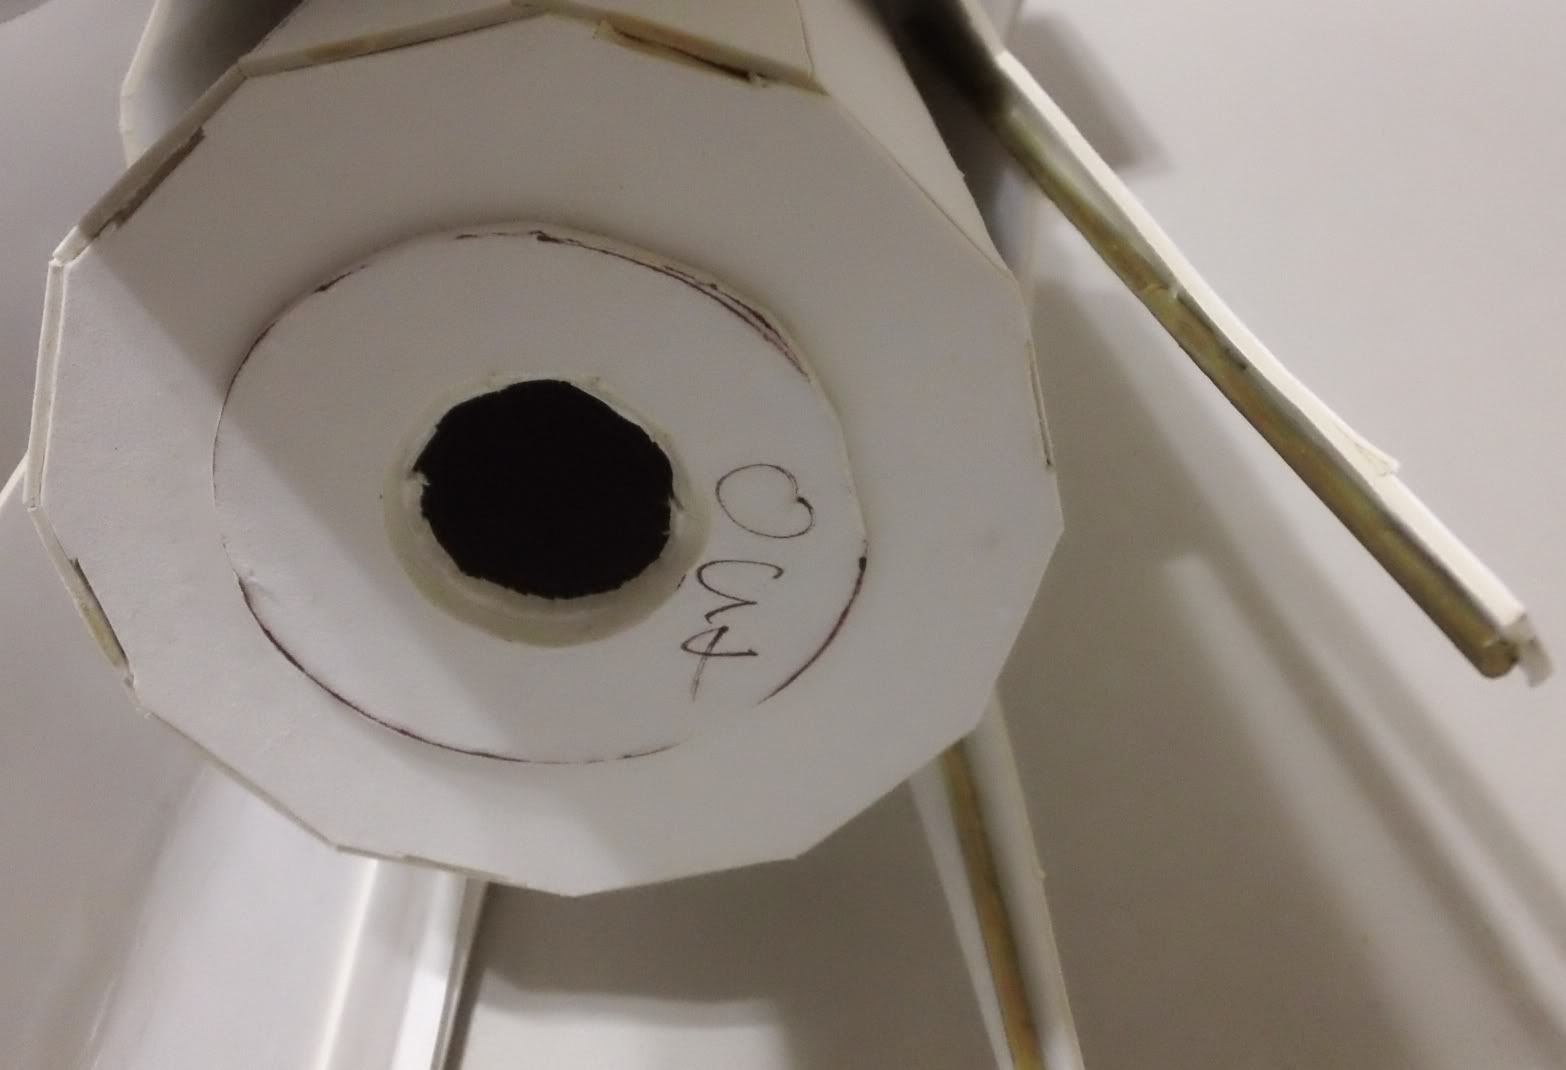
Here are the magnets lined up on the shoulder piece. You may notice they are not lined up with the geometry of the shoulder octagon. This is because I don't want the eventual pose to be arms straight at sides. Hopefully this slight angle will allow the arm to have a slight outward twist. How do I keep the magnets in place? With more magnets on the outside (not pictured)!


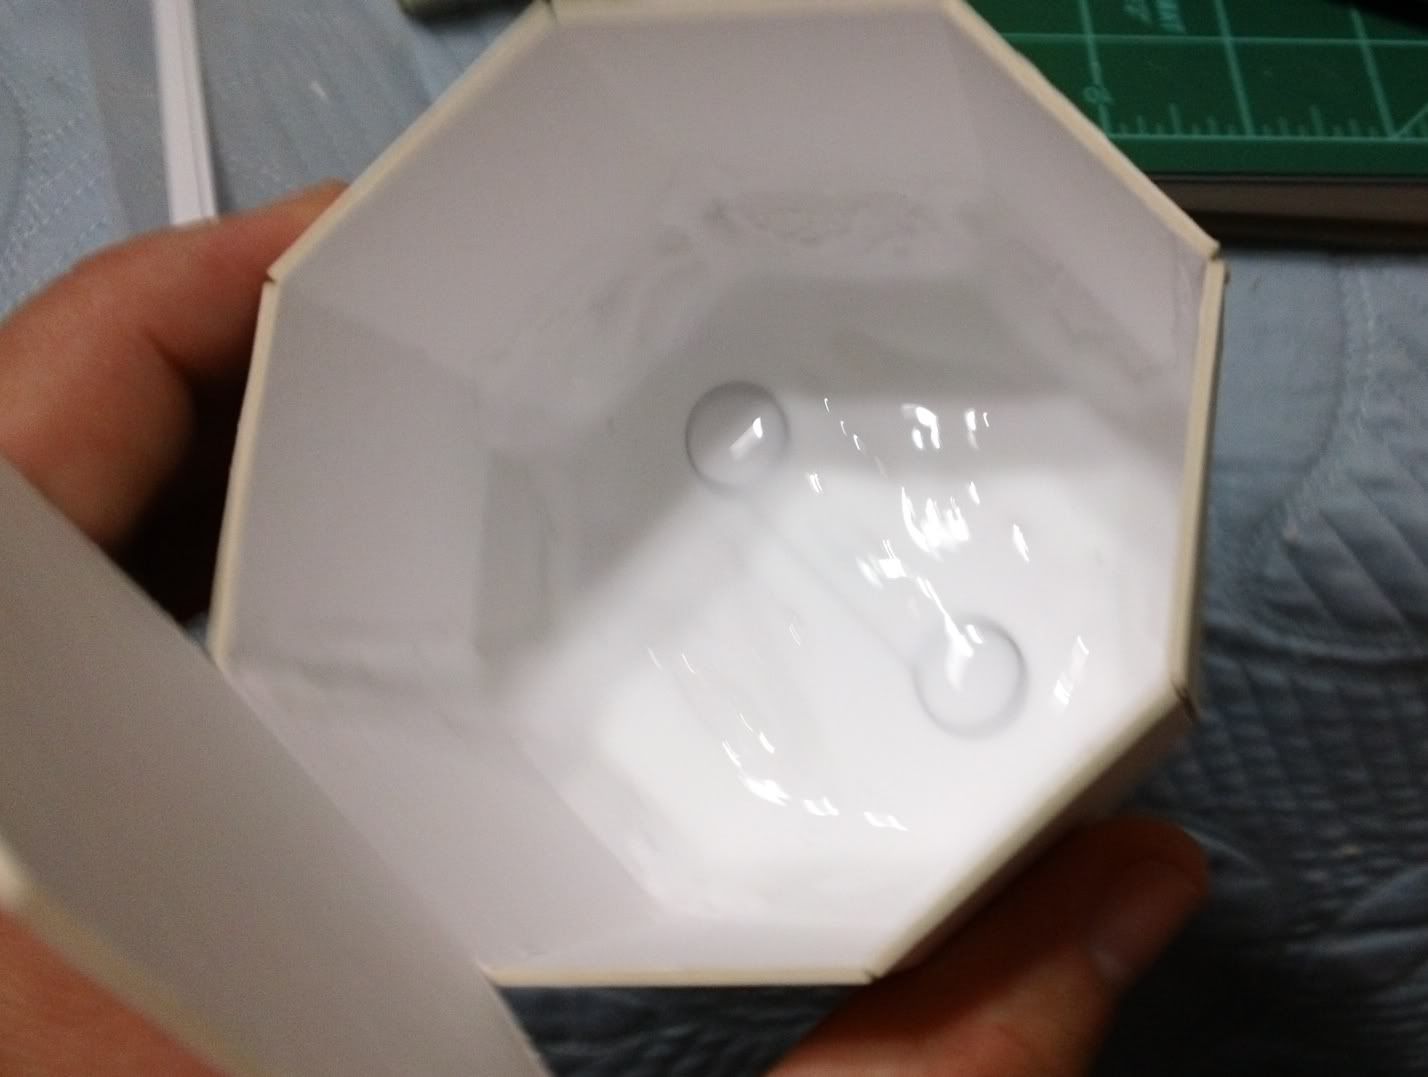
The next step is to liberally coat the whole inside of the piece with a mess of glue. I make sure to get a lot in the joins of the inside of the shoulder too, for extra strength...


After a few hours it dries strong and clear...


The great thing about this is, I used this first shoulder to line up the magnets in the upper arm, then used that arm to line up the magnets in the other shoulder, then used a shoulder to line up the magnet in the other upper arm.

Here is a shot of a shoulder and upper arm magnetized and in position...


One last thing worth mentioning. I had intended to set the magnets so that both in the shoulder were the same polarity up then both magnets in the upper arms have the opposite polarity up. I messed this up on the first shoulder and one magnet is "north" up and the other is "south" up. However, I decided that this was a happy mistake. My plan for arm removal is to twist the arms moving the magnets away from each other laterally. The poles being opposite doesn't change the holding power but does mean that if I twist too far they will repel instead of locking back together with the arm backwards. Does any of that make sense in words?

As of now I have the shoulders and upper arms magnetized and assembled. There are several more pieces to do on the shoulders so there will be a proper shoulder update later. I may decide to build an arm first to test the magnet strength... not that I can do much about it if it's too weak. Also, leg assembly has begun, or at least leg sub-assembly. I'll have to post an update on that soon too. It starts to look Titan-y when you start putting legs together!
Thanks for stopping by and feel free to leave a comment, question, or haiku.

Sunday, June 26, 2011

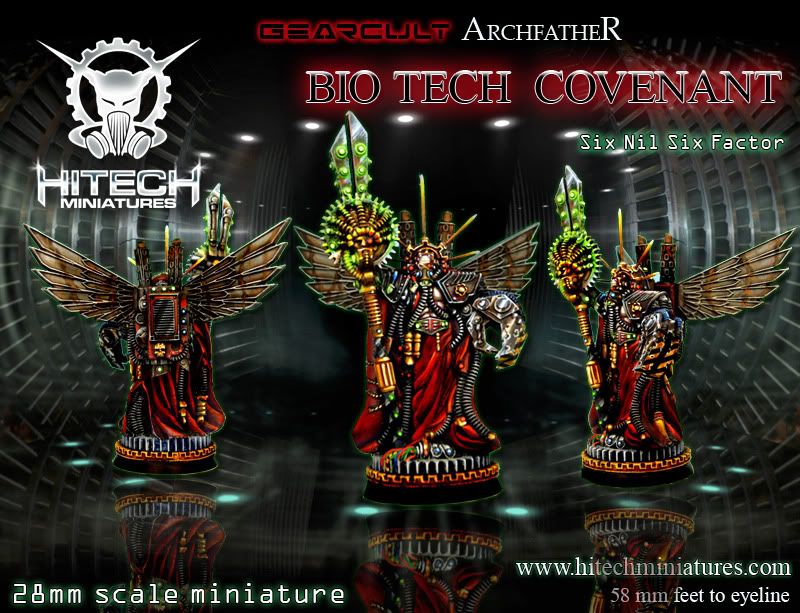
HiTech Miniatures Product Review "Six Nil Six Factor"

This is a quick(ish) product review I did for a miniature from HiTech Miniatures out of Poland. The miniature is their 28mm ArchFather Six Nil Six Factor. The bulk of the review is a video review as I'm still trying to get better at using my camera. It's really not the camera that needs much improvement though, it's me! You can see some detailed pics of the mini on the HiTech website I've linked to above. You all have the Table Top Fix blog to blame for this review. That blog catches just about every mini from every company known to man and shares it with the blogosphere. After the video I'll post some thoughts, some of which aren't included in the video.


Enjoy!


Pros:
Fast shipping from Europe, less than a week!
Quality sculpt
They included metal pins needed to complete mini
The subject is appealing and reasonably original (my opinion)

Cons:
The checkout process on their website is not user friendly
A few more pin holes than I'd like to see for the price

Overall, I'd say that if you see something on the HiTech website you really like, give them a shot. Just understand that you may be filling a couple pin holes when you get the mini. If you have any specific questions, I'd be happy to answer them.

Back to work on the Scratch Build Titan. The shoulders are in the works right now.

Thursday, June 23, 2011

Scratch Built Titan Pt. 5 (That's Church)

Part five of the Scratch Built Titan project brings us to the body of the titan. The body, in this case, being a church. Need help bringing the faith of the Imperium to a backwater planet? Drop a walking church on'em!

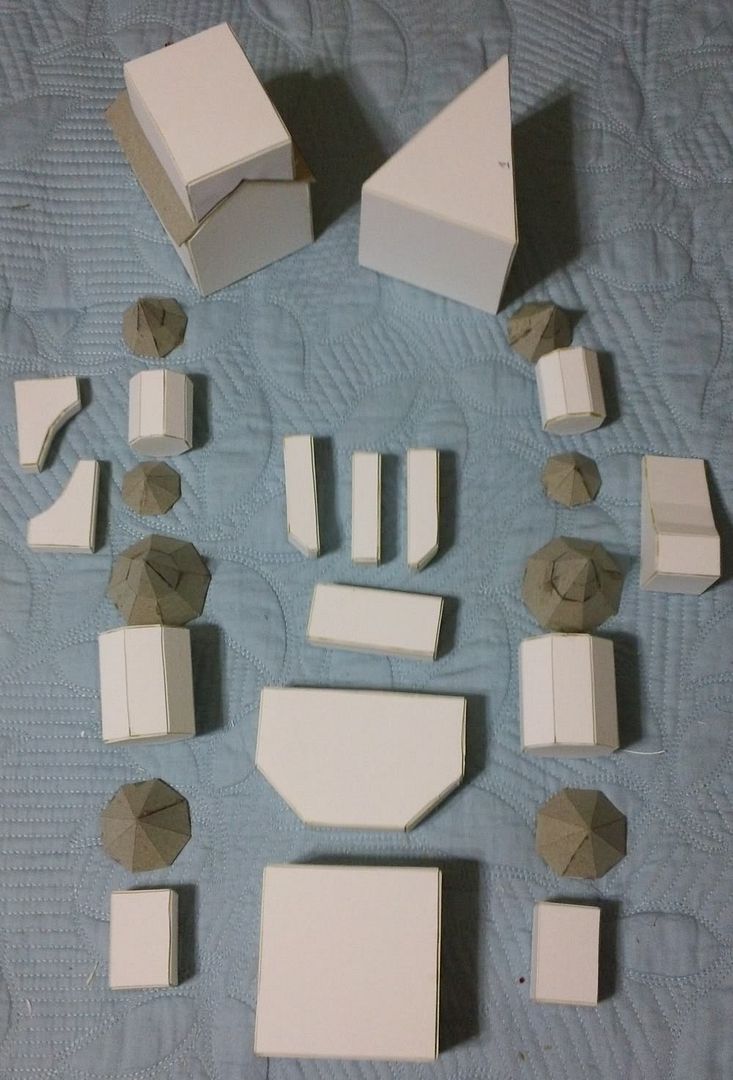
There was the printing, the sticking, the cutting, and the pasting. But when it was all done we end up with a collection of parts assembled as shown below...


You may note that there are two pieces in the upper left corner already assembled with a "roof" between them... I got a little ahead of the camera...


The different colored bits you see are made from cereal box material. It's a little thinner and easier to work with than the matte board so it's a great choice for the really fiddly tower bits. After some sub-assembly we end up with a group of three main pieces. The church itself on the top of the body of the titan in the middle of the shot below, the front balcony in the left of the shot, and the rear chapel & balcony on the right...


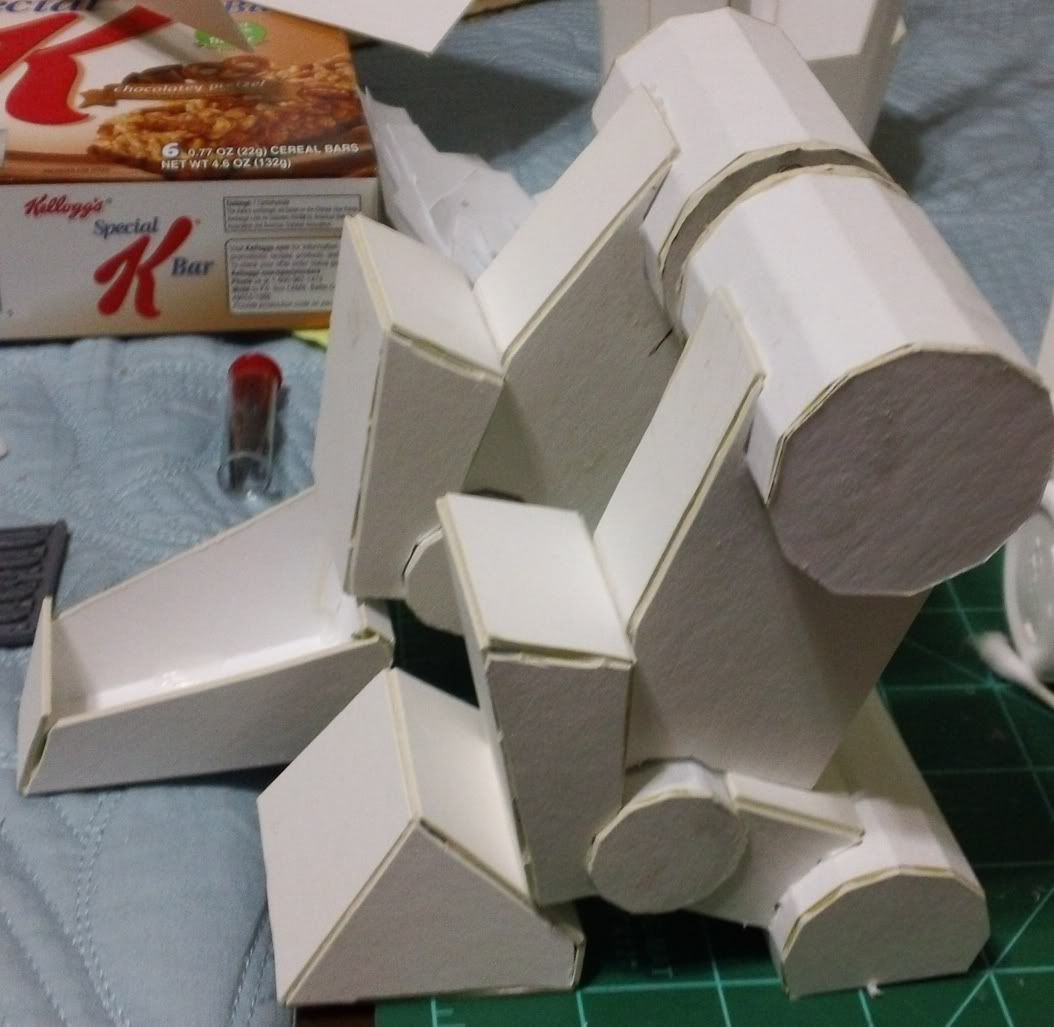
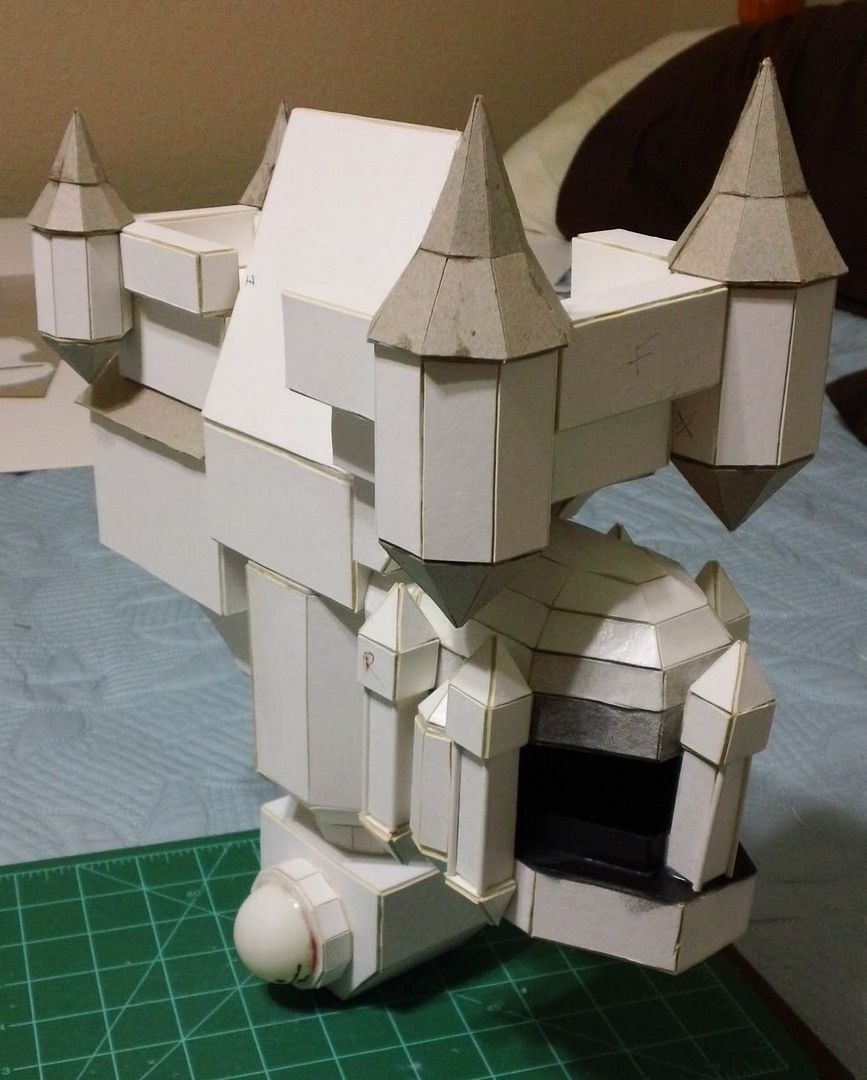
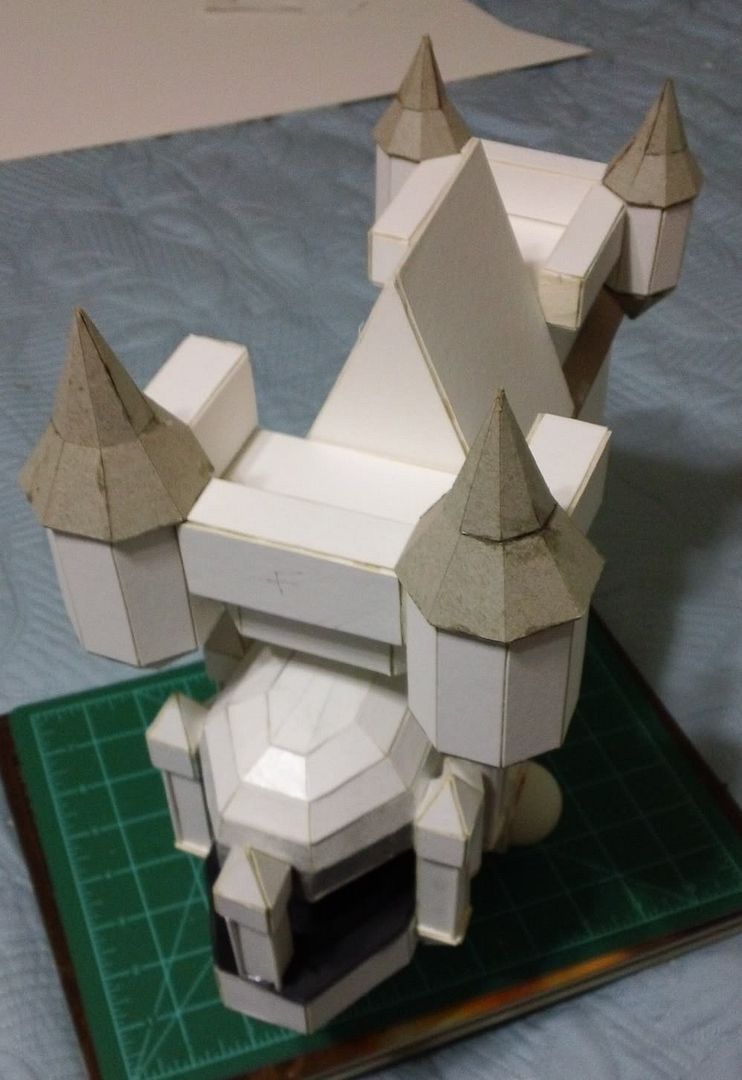
The above pieces then go together to form the overall structure of the titans body/church. This is not an exact science and much referring to the instructions and a finished example over at Tanks and Trolls was needed before I felt confident enough to glue the pieces together. This step also includes the addition of the head. I'm really not sure it was necessary to add the head at this time, but I went along with the instructions and did so. There is not much in the way of pose-ability with the head, so I don't feel like waiting for the final pose (as I do with man sized minis) would have changed the head's final position. Here are some assorted shots of the titan from the hips up so far...


I'm not sure why I didn't take any shots of the titan from the rear? Maybe the head seemed too pretty? Anyway, that's the progress so far. As I'm building this I'm really tempted to go ahead and assemble the legs. The left to right should balance themselves out reasonably well and I now have pretty much all the front to back assembly done. Which balances itself out nicely as you can see from the shots above, a little front heavy, but only slightly. Details and decoration may change the balance a little, but I can't imagine it will change drastically from where it is now. Besides all that I'm excited to see the legs under this thing!

Please feel free to leave a comment if you like. I'm happy to answer questions, ignore complaints, and hear your thoughts. Thanks for stopping by!

Related Posts with Thumbnails