Showing posts with label Marauder Destroyer. Show all posts

Tuesday, July 20, 2010

Marauder Destroyer Pt. 7 (Camo Time)

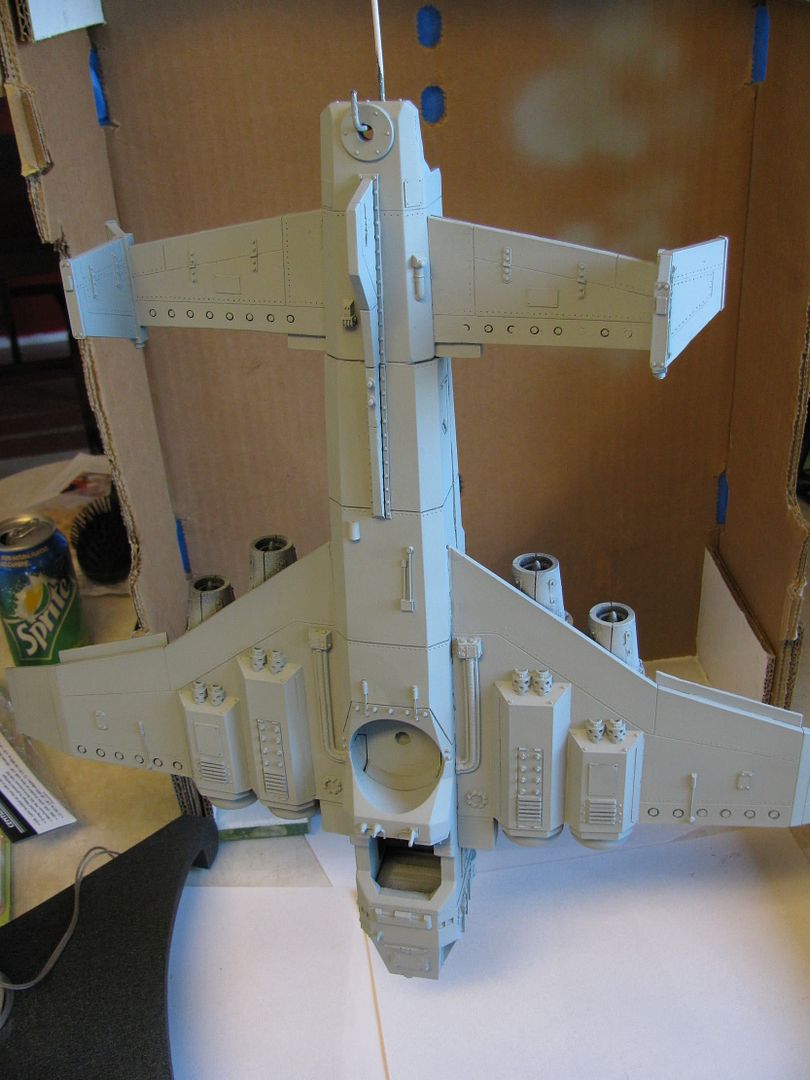
The next step in the Marauder Destroyer build is to get the major colors onto this bird. I'm going for a gray on gray camouflage scheme. This would be suitable to Ash Waste type worlds, or even worlds covered by urban sprawl.

The idea when it comes to airplane camo, is not to be seen... of course. But you are going to be searched for from primarily two directions. Below by anti-aircraft weapons, and above by fighters hoping to put a stop to your deadly payload. For this reason many planes are a lighter color underneath, to blend into the sky when the enemy looks up, and darker more complicated patterns on top to make it harder to see them from above with the ground as a backdrop.

On to the how. A solid base coat is the first step. That can be seen in the previous post. There are many (many) great articles on the internet that go into great detail on how to paint a camouflage pattern. I'm just going to show you how I do it.

First I take a strip of blue painters tape and lay it out on my cutting surface. I use the blue painters tape because it is tacky, but not sticky enough to take off previous layers of paint.
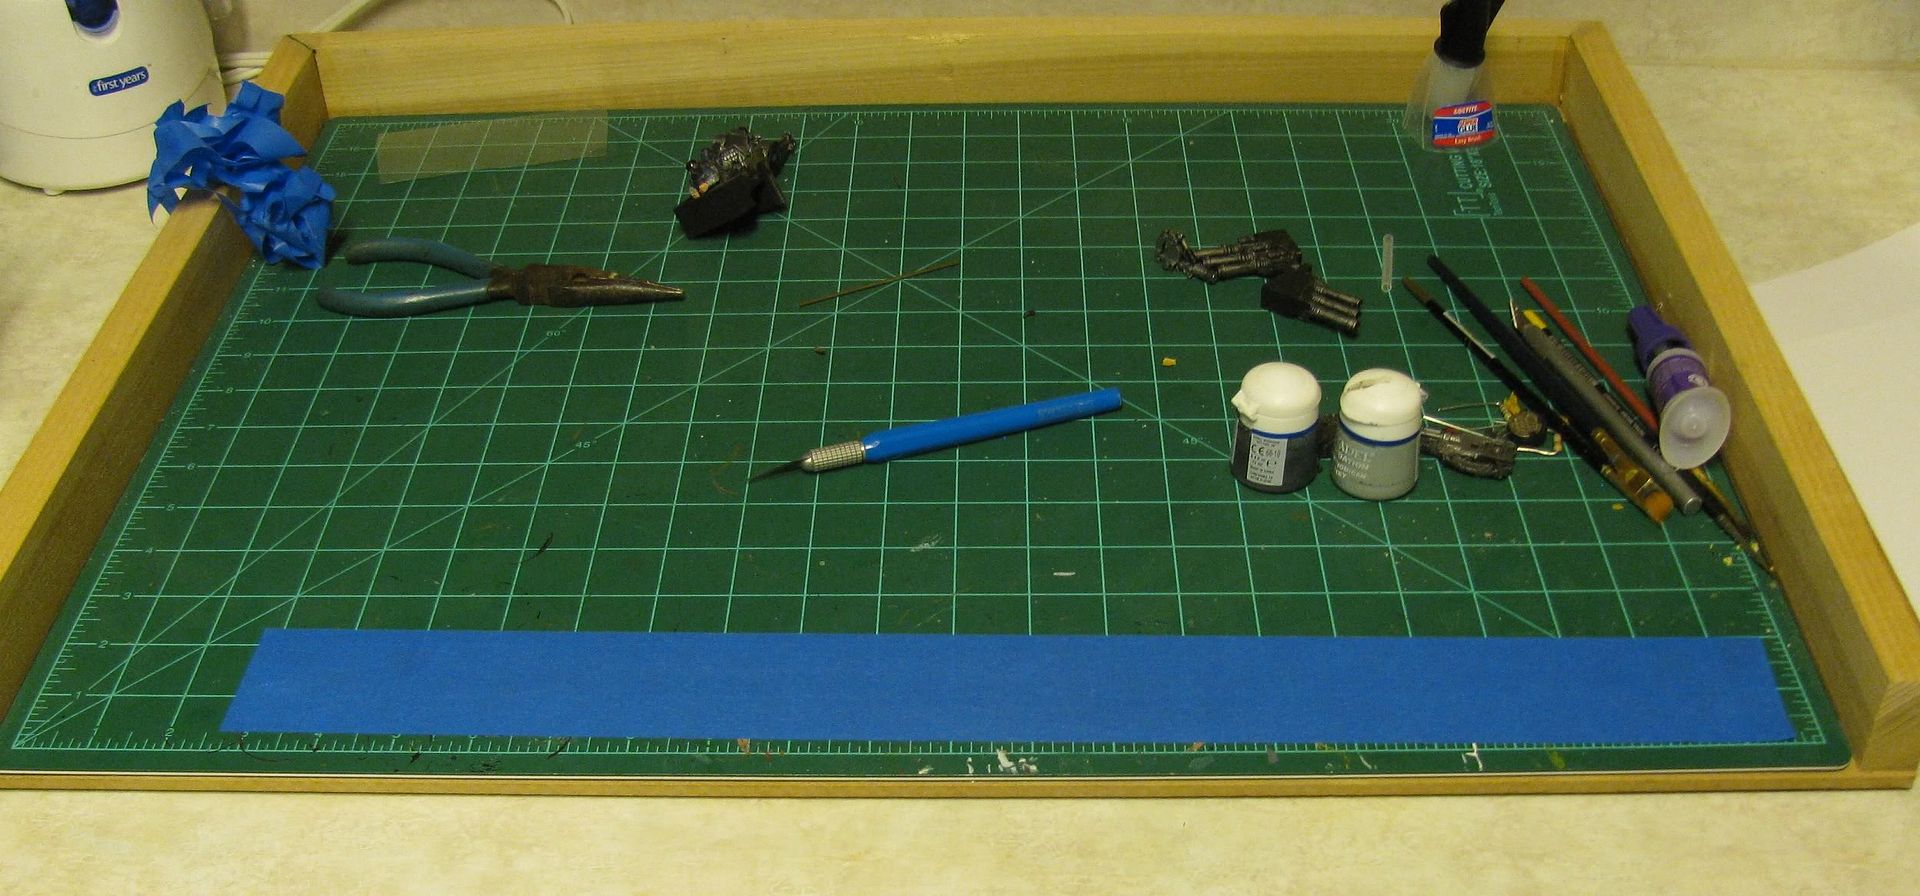


I then cut the tape into a pattern using a sharp hobby knife. This is not a precise thing and randomness is all the better. Using wide tape I can get a couple of strips like this one from one stretch of tape.


Peel up the tape and find a spot on the model and start pressing it down. Then just repeat this process.
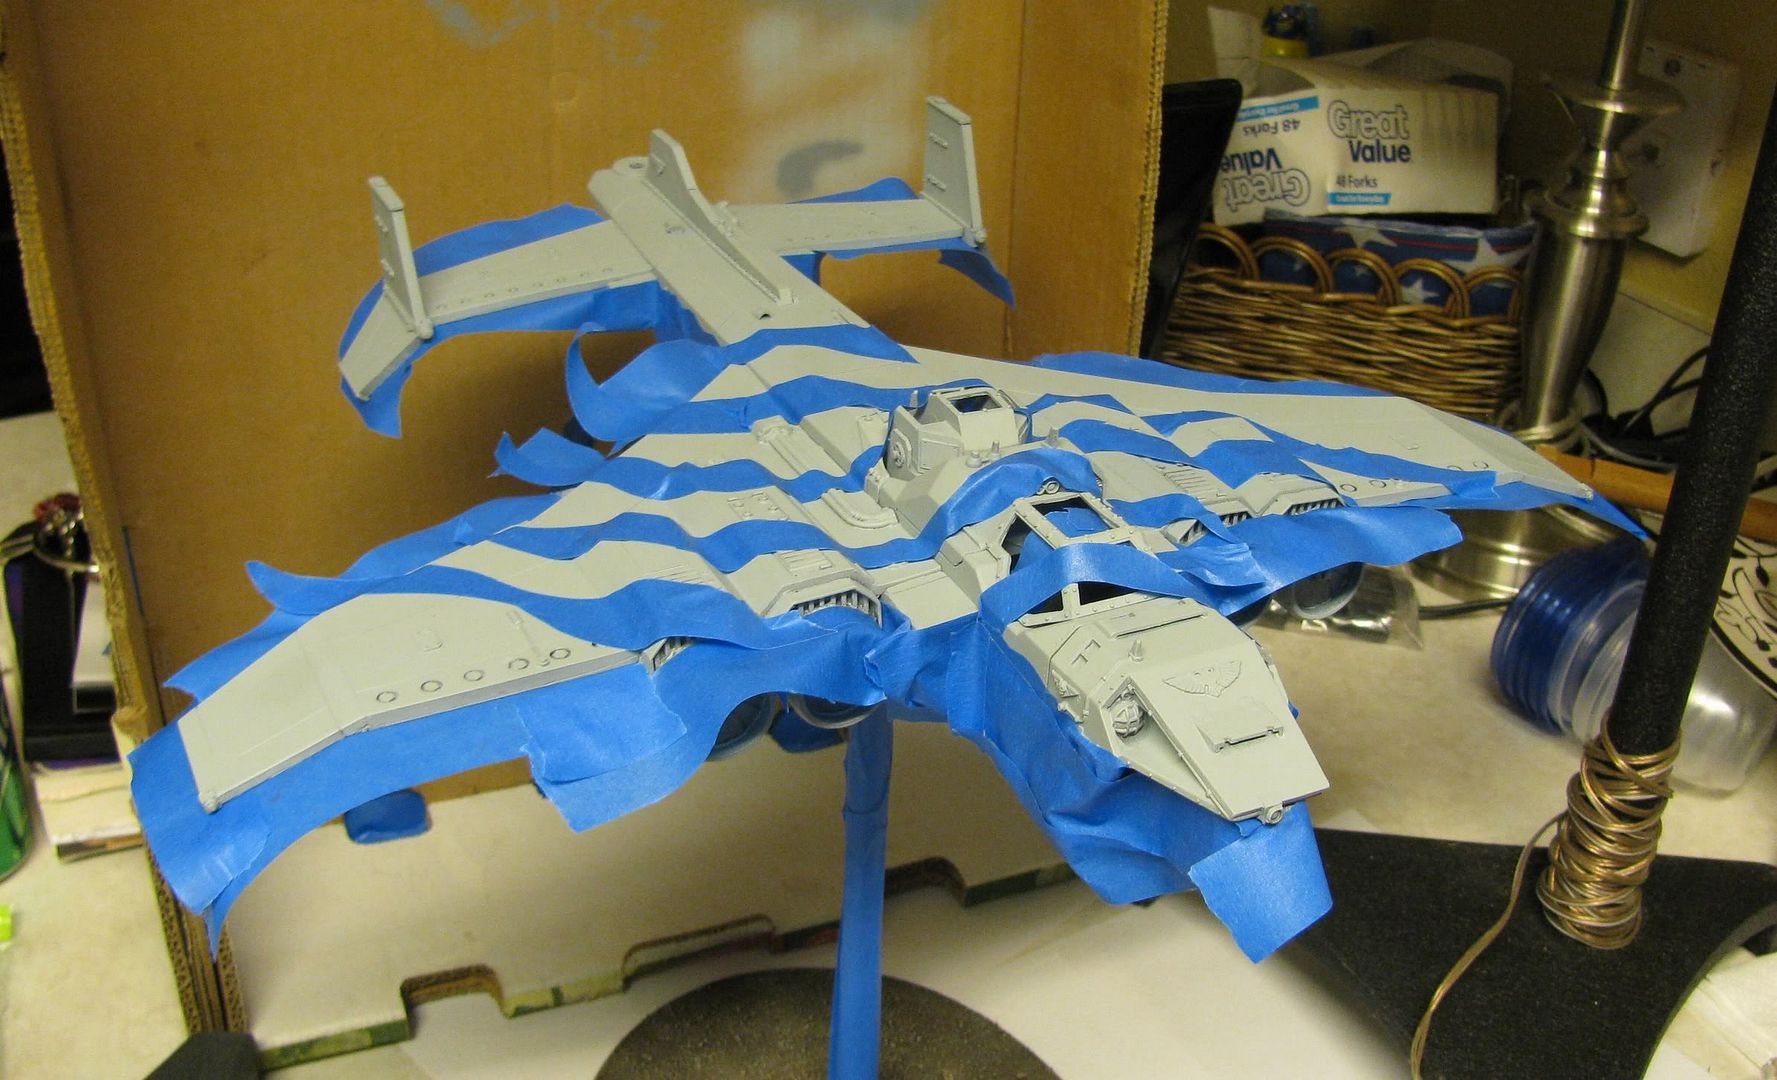


Here is the finished product...
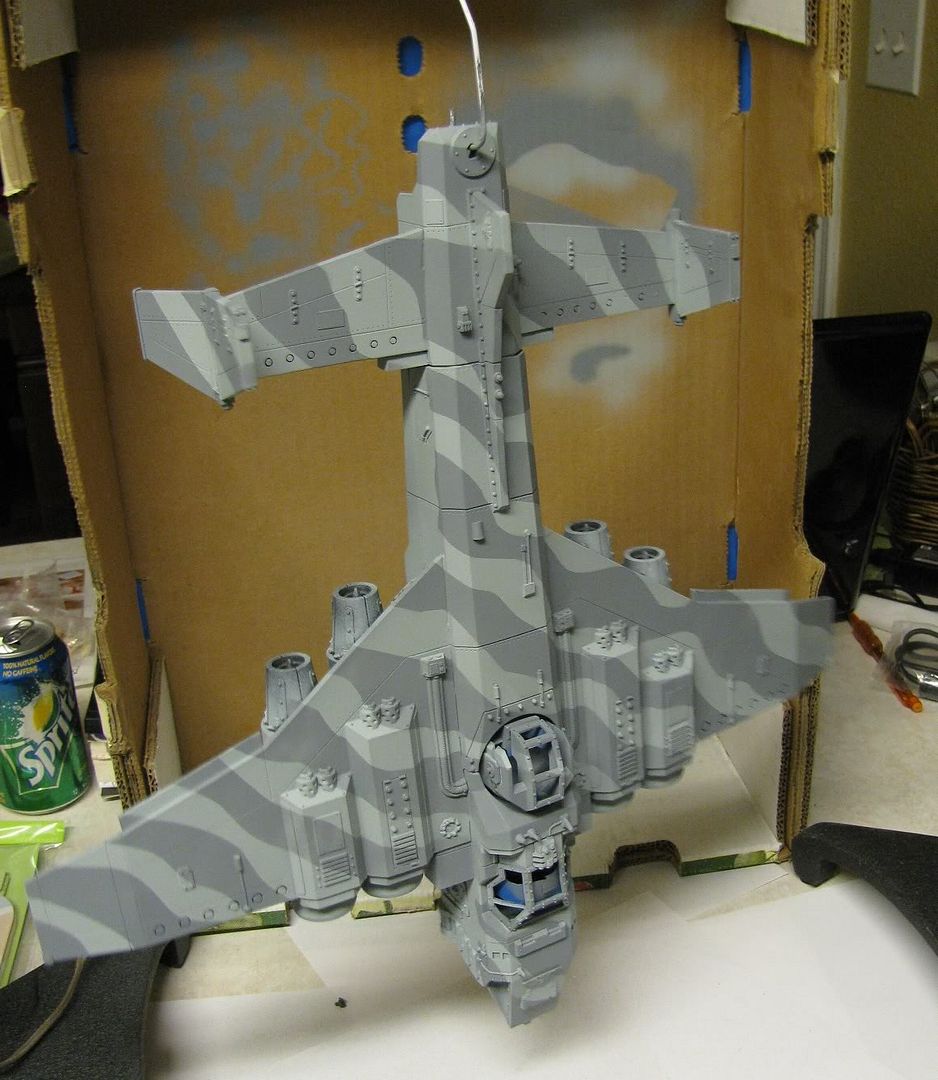

(You can see it is already blending with the test colors on the box in the background.)


As I mentioned, there are many articles on the internet about how to do this. Some give you a sharp demarcation, some give you a softer line, some require more skill, some require less. This is just my method and it seems to have worked out well for me.

Questions, comments, and whatnot are welcome as always. See you next time in part 8!

Sunday, July 18, 2010

Marauder Destroyer Pt. 6 (Your Name Here)

I could tell you about the hellish weekend I had trying to find adapters for adapters for fittings to make my new (though cheap) compressor work with my airbrush, but I won't. I will tell you the old compressor is still working fine and I'd be done if I hadn't wasted time trying new things. The moral of the story is, don't try new things... Unless it involves sushi or the opposite sex.

So, while not getting much done, I had lot's of time to think...

Bombers, and most planes, have some form of nose art. Here are a couple examples that don't involve naked women.... though there is nothing wrong with those either.


As you can see, these are usually a simple picture (though it could be a symbol) and a name of some sort. Now, space on the nose of a Marauder Destroyer is minimal, but I may also look into integrating the 'nose' art onto the midsection, or even a wing top or rudder. It's the 41st millennium, leeway must be granted.

Your name here? I want to give my fellow bloggers a chance to have their blogs name on my Marauder Destroyer! Here is how this will work;
First, you will leave a comment letting me know that you want to participate. We will work out a name to be used if you win in the comments section. For example, if your blog is named The 51st Cadian Doom Weevils, we may make it the Spirit of the 51st Cadian Doom Weevils just to keep it sounding like an airplane name.

Second, you have to do my dirty work and get me some traffic. I don't care if you mention my blog in yours, write a blog about my blog, or just sucker your friends into coming to my blog. The caveat is they have to come here from your blog to count. I'll be adding up numbers of visitors who linked here directly from each participants blog and whoever sends the most traffic, is the winner! And no fair just coming here yourself a million times (though you are welcome to do so), I'll be skimming the traffic to make sure it's not all from the same IP address.

So why the cheesy tactic? I used to have quite a bit of traffic, but then I was off due to personal obligations for several months. I want to make sure that folks out in the blogosphere know I'm back on it! Especially before the WarHound Twins project starts.

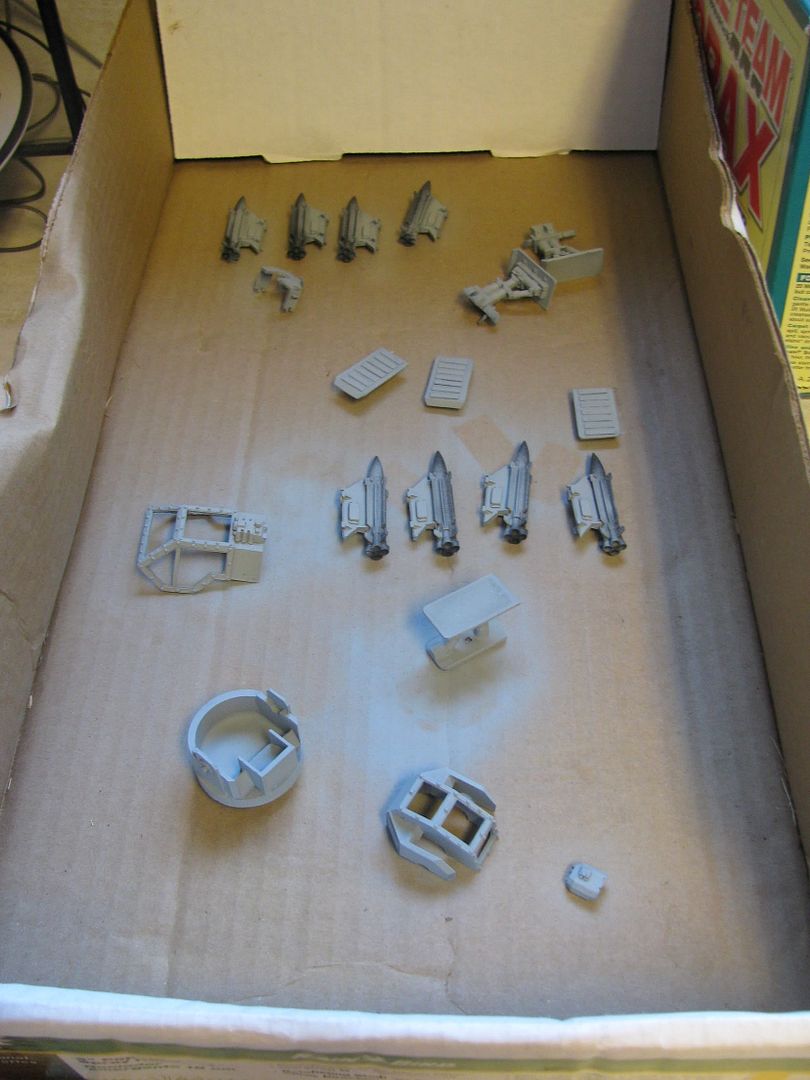
So I'll close with a couple of pics of the work in progress...


So, if you want to participate, drop me a comment. I look forward to hearing from you... yea, you!

Tuesday, July 13, 2010

Marauder Destroyer Pt. 5 (Some small progress)

As promised, before 537.010M3! Even if just barely.

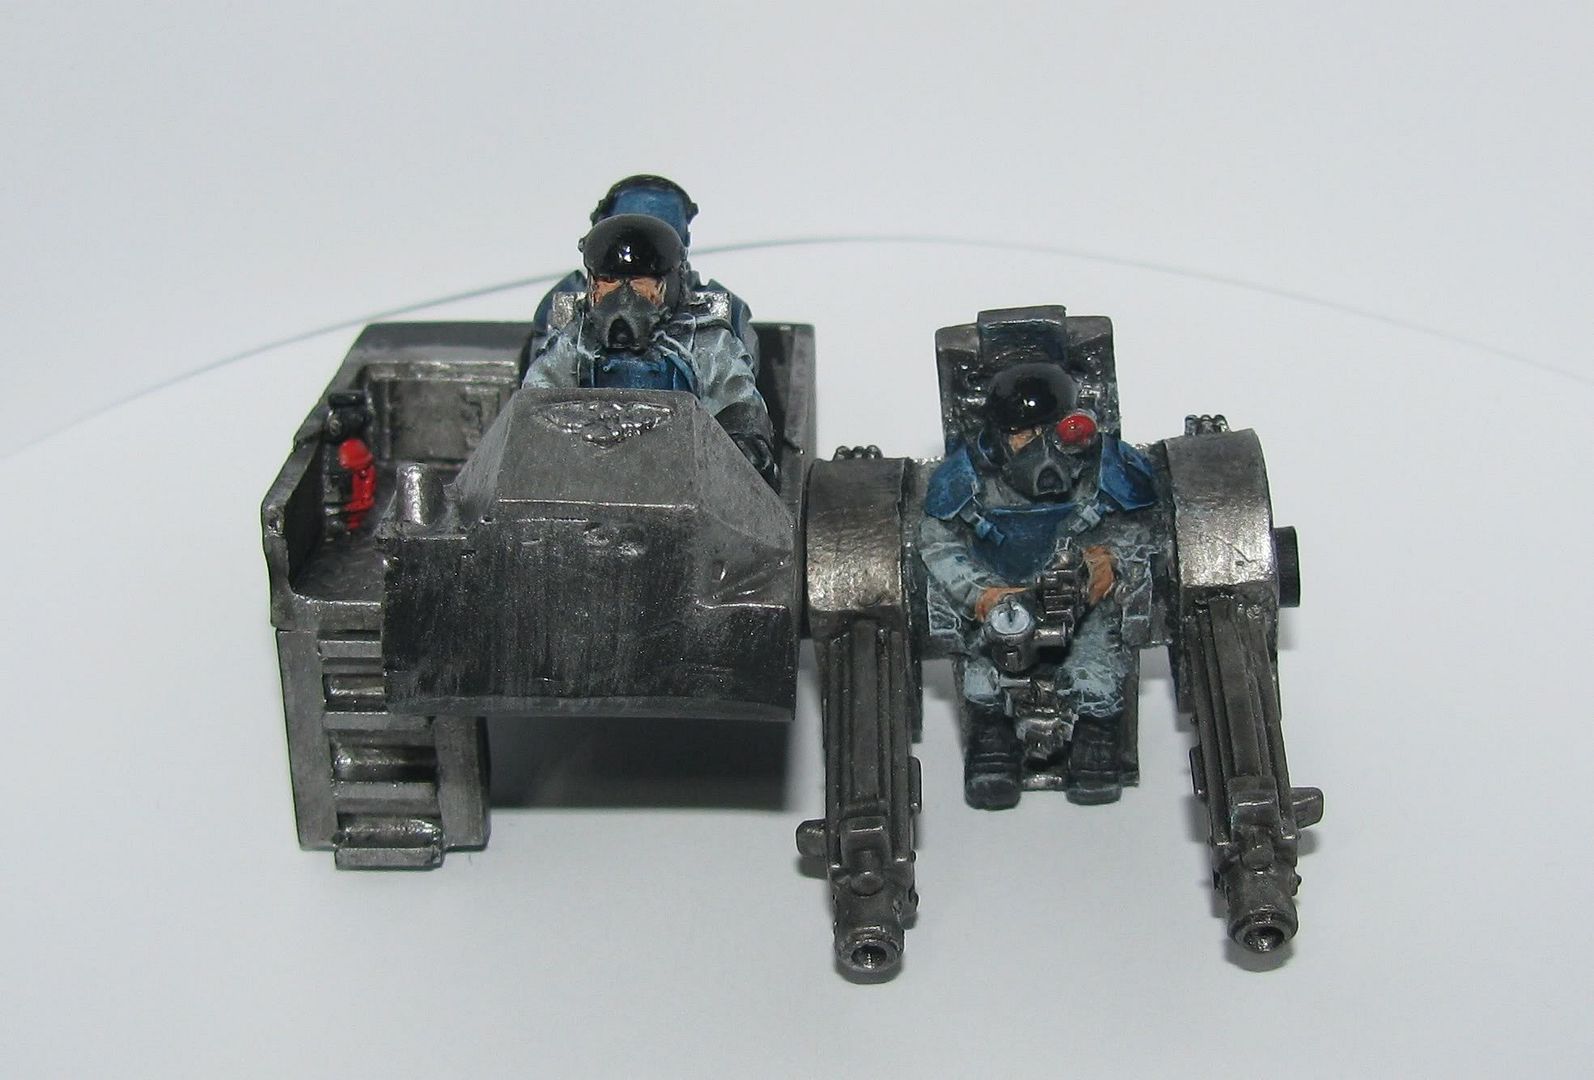
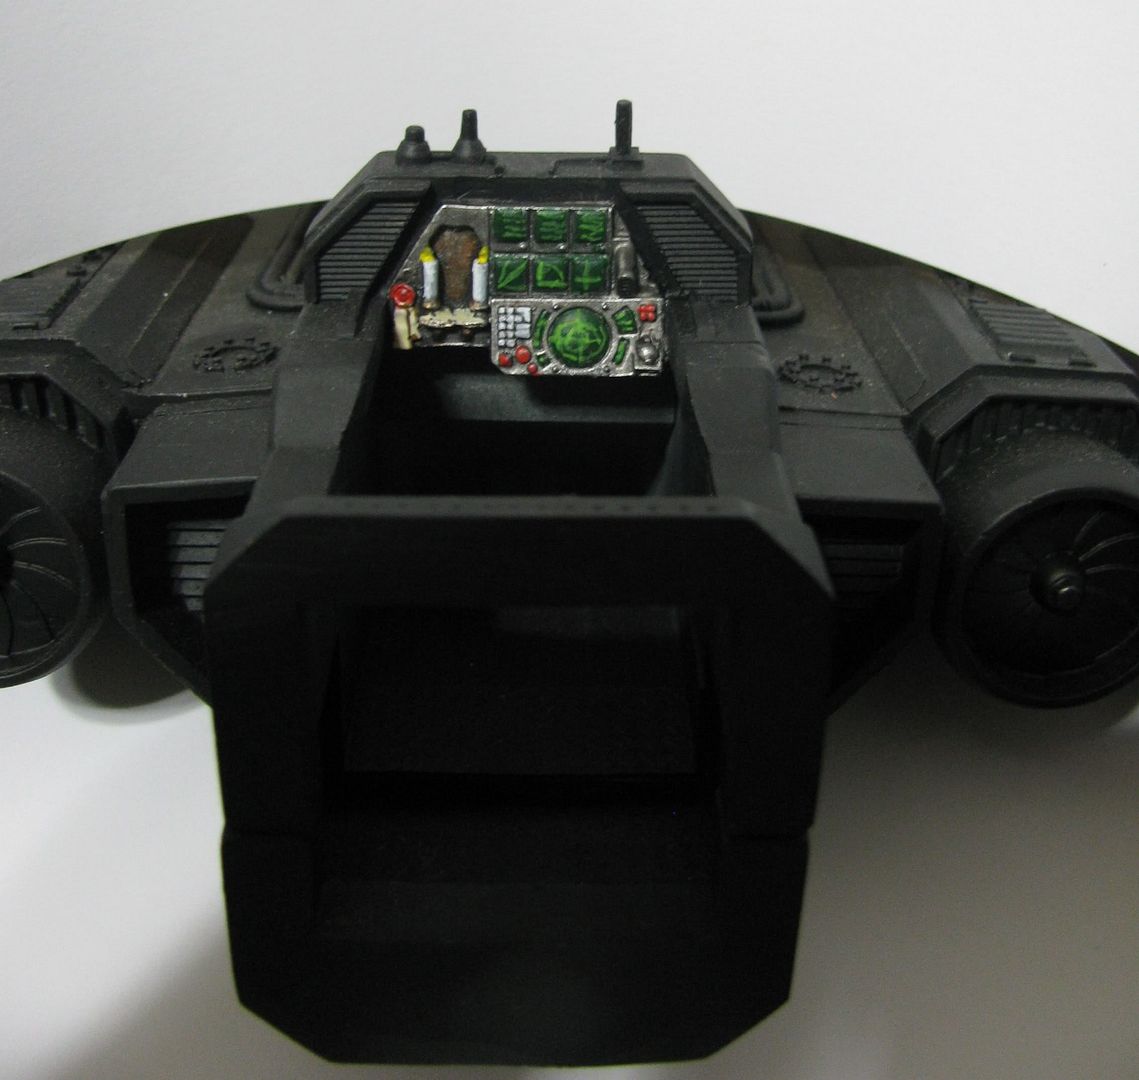
I've finished out the cockpit details and the crew. I say finished, but what I mean is, "gone back and fiddled with" as much as I'm going to. I'm not the super interior detail master that some out on the interweb are, but I've put some paint on the inside of the plane anyway.

Here are a couple shots of the crew, cockpit, and dorsal gunner...


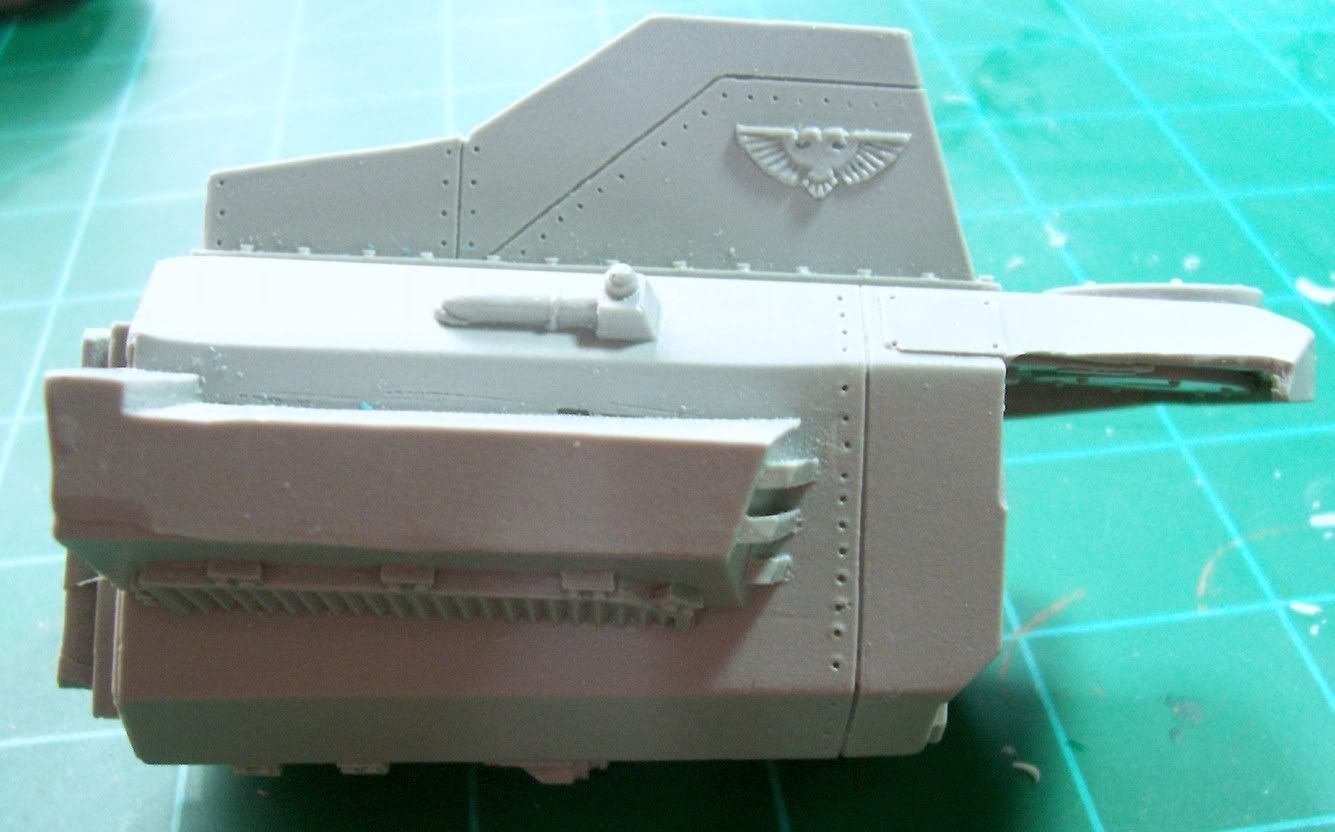
The rear of the cockpit is molded onto the plane itself. This shot is from the 'nose' looking towards the tail.


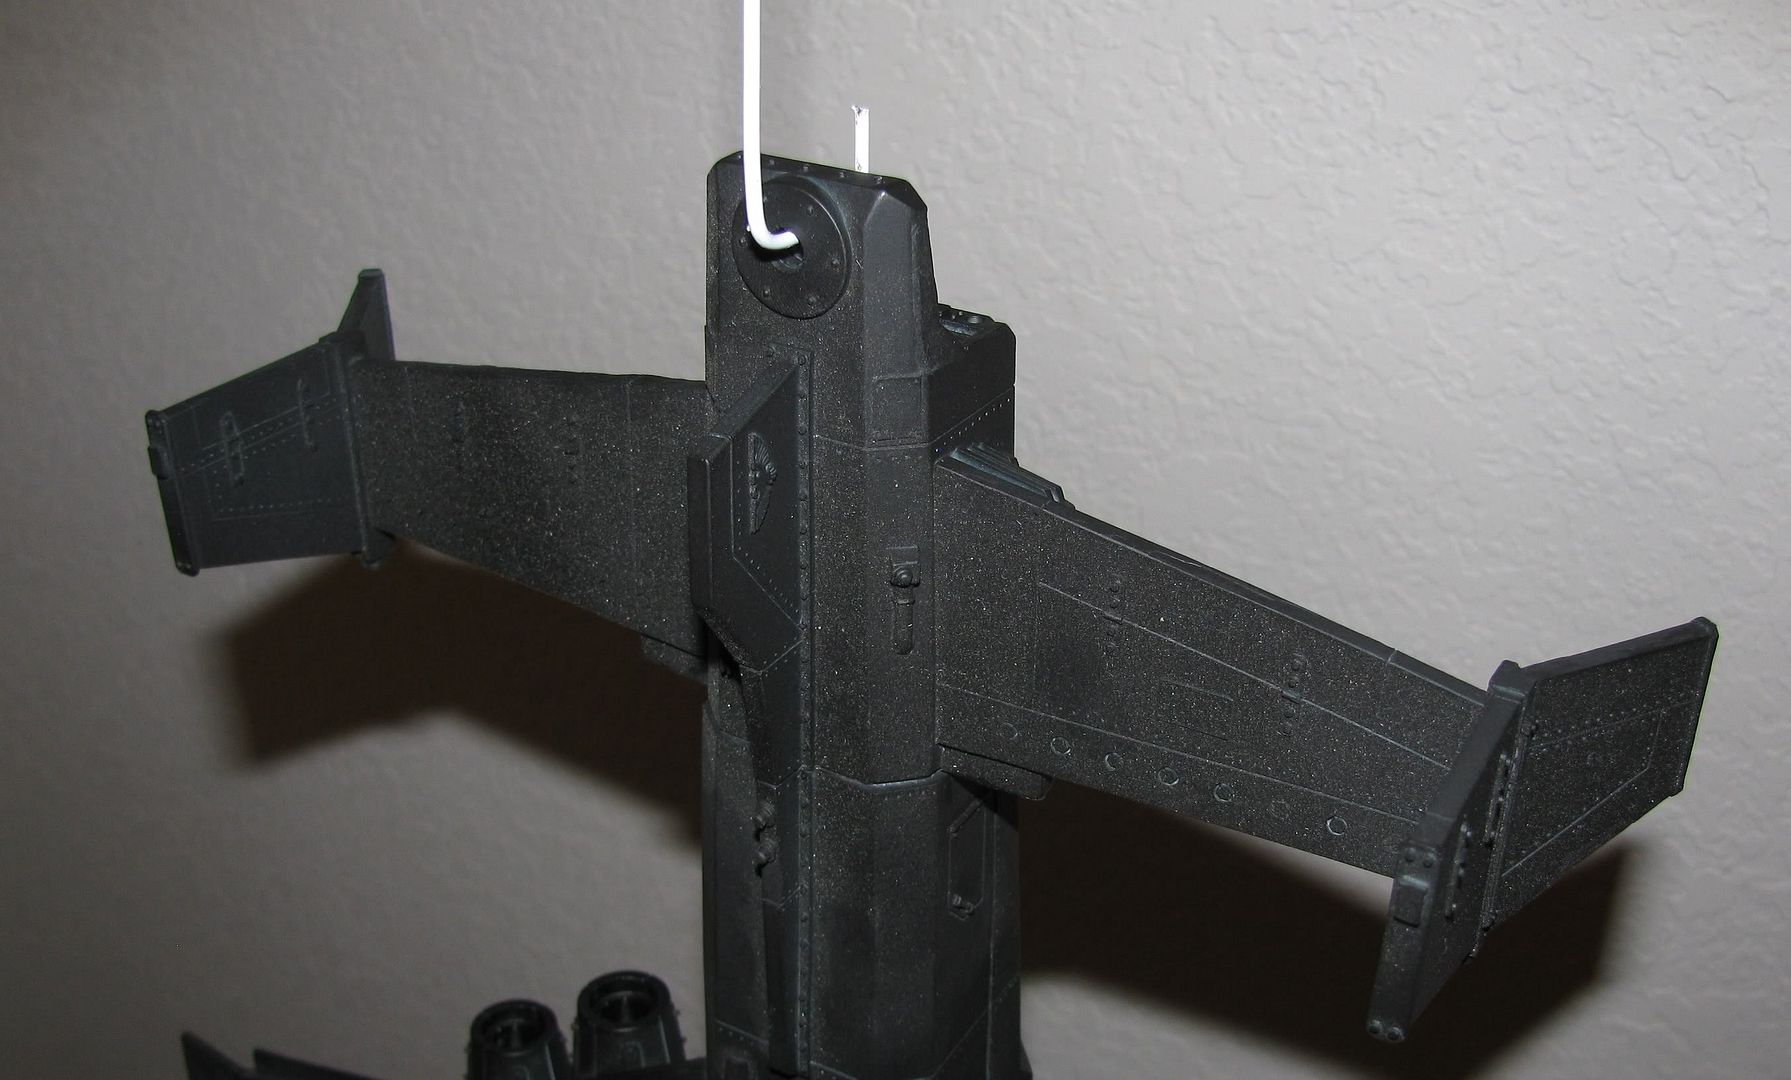
So now comes the joyous time of airbrushing. I've been doing a lot of pondering on how to paint this odd shaped beast. The answer finally came to me just yesterday! I think this idea is many shades of cunning and should work on a Marauder or Marauder Destroyer...


And a close up...


That's right, just hang it out to paint! Now I just need something to hang it from that's within reasonable reach of my airbrush. This will be great and allow me to spray it all over without having to wait for bits here and there to dry so I can turn it over and such. Please hold your applause till the end of the blog.

On another note, I've been reading the Gaunts Ghost third omnibus, The Lost. I'm working through the first book, Traitor General right now. It's a great book, but then all the Gaunts Ghost stories are. I don't know about you, but when I read a good 40K book, it makes me want to work on stuff for that army. I think this time is the exception. I just keep thinking how much easier the Ghosts would have it with a couple of Warhounds traipsing across the countryside. I can't wait to finish the Marauder Destroyer and start the Hounds!

Please feel free to leave any comments you wish. I like the praise and have a pretty thick skin in regards to critiques, so bring it on!

Monday, February 22, 2010

Marauder Destroyer Pt. 4 (Flying Stand)

Just a quick update in an attempt to prove that I really have been working on this project!

I've sorted all the building out and even magnetized the Hell Strike missiles that go under the wings. All parts are ready to prime (have been for almost a week now) but the weather here is not cooperating. I have a garage I can spray primer in, but the weather has either been very wet and/or cold lately. The one nice day we had, when spraying primer wouldn't make me nervous, I had other obligations and wasn't able to get it done.

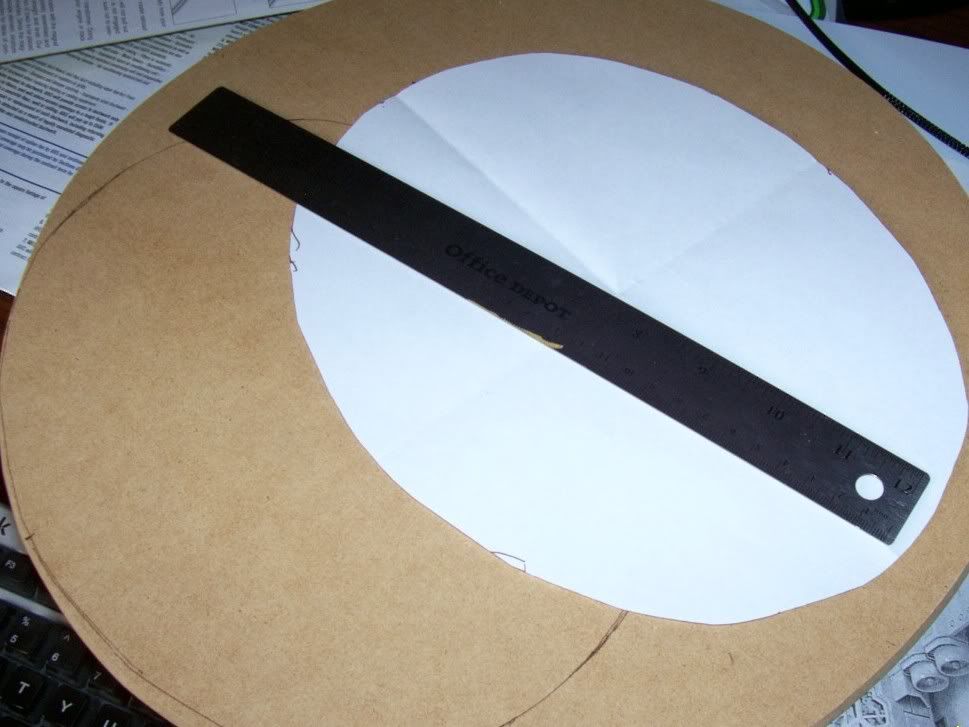
I cut the base from a bit of scrap 1/4" MDF board I had laying around. I folded a piece of paper in half twice to and cut 1/4th the shape. This insured some symmetry in my pattern. The base is an oval of about 10"x7.5".


I also cut out some smaller pieces to use to build up the base where the stand would be placed.


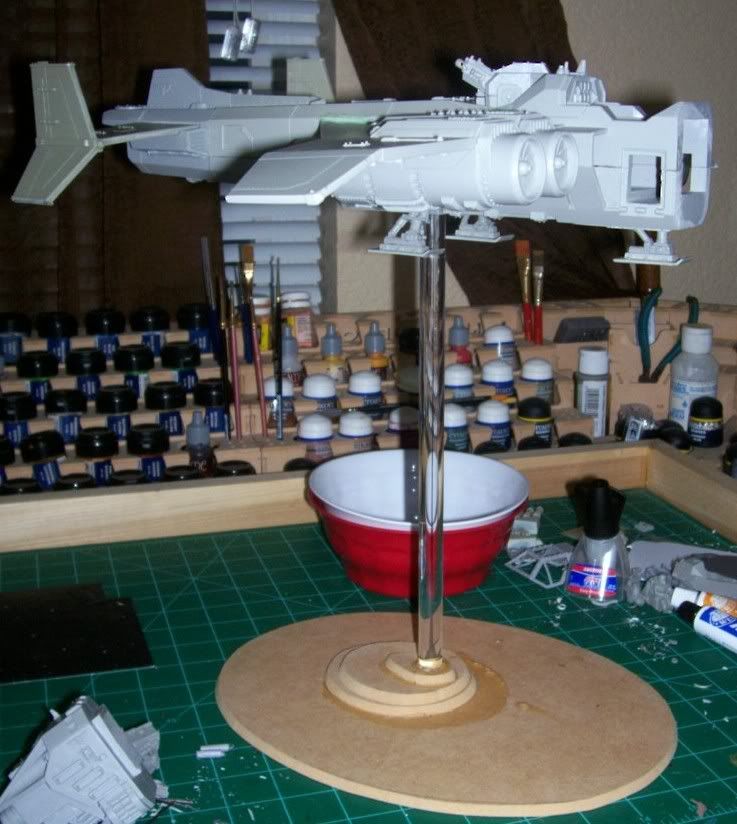
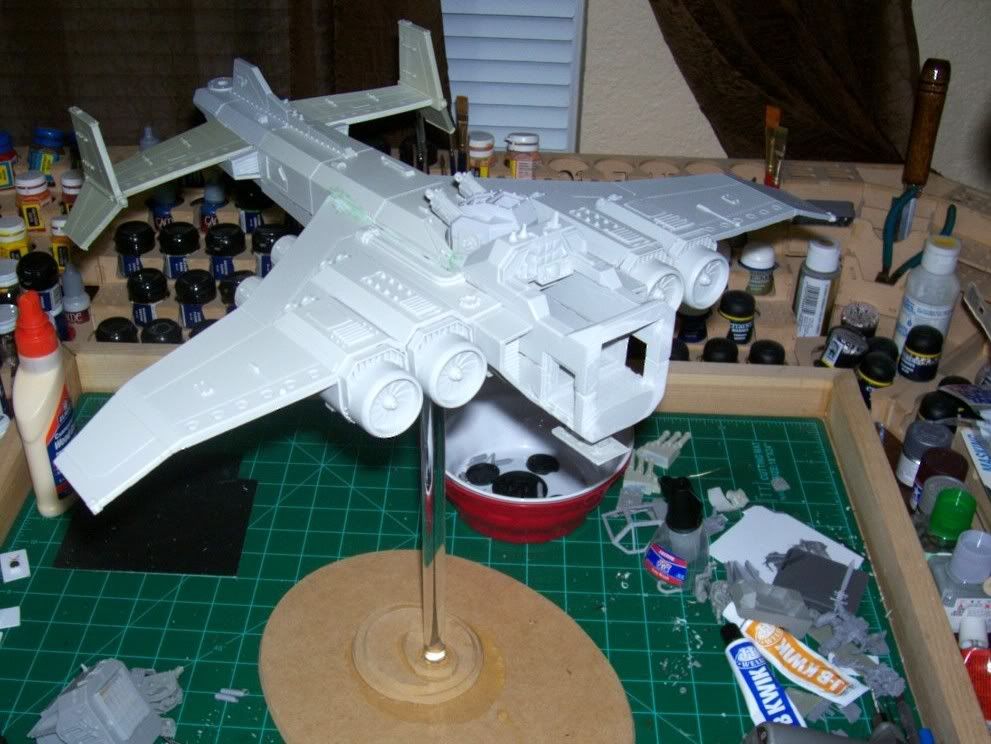
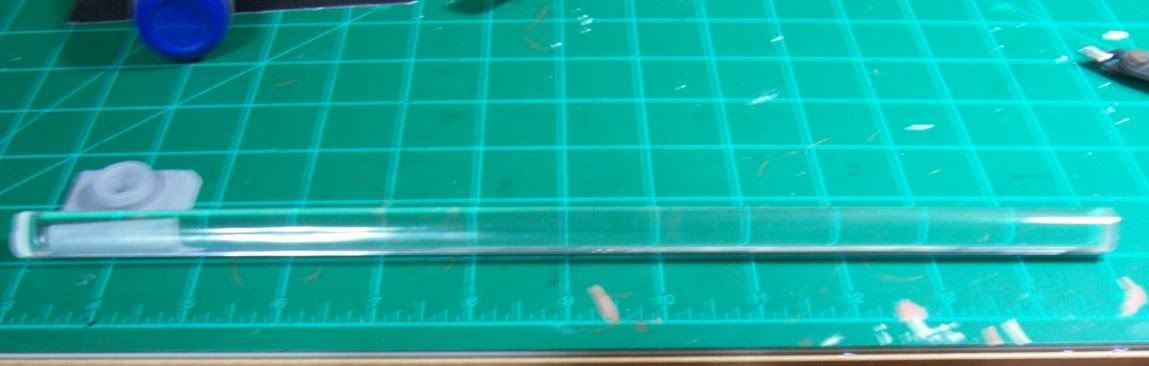
Here are a couple shots of the Marauder on the stand. You can see that the three extra pieces cut in the photo above give a total depth of 1" into which the acrylic stand was inserted. This was glued with wood glue and is amazingly solid!


Bonus points if you can spot and name the distraction in this last picture...


The stand actually goes up inside the model, through the hollow body, and into the original mounting kit provided by Dragon Forge Design (who also came through with a 12" acrylic rod if you missed my previous post). I notched the top of the rod in a way so that I could glue the cut out notch into the mounting kit in the top of the fuselage. This prevents the model from spinning around on it's stand.

So there it stands... pun! Anyway, I'm excited about getting this primed up and painted. It's by far the worst Forge World model I've assembled as far as quality of parts fitting together. But, I'm hoping that the flaws are less noticeable to someone who didn't actually assemble it. Thanks for stopping by and, as always, comments, criticisms, and pointing & laughing are welcome!

Wednesday, February 3, 2010

Marauder Destroyer Pt. 3 (The Bends and Acrylic Rods)

A quick update on the progress of the Marauder Destroyer and an impromptu product review as a bonus!

As with any other resin kit from any manufacturer in the world, the MD suffers from its share of warpage. So I thought I'd share my technique for taking the bends out.

I start with boiling a pot of water on the stove. Once it's boiling I back the heat down from a high setting to a medium setting. This should let the water get down to just below a boil temperature-wise. I keep a bowl of cool water on hand as well, to cool the parts down once I get the shape I want. I skipped pictures of that stuff as I'm sure you know what a stove, pot, water, and a bowl look like.

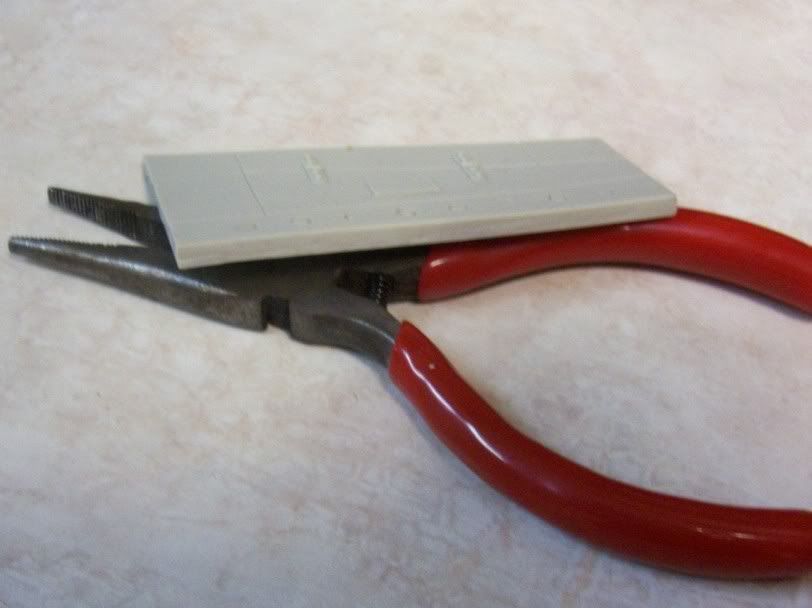
Instead I thought I'd show you the kinds of things I had to straighten out. The thicker pieces, like this Tail Plane, I hold submersed or partially submersed (depending on how much of the part is affected) for about 20-25 seconds.


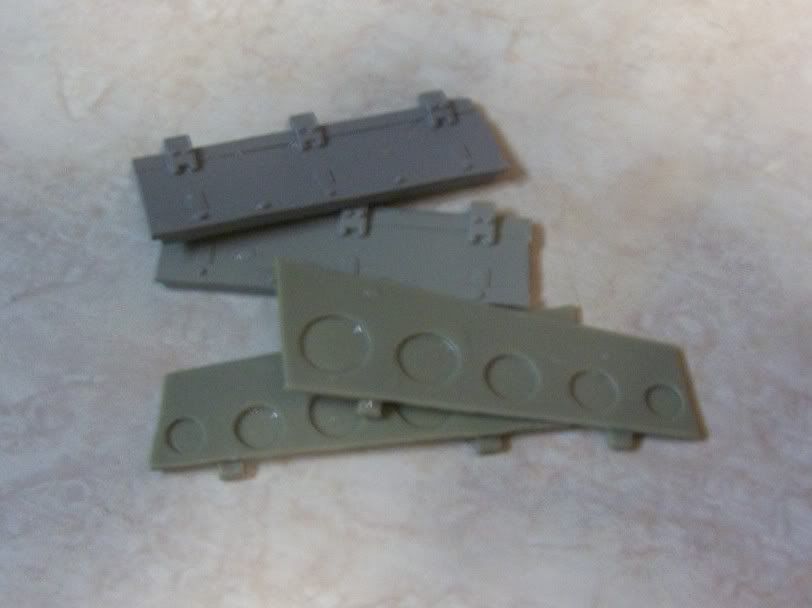
For thinner bits like these Flaps and Bomb Bay Doors 10 seconds or less should do.


For even thinner bits, you have to be careful and probably use a 5 second or shorter dip in the hot water...


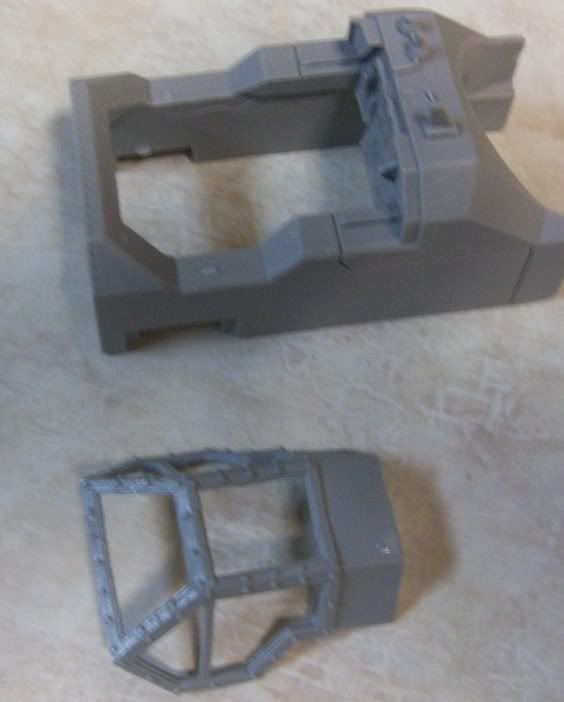
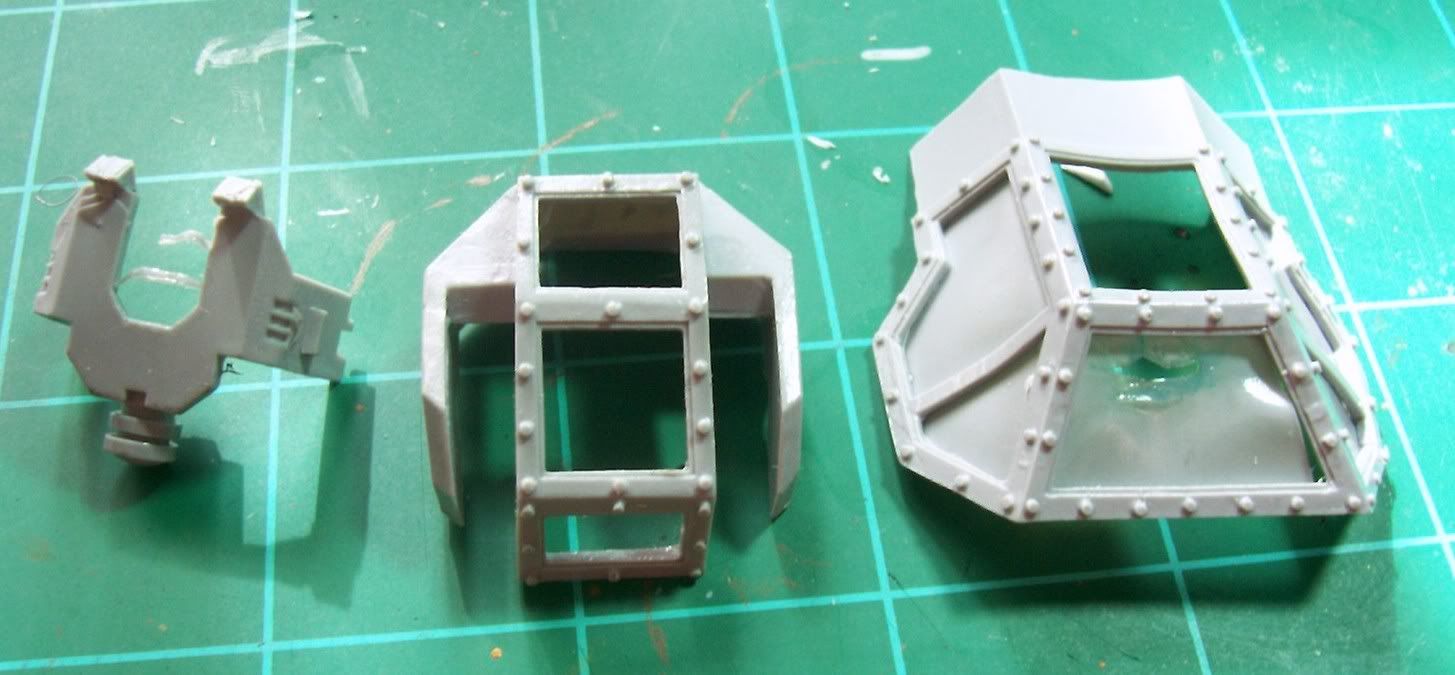
For the thinnest of parts, like the Canopy Frame, I literally just dip and remove. This still gets the parts as soft as a wet noodle so extra care must be taken with parts this thin.


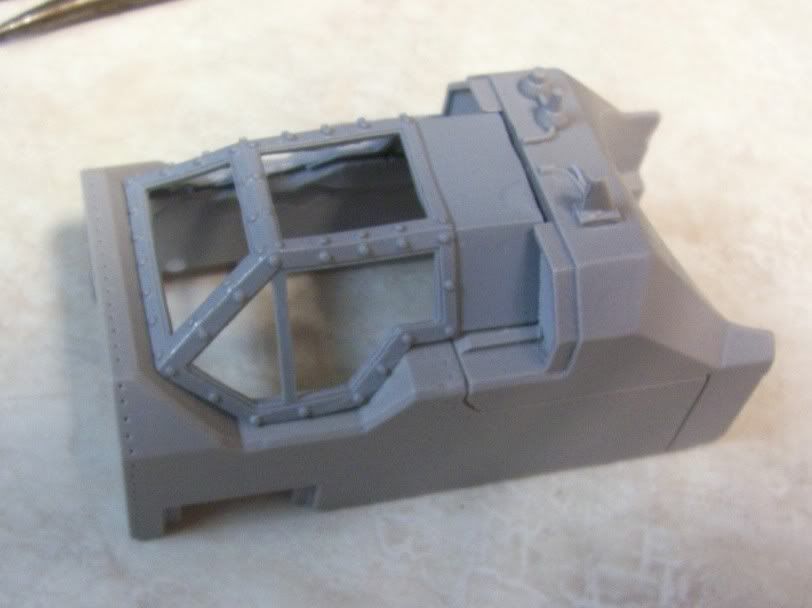
Whenever possible, it's also a good idea to have the piece that the part will mate up with on hand. This insures you get the shape you really need. In this case I put the part in it's position over the cockpit to make sure it fit correctly.


These are not all the parts I had to straighten out a bit, just examples of different types and sizes of parts. With this stage out of the way it will be some priming and painting and some parts assembly next.

For the product review, I'd like to share with you my experience in finding a suitable mount to fly this bird when it's complete. I found acrylic rods for sale over at Dragon Forge Design. The site lists a six inch acrylic rod with a resin bit to assist in mounting the rod to the flyer of your choice. The product page can be seen here. I knew I wanted my Marauder to fly a little higher than 6 inches, in fact 12 inches is more what I wanted. I emailed Jeff at Dragon Forge Design and he was able to custom cut me a 12" acrylic rod with no problems. Not knowing much about acrylic rods and such I was a little worried that the weight of the Marauder might be a little much for a 1/2" diamter rod. Nothing could be further from the truth. I think you could just about put an actual airplane on this rod and not bend it.


I would definitely recommend Dragon Forge Design for anyone looking for a way to raise up their flyer model. He also carries a large assortment of custom bases and such. In my opinion the products are priced reasonably and the customer service is excellent!

Friday, January 29, 2010

Marauder Destroyer Pt. 2 (Landing Gear Magnets)

I've been working for a couple days on the landing gear for the Marauder Destroyer. Well, a day and half was thinking type work... better to over think it than under think it, right? My whole reason for even considering this is that I would like to have the option of a flying base with gear up or a static pose with gear down. With the ability to pose the plane with gear down it can double as scenery or even a largish objective marker when not in play.

I figured magnetizing the struts and such to the plane would be easy enough. The problem was magnetizing the flat pad at the bottom of the gear in a way so that it could attach to either the bottom of the struts, or the bottom of the plane with struts set aside. Then it occurred to me that the pads are only detailed on the upper side. When the gear is up you see only the flat bottom, easy to replicate with plastic card. More on this towards the end. First, here's how I got my landing gear struts and plane magnets to line up.

First I drilled a hole almost deep enough to set two magnets on top of each other into.


It is important that the top magnet is slightly out of the hole as can almost be seen here...


I placed a small drop (very small) of super glue on the top magnet surface and then held the gear strut assembly in place firmly.


This attaches the top magnet to the strut assembly in the just the perfect spot. Next I went back and drilled the hole a little deeper so that two magnets would sit in the hole without sticking out. They are quite flush with the planes surface. I placed a second magnet on the one that is now glued to the strut assembly. Put a little glue into the hole in the plane and used the magnet and strut to push the second magnet into the plane body. This assures that the magnets are polarized correctly, though if you're careful you could just as easily push the magnet into the plane with your finger or other non metallic tool.

Now with the strut assembly magnetized, I added a brass rod pin to help against twisting forces. There were two small rivets on the back side of the struts, I simply shaved one off and drilled through where it once was. Leaving the brass rod sticking up out of the whole replaces the rivet. The rod is larger than the diameter of the old rivet, but I think it looks fine. They might have used a larger rivet in order to make it more secure in 40k pretend land anyway!


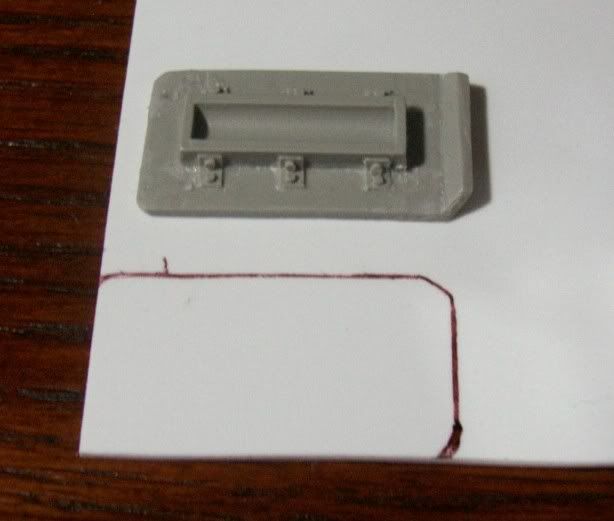
I mentioned earlier about the pads on the gear being fabricated. I just laid out an existing pad and traced around it to get the general shape. Then, cut it out and trimmed it to exact size. There is a slant at one end and this was added by scoring the plastic and bending it carefully.


The original...


And the copy...


(Since you never see the underside of the 'up' landing gear, it doesn't matter much how it looks!)

And a shot of the whole bunch happily magnetized together...


I know this was a lot of post for just a bunch of landing gear. I wanted to share the way I did it in hopes of inspiring others. Even if they're only inspired to tell me their favorite way to magnetize flat surfaces together!

Thursday, January 21, 2010

Marauder Destroyer Pt. 1

Just as I warned, the work on the Marauder Destroyer has begun...

This is actually a kit I bought about three years ago. I think it would have got done soon after arriving except it had some pieces that had to be resent by our friends at Forge World. I'll show you the offenders below. This gave me time to pursue other projects and here I am finally getting to this awesome kit. Now, let me quantify the term, "awesome kit". It's a kit that becomes an awesome model, not necessarily one of awesome quality. This kit came with a lot of broken pieces. Some were fixable, some rebuild-able, and some that had been ground into a fine powder in shipping to the point that I thought at first they were just missing until closer inspection of the debris. This is not my normal experience with Forge World and I think a lot of the problems can be attributed to shipping, the fine details, and thin bits included in this kit. I will say that Forge World made the process of getting replacement parts very easy and I can't say enough about their customer service.

So lets have a look at the major bits!


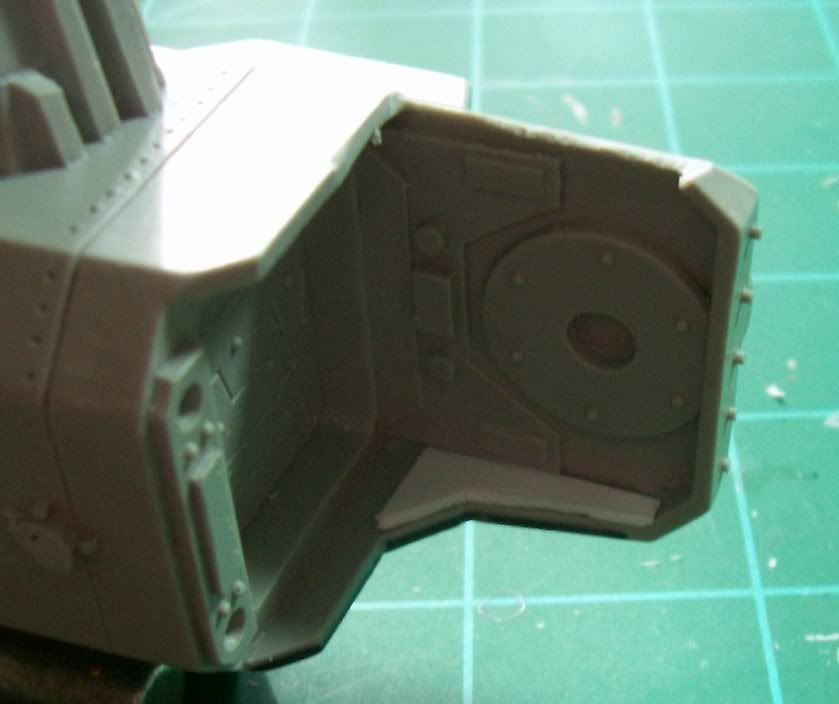
And here are the parts that had to be re-shipped (Please note as I mentioned above that Forge World provided excellent customer service and was very helpful in getting this parts replaced). These are the parts there were battered beyond recognition upon original arrival.


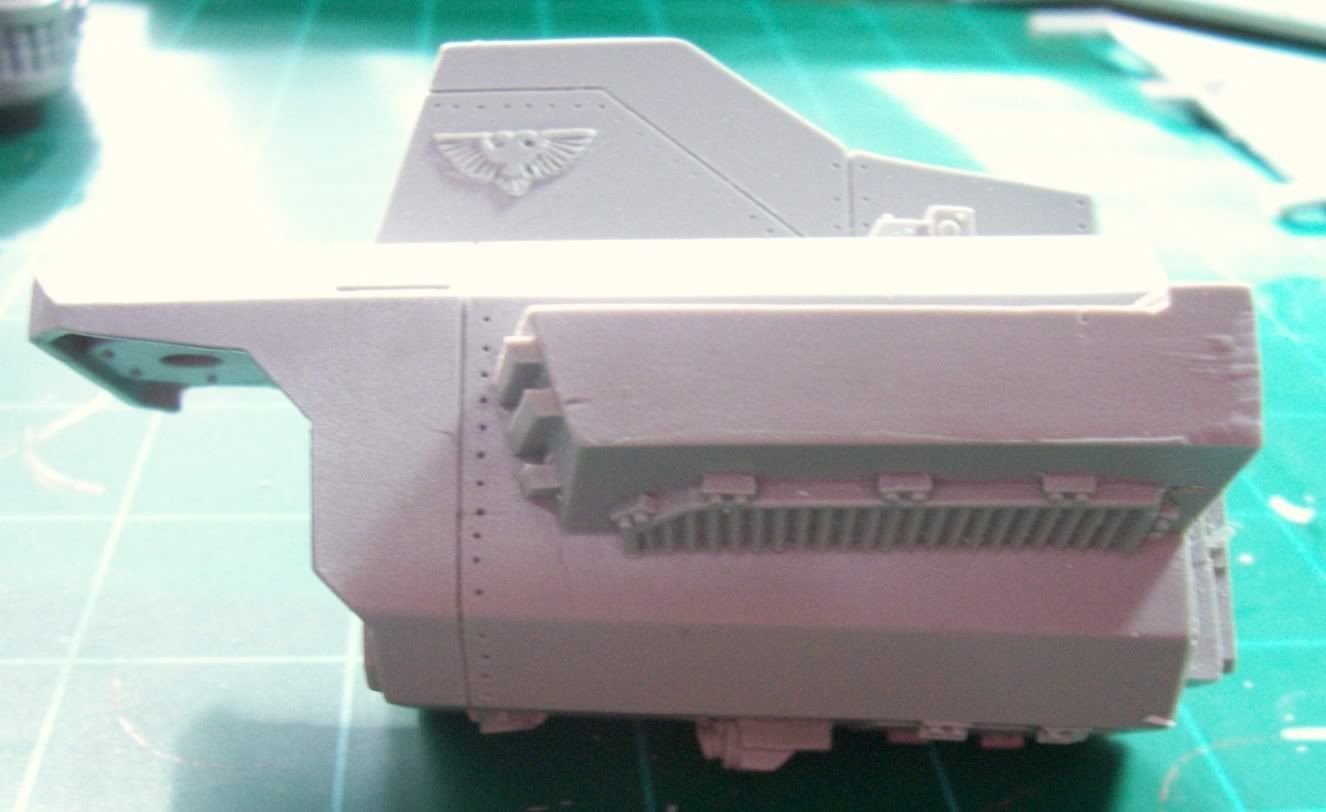
Here is another piece of damage I didn't pick up on until trimming the parts.


Compared to the opposite sides' shape...


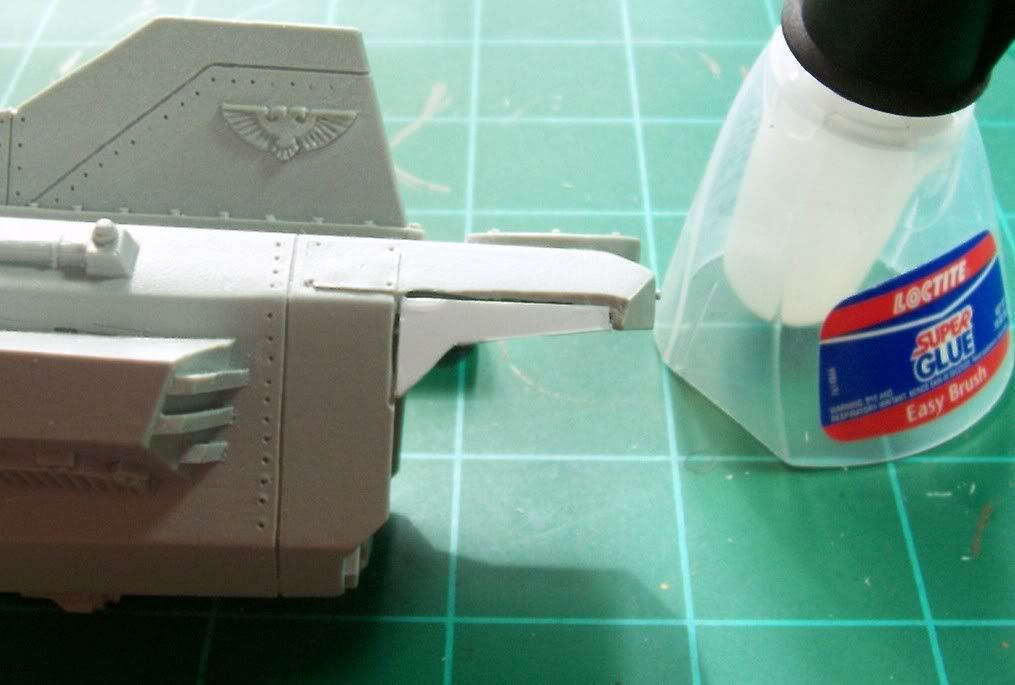
So I used the good side to find the shape I needed for a plasticard repair job.


With the piece secured with some super glue (I still hate the stuff), it's ready for some putty and sanding that will come at a later stage...


Some seriously large channels from the resin pour meant I had to call in the big guns for a couple parts. (Don't breath in resin dust when sawing or sanding!)


Then it was into a bath of Simple Green and a bit of dish washing liquid. A large container for the bigger parts and a cup for the fiddly bits!


And there the parts remain. I'll be rinsing and drying them shortly. I've departed from my usual order of things in that I've trimmed the pieces before the wash. I figured why not wash away most of the debris and junk from trimming instead of washing then creating a whole new mess. There will still be some parts that will need a last minute trim or tweak, and I have magnetic plans for the landing gear yet to implement so I know that some pieces will need another rinse. But, doing it this way, most parts have suffered all the handling they will need prior to wash.

Now, here is what I need from you folks out in the blogosphere. Ideas for a base on which to have this beast flying. If you've built a flyer and found something that makes a decent base, tell me. If you have seen a good solution used by someone else, let me know. If all else fails I'll have to manufacture something myself, but I'd hate to miss out on a ready made solution or product if one is out there. Also, thanks to all you guys who voted on the recent poll. It's still up for a day or two but I think the victory of the twin Warhounds is a foregone conclusion.

Any thoughts, suggestions, critiques, and random musings are welcome. I always like to hear from you guys!

Related Posts with Thumbnails