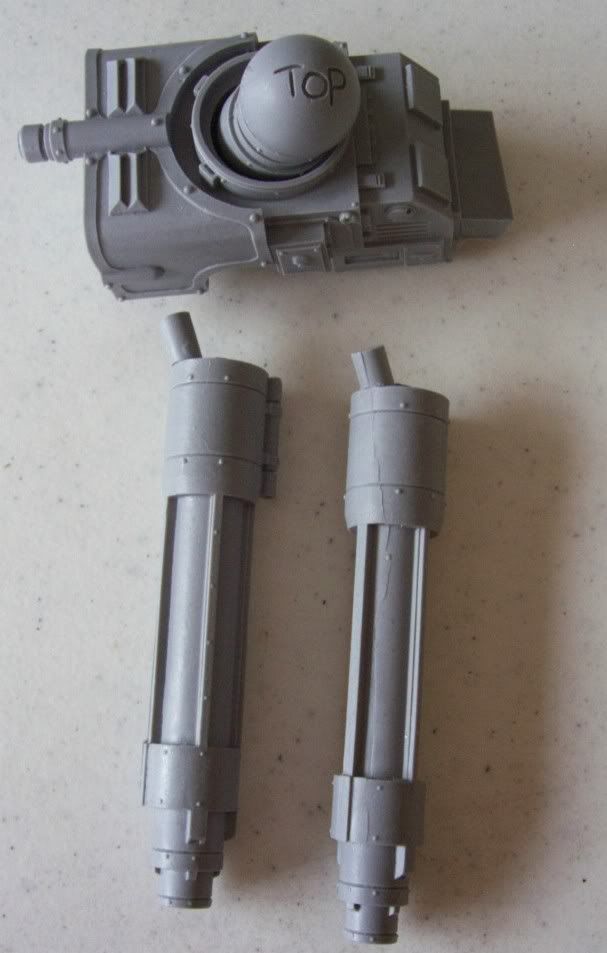
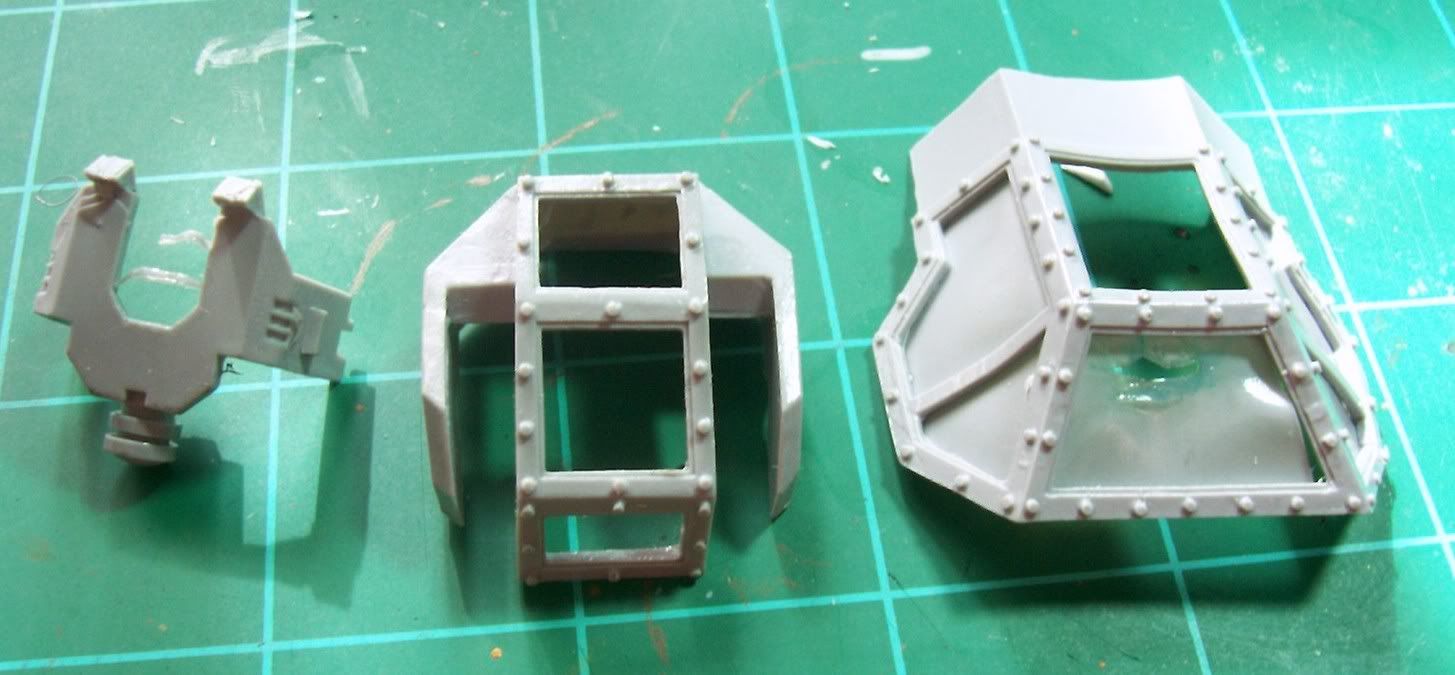
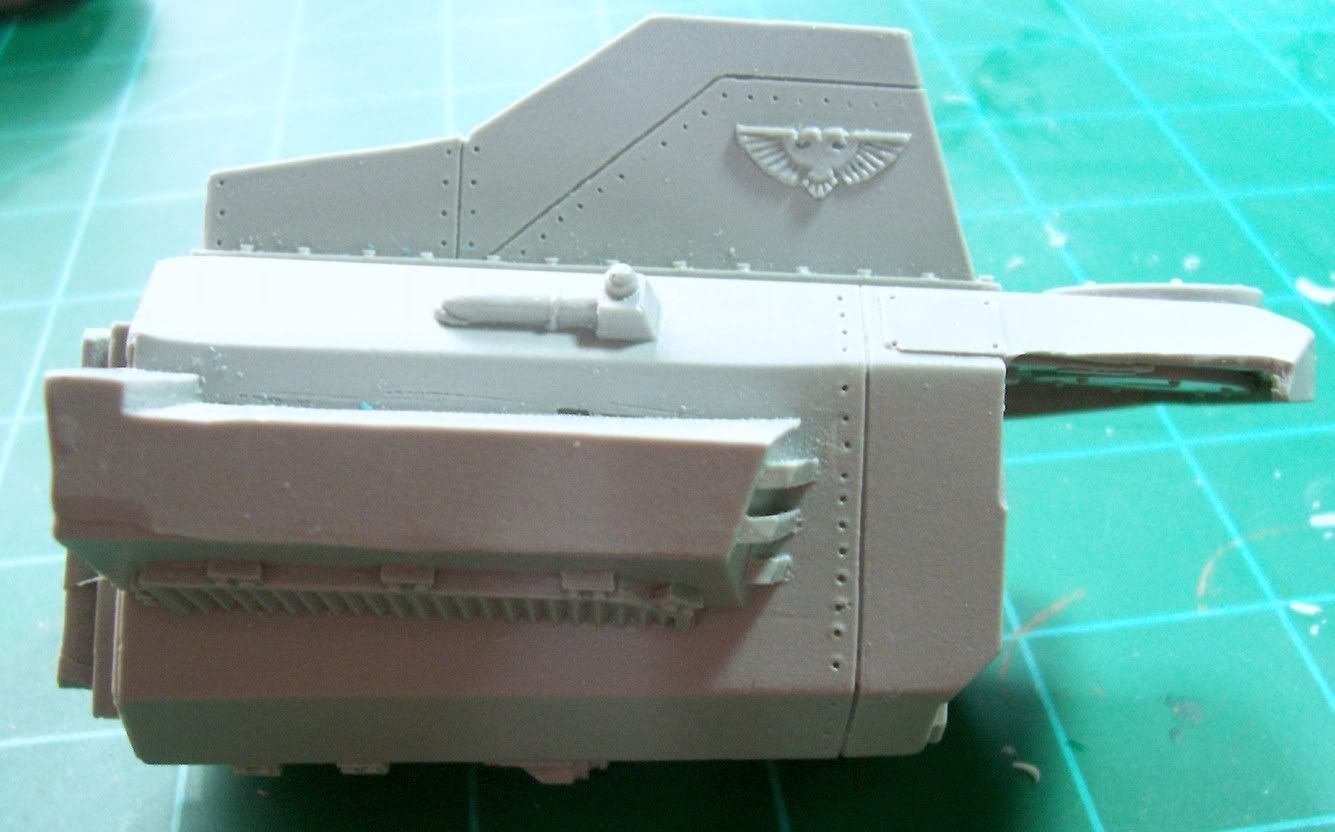
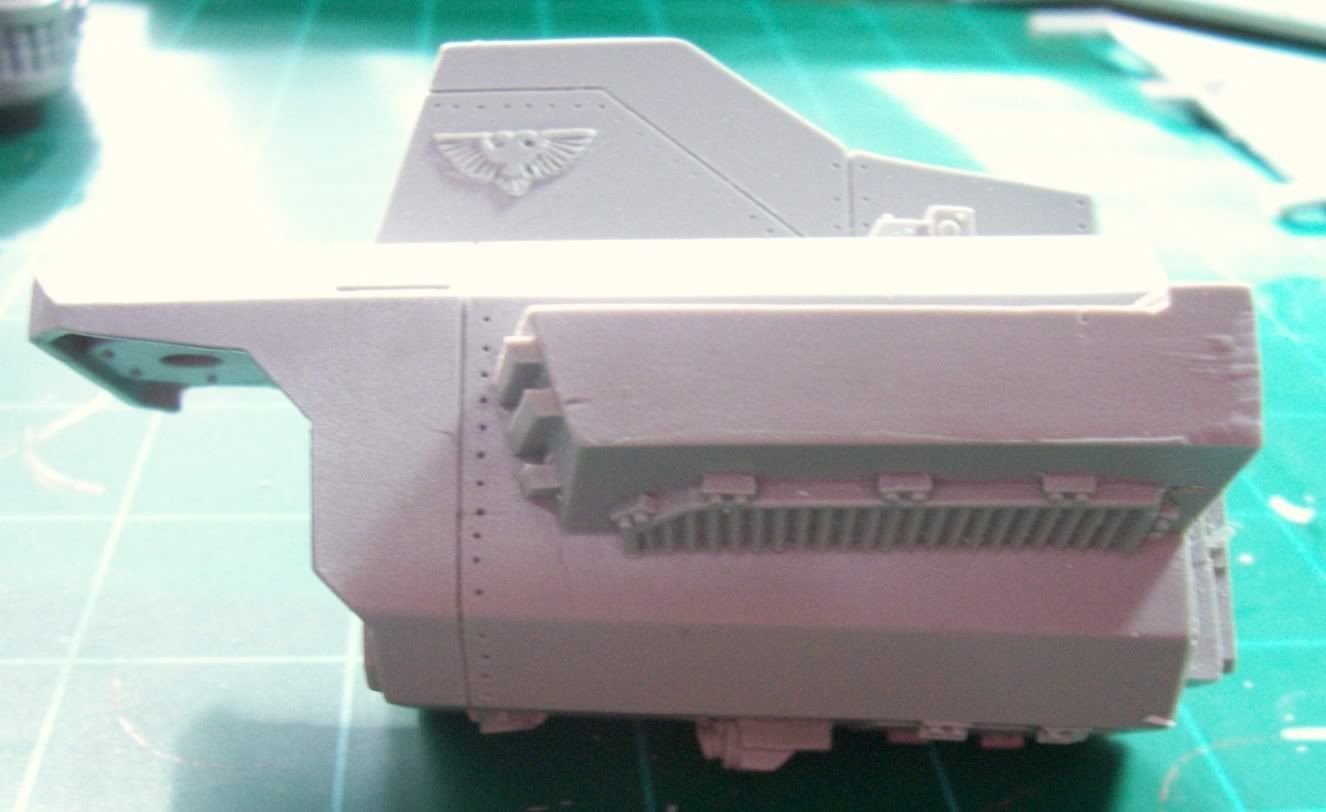
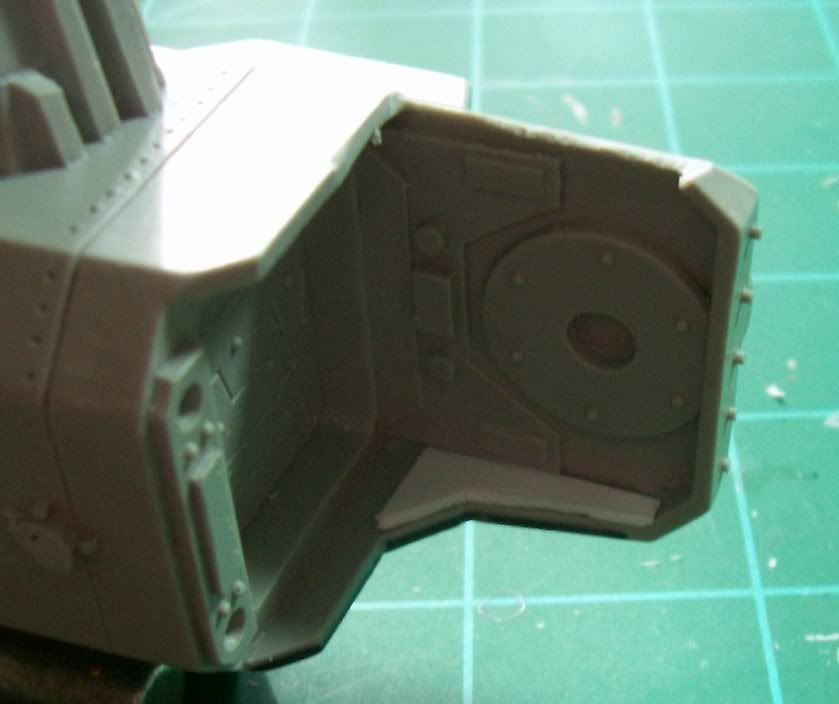
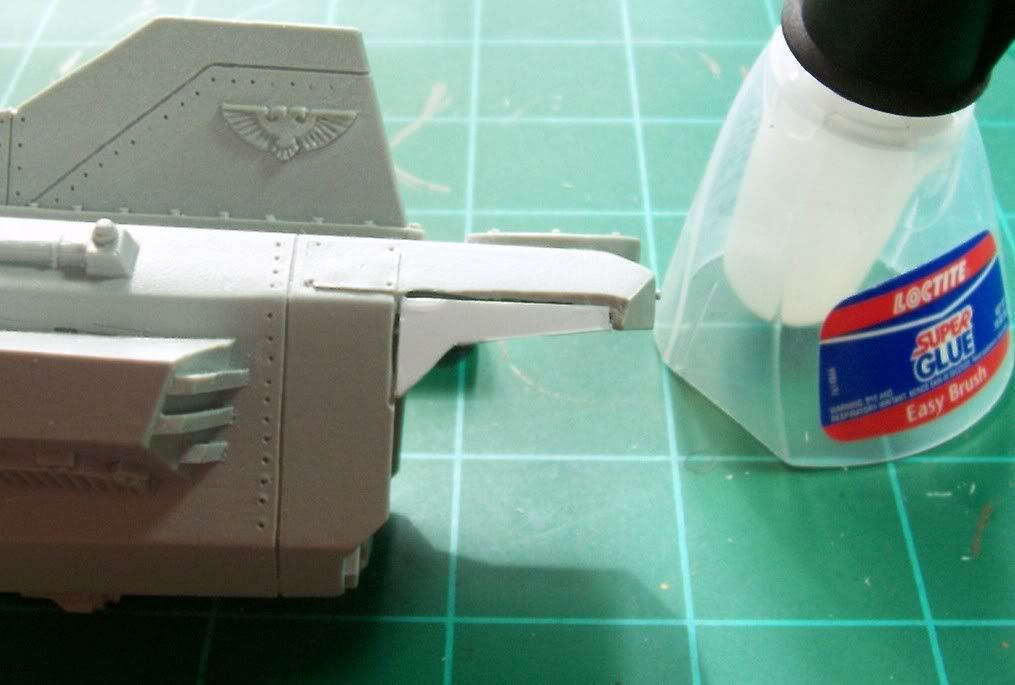
I've been working for a couple days on the landing gear for the Marauder Destroyer. Well, a day and half was thinking type work... better to over think it than under think it, right? My whole reason for even considering this is that I would like to have the option of a flying base with gear up or a static pose with gear down. With the ability to pose the plane with gear down it can double as scenery or even a largish objective marker when not in play.
I figured magnetizing the struts and such to the plane would be easy enough. The problem was magnetizing the flat pad at the bottom of the gear in a way so that it could attach to either the bottom of the struts, or the bottom of the plane with struts set aside. Then it occurred to me that the pads are only detailed on the upper side. When the gear is up you see only the flat bottom, easy to replicate with plastic card. More on this towards the end. First, here's how I got my landing gear struts and plane magnets to line up.
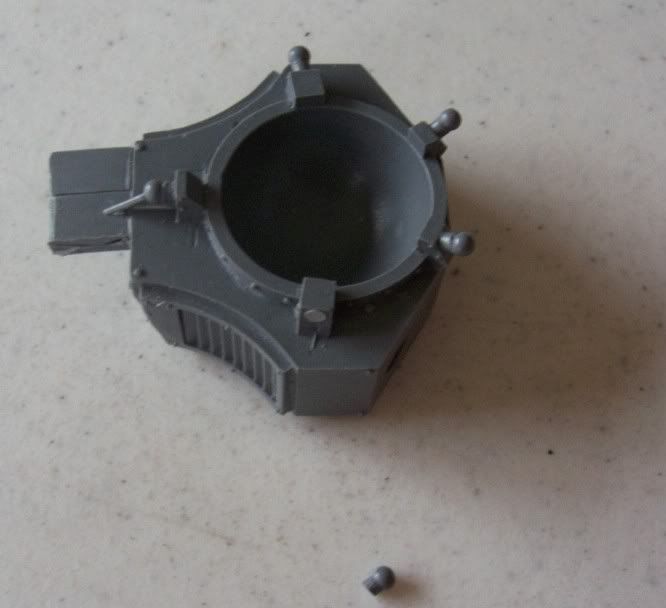
First I drilled a hole almost deep enough to set two magnets on top of each other into.
It is important that the top magnet is slightly out of the hole as can almost be seen here...
I placed a small drop (very small) of super glue on the top magnet surface and then held the gear strut assembly in place firmly.
This attaches the top magnet to the strut assembly in the just the perfect spot. Next I went back and drilled the hole a little deeper so that two magnets would sit in the hole without sticking out. They are quite flush with the planes surface. I placed a second magnet on the one that is now glued to the strut assembly. Put a little glue into the hole in the plane and used the magnet and strut to push the second magnet into the plane body. This assures that the magnets are polarized correctly, though if you're careful you could just as easily push the magnet into the plane with your finger or other non metallic tool.
Now with the strut assembly magnetized, I added a brass rod pin to help against twisting forces. There were two small rivets on the back side of the struts, I simply shaved one off and drilled through where it once was. Leaving the brass rod sticking up out of the whole replaces the rivet. The rod is larger than the diameter of the old rivet, but I think it looks fine. They might have used a larger rivet in order to make it more secure in 40k pretend land anyway!
I mentioned earlier about the pads on the gear being fabricated. I just laid out an existing pad and traced around it to get the general shape. Then, cut it out and trimmed it to exact size. There is a slant at one end and this was added by scoring the plastic and bending it carefully.
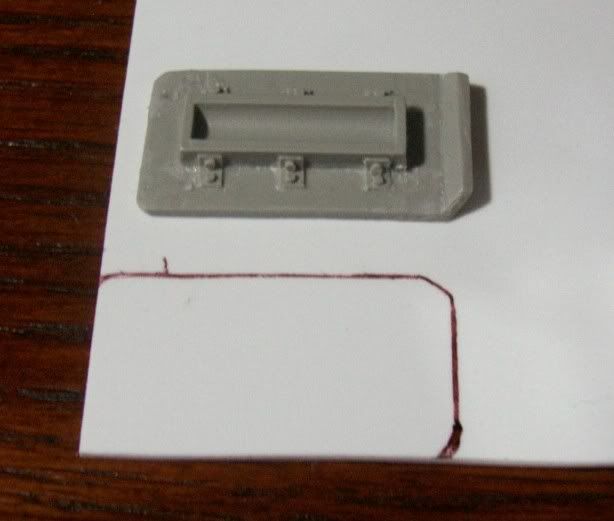
The original...
And the copy...
(Since you never see the underside of the 'up' landing gear, it doesn't matter much how it looks!)
And a shot of the whole bunch happily magnetized together...
I know this was a lot of post for just a bunch of landing gear. I wanted to share the way I did it in hopes of inspiring others. Even if they're only inspired to tell me their favorite way to magnetize flat surfaces together!
Friday, January 29, 2010
Wednesday, January 27, 2010
WHx2 (What's on my porch?)
Quick break from the Marauder... I know, we just got started, but this is important stuff!
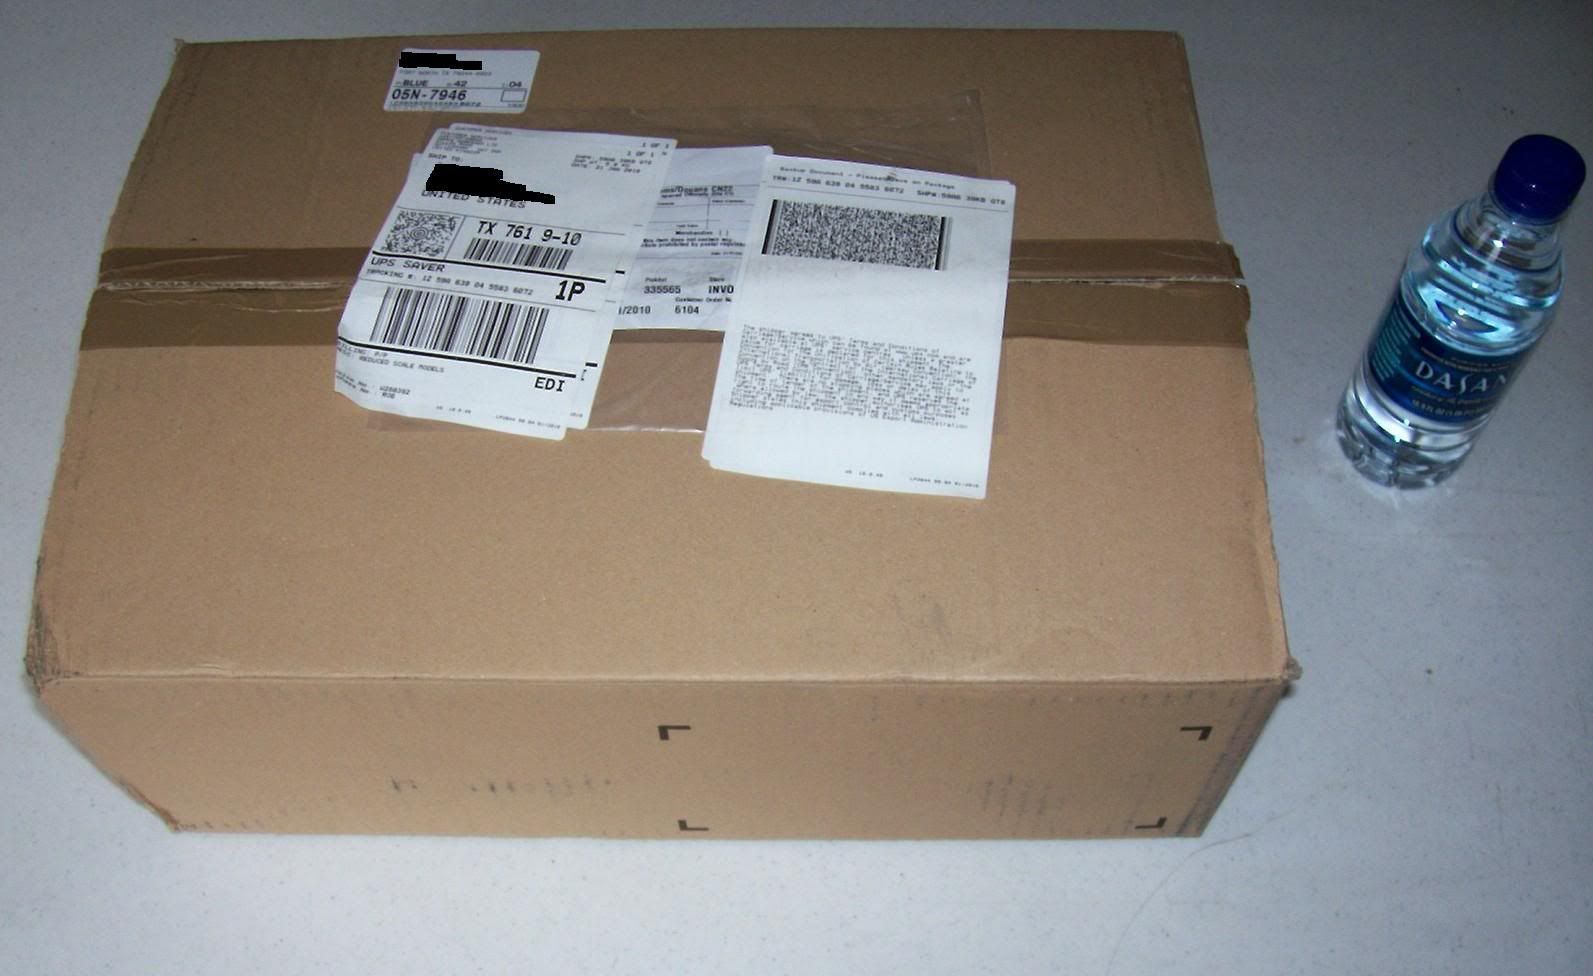
The parcel delivery person rang my bell and left a box on my porch...
Well, the insides looked packed nicely. (Spoiler: I won't be able to get it packed that nicely when I'm done rummaging thought it.)
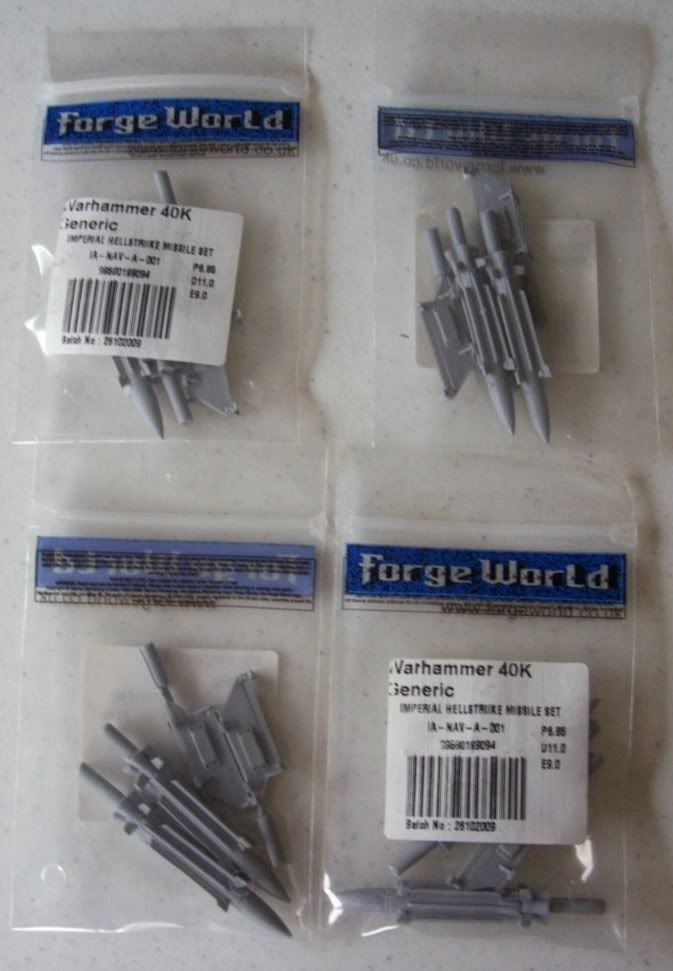
Not a bad start, we have the eight Hellstrike missiles I'll need soon for the Marauder Destroyer!
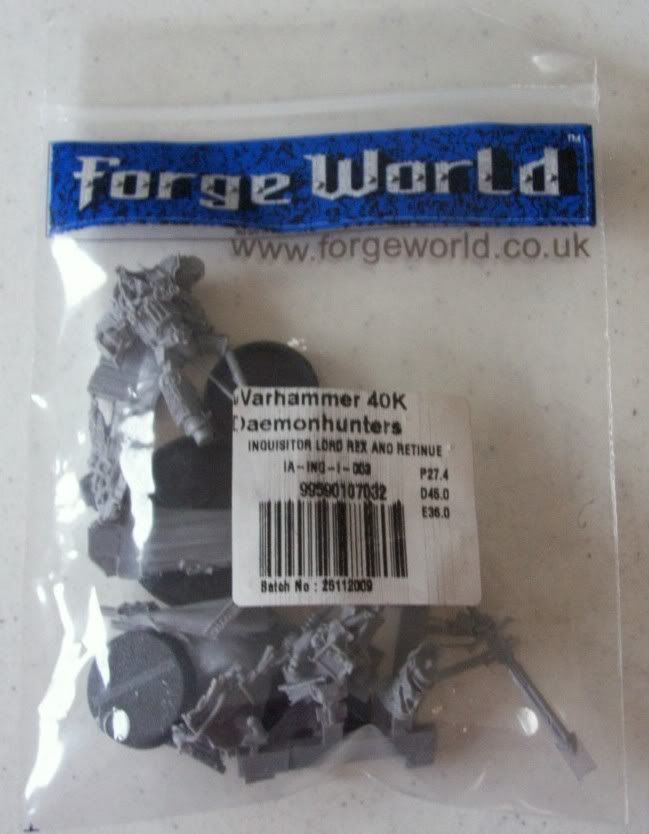
Next I find an Inquisitor Rex and retinue set. He's super cool looking and maybe will inspire me to dig out and repaint some Daemon Hunter stuff!
But wait, there's something hiding beneath all this (really it's not that hard to see, but I'm going for drama here)!
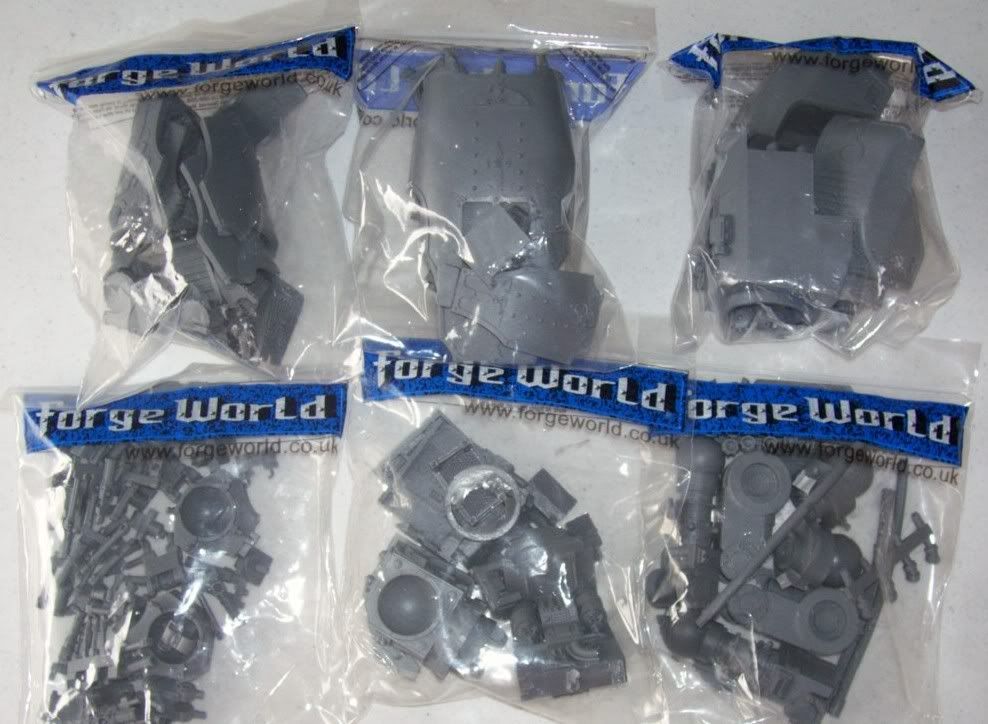
Yep, two Mars Pattern Warhound bodies! Here is a shot of the bits within their protective bags.
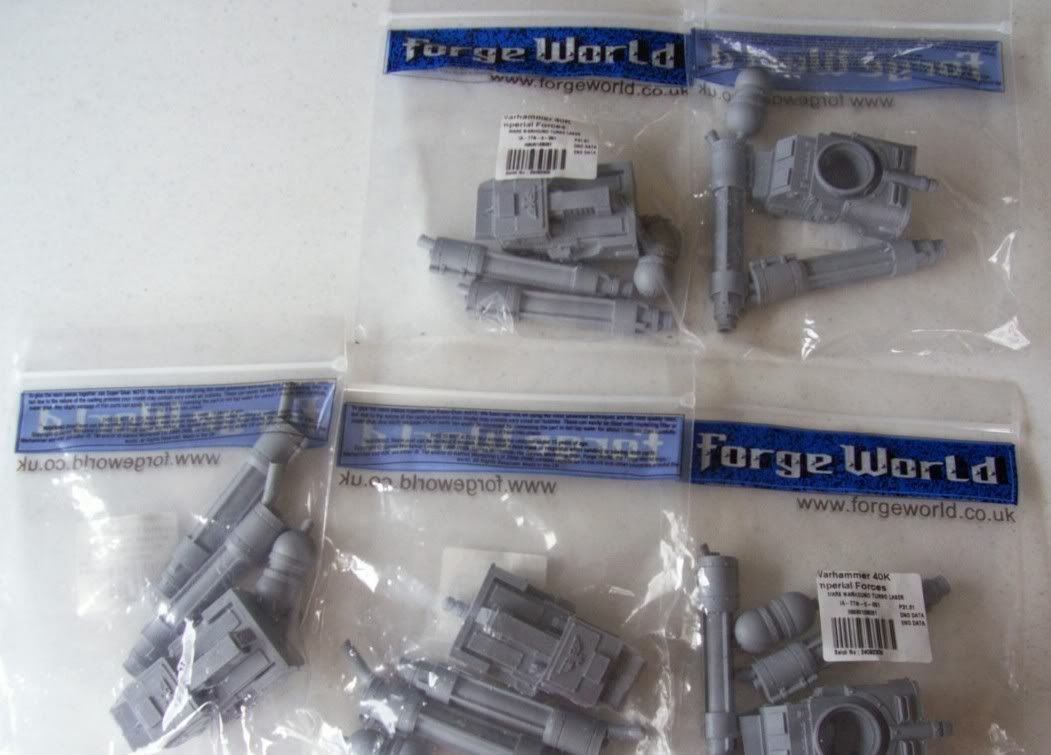
And for weapons? Eventually there will be a variety that are interchangeable via magnets, but for now, five Turbo Lasers...
I know, five is too many for two Warhounds. I plan to modify one to go on the carapace mount of my Reaver Titan.
I'm happy to say that after going through each bag of parts, the quality is amazing. Nothing like the problems I had with the Marauder Destroyer upon arrival. All parts are cast well with minimal air bubbles. Some minor, but expected, warpage that will easily be straightened out during assembly. I'm sure tiny flaws may come to light during wash when I handle each piece more extensively. But as of now, I was only able to find one tiny fault as shown below.
Not bad for two large kits worth of parts! The tiny ball joint has been mended using my nemesis, Super Glue. Overall, I'm extremely pleased with the kits. That and the super fast shipping. It was maybe three days in process and post to Texas, USA.
I'm excited to start on these Warhounds, but I'm not going to rush the Marauder to get to them. Well... maybe a little. I'm thinking they will be a simultaneous build, but honestly once I get started that idea may change. Of course, at some point down the road I'll be pestering Ron over at ++ From the Warp ++ to work me up some of his amazing banners like the banners for my Reaver Titan he did.
I'm always looking for ideas and input from you folks out there in internet-land so feel free to drop me a comment.
Posted by
The Inner Geek
at
1:41 PM
Thursday, January 21, 2010
Marauder Destroyer Pt. 1
Just as I warned, the work on the Marauder Destroyer has begun...
This is actually a kit I bought about three years ago. I think it would have got done soon after arriving except it had some pieces that had to be resent by our friends at Forge World. I'll show you the offenders below. This gave me time to pursue other projects and here I am finally getting to this awesome kit. Now, let me quantify the term, "awesome kit". It's a kit that becomes an awesome model, not necessarily one of awesome quality. This kit came with a lot of broken pieces. Some were fixable, some rebuild-able, and some that had been ground into a fine powder in shipping to the point that I thought at first they were just missing until closer inspection of the debris. This is not my normal experience with Forge World and I think a lot of the problems can be attributed to shipping, the fine details, and thin bits included in this kit. I will say that Forge World made the process of getting replacement parts very easy and I can't say enough about their customer service.
So lets have a look at the major bits!
And here are the parts that had to be re-shipped (Please note as I mentioned above that Forge World provided excellent customer service and was very helpful in getting this parts replaced). These are the parts there were battered beyond recognition upon original arrival.
Here is another piece of damage I didn't pick up on until trimming the parts.
Compared to the opposite sides' shape...
So I used the good side to find the shape I needed for a plasticard repair job.
With the piece secured with some super glue (I still hate the stuff), it's ready for some putty and sanding that will come at a later stage...
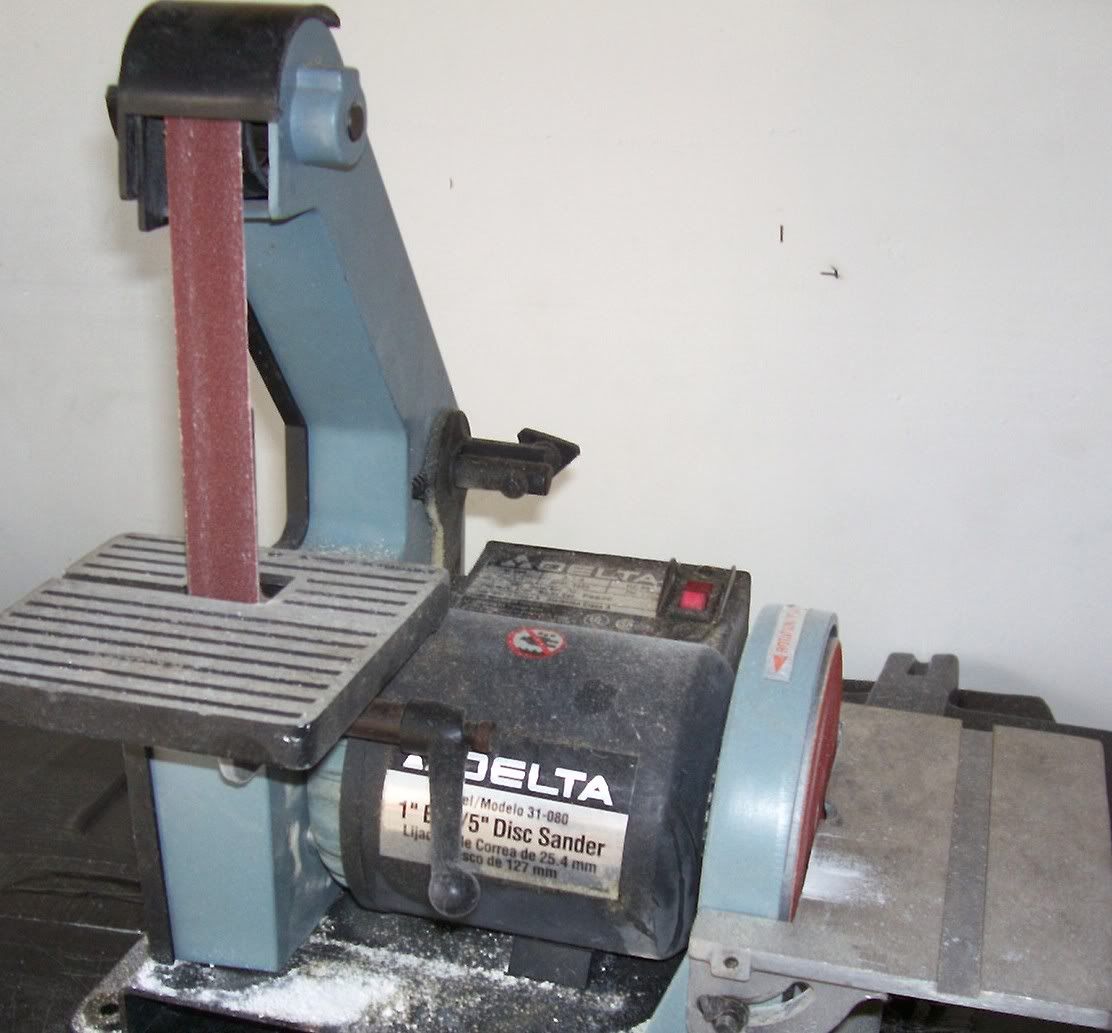
Some seriously large channels from the resin pour meant I had to call in the big guns for a couple parts. (Don't breath in resin dust when sawing or sanding!)
Then it was into a bath of Simple Green and a bit of dish washing liquid. A large container for the bigger parts and a cup for the fiddly bits!
And there the parts remain. I'll be rinsing and drying them shortly. I've departed from my usual order of things in that I've trimmed the pieces before the wash. I figured why not wash away most of the debris and junk from trimming instead of washing then creating a whole new mess. There will still be some parts that will need a last minute trim or tweak, and I have magnetic plans for the landing gear yet to implement so I know that some pieces will need another rinse. But, doing it this way, most parts have suffered all the handling they will need prior to wash.
Now, here is what I need from you folks out in the blogosphere. Ideas for a base on which to have this beast flying. If you've built a flyer and found something that makes a decent base, tell me. If you have seen a good solution used by someone else, let me know. If all else fails I'll have to manufacture something myself, but I'd hate to miss out on a ready made solution or product if one is out there. Also, thanks to all you guys who voted on the recent poll. It's still up for a day or two but I think the victory of the twin Warhounds is a foregone conclusion.
Any thoughts, suggestions, critiques, and random musings are welcome. I always like to hear from you guys!
Posted by
The Inner Geek
at
9:21 PM
Monday, January 18, 2010
Hypothetical Question (and a Poll)
Wow the Holidays were a mess! I'm back and I'm itching to work on some stuff. The Marauder Destroyer is out and trimming will begin shortly, look for a post when it begins. While I plan to take my time and enjoy the MD, I don't think it will take anything like as long as the Reaver did. So, I'm thinking ahead to my next project. Hence the poll I'm putting up!
So, hypothetically speaking, which of the following sounds like more fun; A) Another Reaver, probably with lots of Laser Blasters. Think one on each arm and a converted Mars Pattern Turbo Laser on the carapace (I like the 'D' shots). Or B) a pair of Mars Pattern Warhounds, once again with lots of Turbo Laser luvin? I'm posting a poll but I'd really like to hear what folks think the pros and cons are in comments as well. Another Reaver really sends a message to anyone across the table (that I'm crazy?), but two Warhounds makes a formation I believe?
So please attack the poll on the left and leave me a comment. I'd really appreciate it!
Posted by
The Inner Geek
at
3:41 PM
Subscribe to:
Posts (Atom)