Thursday, April 23, 2009

Reaver Titan Pt 17 (So close I can taste it!)

Work has progressed at as fast a pace as I could keep. My last estimation of 'one more week' was obviously a little optimistic in hindsight. The gold trim all over the Reaver took almost half a week by itself! It involved two to three layers of gold to get a good coat, using wash to line the boarder between trim and armor, then washing the actual trim, and in most cases going back and adding a little extra wash to rivets to pick them out. This part alone makes me think I'll probably never do another Reaver again!

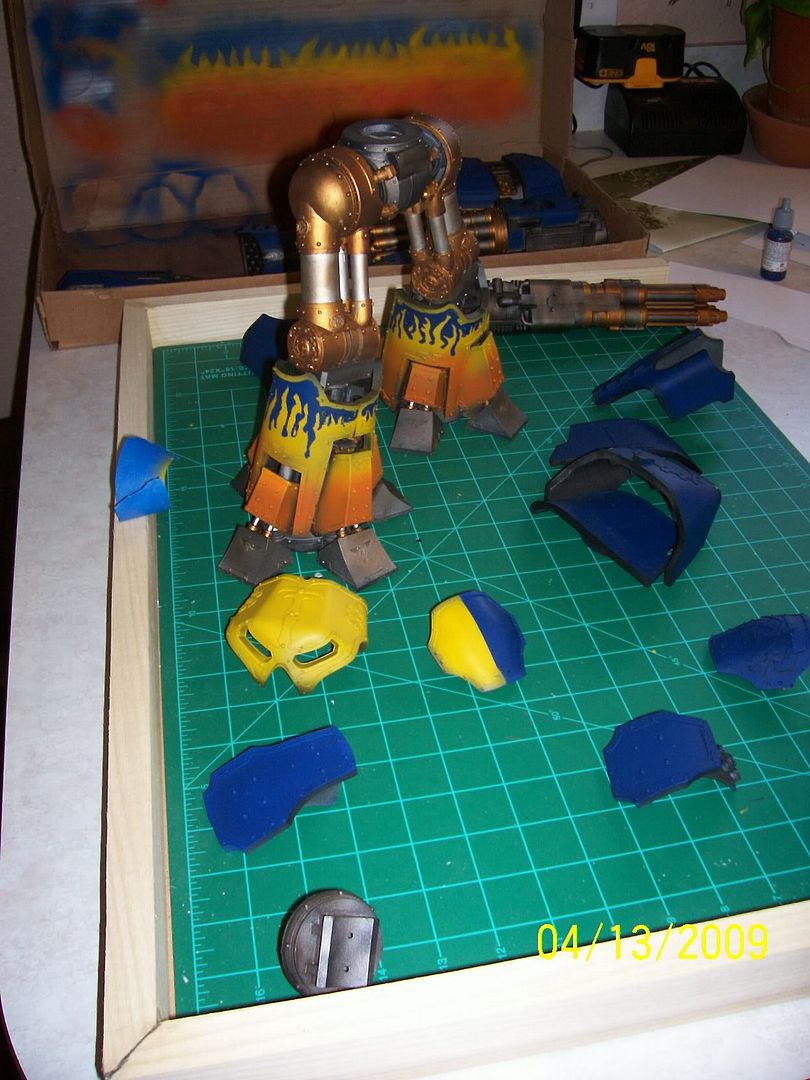
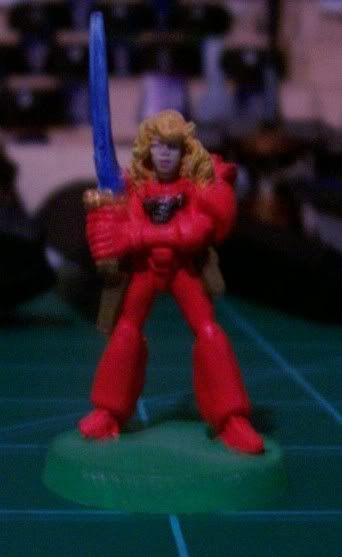
Anyway, the Reaver is almost done. I still need to add the Ad Mech guy in the back, the hoses to legs and arms, put some words on the scroll work, and add some other details like purity seals and what-not. Let's look at some pics of the almost finished titan with some guard minis for scale comparison... the priest from earlier posts even managed to sneak in there.

A group shot first...


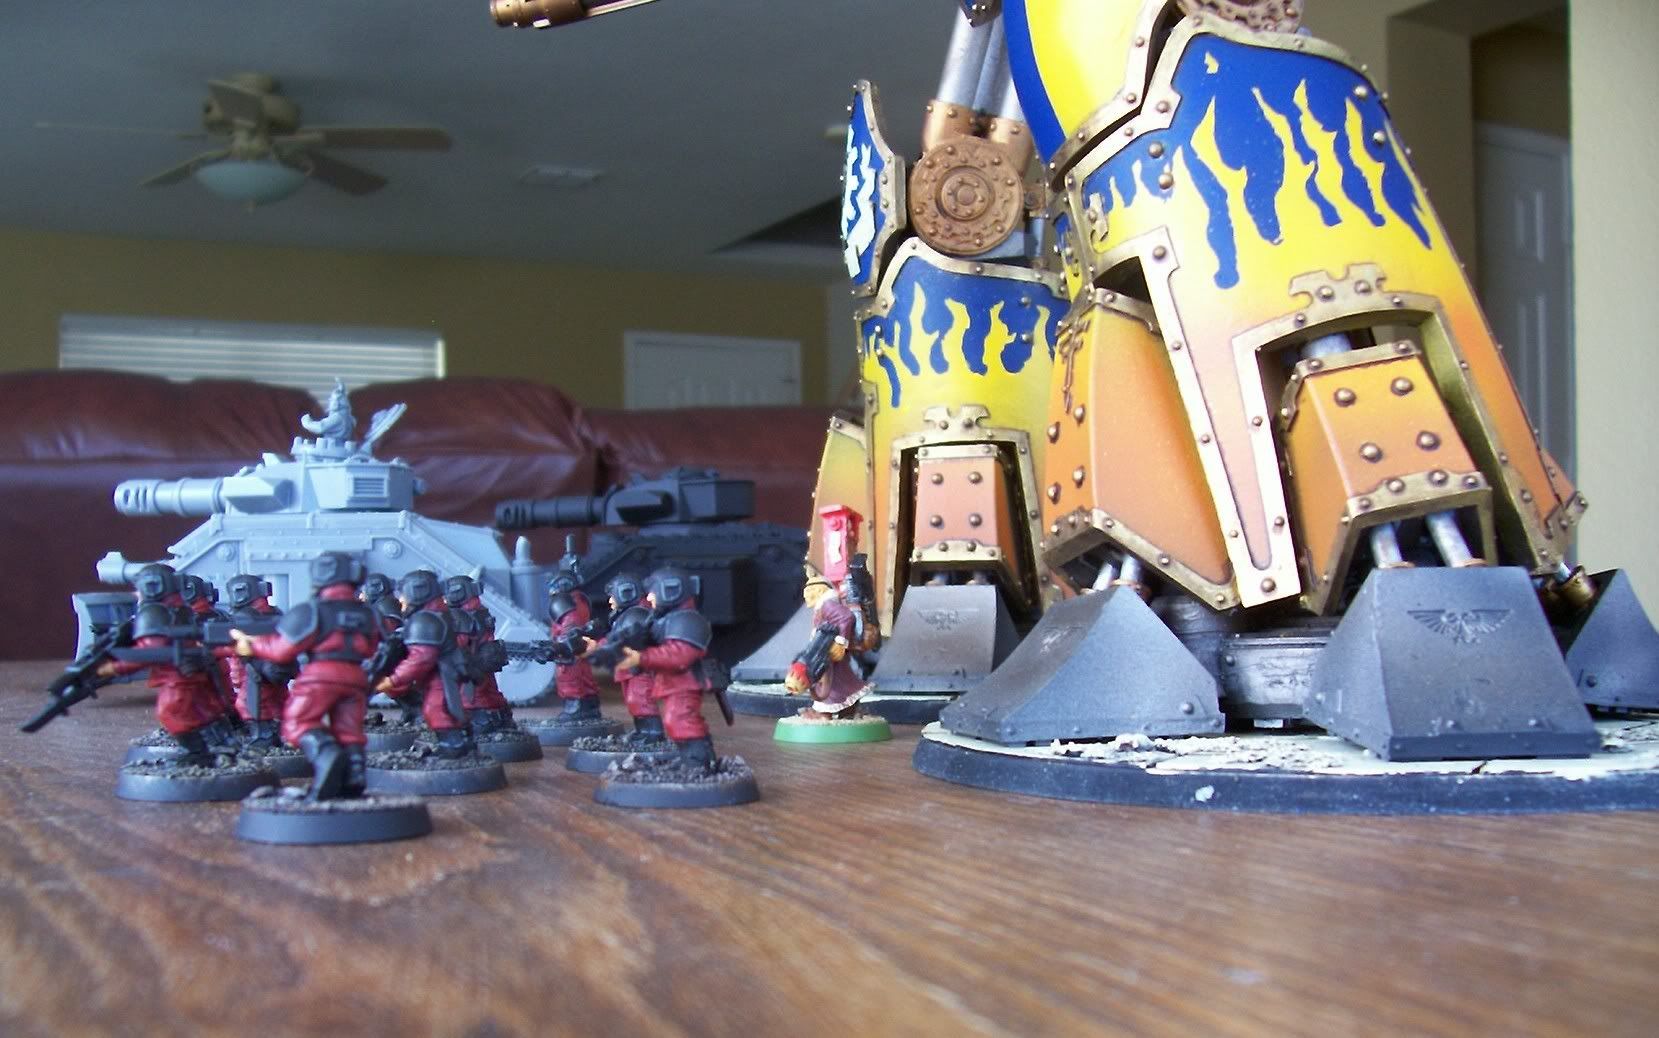
A Guardsmen eye view...


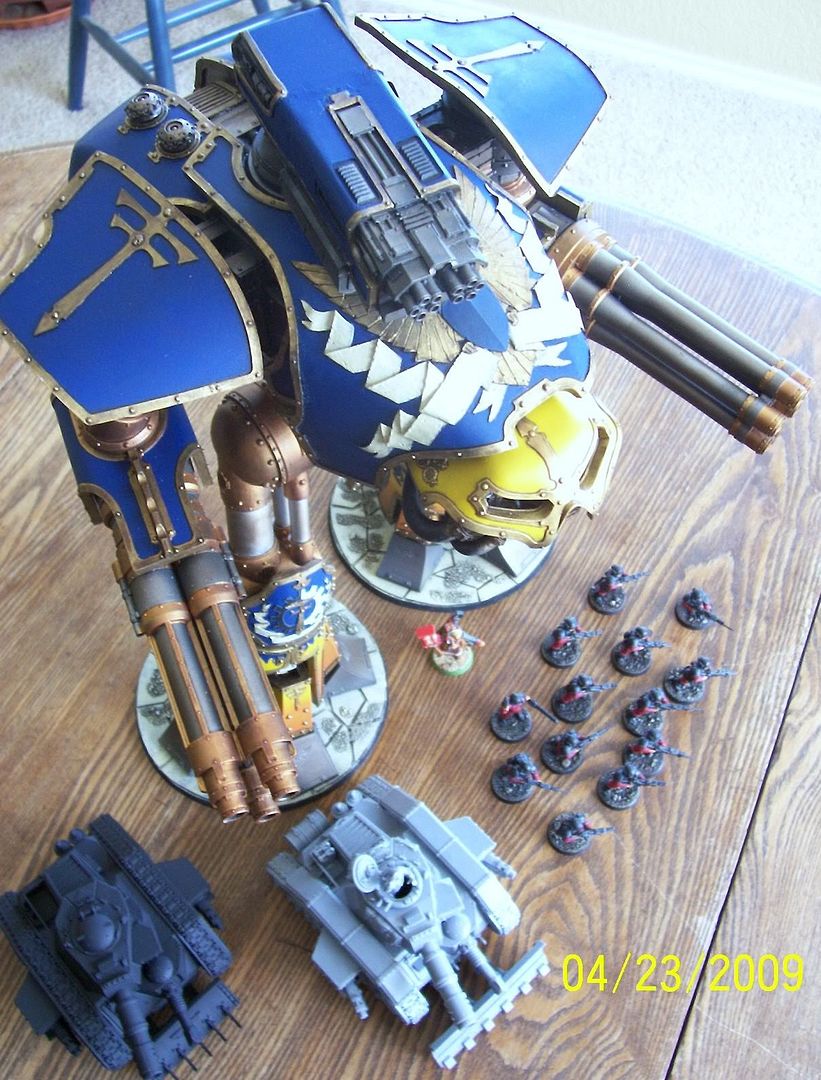
A view from above...


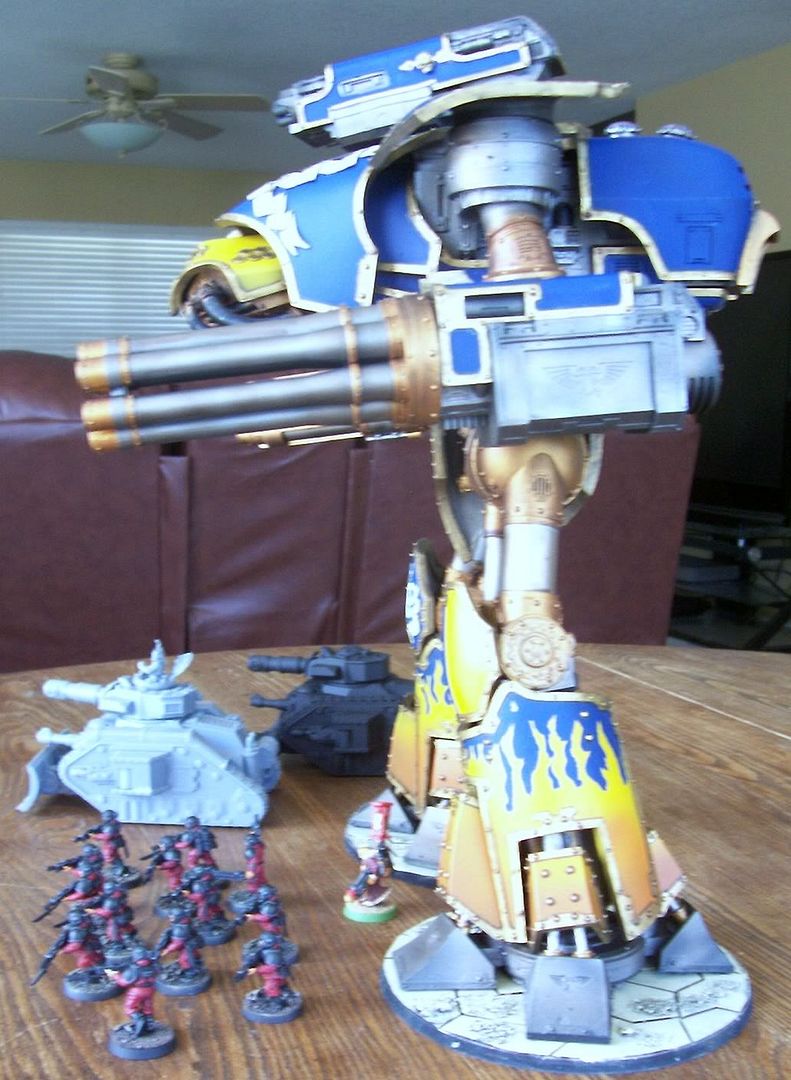
A generic side view...


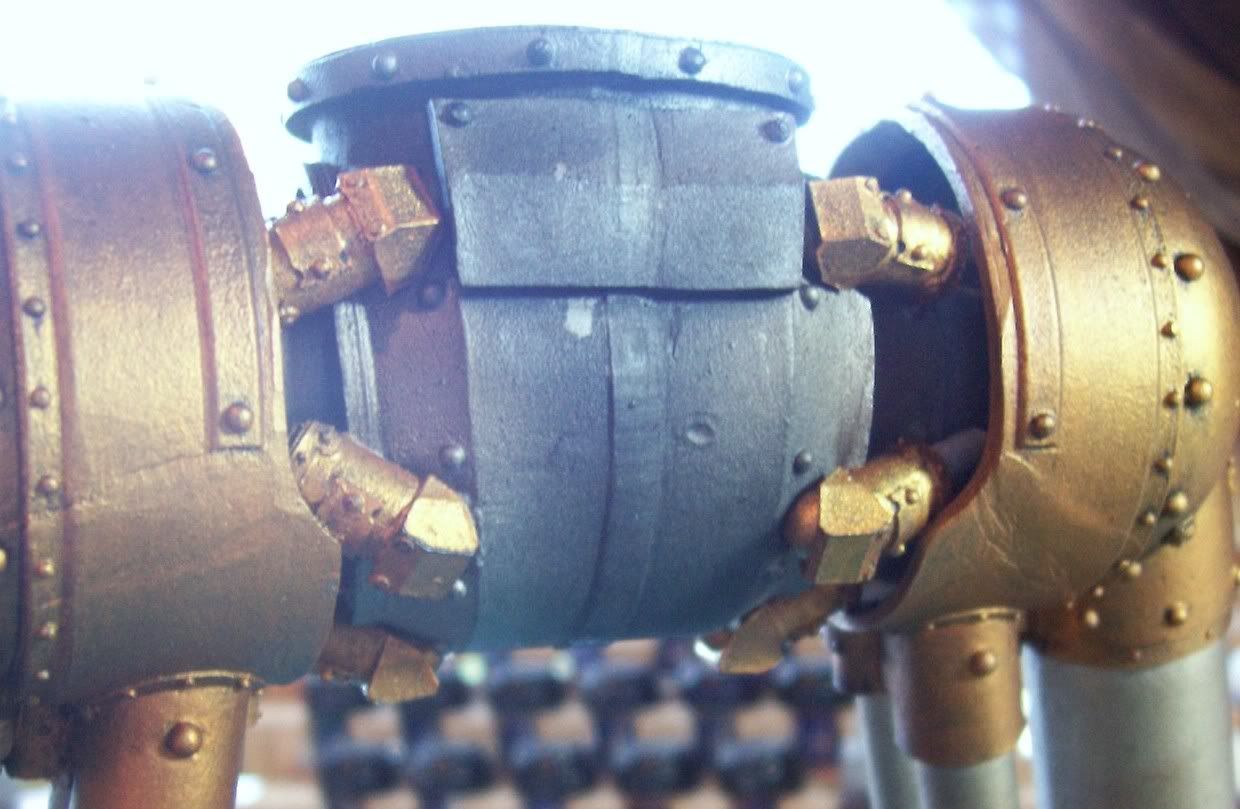
And, the last thing the enemy sees...


I wanted to share what I had so far as I won't be able to finish till after this weekend in all probability. We have company coming and so I don't expect to be able to wrap this up till next week. There will likely be two more Reaver posts. One will be mostly pictures when the Reaver is really completely finished. The other will be a small collection of things I've learned and things to watch out for if you ever build one of these. Not sure which will come first yet though.

Thanks for stopping by. I appreciate the name suggestions from the last post. So far Moridan 7th's Ignis Domini is looking like it may be the name. Comments, critiques, and criticisms are welcome as always and are appreciated most in that order!

Wednesday, April 22, 2009

Titan Names?

Time is fast approaching when the Reaver Titan will need a name. In fact, tomorrow when there is some decent natural light, I'll be posting pics of an almost finished Reaver! That's right tomorrow, mark your calendar... it's the day after today. Just scroll work and some details left to finish. In fact, I took it for a ride this evening to my local GW to see if it would hold together during transport and it came through without a hitch! It was a big hit there, by the way.

On to the question at hand. I'll be needing a name. Here is a list of Legio Astorum Reaver Titan names from the Imperial Armor Six book; Tritus, Honorum, Invictorus, Astor Tyrannis, Questor Tyrannis, Invigila Alpha, Invigila Beta. There are a couple others, but that should give a feel for the way the names go. I purposefully did not paint my Reaver to copy any in the book and so that's why I'm not borrowing names from it. I went to an English to Latin translator, but as we know, Imperial Gothic is more like latin-lite. I would appreciate suggestions in the comments. All suggestions will be taken seriously and I may pick my favorite few for a poll. Come on folks, gimme some ideas!

Monday, April 13, 2009

Reaver Titan Pt 16 (No Lack of Progress, Just Updates)

I'm sorry for the lack of updates on the Reaver Titan project this past week or so. I've had a lot going on and all of my free time has been spent working on the Reaver instead of blogging about it. I thought I'd give you guys at least a quick update to show that work is, in fact, continuing!

The past week has been spent airbrushing, masking off areas, more airbrushing, and in some cases repeating the whole process all over again. I've been working in the Kitchen as it affords me easy access to water for diluting paints as well as for cleaning up. A hearty Thank You to my lovely wife for being so understanding and sharing her counter space with me! Without further ado, on to the pics.


First off, let me explain the flames you may have noticed on the Titans legs. They are based off the art in the Imperial Armor Six book. Yes, the flames are reverse flames. A quick glance around the 40k universe will show that GW uses reverse flames on dark backgrounds and regular flames on light backgrounds. I'm sure this is for contrast. With that out of the way, the flames aren't as crisp as I would have liked them, but I'm going to call it good.

The work done to get to this point has been exhausting. What's left? Trim, touch-ups, basing, and final assembly. I'm hoping to be done in the next few days, certainly by the end of this week!

I thank you for coming to take a look. Feel free to leave a comment if you wish!

Monday, April 6, 2009

Things Aren't Like They Used To Be...

And they probably never were. One of the wisest things I've ever been told.

You all have Ian over at Heroes Of Armageddon and his Blast From the Past blog to thank for this post. After reading his blog, digging up some GW fossils started to sound like fun.

First off we have a rare old figure. The Female Adventurer In Power Armor. I will tell you that the head is from a Reaper miniature as the original was basically a blob with a bowl cut. There were two different minis made, this is one, the other I lost a million or so years ago.


The next mini is one of my all time favorites. It's an original Keeper Of Secrets. It's been pulled apart as it has been my intention for the last couple years to redo this guy/gal/thing. I always liked the minotaur shape of these guys. It's more menacing than a scrawny hermaphrodite in my opinion.


The next is a complicated piece. It would make an awesome tutorial, but it would be over ten years too late. It's an old style Rhino that can be transformed into a Whirlwind. You see, once upon a time, there was no model for the Whirlwind. Conversion was the only way to go. I've got two of these around and about. The other is in need of some repair though. Believe it or not, the only bits absolutely necessary that didn't come with the rhino are two fantasy shields, and a large square fantasy base.

Here it is a typical Rhino...

Inside extra bits can be stored. The openings on the opposite side (old rhinos were the same hull piece top and bottom) have been covered up with plastic card.

A Whirlwind launcher is fabricated from plastic card and bits. It's mounted on a set of rear doors with a pair of old Warhammer Fantasy shields and some scrap sprue to make it able to rotate.

Swap out the front hatches for a blank one and one with a home made radar dish (that also rotates), and you have a Whirlwind!

The Aquila on top of the launcher is carefully cut out from a Second Edition Wargear Card and glued on. Gives a nice three dimensional decoration. The missile rack itself is made from the bottom of an old square Fantasy base.

Note the little bumps inside each 'tube' on the launcher which are the missiles.


There is my trip down memory lane. I've more old stuff hidden all about, but it will wait for another day. Thanks for indulging me.

Friday, April 3, 2009

Reaver Titan Pt 15 (Warnings and Updates)

Just a quick update and words of warning/wisdom for any future Reaver builders out there...

While it's often advantageous to assemble things in a different order than the instructions show, be sure to test all variables first. When gluing the toes in place on the foot, I made extra sure that the large piston guards would be able to be put into place with the toe already on. What I did not test, probably due to it's smaller less important looking size, was the ability to place the smaller toe pistons into position with the toe already on. Because of the way the toe pistons (two per toe) go into the large piston guard, there is no way to do it without placing them as you slide the actual toe into position. So, I got to wrench, twist, wiggle, sweat, and pray in an attempt to get the toes back off the titan with minimal damage. Thank goodness they all came off without damaging the feet or legs!


Another spot that can be troublesome, whether you follow the directions or not, are the pistons that actuate the hip joint. These simply don't fit well as the plating on the outer hip (the gold part) gets in the way. Here is a shot of some titan butt, or as I like to call it, "mechanicus porn".


On to better news!

The legs are starting to go together (now that the toes have come apart). The banners are in the works and we can all watch them come together over at From the Warp as Ron works his magic! And, I've finally found the right size drill bit and flush mounted some magnets to hang the banners from when they're finished...


It's Friday, things are moving along nicely with the Reaver so I'm not even going to suggest any kind of off the wall prose for comments. I will say that Klaus over at DEI GRECI mentioning his beergarden may just convince me to grab some beer and head out by the pool this evening! The wireless reaches out there so I can even check up on my fellow bloggers whilst I chill. That sounds nice... why do I even come in the house at all?

Thursday, April 2, 2009

A Peek Into the Far Flung Future of The Inner Geek

As I can see the light at the end of the Reaver Titan tunnel, it's time to start obsessing over a new project...

Strings have been pulled, currency has changed hands, and reference material has arrived...


With the recent release of the Apocalypse Data Sheet for the Emperor Titan, it occurred to me that there needs to be at least one of these in the North Texas area. It also occurred to the Cyborg Trucker that Wisconsin would need one too! There may even be some long distance collaboration down the road. This is a project I'm getting more and more serious about as I think on it. Today's mail arrival will serve as a reference and also as a mascot of sorts. I don't intend to build something that looks exactly like the Epic scale Imperator, but it will be based largely (pun intended) upon it.

Thanks for stopping by. While work on the Reaver continues (the airbrush is crying for mercy), I'm hoping folks will get start to get excited about my next crazy project. I know I am!

Related Posts with Thumbnails