In the interest of making the pose... er... interesting, I played around with the legs a good amount before gluing anything. Because of the way the legs go together I realized that you can adjust them from the hips to the knees and if the hips and knees still line up, you're set. In the picture below you can see that the hips are level with each other and the part that will attach to the lower leg are both on the same plane but the legs are angled differently...
Confident that I had two legs in slightly different positions, but still able to line up, I moved on to another area that needed some help.
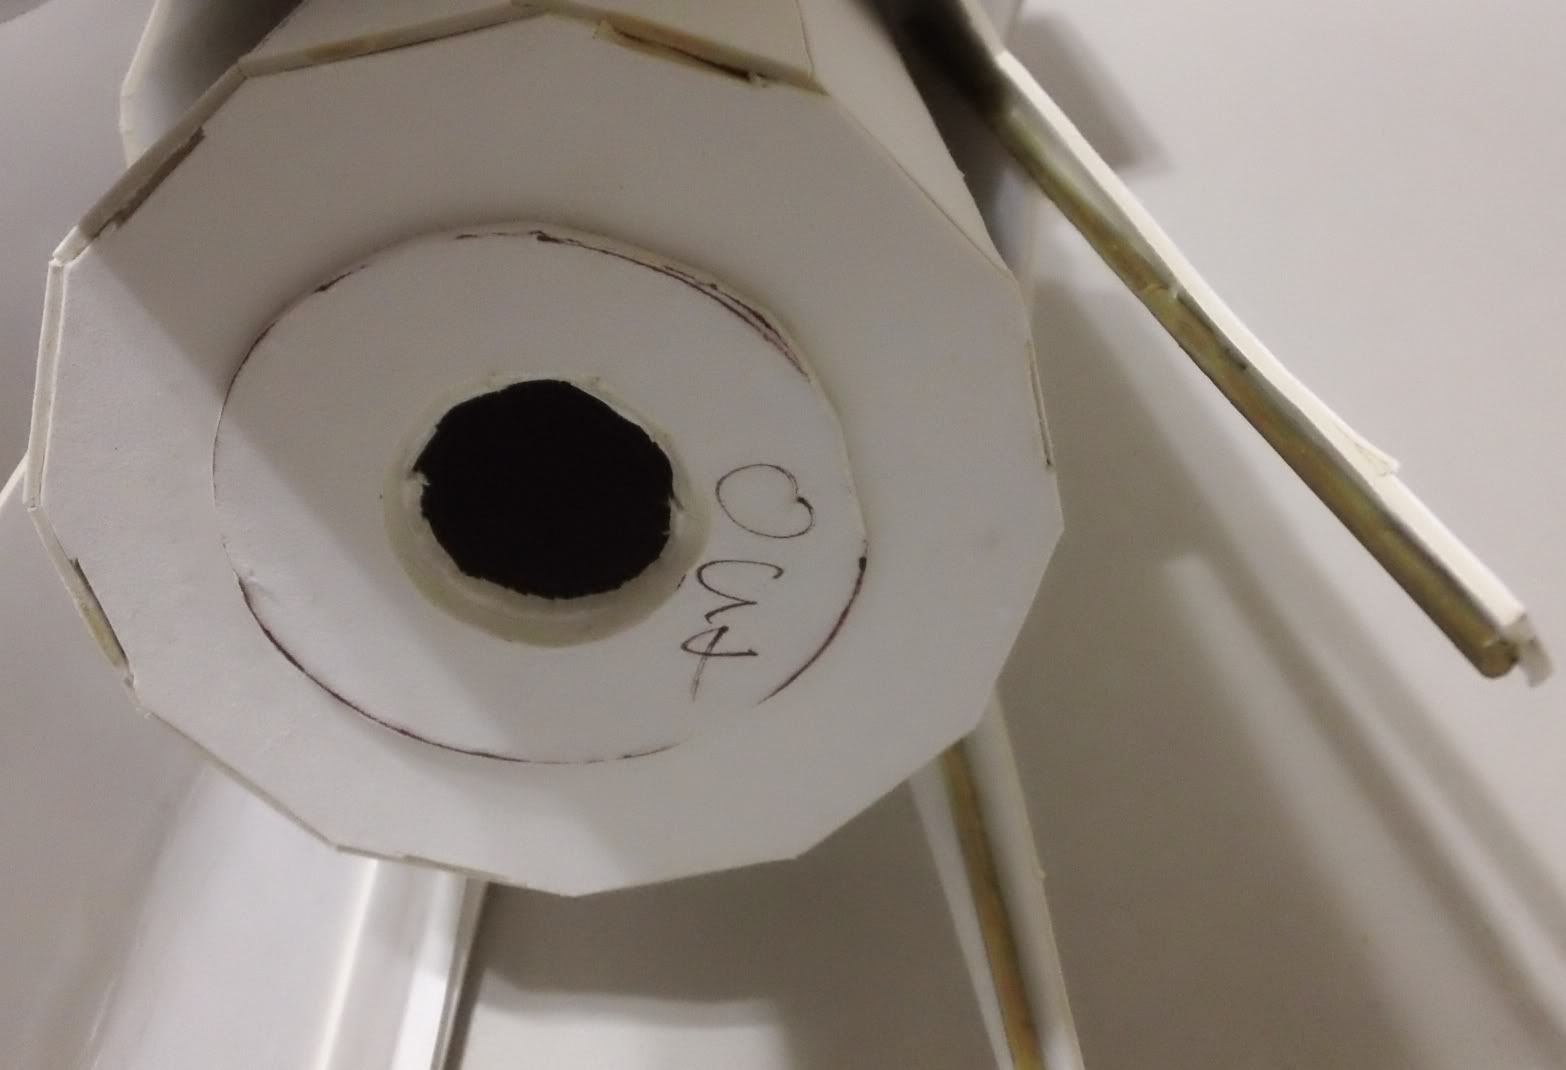
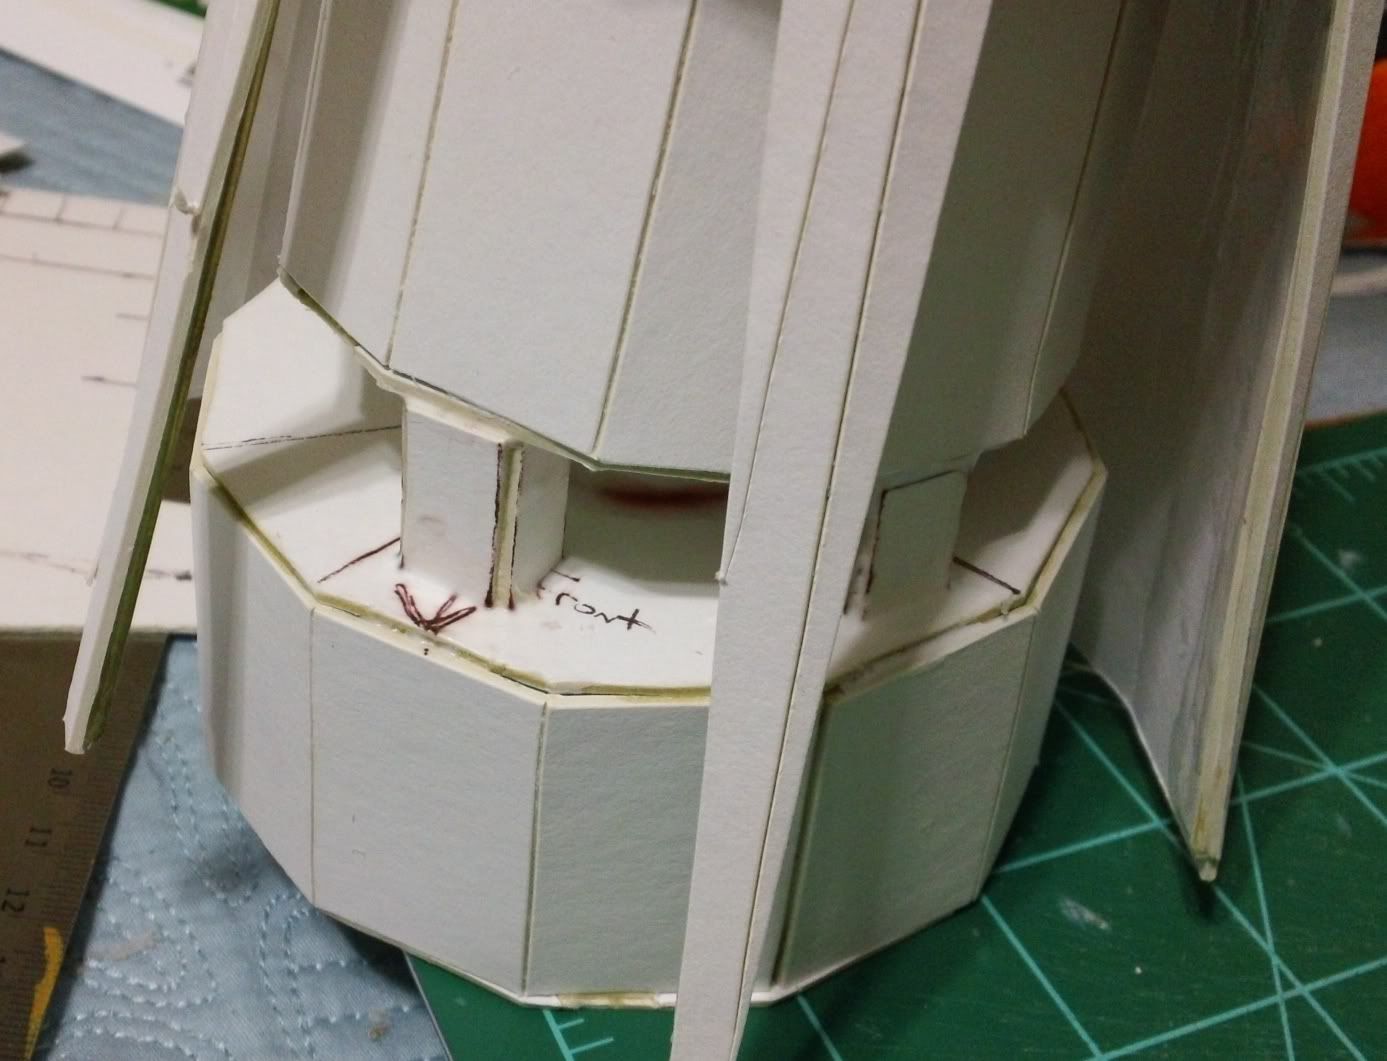
The lower legs are modified from the original plans and this causes the 'shin' to be very thin where it comes down between the front toes. To correct this I glued brass rods inside the shins running from the thin points to the top. When I say glued I mean I tacked them on with superglue then drenched them in regular tacky glue for a solid hold...
There was some fun times gluing the legs to the hips. The trick there is to set the legs on the ball joint ankles, but don't glue them down. Once they were firmly attached to the hips using Gorilla Glue, patience, and prayers then you can glue the ankles at their ball joints. I didn't get any pics of this, because it would just look like the pictures at the end of this blog but with various items propping things up.
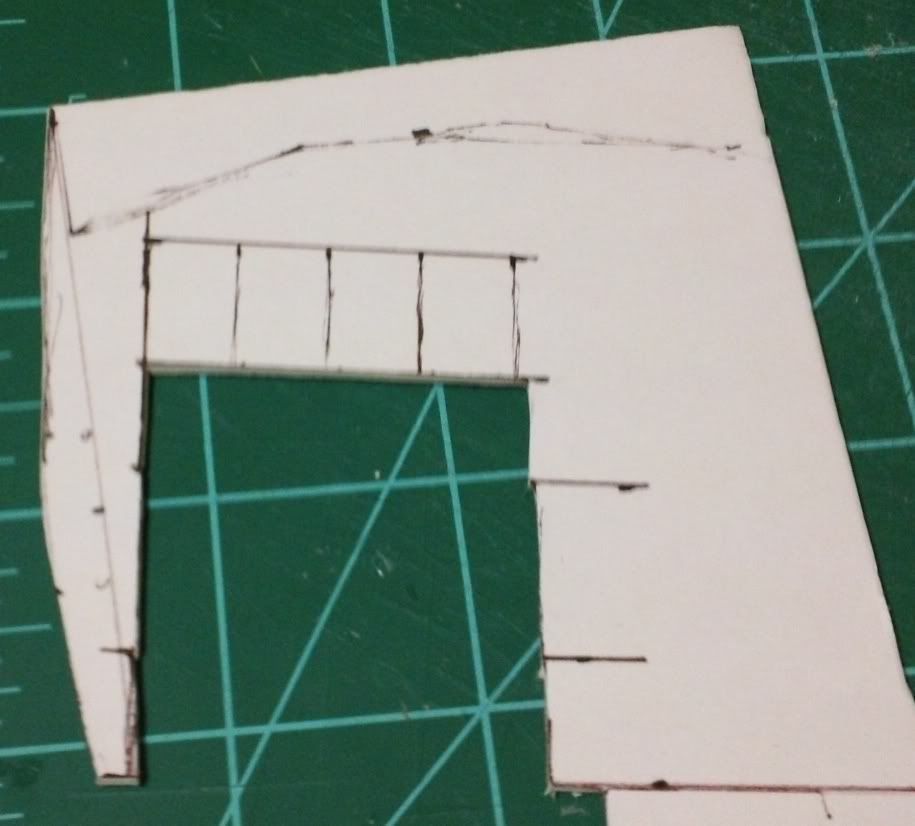
At this point I realized that the ankles were going to be a weak point. While securely attached, they had a lot of 'flex' to them. So I made some homemade braces. First I cut some strips out of matte board...
Then, for the sake of speed, I superglued them into shape...
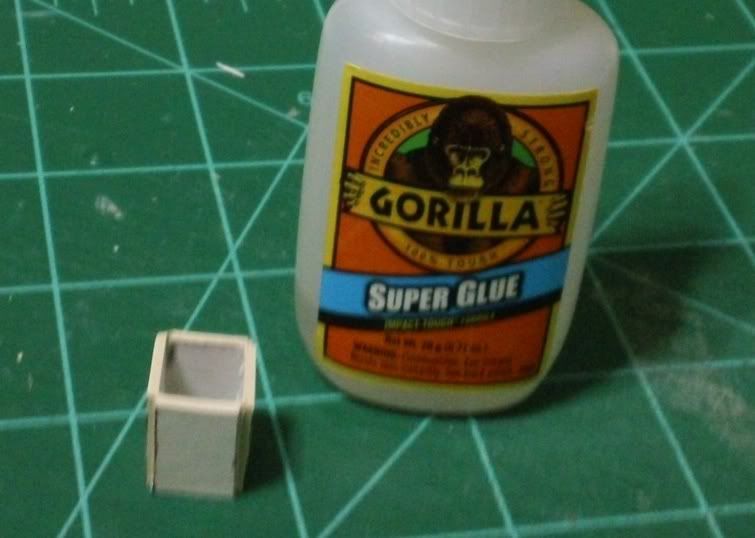
Then I trimmed them to fit between the inner shin piece and the actual foot. Once installed, I slopped a good bit of glue around them to secure them and help hold them together. Below you can see a couple of them in place...
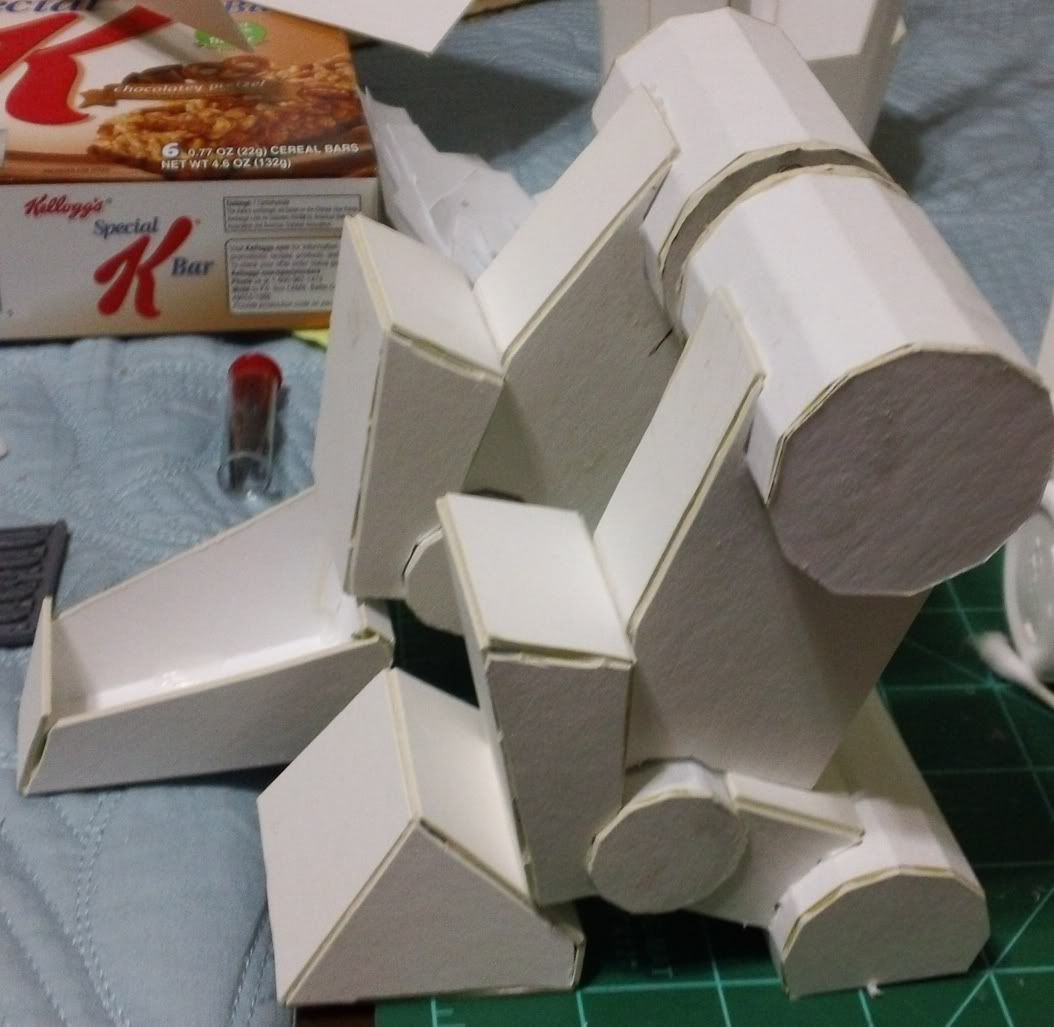
This only left the toes to add! The lower toes were simply glued on using tacky glue, then reinforced with more tacky glue. Here you can see them added...
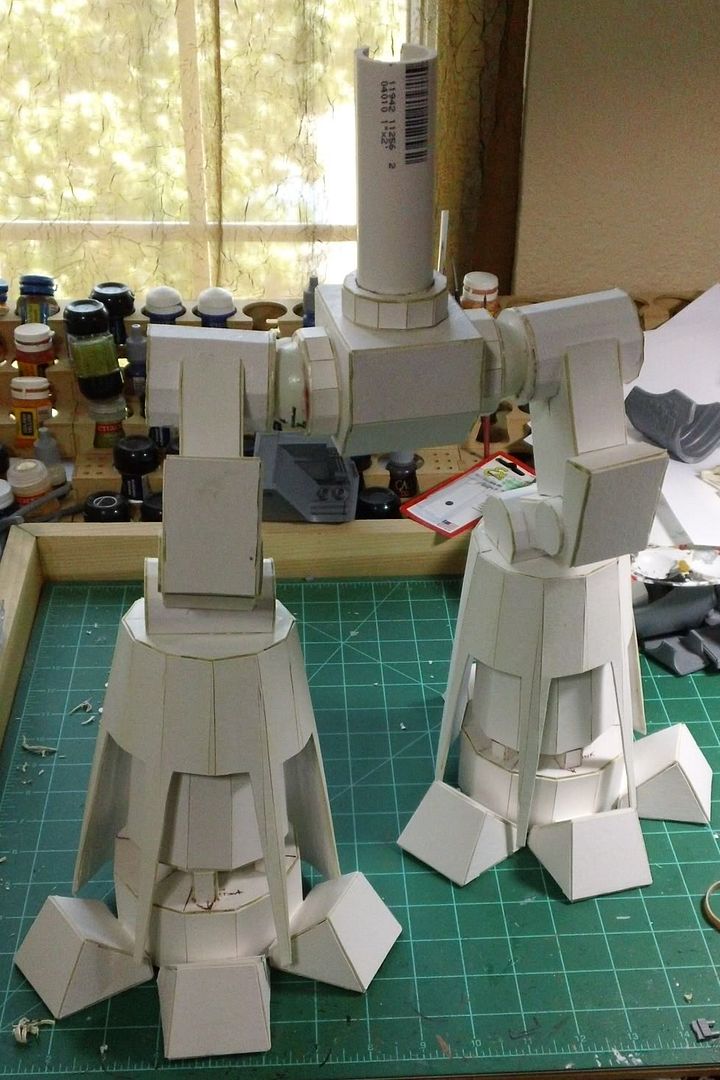
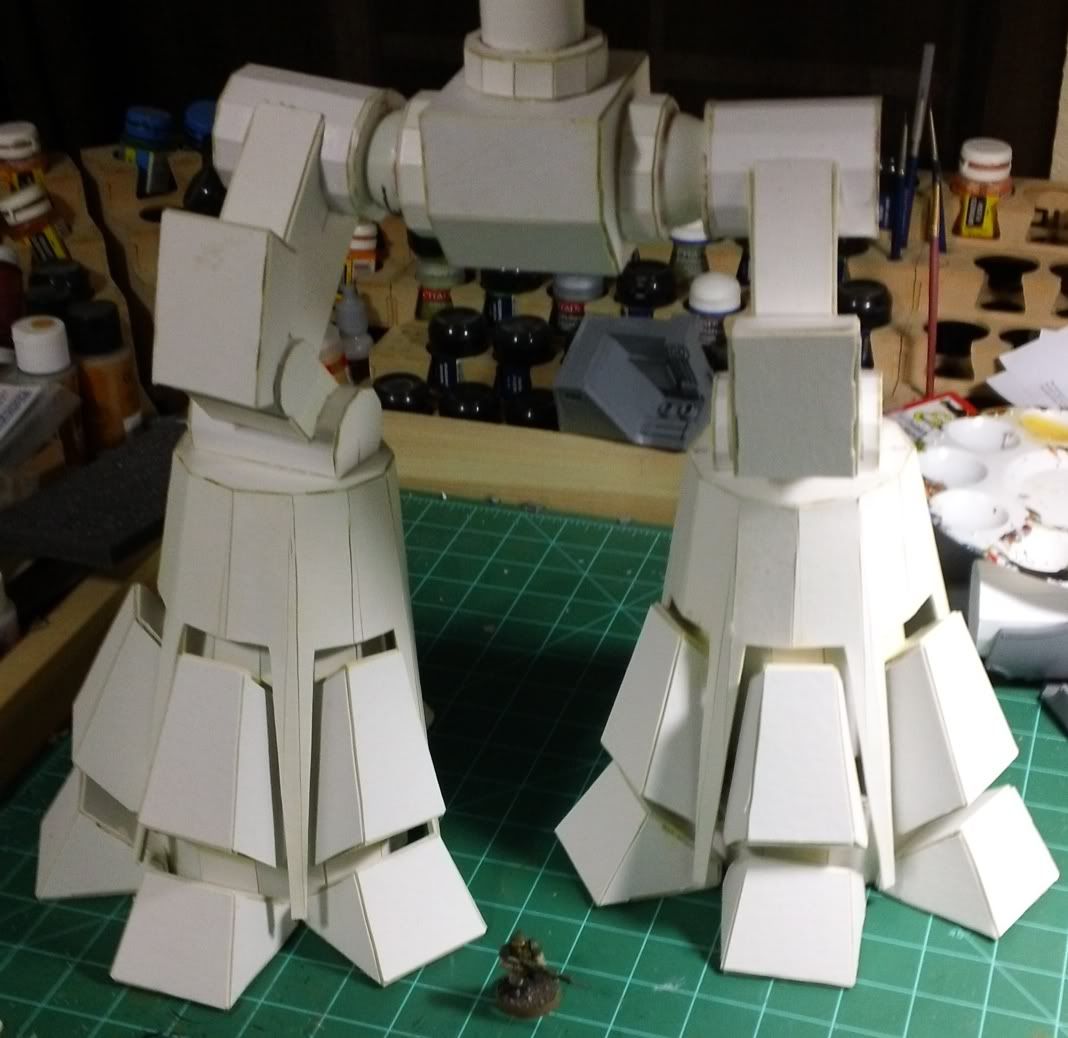
This brings us to the final leg piece, the upper toe thingies. These I tacked on with super glue, then I used an old brush and a q-tip to apply glue to the areas where the pieces made contact... which weren't always large areas. I'm happy to report they feel reasonably solid though! Here are a couple shots of the legs in all their glory...
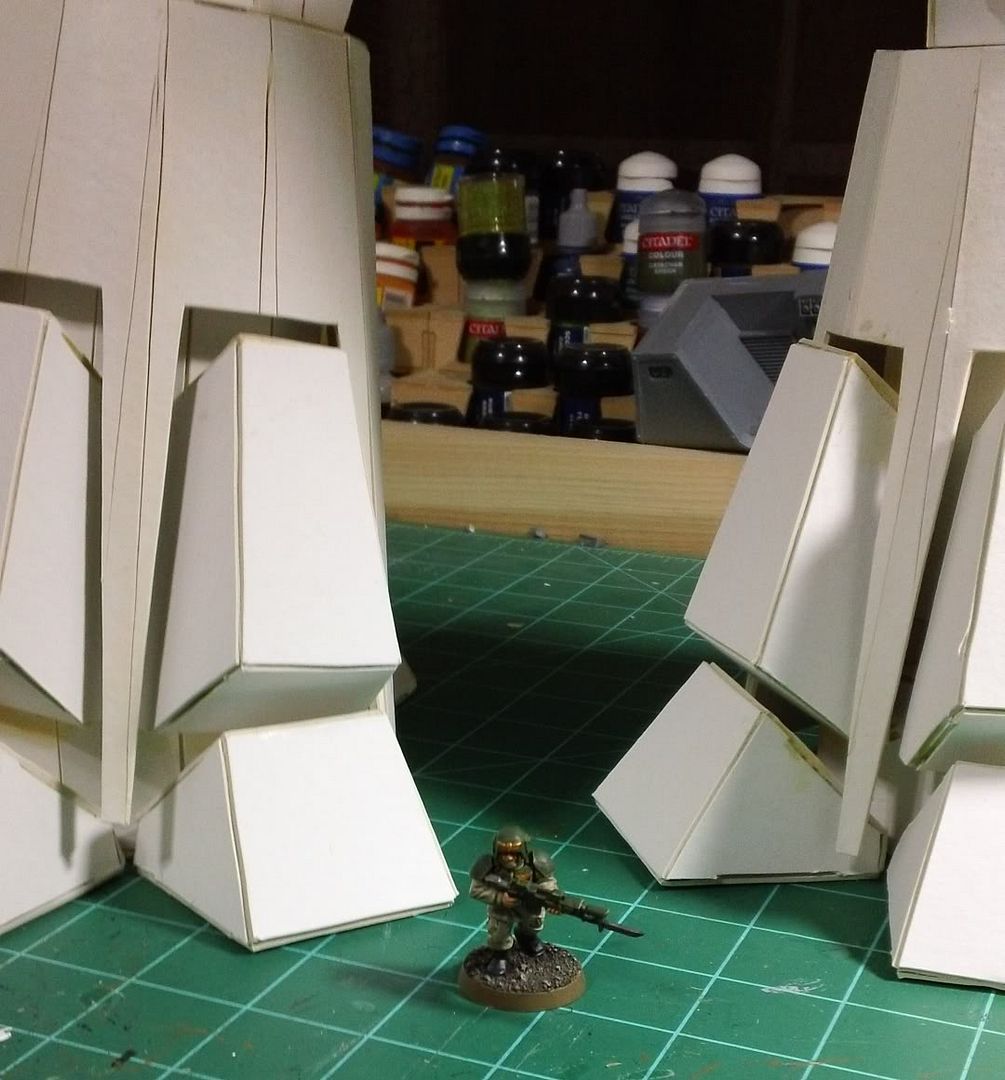
So what's left? Not much really. There is finishing the fist by way of gluing the fingers on. Finishing the weapon arm and... that's about it. Next post on this project should see a completed titan ready to be detailed. I'll also try to put together a materials list and prices to show about how much this project costs. I'm doing this before detailing because the point is to show what you can do with a minimum expenditure and any detailing would be to the builders taste, budget, and discretion. Some folks have asked and I'll be putting up pics with more objects to demonstrate scale, including the Reaver. I may even make you suffer through some Inner Geek fiction and write some fluff about this titan... lucky you!
As always, thanks for stopping by. I know you have a choice of rambling blogs, and we appreciate you choosing The Inner Geek blog!