If you've been following along, you know the work that's been put in, but not the cost. I'm going to lay that out for you briefly, then on to the pics!
3 x sheets of matte board on sale at $4.00 each
1 x bottle of Gorilla brand Superglue at $5.00 each
3 x Aleene's Quick Dry Tacky Glue at $2.77 each
3 x Excel #11 exacto blades package of five at $1.99 each
1 x package of assorted rubber bands at $0.99 each
1 x Krylon Easy-Tack adhesive spray at $7.59 each
1 x brass rod at approximately $2.00 each
1 x package of six ping pong balls at $1.99 each
1 x Gorilla Glue at $7.00 each
2 x pvc pipe pieces from DIY store at approximately $1.75 each
Several sheets of printing paper (if you have a printer, you likely have this already)
Several recycled Cereal Boxes at $0.00 each
So the entire project up to this point has cost about $54.35 US. Getting to this point should not require a top hat... Decorating and details will cost additional. But, as I've mentioned before, the point of this part of the project is to show what you can build for the bare minimum. Will it look better after detailing... yep. But I think it already looks pretty cool as it is! On to the pics!
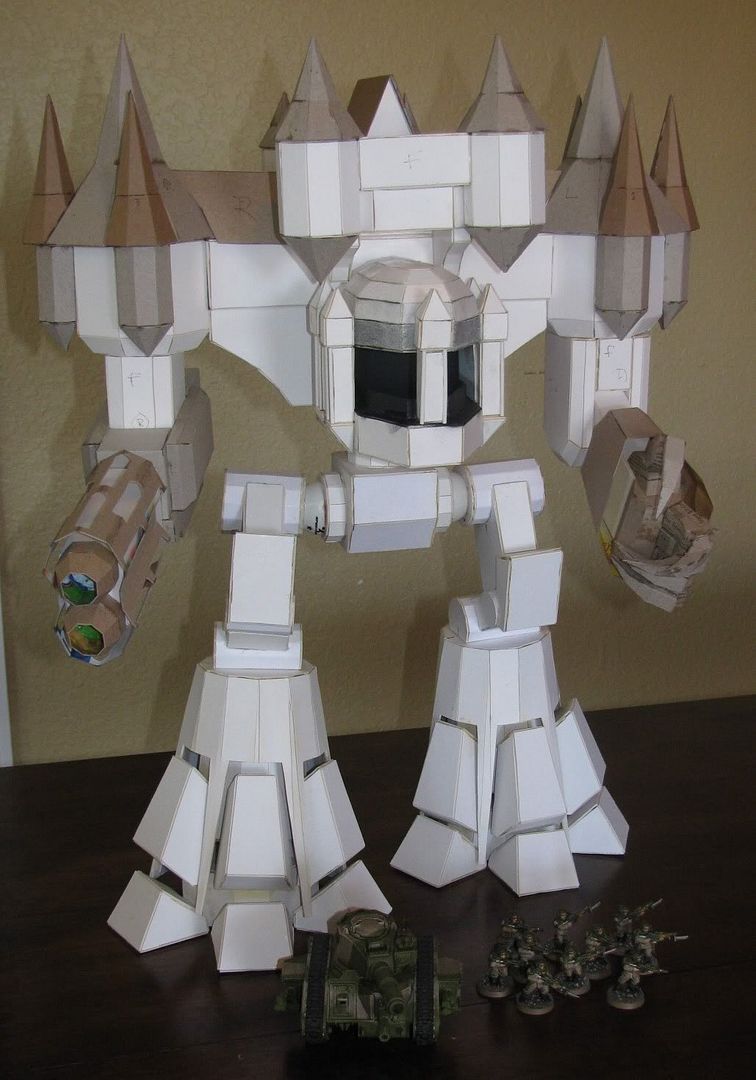
First is a shot with some IG and a Leman Russ for scale...
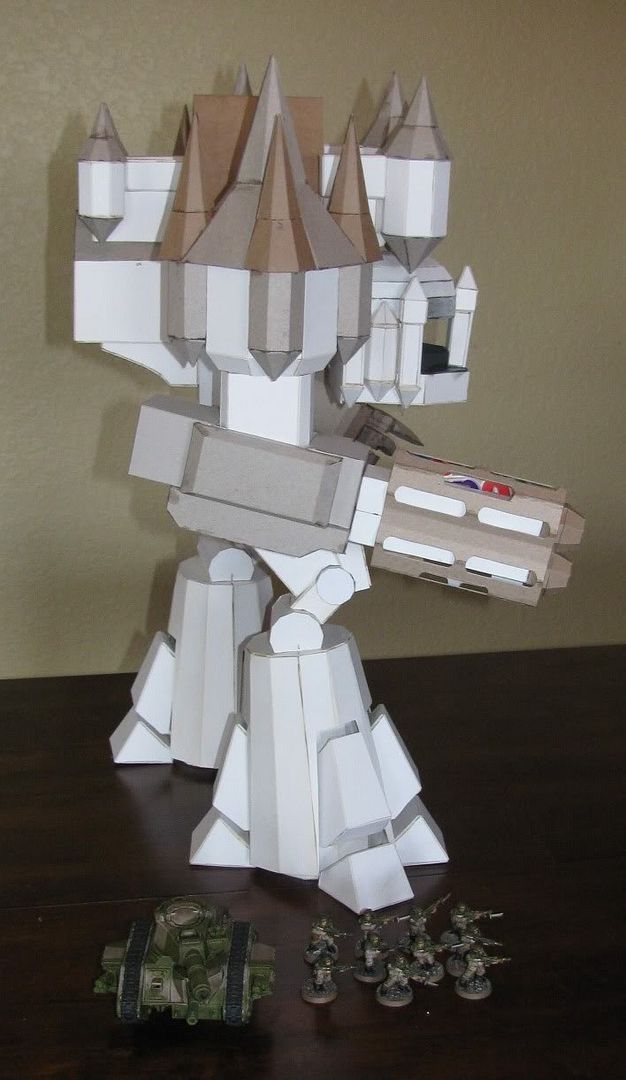
A shot of the side...
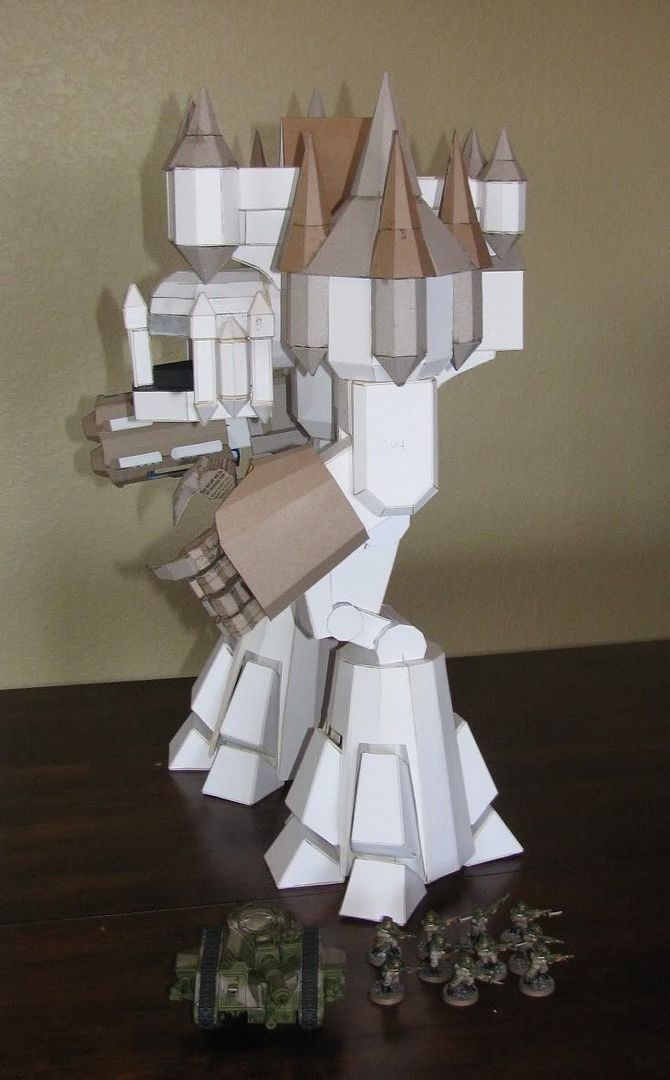
The rear angle...

The other side...
Here is a picture showing the Titan broken down into its parts...

Strangely, I also noticed there is a baby in the gun???

A couple more pictures for scale purposes. A shot with the Reaver Titan...

And a shot with Godzilla... why not...

A quick note on the building materials. I'm very happy with how the matte board is holding up. It wasn't the easiest to cut, but it is very solid. As an example; I'd been trying to ignore the fact that the front balcony was slightly crooked. I couldn't take it anymore and decided to remove and straighten it. It took some serious doing to get that one piece to come lose. It is now replaced in a straighter position since these pics and I'm quite happy with it. There is, in fact, only one place that I think is a little weak which brings me to the next paragraph...
While the Titan is perfectly fine the way it is, I'm going to put it on a base due to the nature of how the lower toes are attached and their inherent weakness. The base will be just big enough to set the feet on with a small 'bridge' in the middle to prevent the legs from trying to splay at the hips. This is a lesson I learned with the Reaver. This Titan stands very well on it's own and this will simply be an insurance policy against toe breakage in the future.
One last note. In the title it says, "Complete... ish". The ish is because there are more weapons available in the plans. There is a large chain sword type of close combat weapon, and a giant belt fed cannon. I will likely build these in the future, but they aren't coming anytime particularly soon.
I hope you've enjoyed watching this project move forward, I know I've enjoyed working on it. While it's probably a project for an advanced modeler, the great thing is you can always try again if you mess up a part. So even a novice can make this work if they have a bit of patience!
Comments, questions, and witty insults are welcome as always!