This is actually a kit I bought about three years ago. I think it would have got done soon after arriving except it had some pieces that had to be resent by our friends at Forge World. I'll show you the offenders below. This gave me time to pursue other projects and here I am finally getting to this awesome kit. Now, let me quantify the term, "awesome kit". It's a kit that becomes an awesome model, not necessarily one of awesome quality. This kit came with a lot of broken pieces. Some were fixable, some rebuild-able, and some that had been ground into a fine powder in shipping to the point that I thought at first they were just missing until closer inspection of the debris. This is not my normal experience with Forge World and I think a lot of the problems can be attributed to shipping, the fine details, and thin bits included in this kit. I will say that Forge World made the process of getting replacement parts very easy and I can't say enough about their customer service.
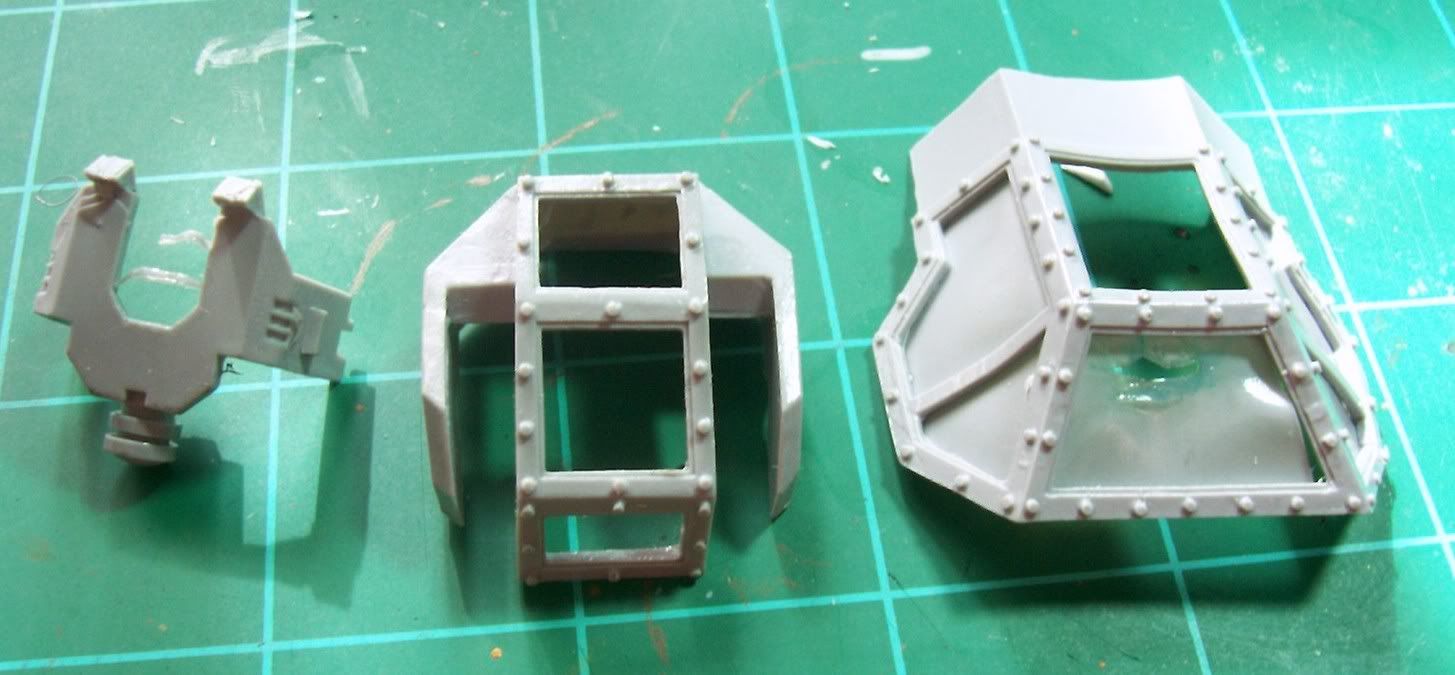
So lets have a look at the major bits!

And here are the parts that had to be re-shipped (Please note as I mentioned above that Forge World provided excellent customer service and was very helpful in getting this parts replaced). These are the parts there were battered beyond recognition upon original arrival.
Here is another piece of damage I didn't pick up on until trimming the parts.
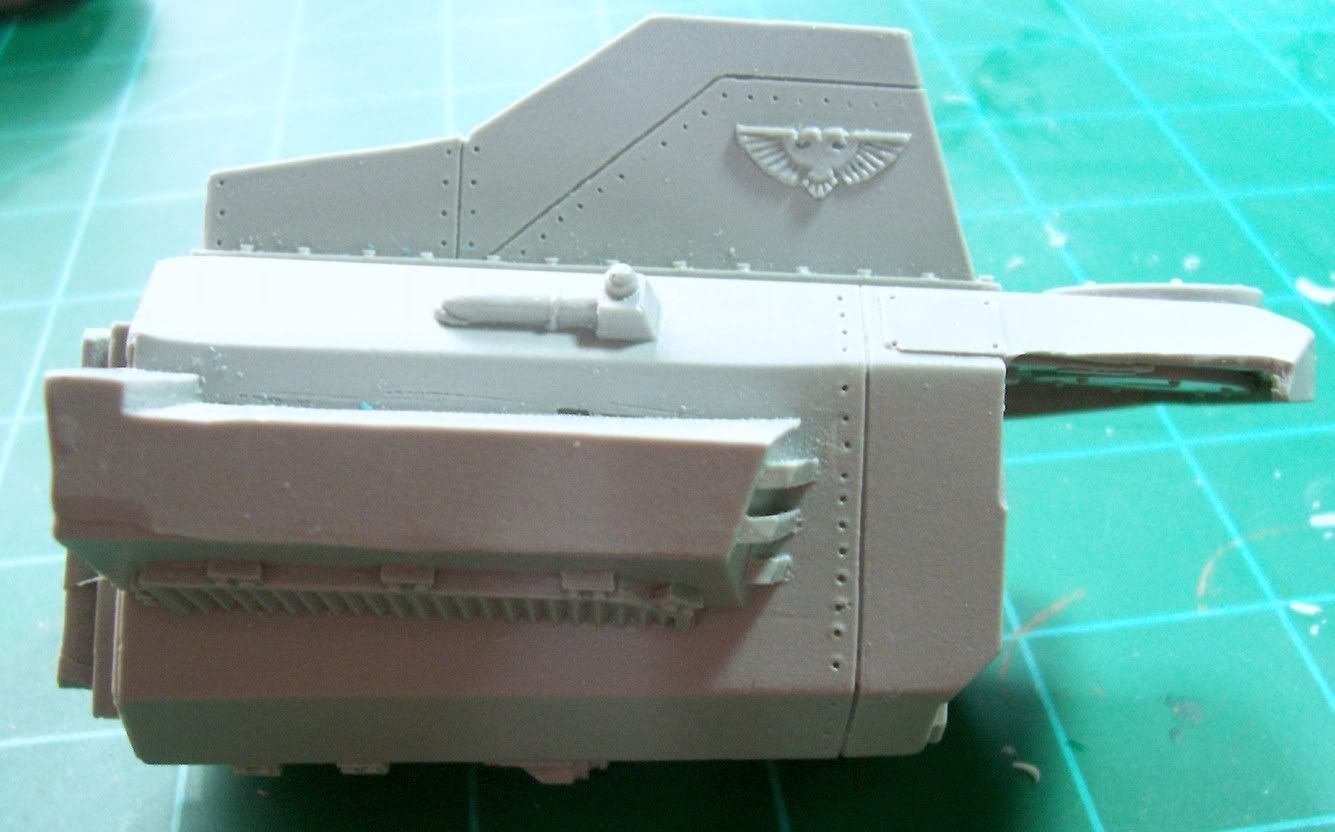
Compared to the opposite sides' shape...
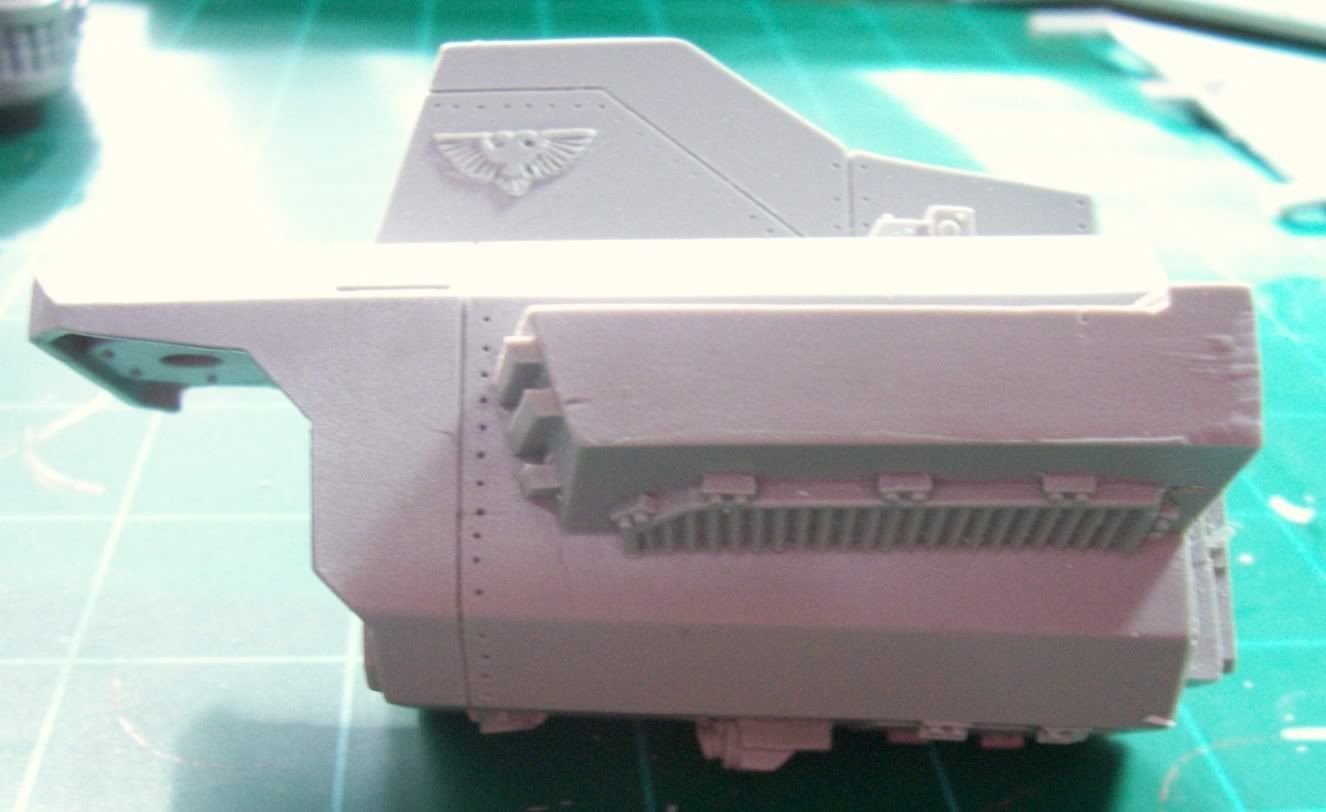
So I used the good side to find the shape I needed for a plasticard repair job.

With the piece secured with some super glue (I still hate the stuff), it's ready for some putty and sanding that will come at a later stage...

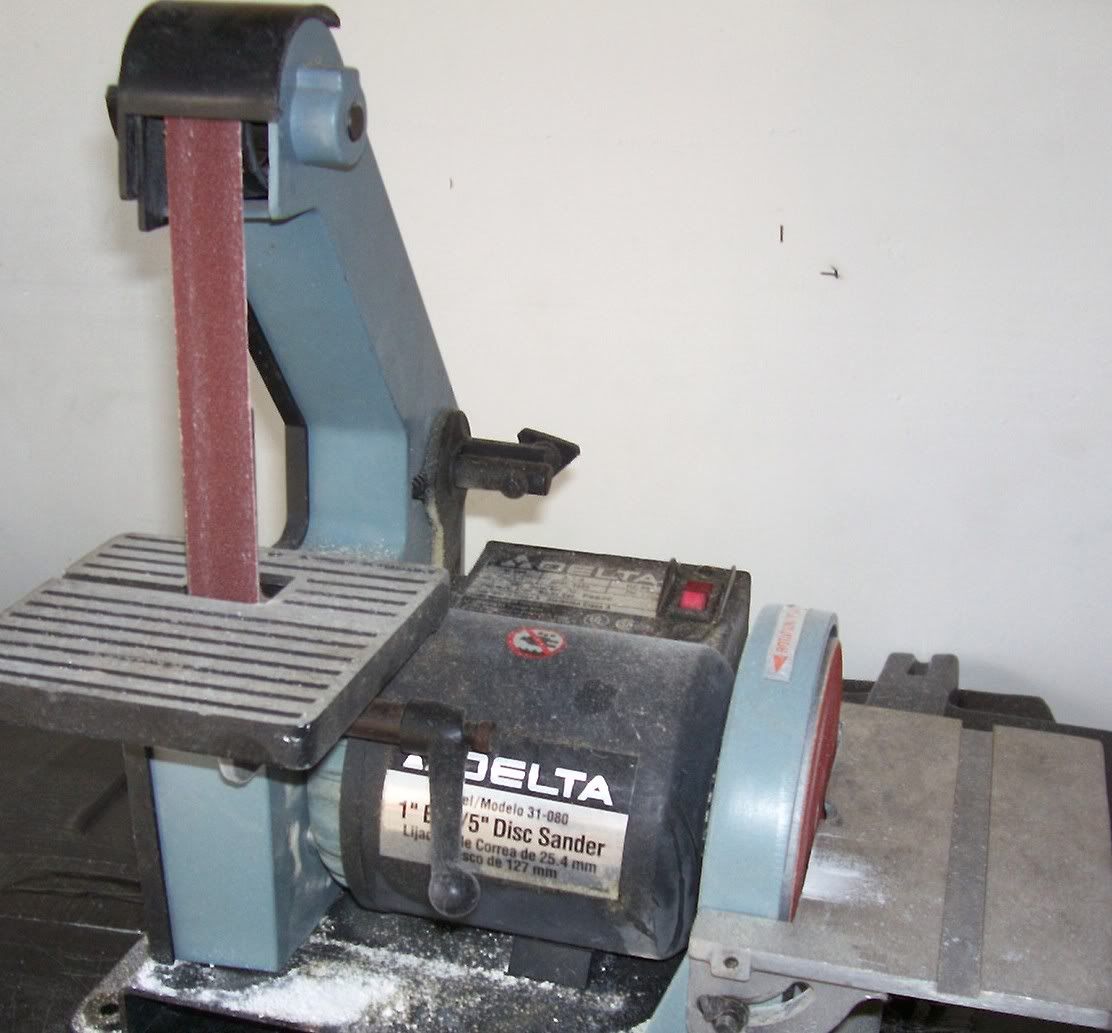
Some seriously large channels from the resin pour meant I had to call in the big guns for a couple parts. (Don't breath in resin dust when sawing or sanding!)

Then it was into a bath of Simple Green and a bit of dish washing liquid. A large container for the bigger parts and a cup for the fiddly bits!

And there the parts remain. I'll be rinsing and drying them shortly. I've departed from my usual order of things in that I've trimmed the pieces before the wash. I figured why not wash away most of the debris and junk from trimming instead of washing then creating a whole new mess. There will still be some parts that will need a last minute trim or tweak, and I have magnetic plans for the landing gear yet to implement so I know that some pieces will need another rinse. But, doing it this way, most parts have suffered all the handling they will need prior to wash.
Now, here is what I need from you folks out in the blogosphere. Ideas for a base on which to have this beast flying. If you've built a flyer and found something that makes a decent base, tell me. If you have seen a good solution used by someone else, let me know. If all else fails I'll have to manufacture something myself, but I'd hate to miss out on a ready made solution or product if one is out there. Also, thanks to all you guys who voted on the recent poll. It's still up for a day or two but I think the victory of the twin Warhounds is a foregone conclusion.
Any thoughts, suggestions, critiques, and random musings are welcome. I always like to hear from you guys!