
It did get me thinking though. I'm very blessed to have the things I have and even luckier to have an understanding Mrs Geek. Not everyone has the chance to build some of the things I build on my blog. But, maybe I should build something more within the means of the community at large? I had been considering just such a project and this clinched it!
Thus is born, The Scratchbuild Titan project. Will it be free of cost? No, but it will utilize easily attainable bits and hopefully easily attainable skills. There will still be materials cost, but nothing close to a full blown resin monstrosity. At it's very simplest I could see this project done with a few dollars worth of exacto blades, some glue, some paper to print on, and about twenty to thirty dollars of building materials. I plan to add a good bit of detail which will up the price in bits and materials. However, I plan to show how you can have something basic, but awesome, on the cheap and you can add details as your budget/bits box allows.
First off, I have to give credit to those who made the project possible. I found the inspiration for this project on the Tanks and Trolls website. Shaun, or Bulldog, is an amazing scratch builder. Some of his stuff I thought was ForgeWorld until I read the description. The particular Titan I'm going to be trying to emulate/copy is his Brother Humungous. I can't stress enough how awesome his website is for inspiration and reference. I stalked his page so much working on my Reaver that I actually sent him a paypal donation to offset the bandwidth I sucked up (I had my Top Hat on). Another person who deserves some credit here, is Mark Mondragon of Dream-Forge Games. The build is based on a Titan he designed that was snuffed out by an IP happy company who will remain nameless but whose initials are GW. He also created the plans for the Titan that I'm working from.
So to begin, let me tell you that there is a lot of trial and error in this project. For each thing I share with you, there are many attempts that didn't make the cut (pun). I'm going to be starting on the lower parts, legs etc, and working my way up. I've got paper, building material, parts, parts on the way, and even some casting materials to replicate a few parts. To give you a basic idea about how this all goes together I've collected some WIP pictures of a bit of leg coming together.
While the material recommended is "Cardstock" I couldn't find any that I found suitably sturdy enough. I did find Matt Board, as used in framing pictures, for $4 for a 32"x40" sheet at my local Hobby Lobby. By printing out the plans and cutting them down from the 8.5"x11" paper I can get a lot of parts out of each sheet of Matt Board. I used a spray on adhesive to stick the plans onto the Matt Board... and then found I did it wrong! I sprayed the adhesive to the Matt Board then attached the paper plans. The adhesive never really loses it's tackyness. What I will do in the future is spray the adhesive to the back of the paper and attach it to the Matt Board. The 'attacher' gets and stays tacky, the 'attachee' does not!
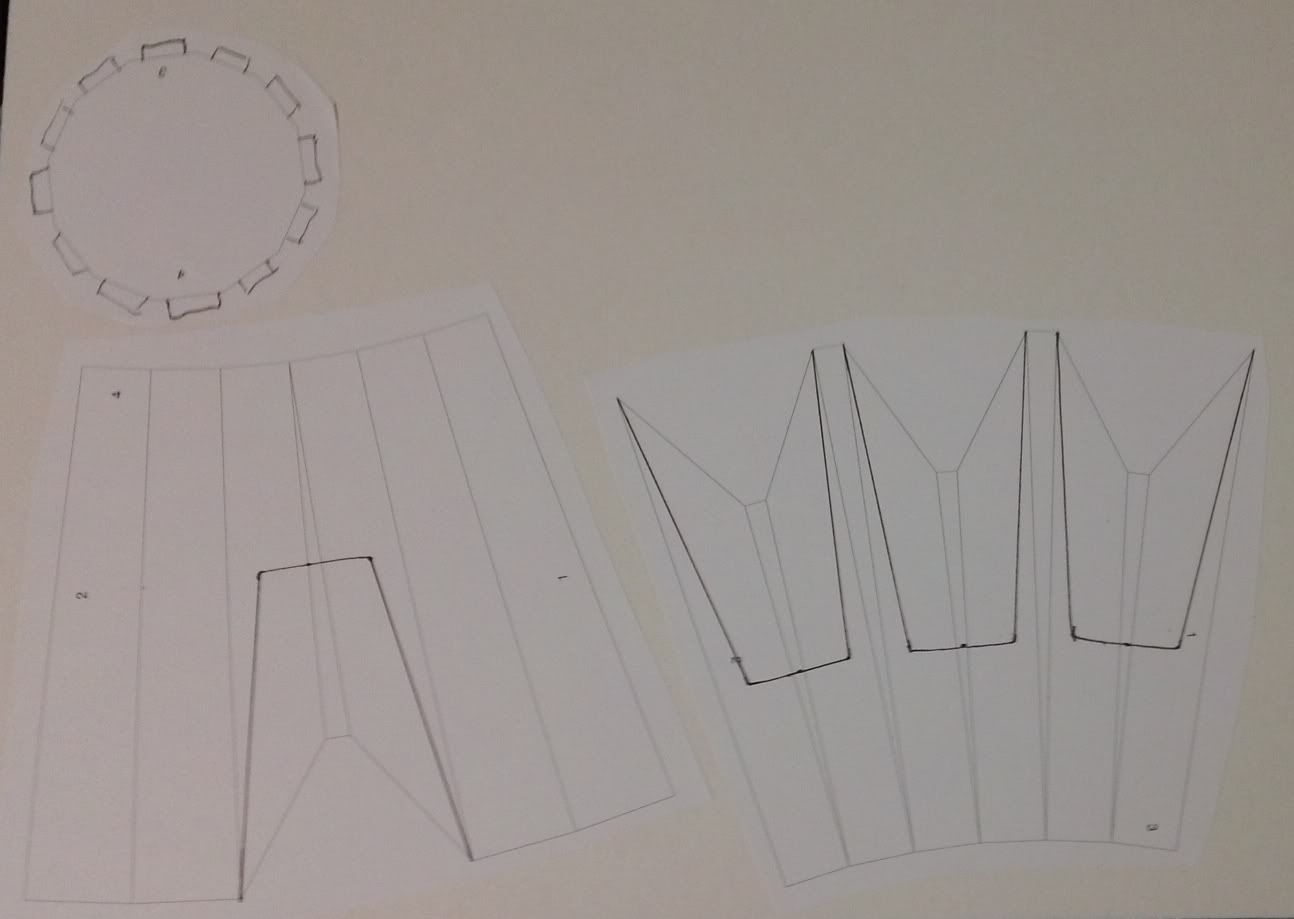
First we have a shot of the plans put to material.

Since the 'Toes' on the original plans are a little sad, I've drawn some extra cutting lines to accommodate some cooler toes, ala Shaun style. I've also added some 'tabs' to the twelve sided circle to use as attachment points. The plans do not have glue tabs included, but it's easy enough to add your own with a little planning.
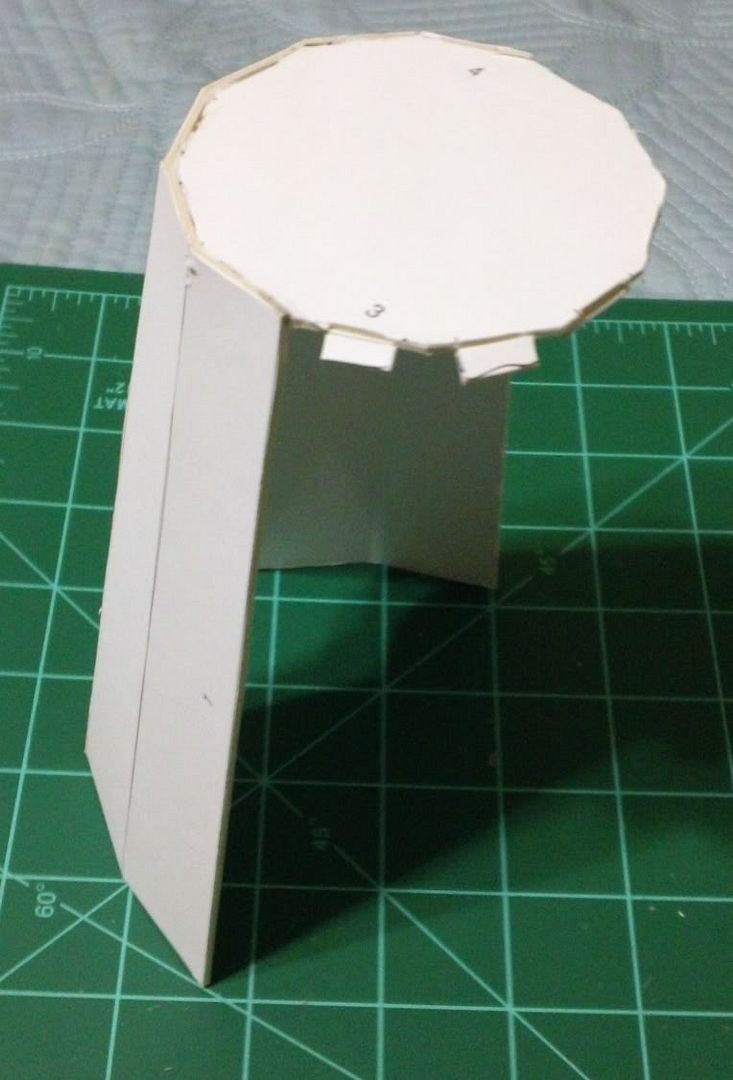
Cutting the Matt Board requires a sharp blade and a bit of pressure behind it. There are also score lines on many pieces. These are cut only part way through to allow the piece to be shaped. After some careful cutting it was time to glue. I'm using something called 'Tacky Glue' which seems to be very similar to plain old white glue. I first glued one half of the lower leg, the back half, to the circle using the glue tabs I'd added.
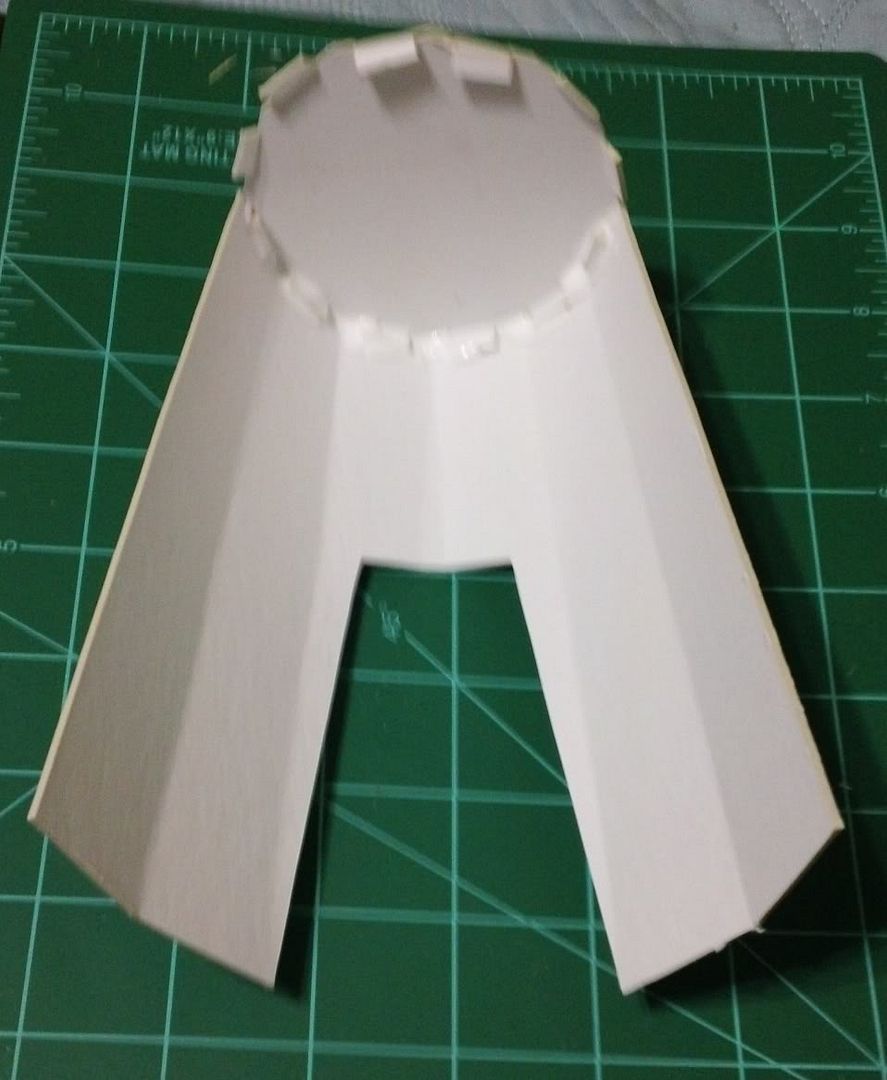
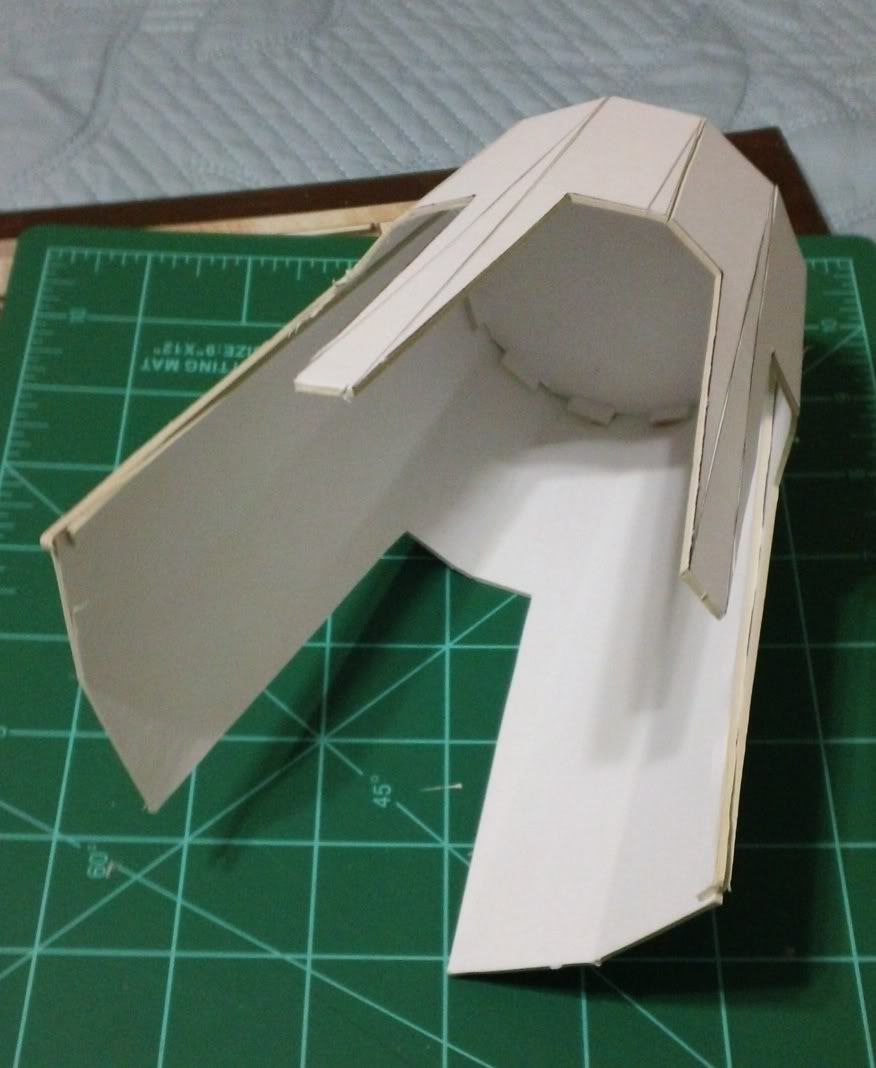
Then I worked the front lower leg piece around the circle the same way. I also added a couple of long very thin pieces of card to the join between the two shin pieces as trying to glue the pieces edge to edge would have been weak and difficult.
Because of my adhesive problem I'll probably have to do all this work over again. But, it's all part of the learning process.
A couple of quick answers to question you may or may not have. No, the Warhounds are not on the back burner... they are on the side burner. I plan to alternate between these projects as the sea of grey resin was threatening my sanity and this project makes me feel a little more creative. Will I post the plans that I'm using? I'm not sure what the legal ramifications could be by doing so? I would certainly be willing to share them, but I'm not sure about posting them for download.
So I hope you enjoyed this first post on the Scratch Build Titan project. If you have any questions, comments, critiques, or interesting commentary; please feel free to leave a comment!