First a couple of shot's of all the parts.
Here is the torso and back parts bag...

I have it on good authority that if you miss the strainer when rinsing this bag of parts, the small bit int he middle of the above photo will go down the drain. I can do a tutorial on how to retrieve a small bit that has gone down the drain from a "p-trap" under your sink if there is any need for it expressed by my readers...
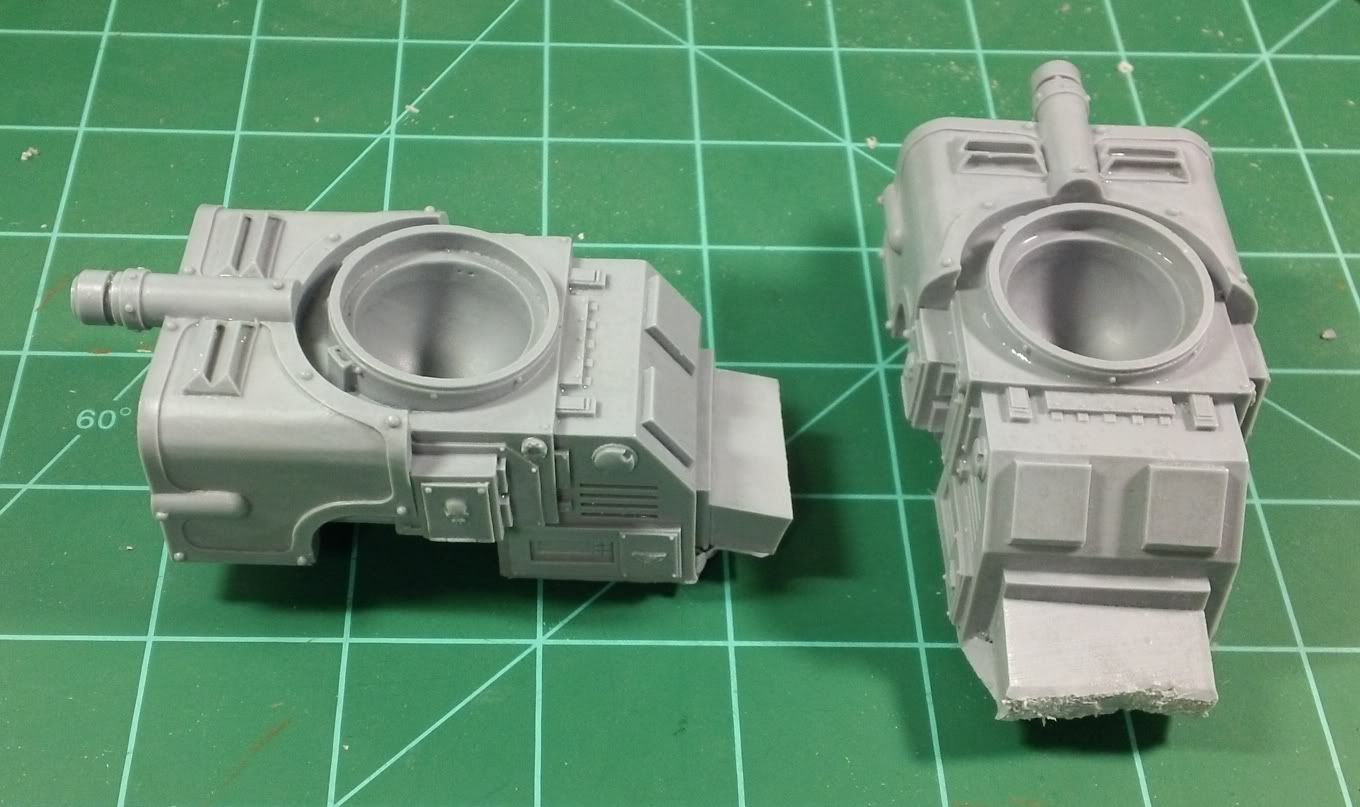
Next up are the Turbo Laser parts. Pictured below is enough parts to make two Warhound arms...
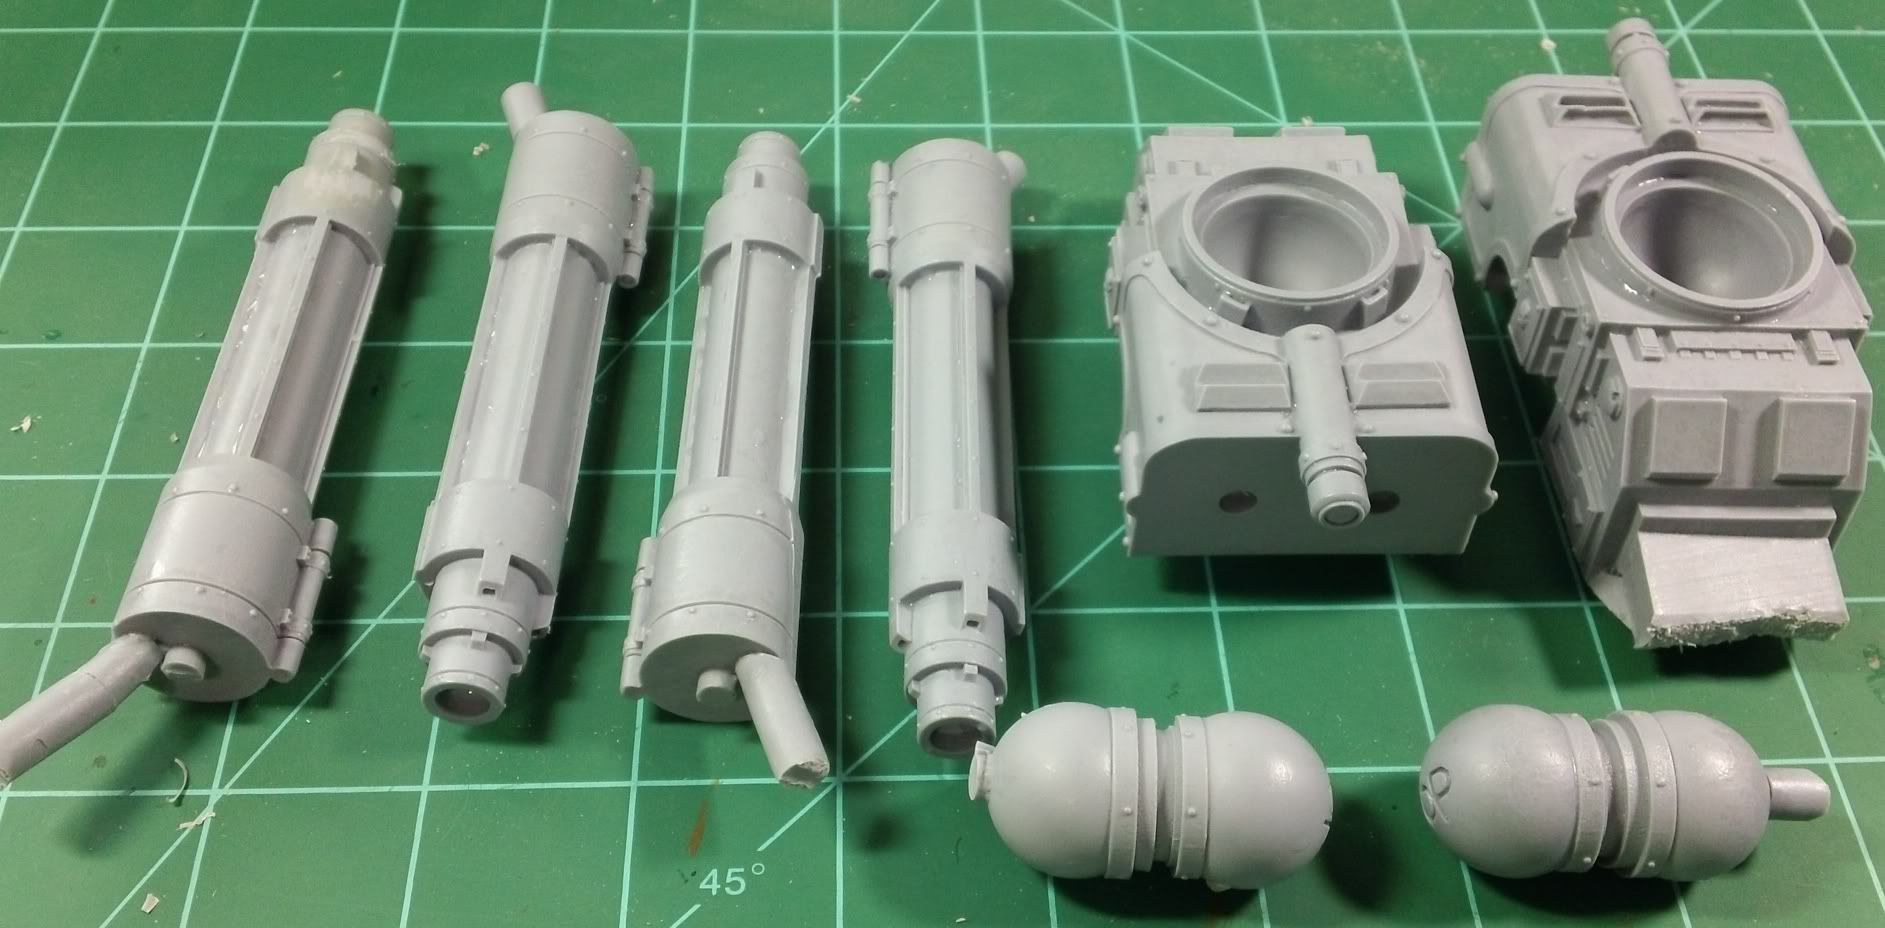
You may have noticed that these parts contain some of the largest channels in the entire kit. Notably on the back pieces...
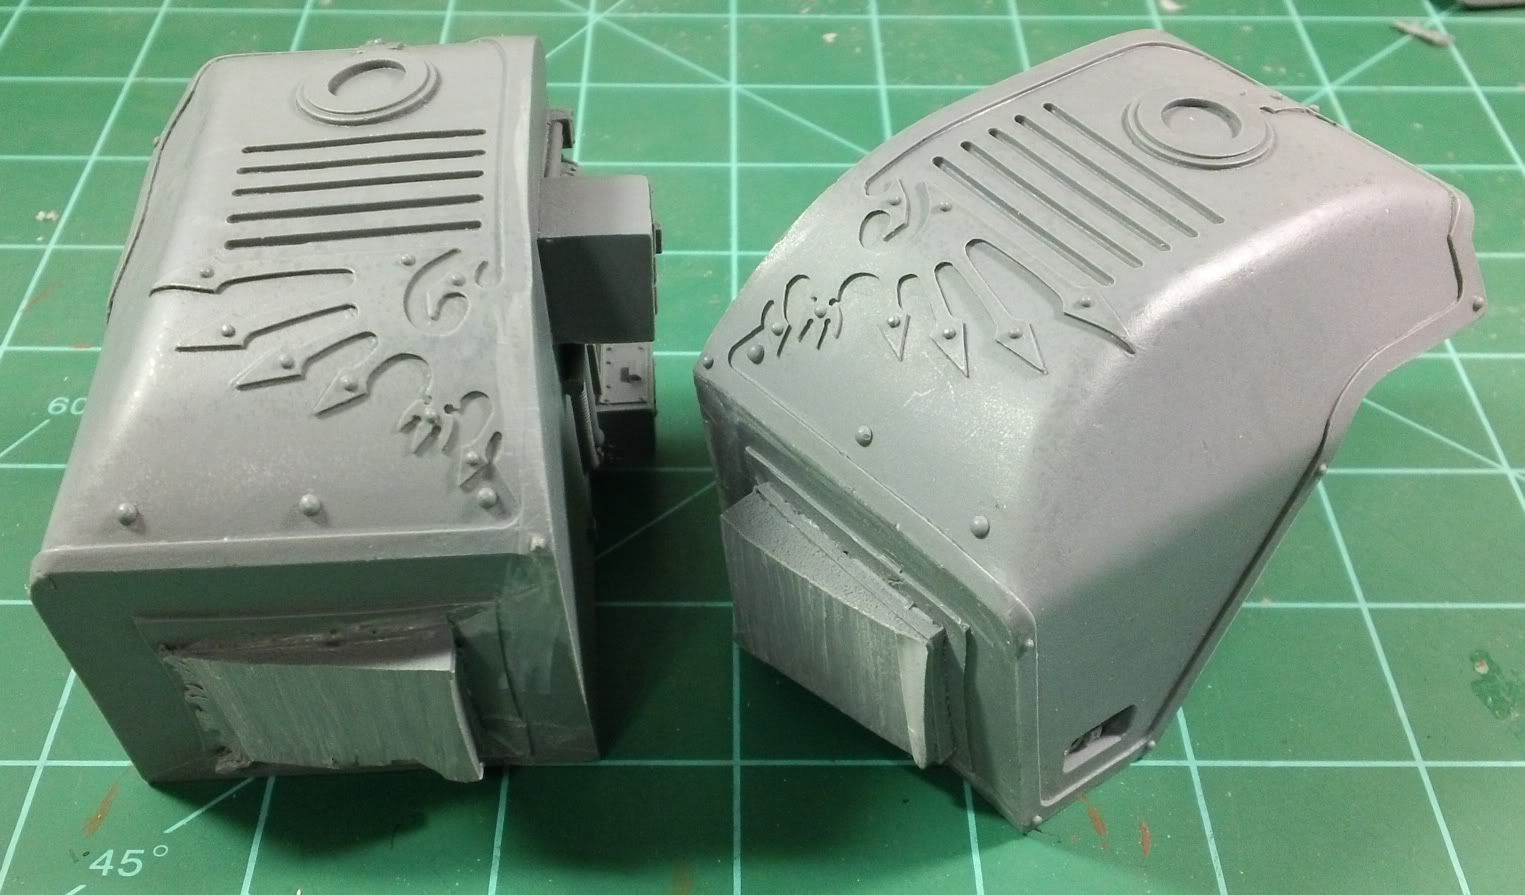
And the backs of the Turbo Lasers...
I'd like to share how I handle channels this large. Though my method is not an option for everyone, it does demonstrate how some extra tools can speed up a process.

(warning, you will hear my voice and the sound of my bandsaw in this video. Try not to fall in love with either, we will only break your heart)
There was a short follow up on the belt/disk sander and the results are below...
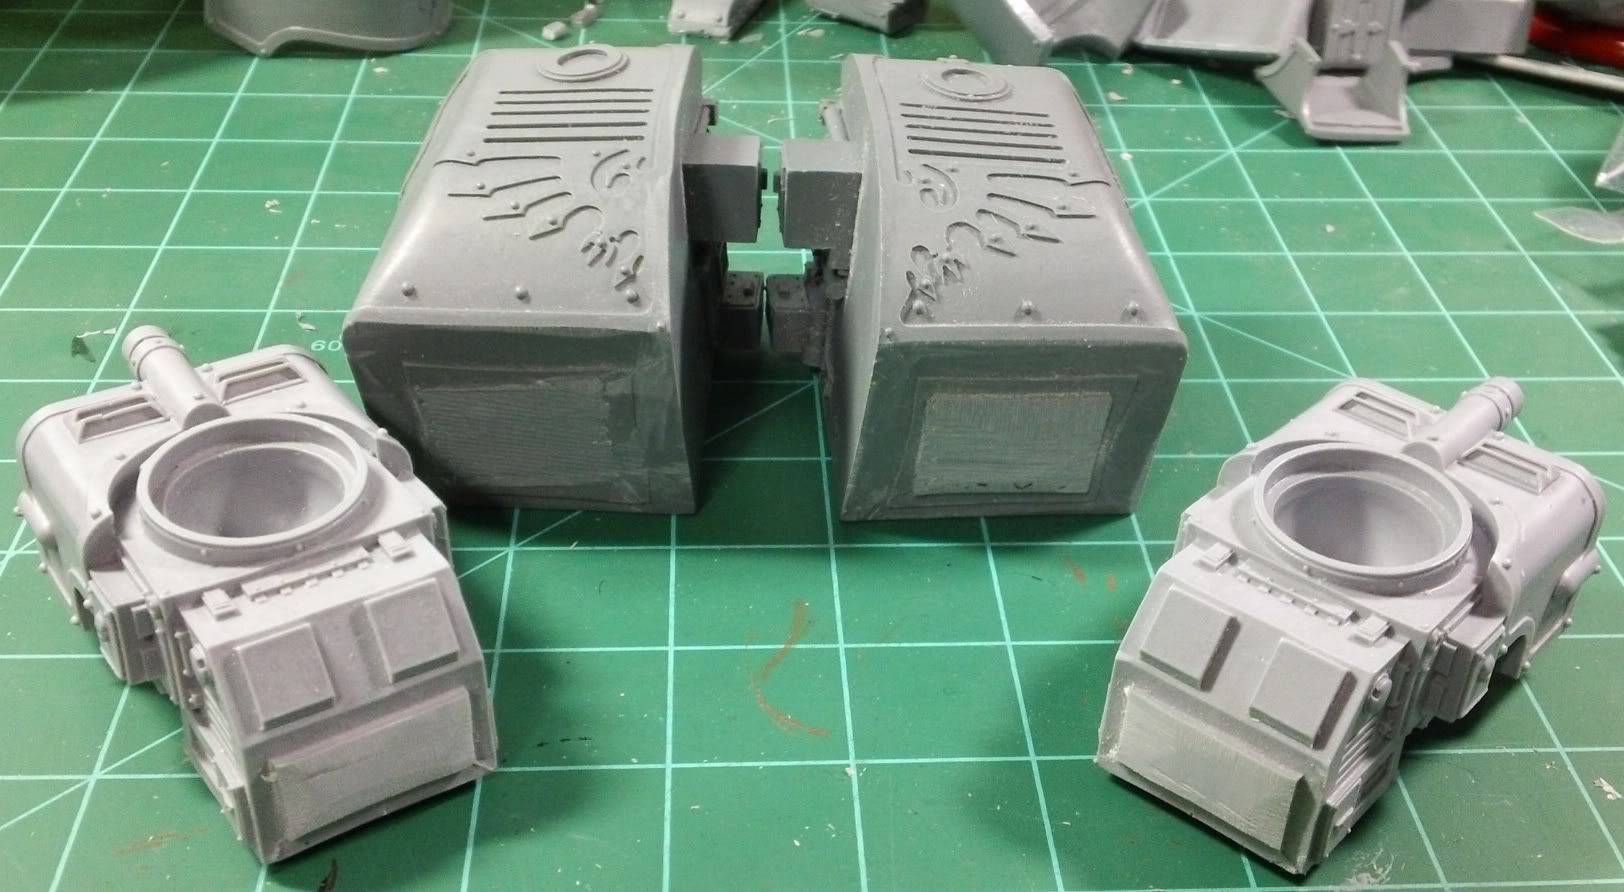
The back pieces still look a little rough, but the parts where the channels were are covered by the rear exhaust vents anyway. Good planning on that one Forgeworld!
If you watched the video and found it at all useful or entertaining, please feel free to leave some feedback in the comments. I'm playing around with video but I'm not yet sure how large a part it will play in future blogs.
Other news on the horizon. Have you heard of DreamForge Games? Did you know that the pre orders are up for the Mortis and Crusader kits?

I don't know about you, but that Crusader screams 'Knight Titan' to me, though it's a work of art with it's own merit. Expect a product review up once they ship. I'm pretty freaking excited myself. DreamForge has the assembly instructions posted on their website. I suggest anyone interested in these kits look those instructions over. They show a lot of the detail and planning that went into these kits that the webpages' photos don't quite do justice to.
Till next time, enjoy yourself... or if you can't enjoy yourself, enjoy someone else!