There was the printing, the sticking, the cutting, and the pasting. But when it was all done we end up with a collection of parts assembled as shown below...
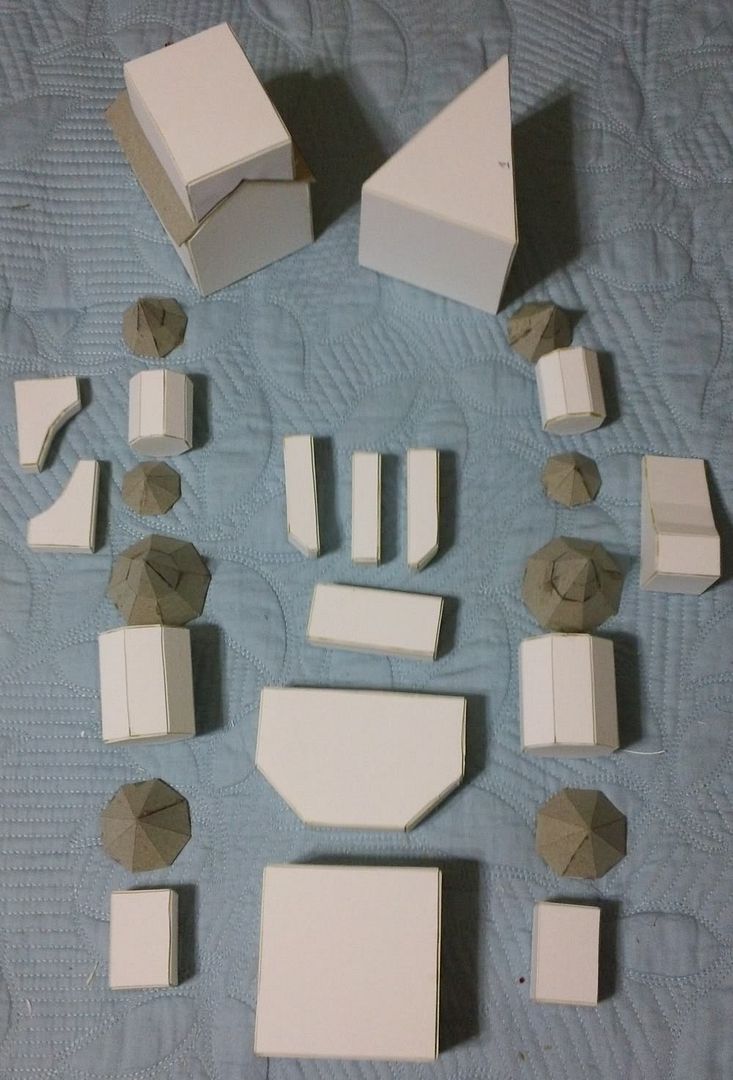
The different colored bits you see are made from cereal box material. It's a little thinner and easier to work with than the matte board so it's a great choice for the really fiddly tower bits. After some sub-assembly we end up with a group of three main pieces. The church itself on the top of the body of the titan in the middle of the shot below, the front balcony in the left of the shot, and the rear chapel & balcony on the right...

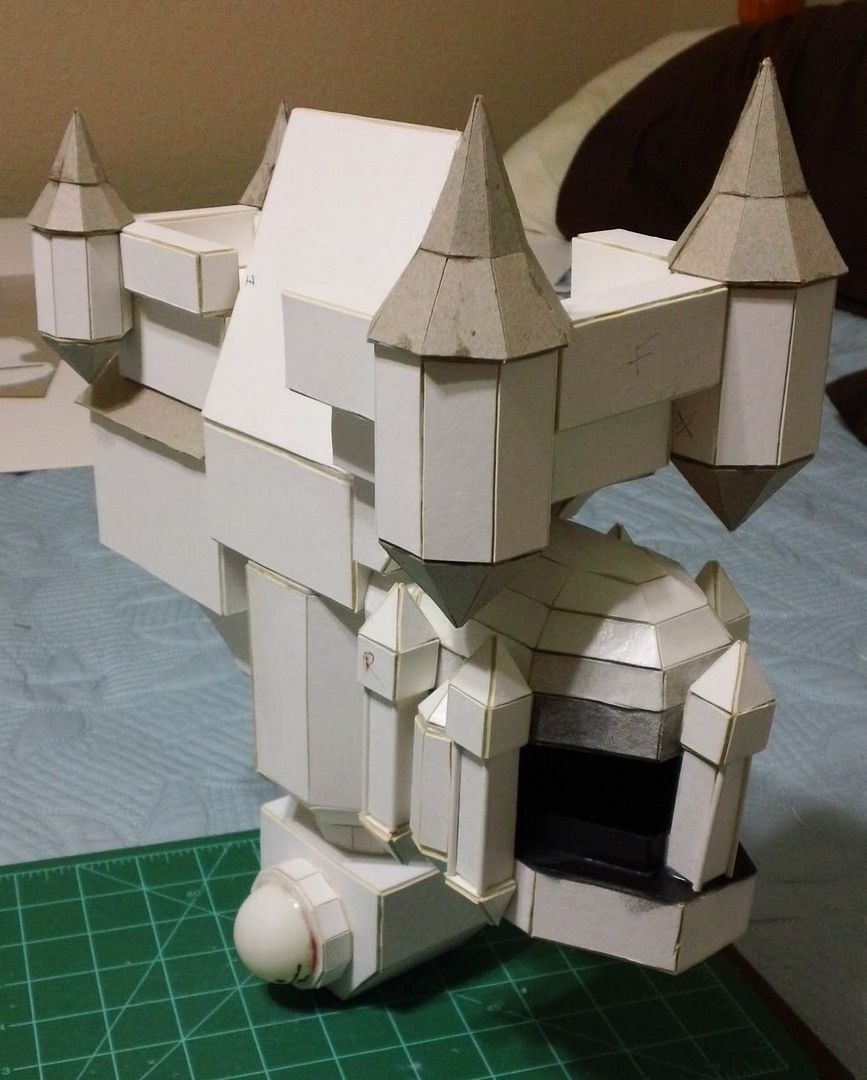
The above pieces then go together to form the overall structure of the titans body/church. This is not an exact science and much referring to the instructions and a finished example over at Tanks and Trolls was needed before I felt confident enough to glue the pieces together. This step also includes the addition of the head. I'm really not sure it was necessary to add the head at this time, but I went along with the instructions and did so. There is not much in the way of pose-ability with the head, so I don't feel like waiting for the final pose (as I do with man sized minis) would have changed the head's final position. Here are some assorted shots of the titan from the hips up so far...
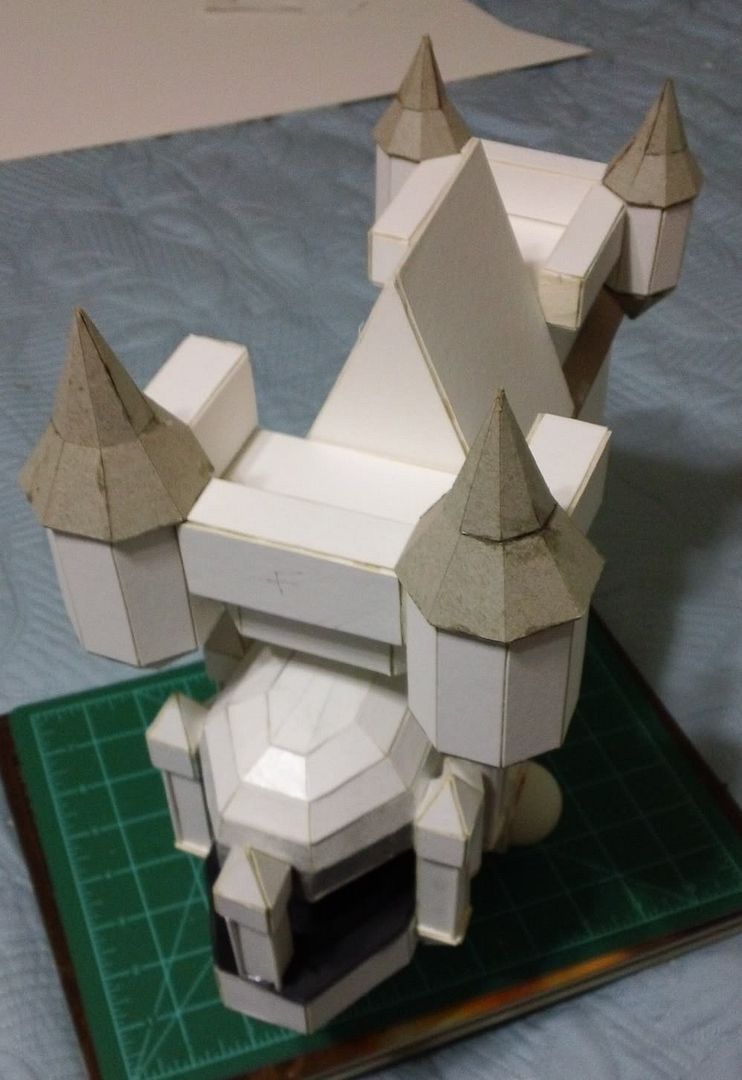
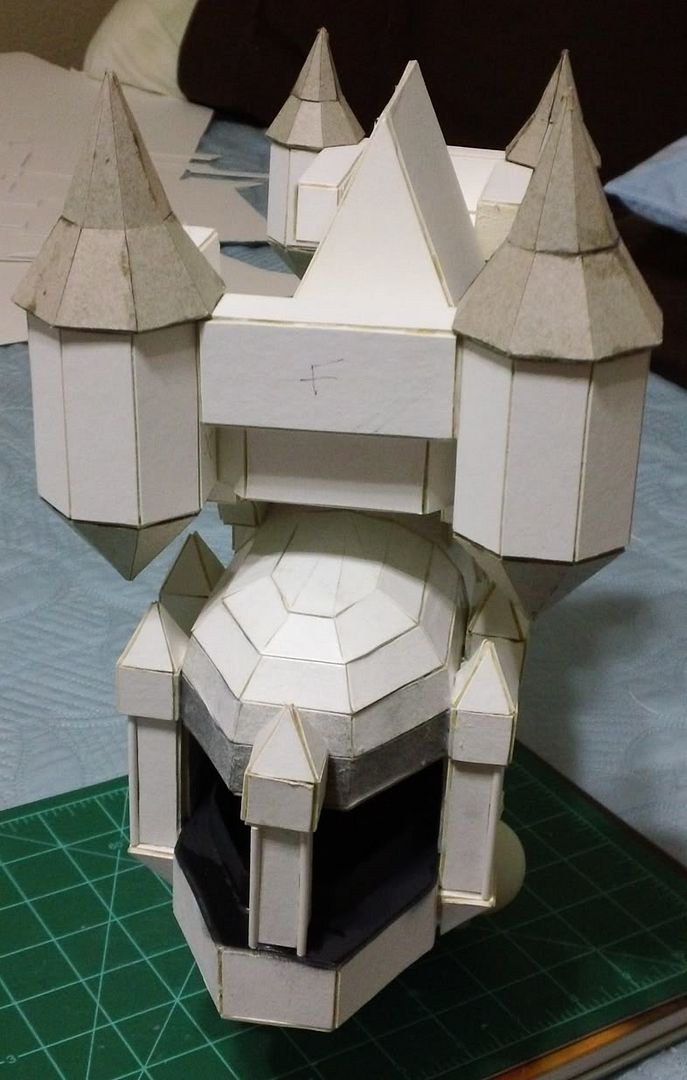

I'm not sure why I didn't take any shots of the titan from the rear? Maybe the head seemed too pretty? Anyway, that's the progress so far. As I'm building this I'm really tempted to go ahead and assemble the legs. The left to right should balance themselves out reasonably well and I now have pretty much all the front to back assembly done. Which balances itself out nicely as you can see from the shots above, a little front heavy, but only slightly. Details and decoration may change the balance a little, but I can't imagine it will change drastically from where it is now. Besides all that I'm excited to see the legs under this thing!
Please feel free to leave a comment if you like. I'm happy to answer questions, ignore complaints, and hear your thoughts. Thanks for stopping by!