I've had some decent size rare earth magnets left over from another project and by sheer luck, I had just the right amount (after one broke in half). Most of this process will be explained in the following pictures. A couple of bits O'knowledge for reference; the shoulder is a large octagon. The arm bit is intended to be glued straight to the bottom of this octagon. The upper arm is different for guns vs fist. Only the upper arm for guns is shown in the pictures. Ok, lets go!
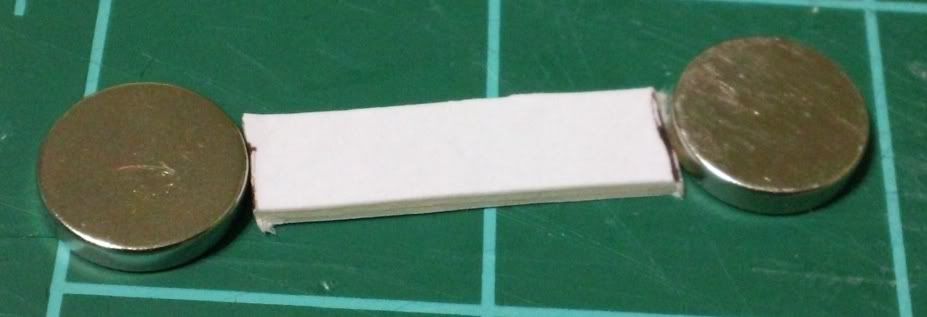
The plan is to put to magnets in each shoulder that will be mirrored in the removable upper arm pieces. After some measuring I found that these magnets can be placed about 1" apart and still fit nicely. I cut some pieces of scrap matte board to 1" to help line up the magnets while they are glued...
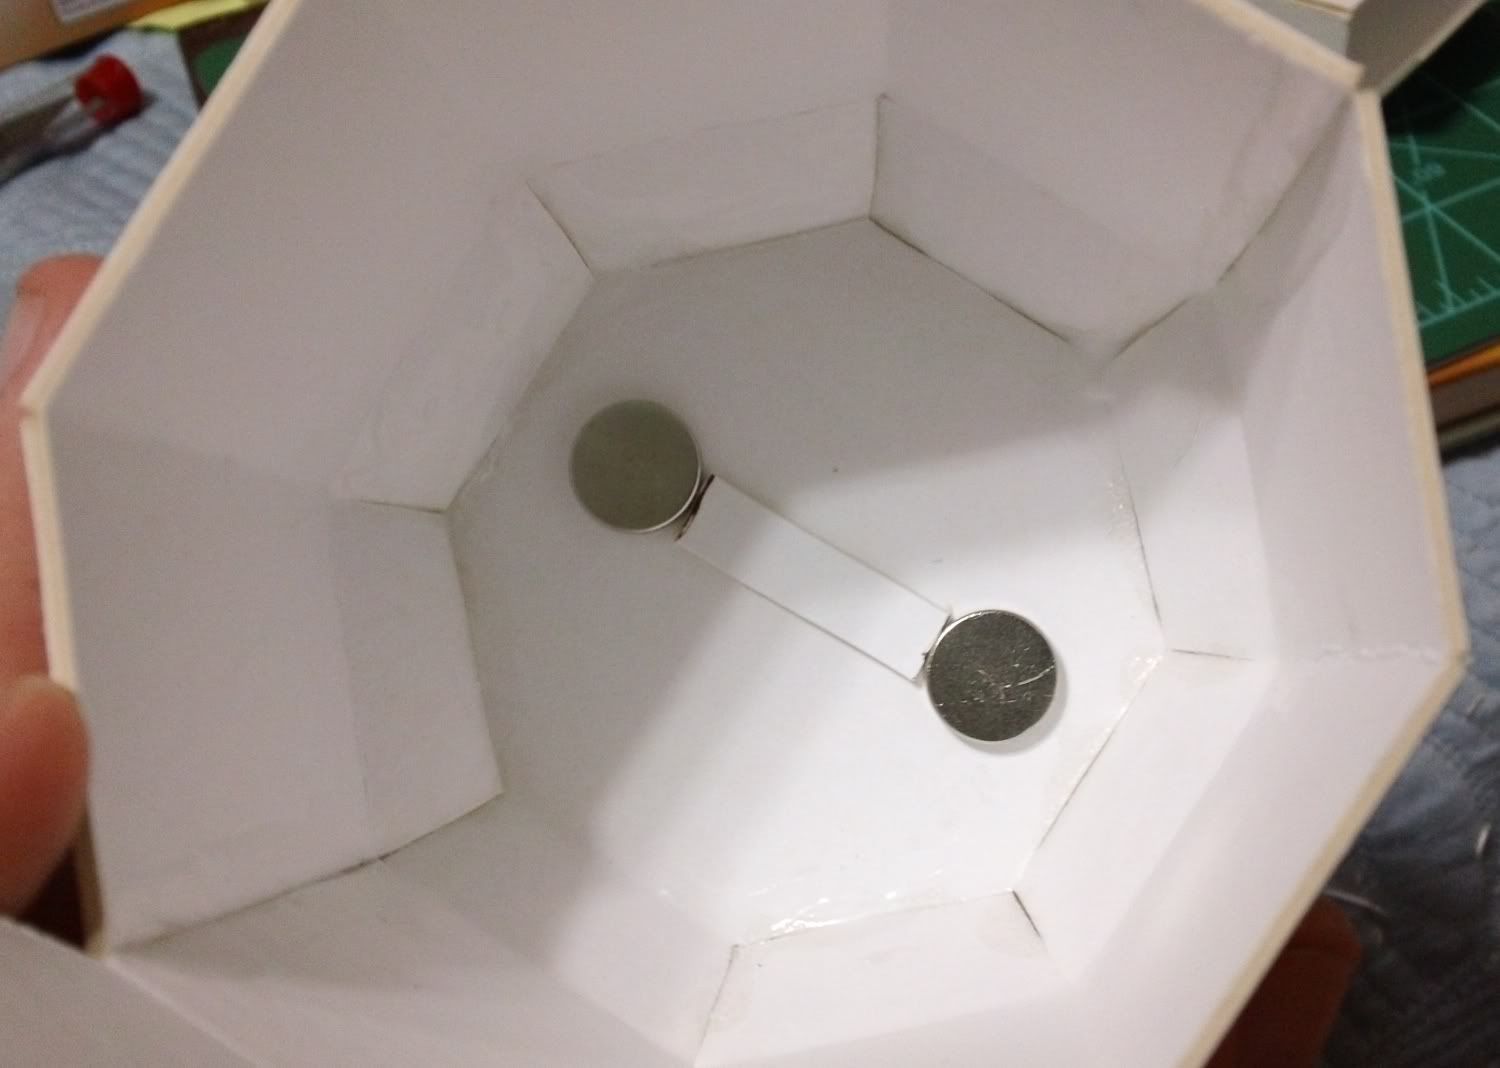
Here are the magnets lined up on the shoulder piece. You may notice they are not lined up with the geometry of the shoulder octagon. This is because I don't want the eventual pose to be arms straight at sides. Hopefully this slight angle will allow the arm to have a slight outward twist. How do I keep the magnets in place? With more magnets on the outside (not pictured)!
The next step is to liberally coat the whole inside of the piece with a mess of glue. I make sure to get a lot in the joins of the inside of the shoulder too, for extra strength...
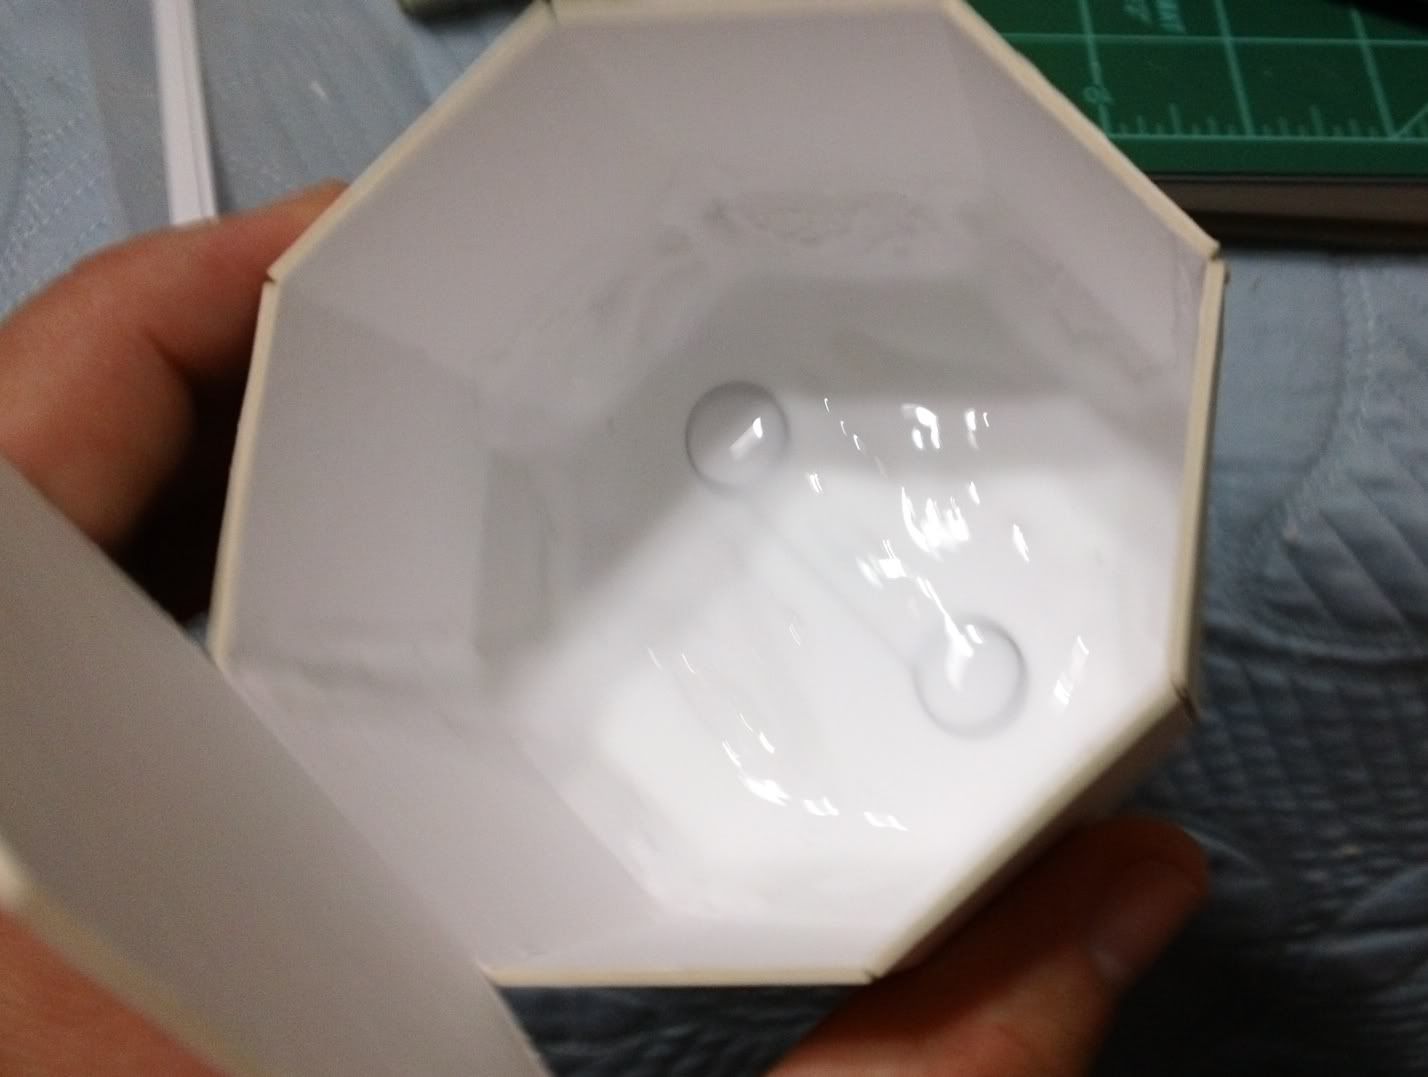
After a few hours it dries strong and clear...
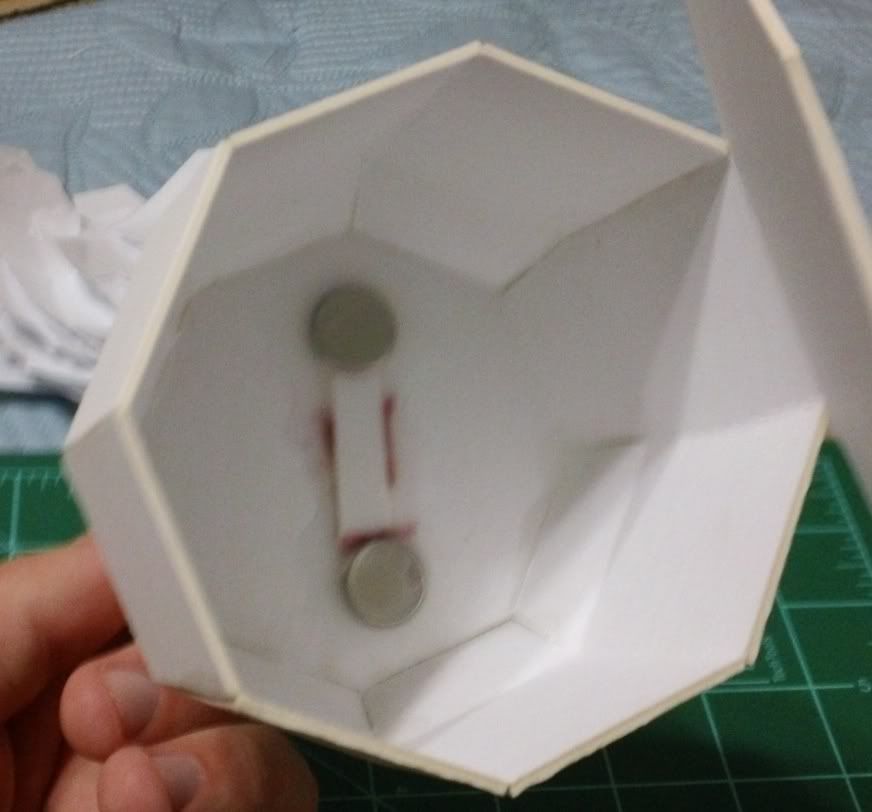
The great thing about this is, I used this first shoulder to line up the magnets in the upper arm, then used that arm to line up the magnets in the other shoulder, then used a shoulder to line up the magnet in the other upper arm.
Here is a shot of a shoulder and upper arm magnetized and in position...
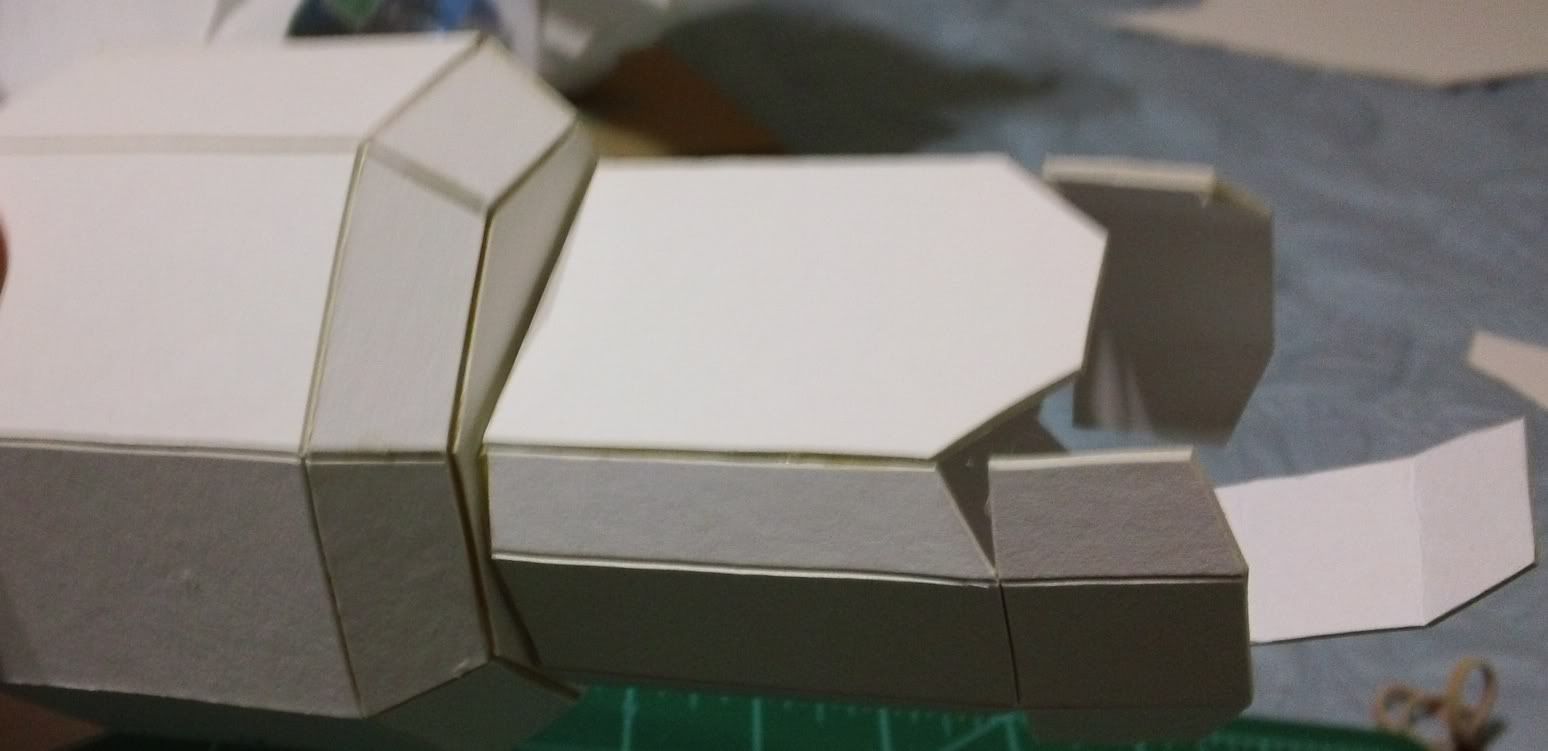
One last thing worth mentioning. I had intended to set the magnets so that both in the shoulder were the same polarity up then both magnets in the upper arms have the opposite polarity up. I messed this up on the first shoulder and one magnet is "north" up and the other is "south" up. However, I decided that this was a happy mistake. My plan for arm removal is to twist the arms moving the magnets away from each other laterally. The poles being opposite doesn't change the holding power but does mean that if I twist too far they will repel instead of locking back together with the arm backwards. Does any of that make sense in words?
As of now I have the shoulders and upper arms magnetized and assembled. There are several more pieces to do on the shoulders so there will be a proper shoulder update later. I may decide to build an arm first to test the magnet strength... not that I can do much about it if it's too weak. Also, leg assembly has begun, or at least leg sub-assembly. I'll have to post an update on that soon too. It starts to look Titan-y when you start putting legs together!
Thanks for stopping by and feel free to leave a comment, question, or haiku.