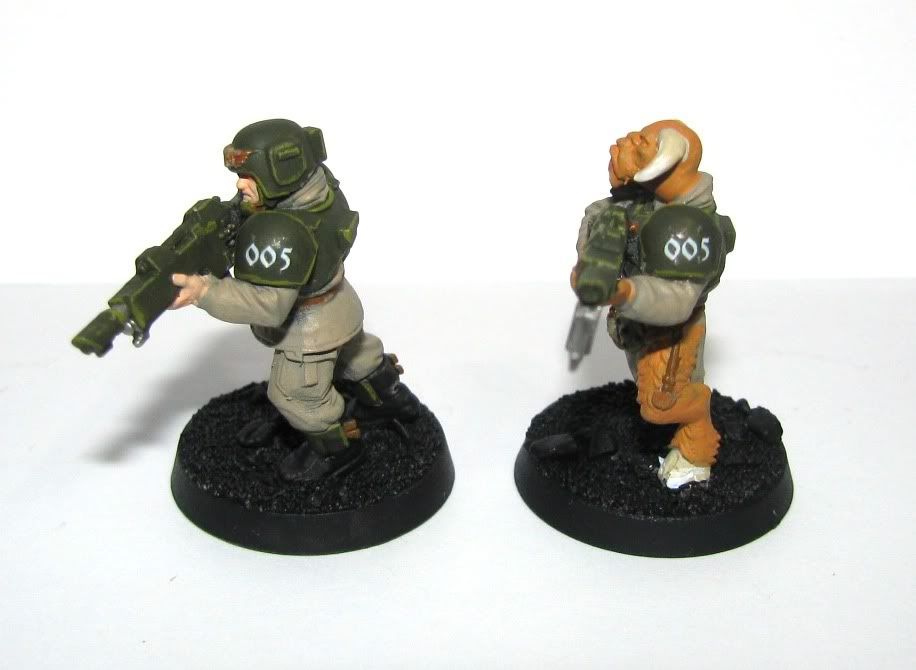
As seen in my previous post, I have been trying out some new paint from Krylon in their camouflage line. So these guys were painted first in that product for a base coat of khaki.

Then I put some Catachan green on the armor and guns. Two light coats is quick work over the khaki color...

Chainmail for the gun parts, blades, and other metal bits. Shining Gold for the Aquilas, belt buckles, and a couple of details on the beastman.

High Elf Flesh for the Guardsmen flesh and Vomit Brown for the beastman flesh & fur with Bleached bone for his horns & hooves. I also painted the belts, accessories and any other leathery bits with Snakebite Leather...

While it's hard to see, I did do some very basics highlights. I edged the armor and guns with Camo Green and highlighted the khaki just a bit with actual Kommando Khaki, which is very slightly lighter than the Krylon spray. So much so, that I'm not sure the highlight really did anything. I also hit the beastman's horns and hooves with a little Skull White...

I'm terrible about squad markings and things like that. So I figured I'd use the IG decal sheet to cheat my way out of some freehand painting. I brush on 'Ardcoat first, then apply the decals using some Model Master Decal Solvent. After they are good and dry, I put another layer of 'Ardcoat on, just to make sure they are sealed down and hide any decal edges. I hit them with Testors DullCote to take the shine off before continuing...
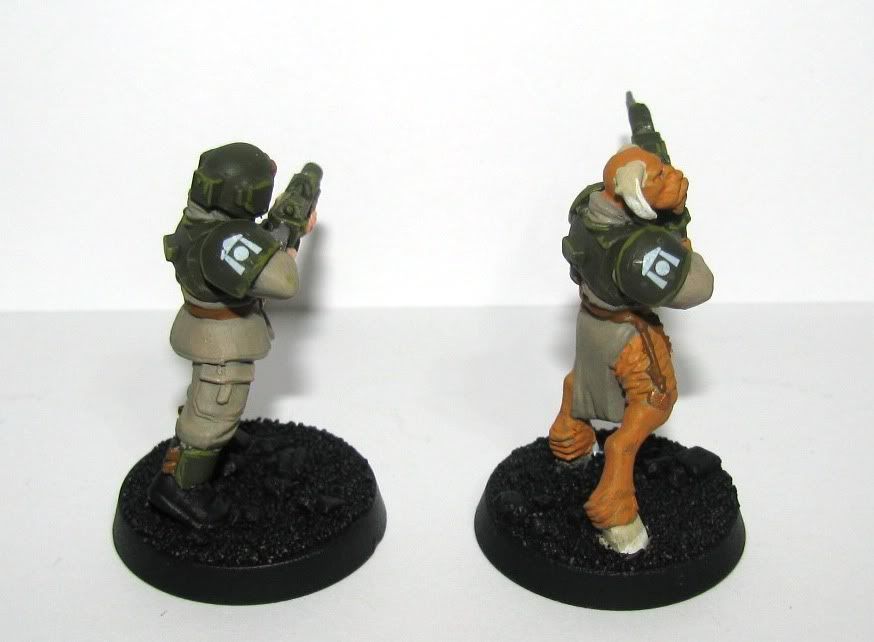
Next up is the dip. After reading lots of reviews and how-to's online, I decided that actually dipping the minis was not my best bet. So I used an old brush and slopped it on them manually. One thing I read that does seem to help is to hold the mini upside down while doing this. It really does help. As you can see below, they come out very shiny.
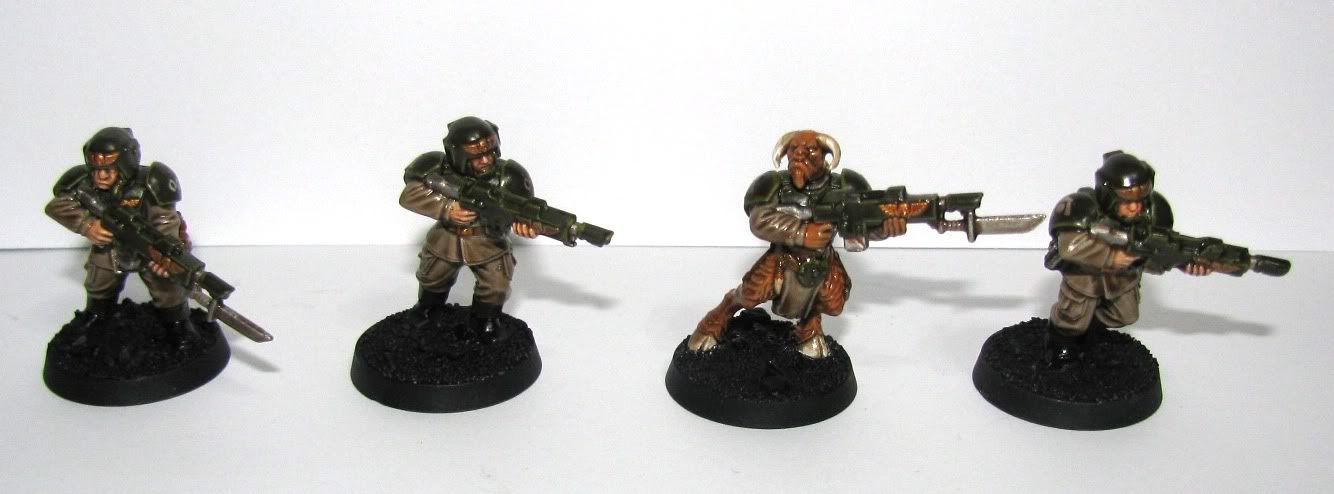
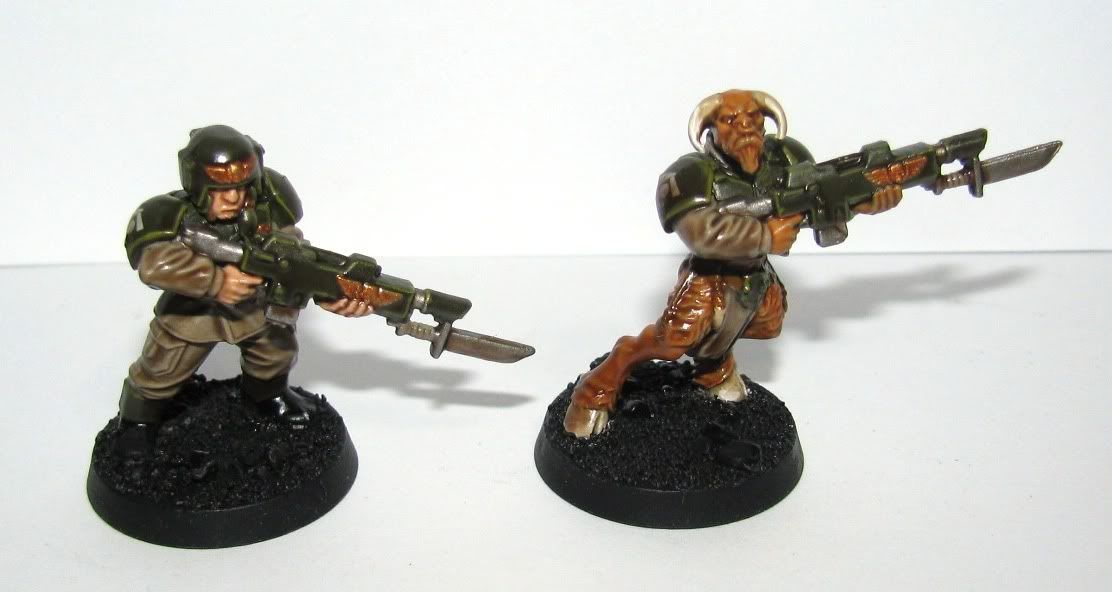
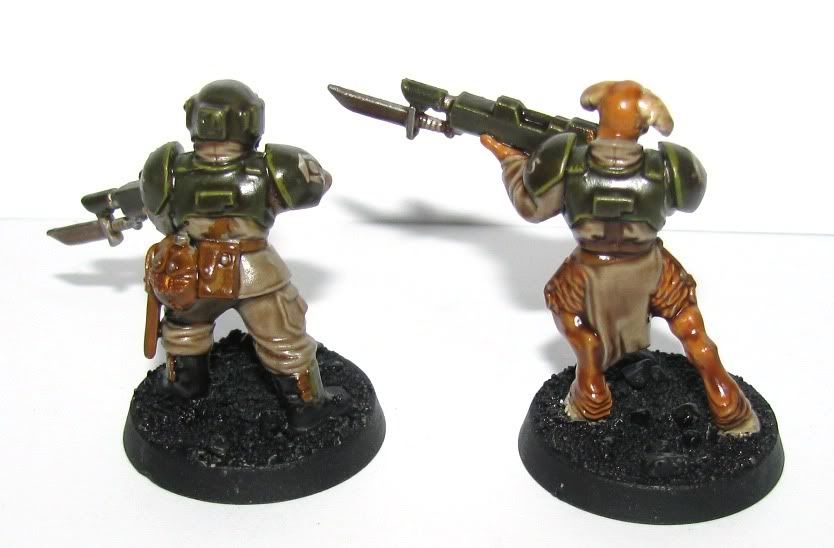
After a 24 hour dry time, the DullCote really makes them look better!
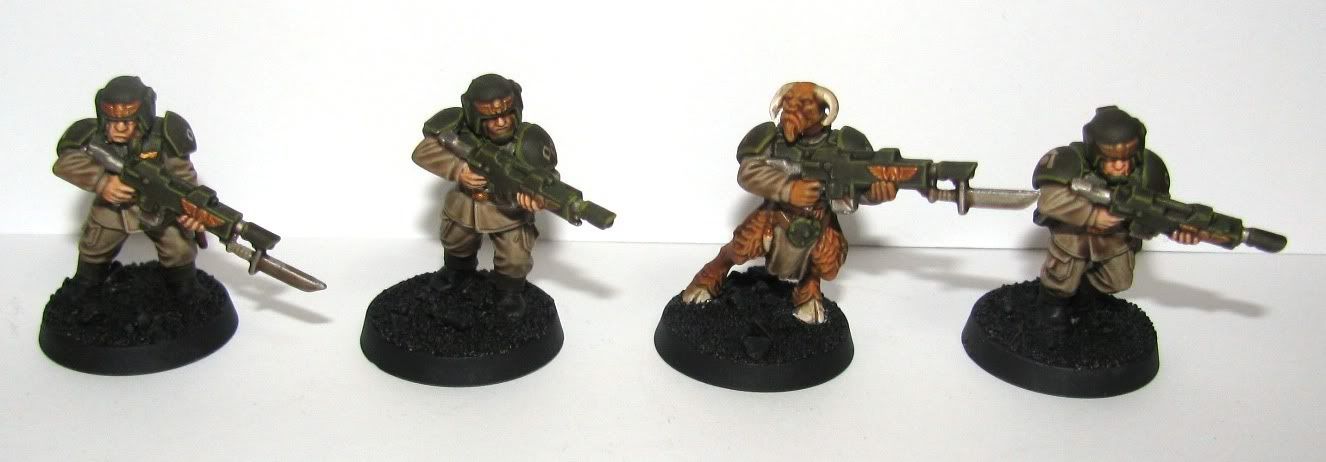
Some work on the bases and these guys are done.

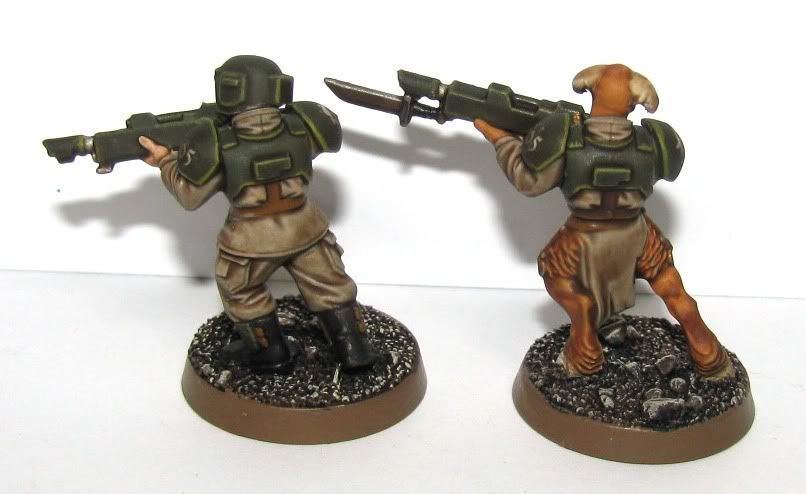
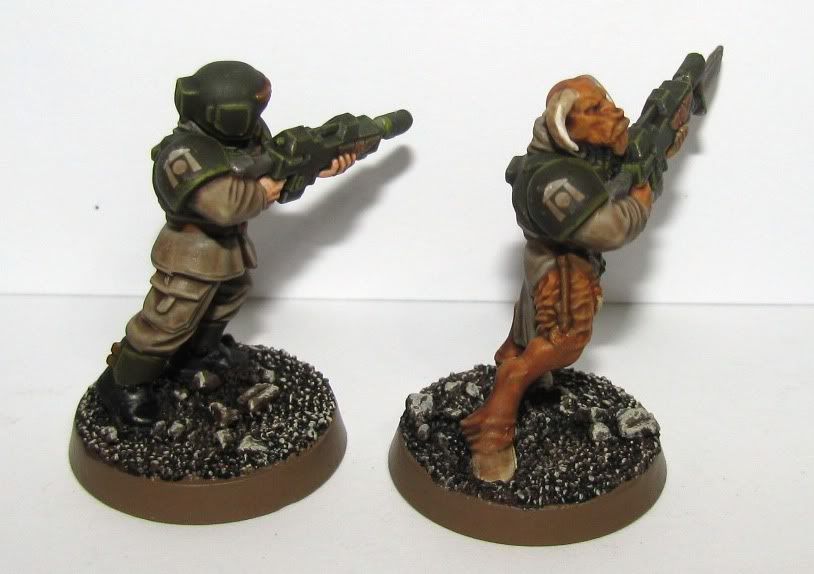
I'm not sure what happened with the bases. They don't look like my bases usually do? They might get a redo eventually. And oh crap! That beastmen has a nose ring. As you can see the Quickshade will not hide my glaring base coat faux pas, but it does shade a mini nicely.
I know some folks hate the dip, and say it's not the quality result that you get from hand painting. But I can say it makes these guys look better than the ones I hand paint and in a fraction of the time. So while I won't use it for everything, my Guard is definitely getting the Quickshade treatment.
Comments and critiques are welcome as always, I only ask that you work a wild African animal name into your comment somewhere. Something you've seen on safari perhaps...