Warning, the camera is not my friend today. I'm completely out of practice and the pictures in this blog show it. I apologize up front.
The internet, being the glorious place it is, affords us a chance to meet a lot of people in exotic far away lands. One such person made me a rather unique offer a while back. This person was in a position to send me a couple of Warhound Titan weapons that were miscast. Now, the hows, whys, and WTFs I'm perfectly fine not knowing. The ends, in this case, justify my means.
This gives me the chance to do a little converting and add the possibility of variety on the Reavers Carapace mounted weapon. Except for the Apocalypse Launcher all the weapons available for a Reavers carapace are Warhound class weapons. So, I was more than a little excited when I got these in the mail a while back...
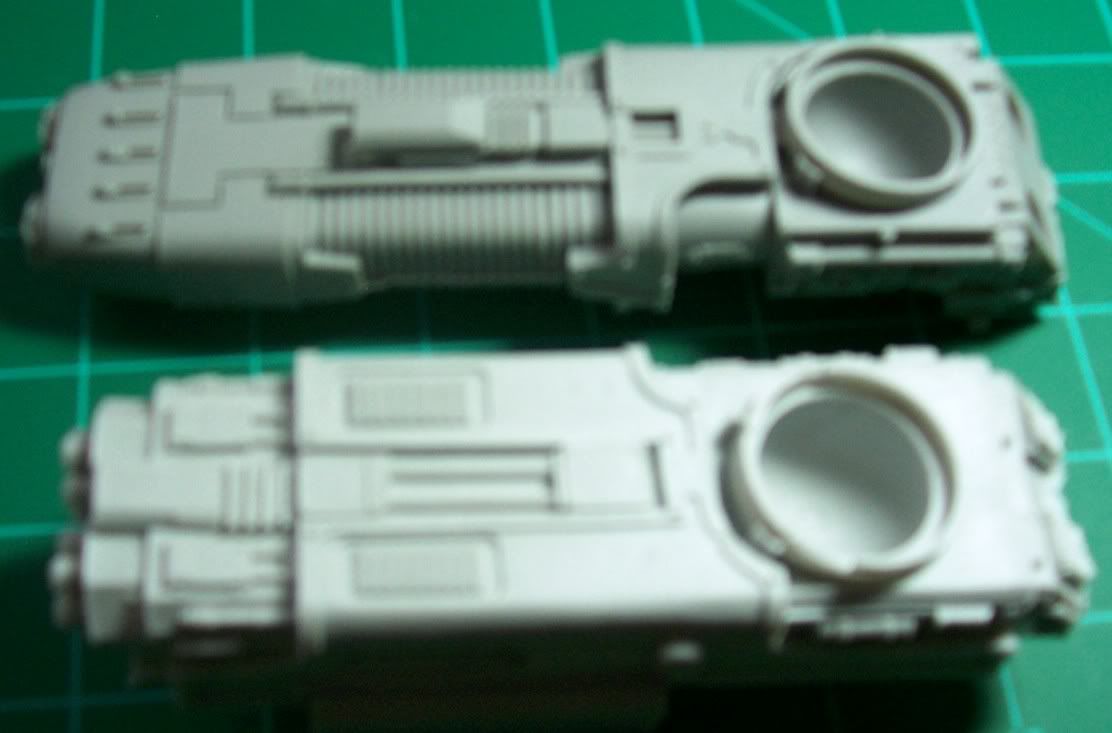
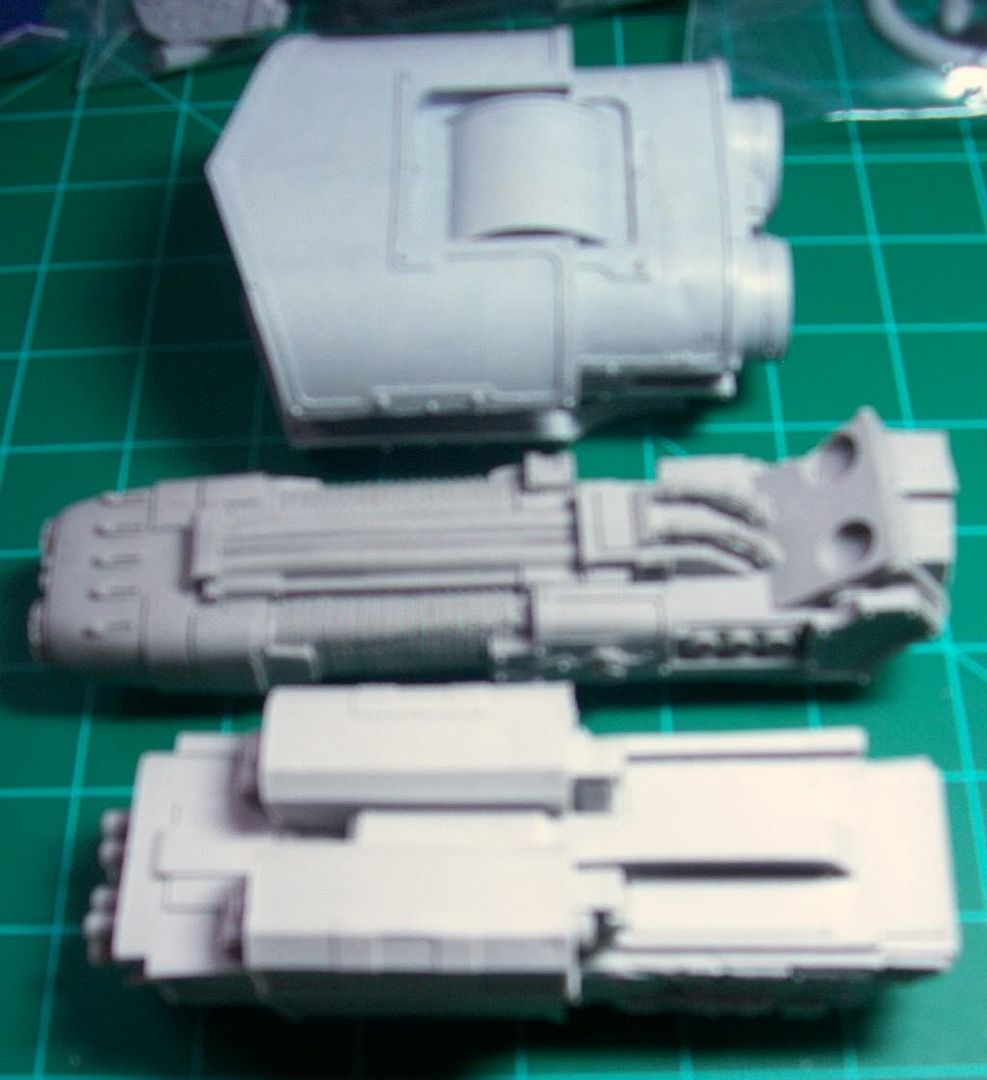
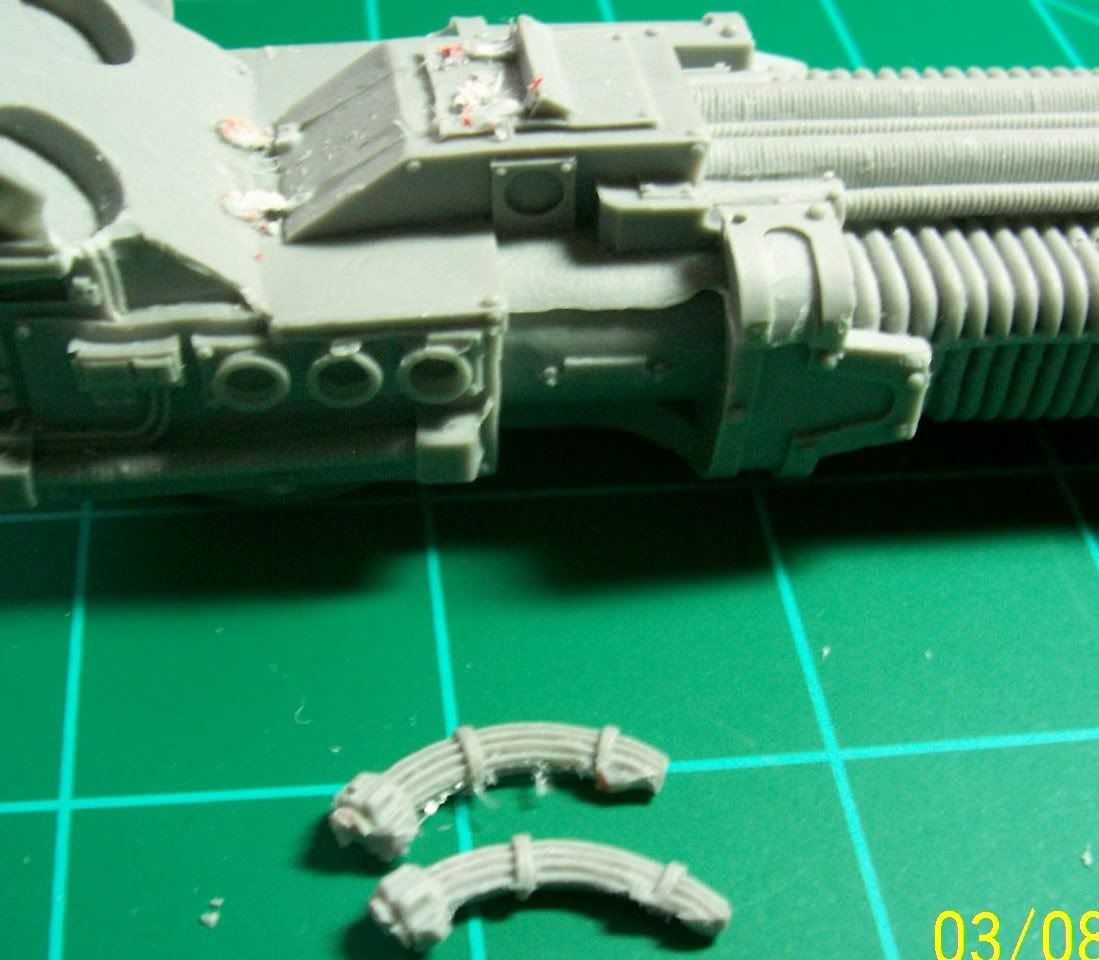
These will take a bit of cleaning up, and a good deal of conversion to look the way I would like. First off, the bottoms will have to have a bit of roundness added to them to mount to the part that rides in the carapace and allows the weapon to rotate. You can see the bottoms here, and the rounded area on the Apoc Launcher that the two new weapons are lacking...
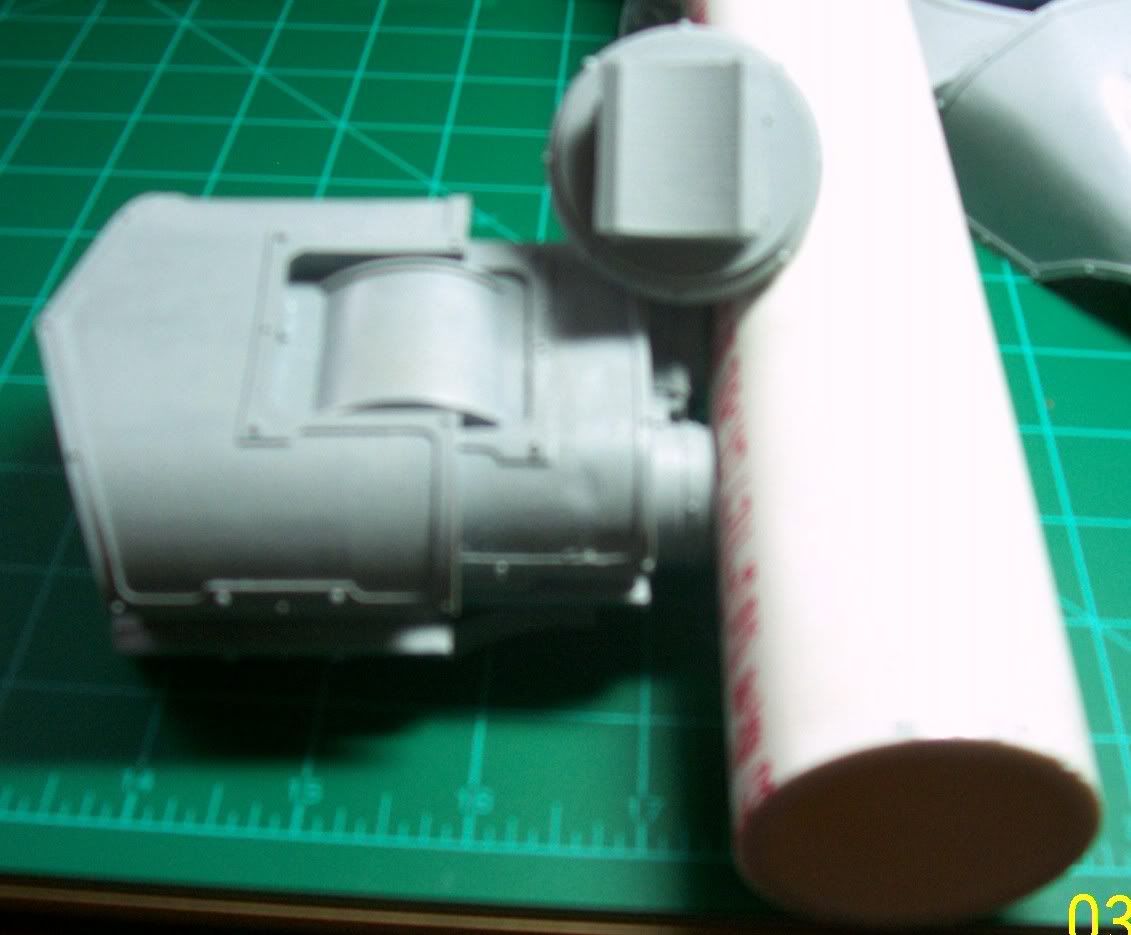
So, with this in mind, I went to my local DIY store and found a piece of PVC pipe. To my joy, I found that you can even buy it in two foot sections which is great as I don't need ten feet of the stuff. The curve matches that of the rounded part of the bottom of the Apoc Launcher perfectly!
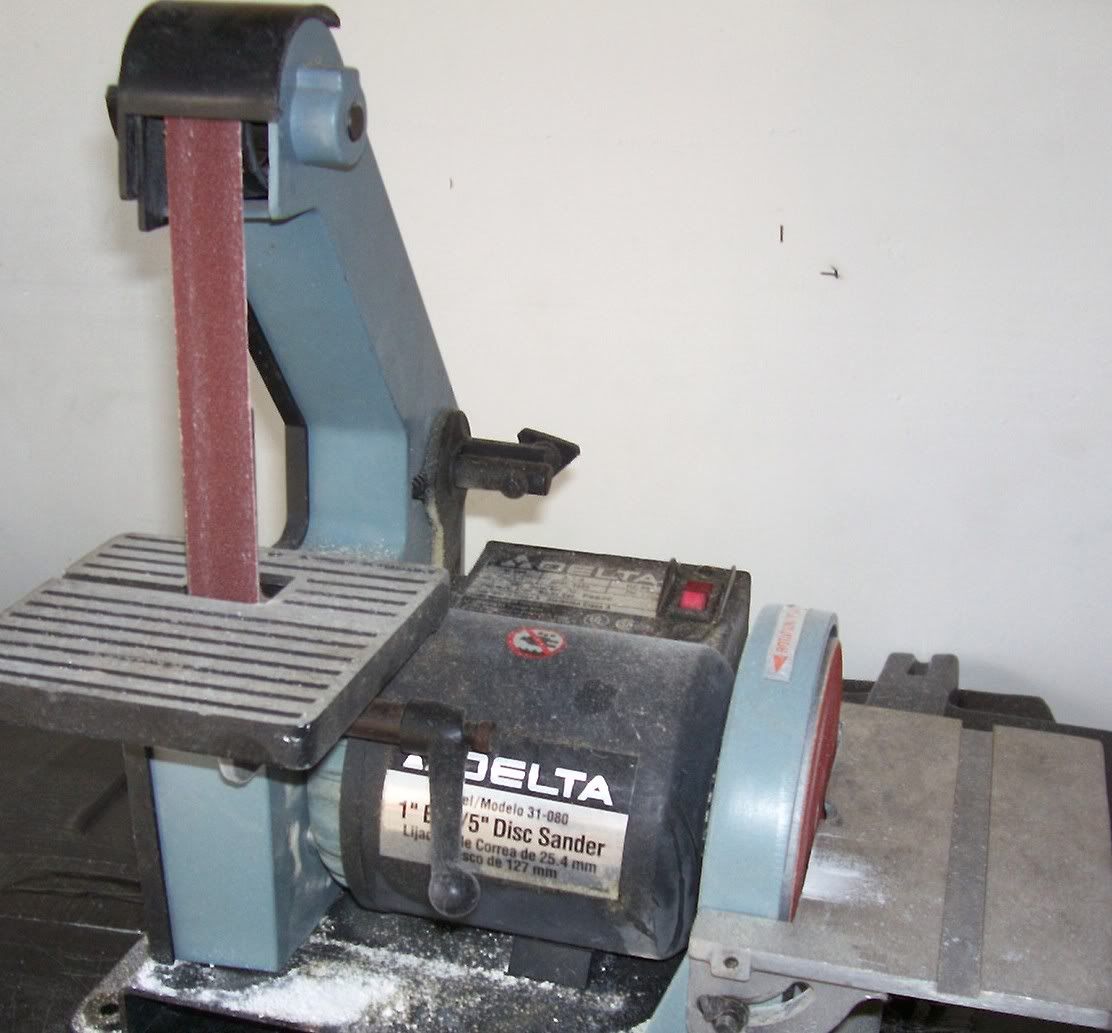
After a few minutes in the garage with two of my favorite tools, I had small pieces of rounded PVC pipe ready to attach to the new weapons. I really do love the Band Saw and the Disk/Belt Sander...

With the PVC bits ready to be added, I had to make sure that the weapons were ready for this step. The Plasma Blast gun has two small hoses that are right in the way of where the curved bit is going. As shown below...

A careful trim and I not only get the hoses out of my way, but have a couple of bits that can be used elsewhere sometime!
Two part epoxy is my weapon of choice for gluing large pieces. I'm a huge fan of JB Quick, but I found something new on the shelves at my DIY store. Loctite Weld. It claims right on the package to be a better bond than JB Weld (JB Quick's stronger slower big brother), so I decided to give it a go. So far so good, but I'll save a full review for another post...

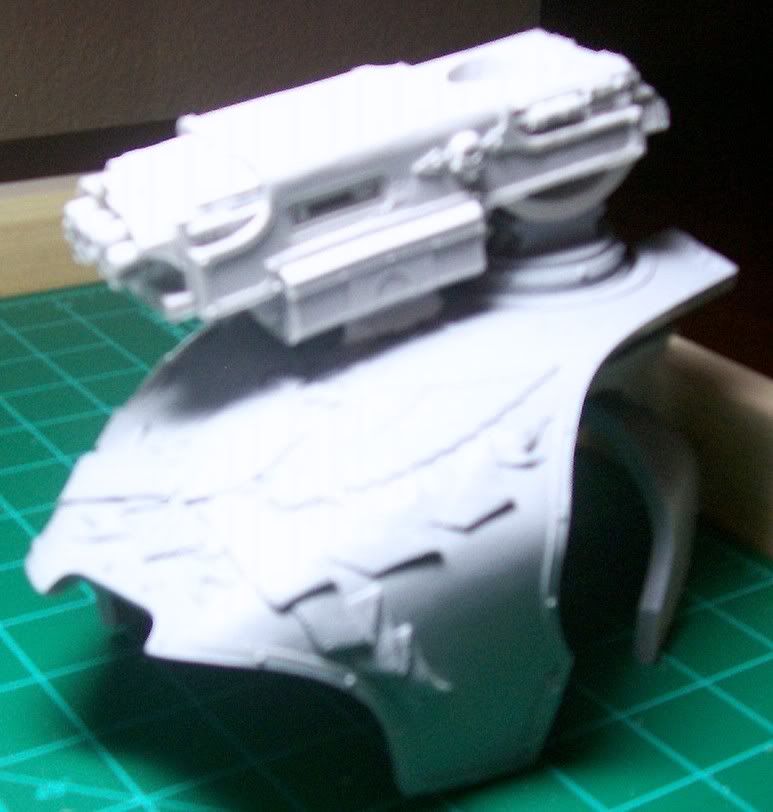
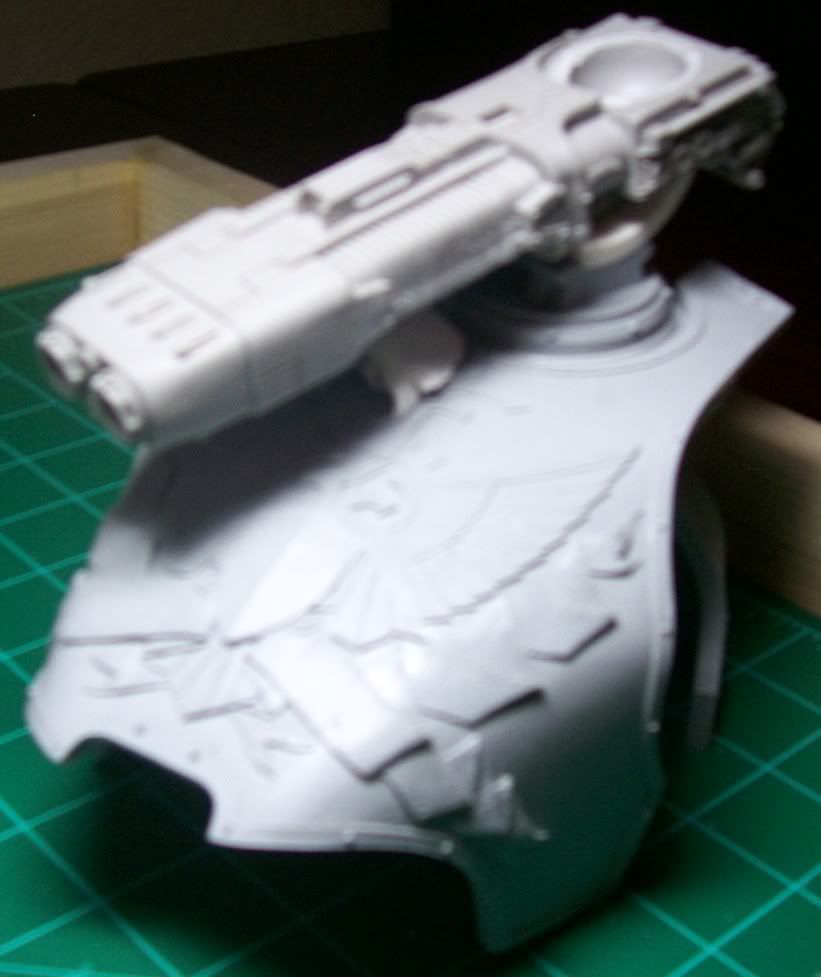
Last I have a series of shots with the carapace propped up and each weapon mounted. Ignore the piece of cardboard holding the weapons up in the front, it's just for staging the mock up...
Standard Apoc Launcher
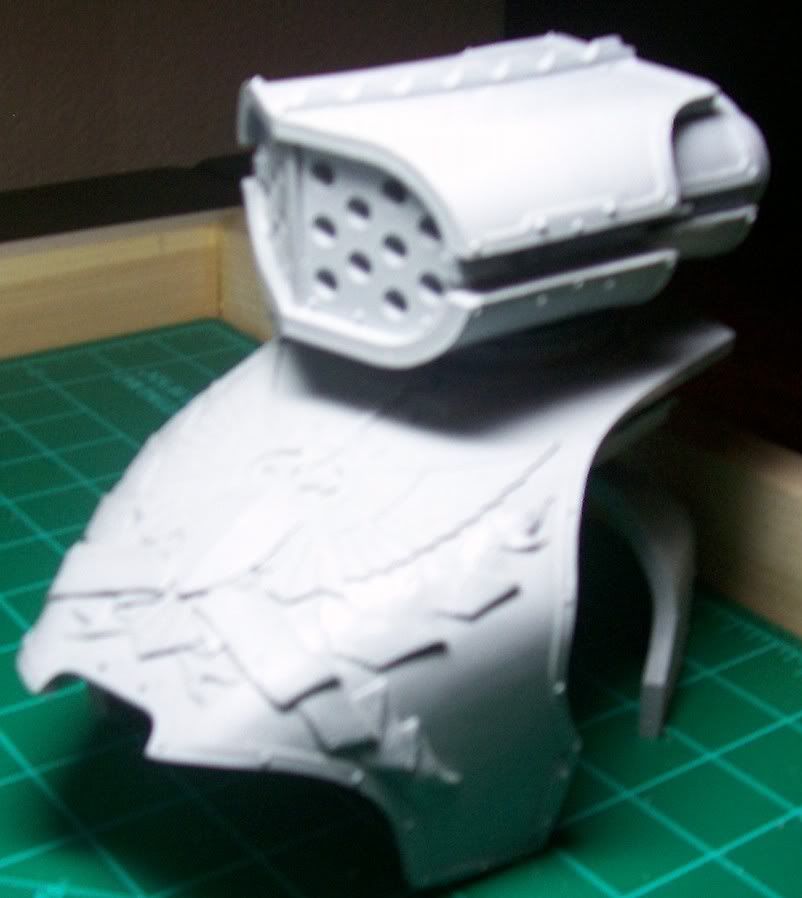
Vulcan Mega Blaster
Plasma Blast Gun
The weapons will take a good deal of work to make them look right, as I mentioned above. You can see from the pictures that the place where the Warhounds arm attached is a large socket joint. It is my intention to cover this and rebuild the armor plating to be more symmetrical. I also will try to extend the armor plating down to cover up part of the curved PVC that I added to each weapon the way the armor on the Apoc Launcher does. Some plasticard, putty, and bit of patience and I think I can do it.
Look for an update later this week in which I will have (hopefully) made some progress on the carapace weapon swap project. Please feel free to leave some feedback. Questions and comments are always appreciated!