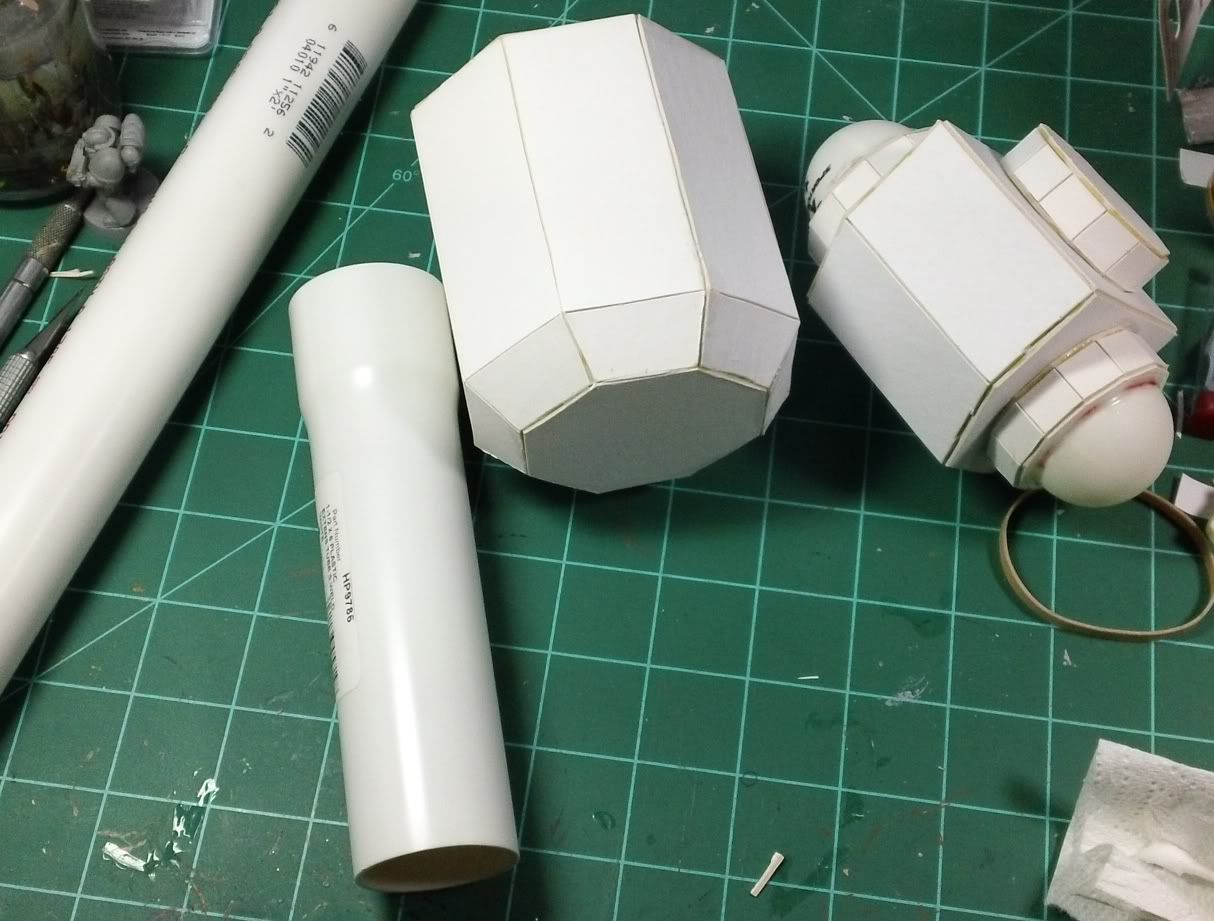
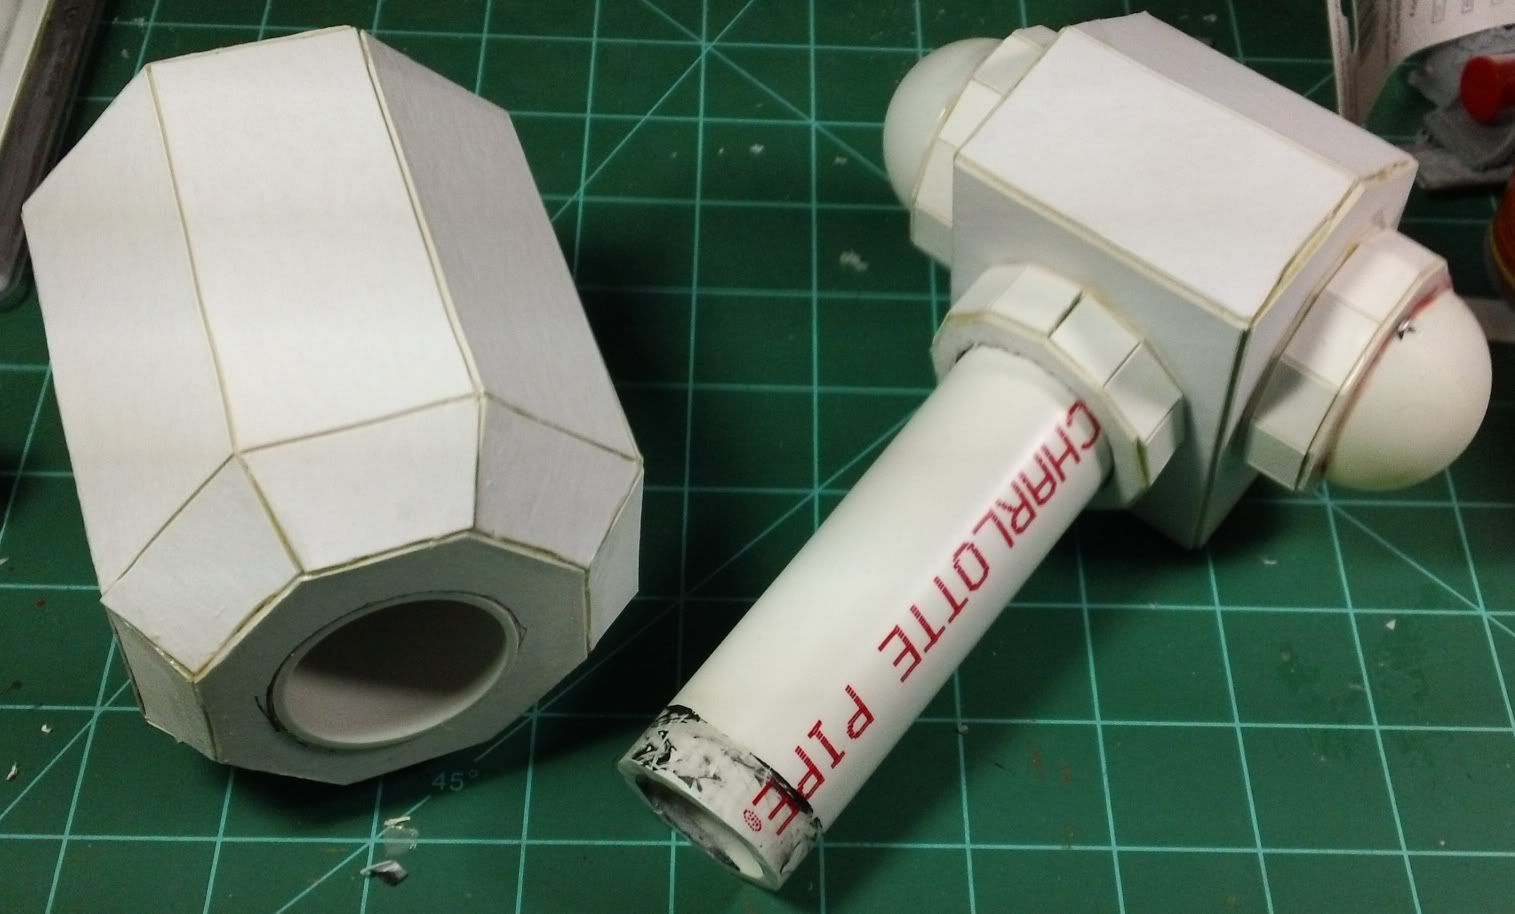
The items needed for this bit of the project were picked up at my local DIY store for about $3.50 US. They consist of a piece of pvc pipe and some sort of fitting I found that slips over it nicely. And of course the parts of the titan to be modified...
The first job was to carefully trace the holes that would need to be cut in the titan using the actual pvc pieces as a guide. Then of course, cutting those holes out. This one was a pain as it is two parts glued together, so three layers of matte board to go through...
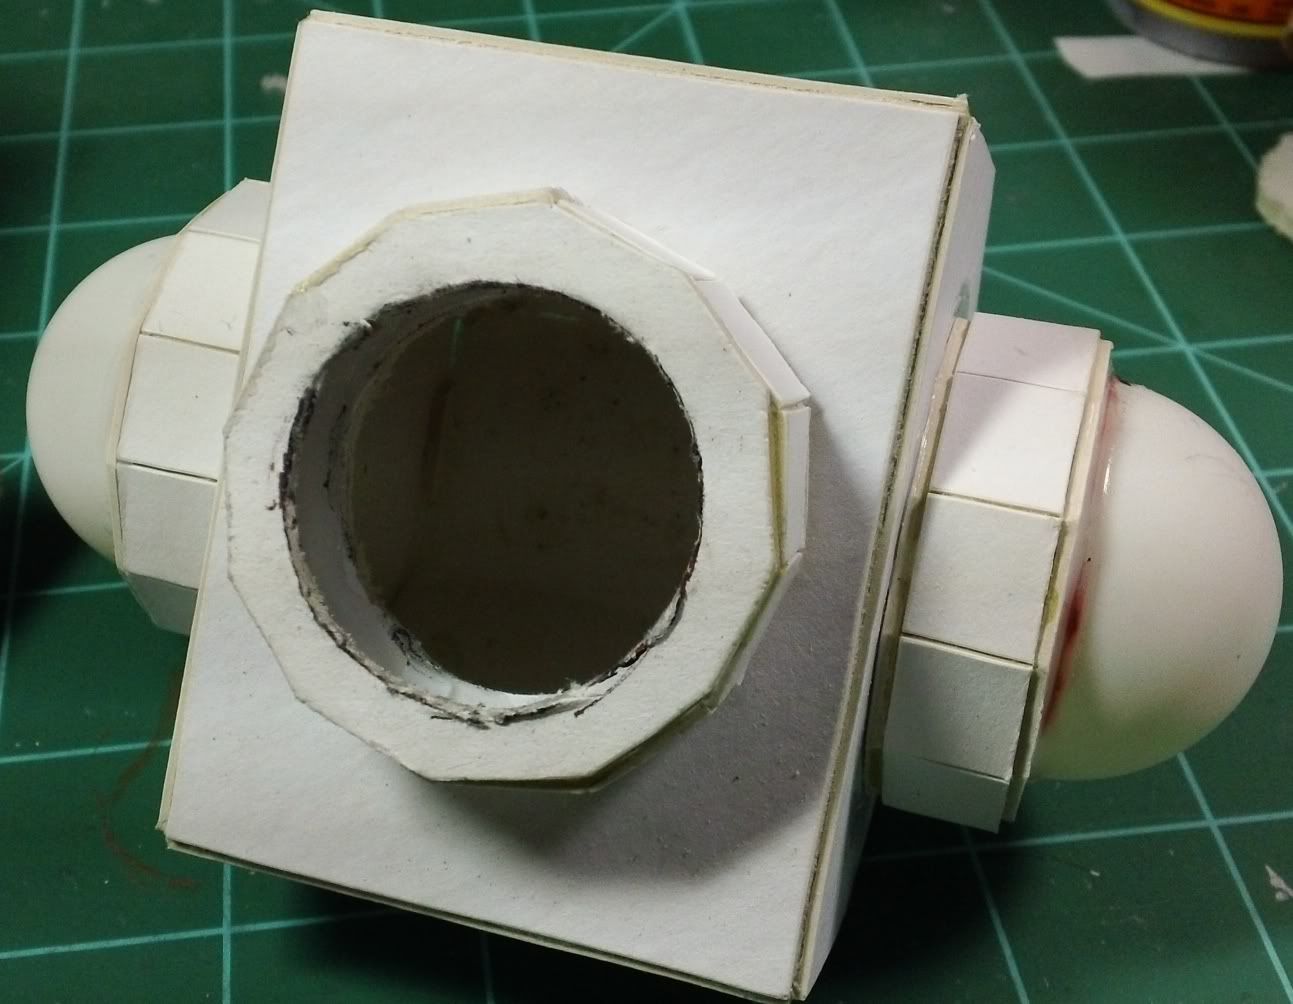
Next I inserted the female part of this joint into it's titan piece and traced a line around where the cut needs to be for it to be flush. I've raised it up a bit so you can see the line in this pic...
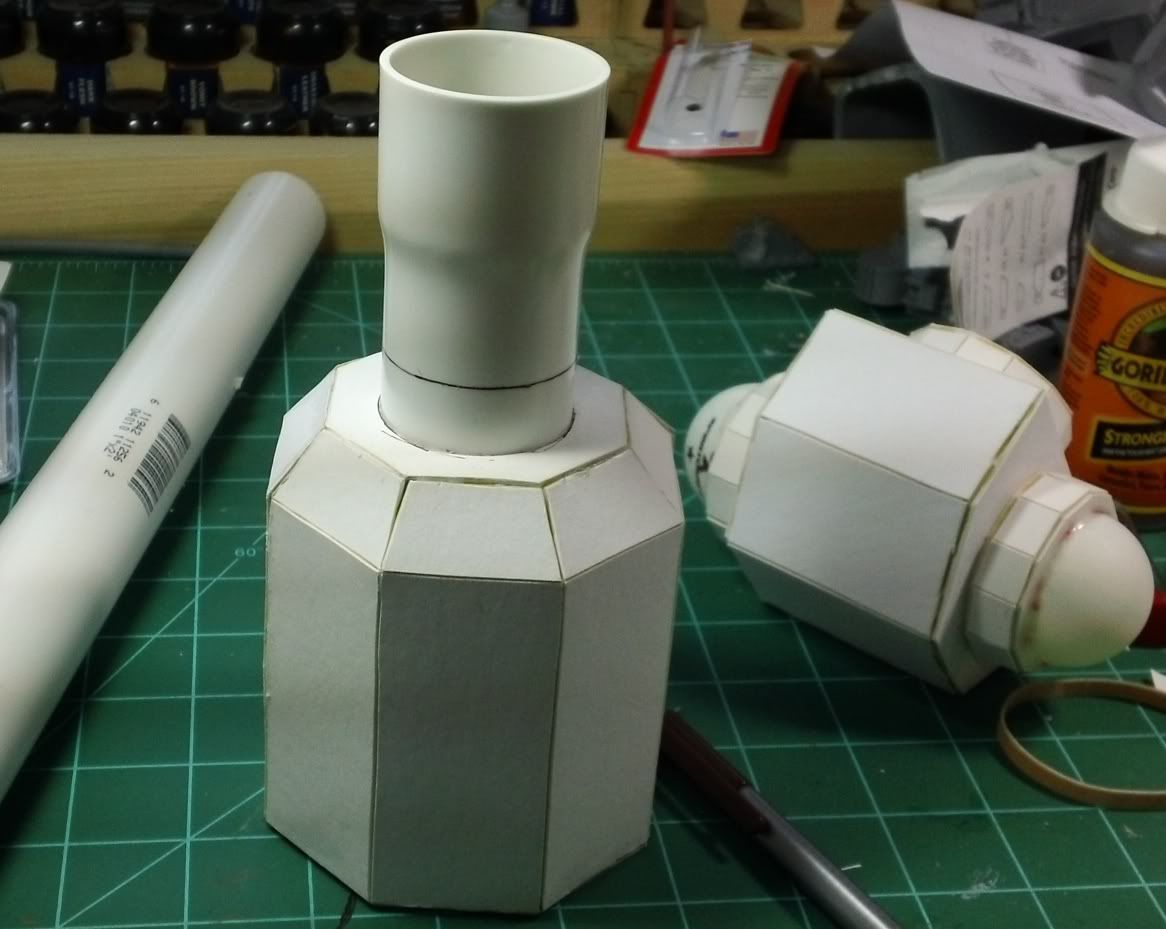
Once that was cut, I placed the male part of the joint inside and traced around the edge where it needed to be cut off. I then subtracted just a bit for good measure and cut it to length. The results can be seen below...
Being extra careful and using Gorilla Glue (hence the extra caution) I glued each piece into its respective titan part...
Then I realized I needed some way to keep the waist from spinning around, which would cause imbalance I theorize. To do this was a little extra work, but I think it was worth it in the end.
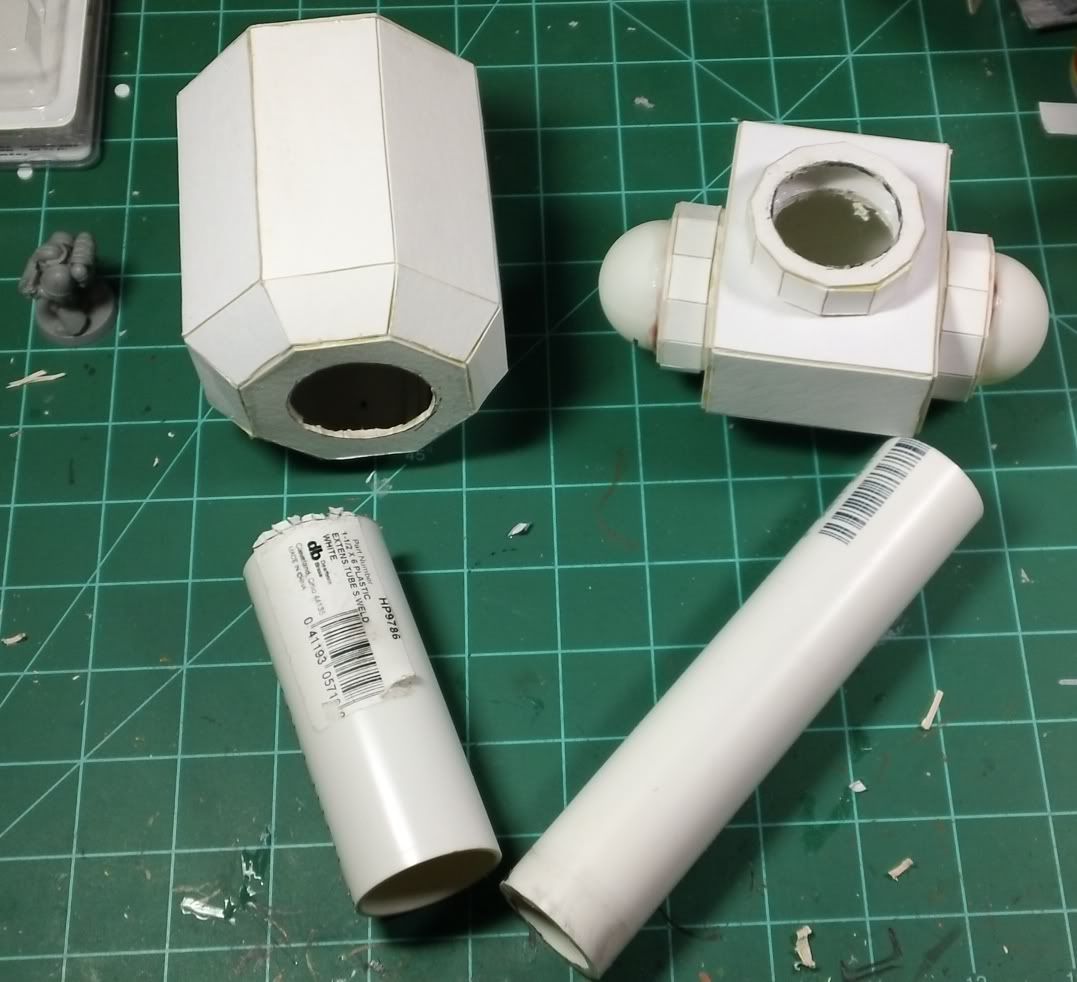
I got a spare piece of the pvc pipe I bought and cut a small section out of it...
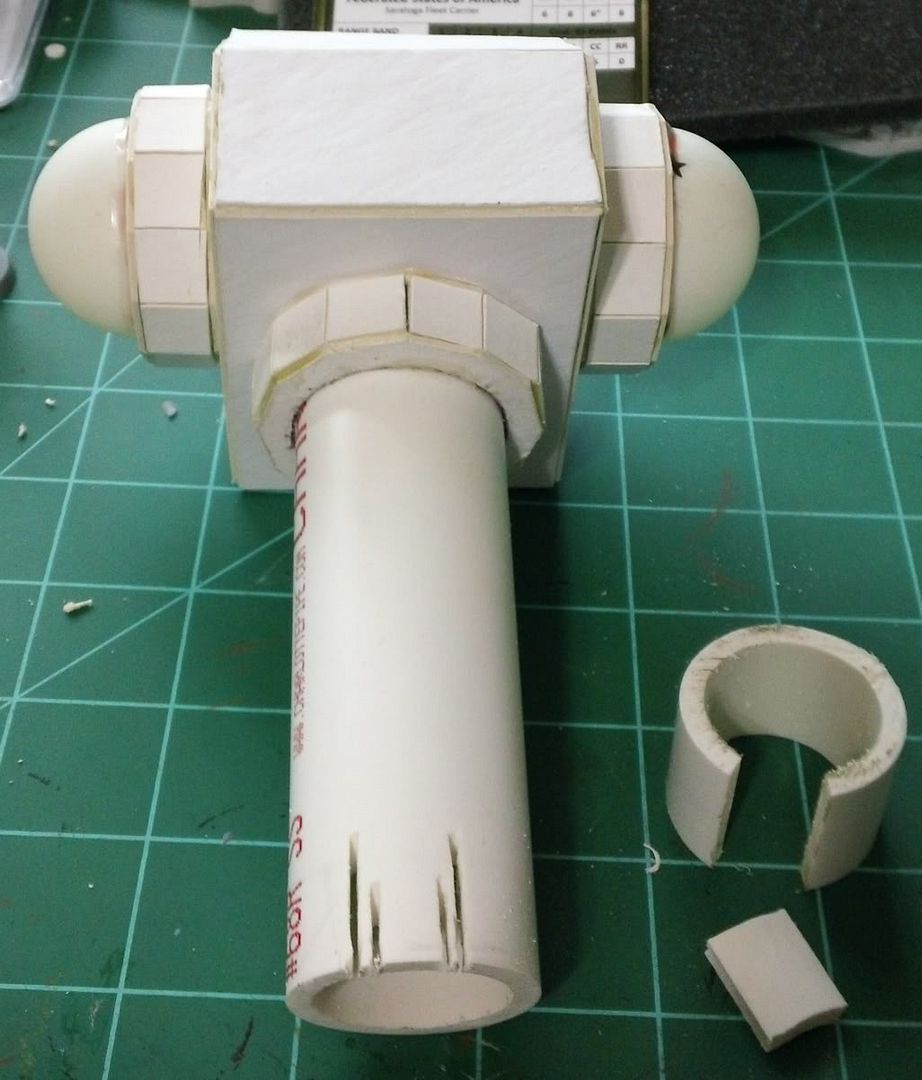
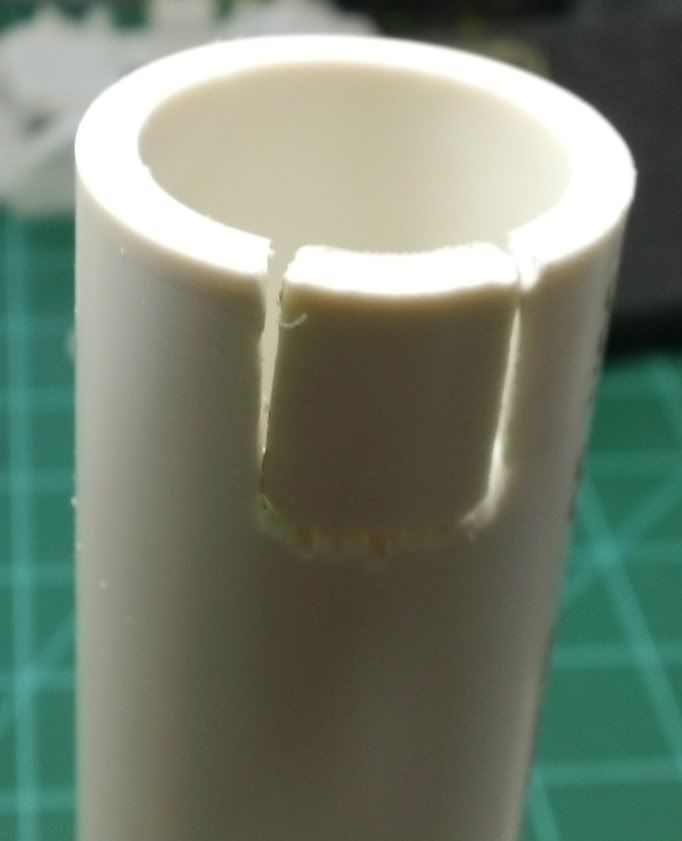
Then I cut a corresponding section out of the male part attached to the titan piece. You can see the beginning of this in the photo above. I cut vertical lines in the piece over and over until it was easy to snap the thin pieces off and clean it up with a hobby knife. This leaves a bit that will fit like this...
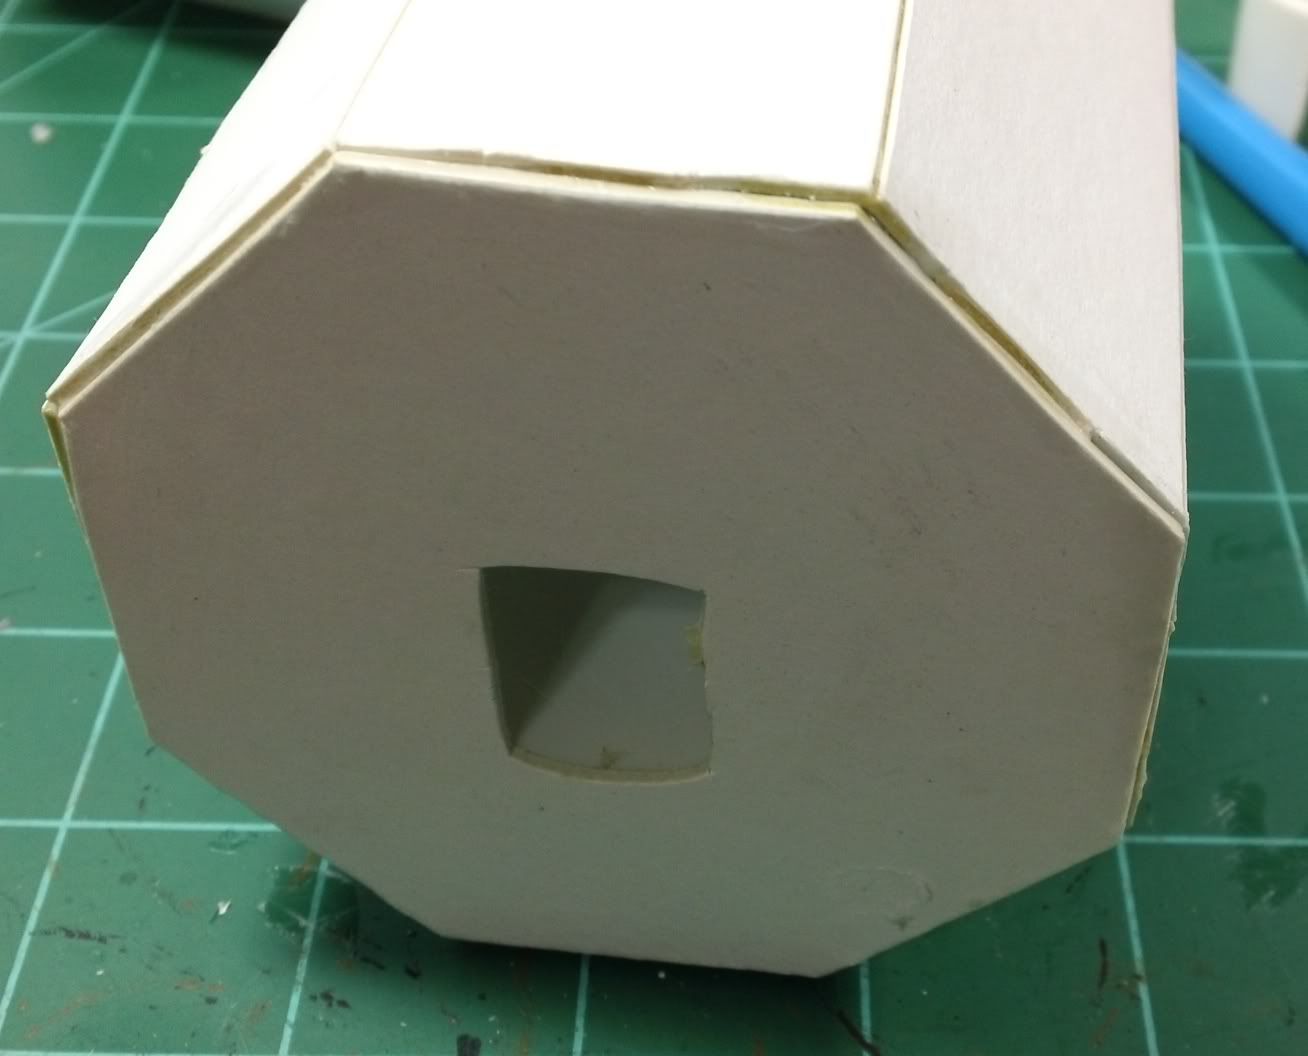
Next I cut an access hole in the top of the body. This will be covered by the Church part of the titan so no worries about the hole...
After roughing up the surfaces to be glued, I put the two titan parts in the position I wanted them to "lock" into. I glued the piece in place with Gorilla Glue using the access hole and a small clamp (sorry I didn't get a pic of that) to hold the piece while it dried. Resulting in a waist that no longer spins!

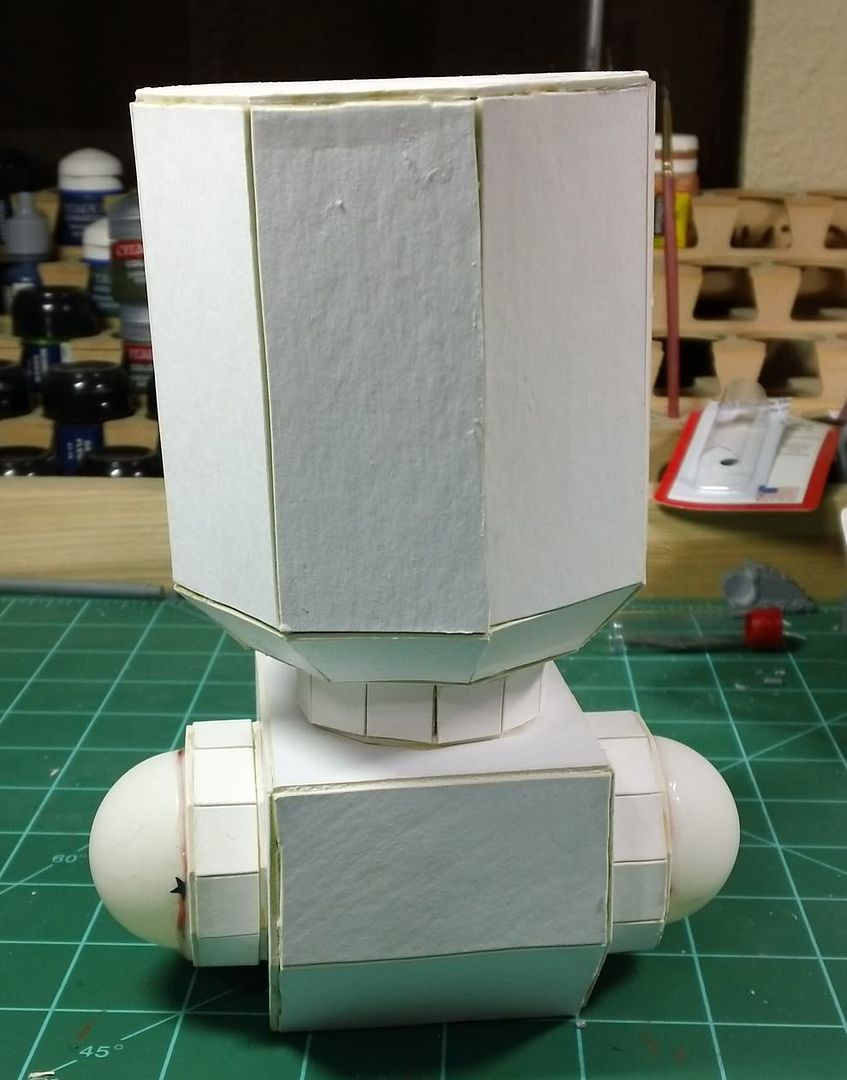
Here is a finished shot. It's straighter than it looks, but there is some sort of optical illusion going on in this pic...
Remember, this whole idea was sparked by a comment on my last blog. Your fellow bloggers can, and will, often think of things that you never considered. We are our best source of ideas for each other to tap.
Thanks for stopping by. Feel free to leave comments, criticisms, and witticisms in the comments area. Especially if you have any awesome ideas, I love to steal those!