
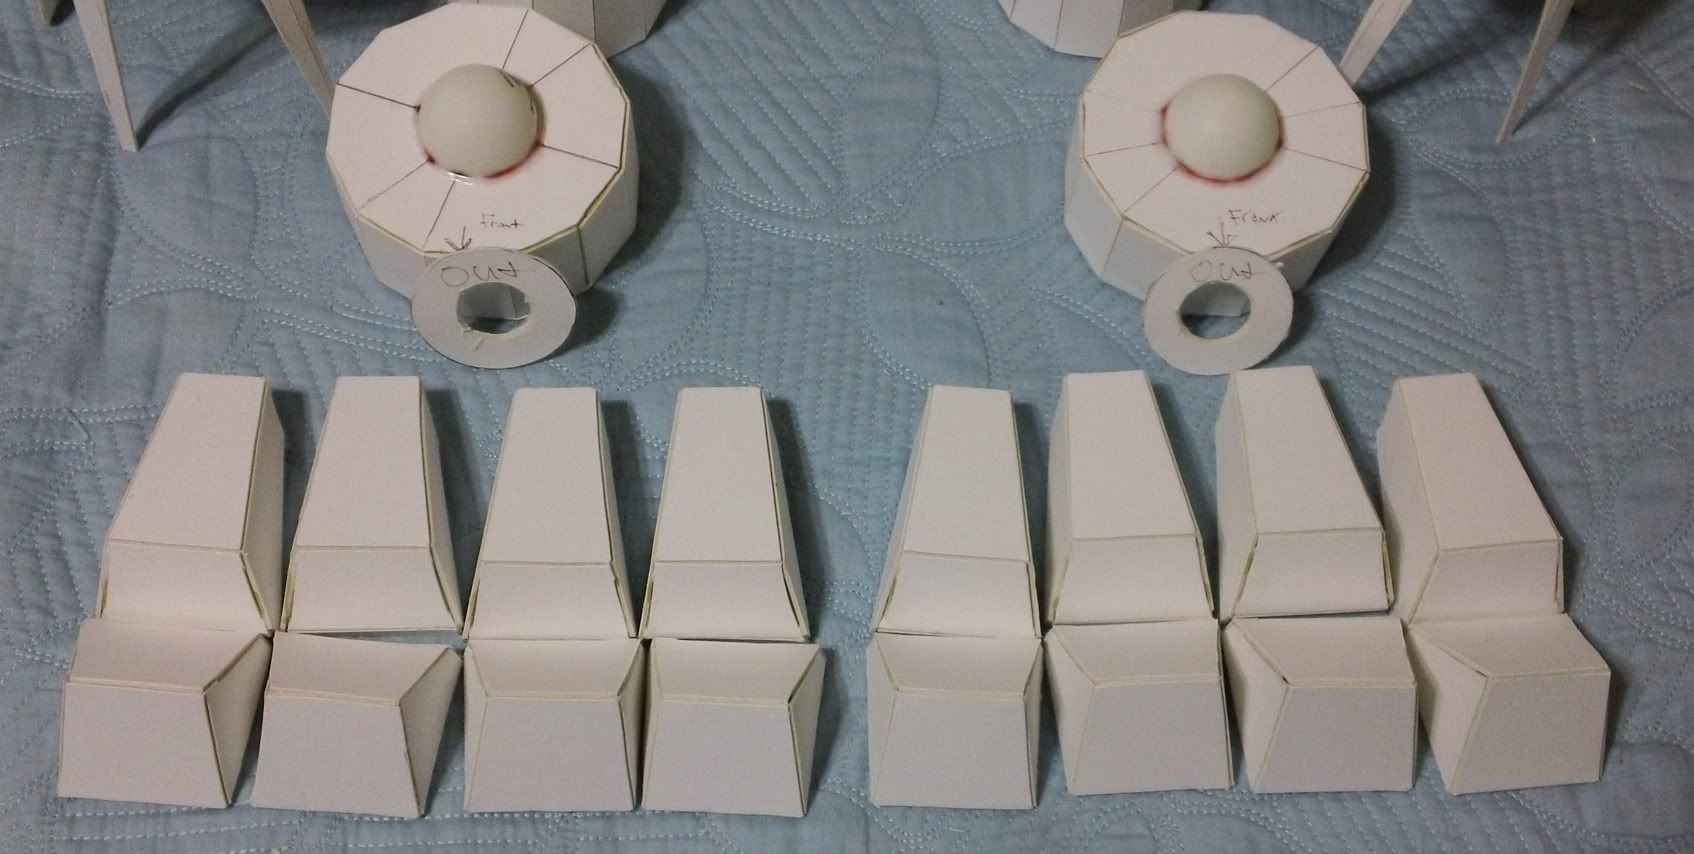
Getting there took a ton of cutting out and building toes though...

Next is a shot of the toes all assembled and the feet with their ping-pong ball joints. The small circles are homemade washers as I could find no one that sells a washer with a 1" inside diameter...
The more middle-y bits, from bottom to top; feet, shin armor, inner shin, lower knee, middle knee, knee cap, and upper knee...
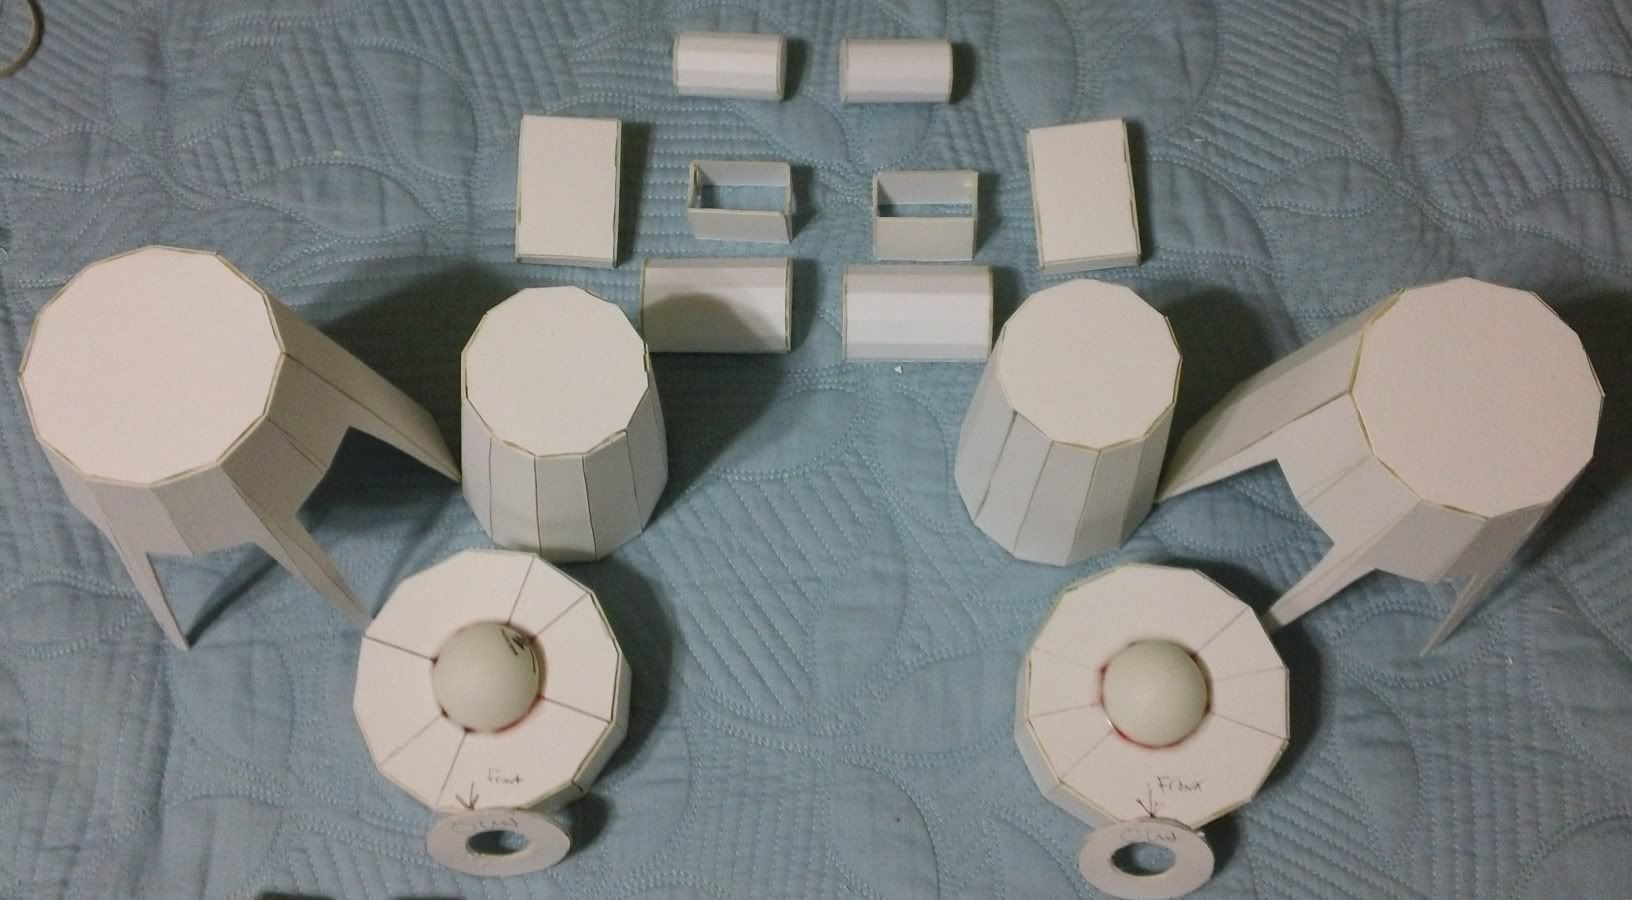
A quick look at the upper leg and hip area. From the bottom up we have; thigh, ping-pong ball hip joint parts, hip to body connector (yes out of order for visibility sake), hips, and body base...

Finally we have a group shot of all the parts up to this point...

There are some parts that have a definite placement and others that can be adjusted to pose/balance. I'll glue the pieces with no adjustability next, but the final leg assembly will probably have to wait till near the end to ensure proper positioning and balance.
Things I've learned so far;
Ping-pong balls come in two sizes 38mm and 40mm. (I used 38mm)
You can cut a ping-ball in half, but it isn't necessarily easy.
Paper can/will dull an exacto blade faster than you ever imagined.
The legs of this model will use more than 6 exacto blades and 5 oz of Tacky Glue.
I'm a ninja at cutting a straight line with a hobby knife. No really, I am.
The legs and hips have used about 1.5 sheets of 32x40" matte board.
That's going to wrap up Pt. 2 of the Scratch Built Titan project. Work continues and is fun enough to keep me chugging away. However, if you want to watch another scratch built project come to life, I'd recommend checking out Admiral Drax's "decidedly blocky 'landing craft'-type assault vehicle". Must be something in the air making folks want to scratchbuild... or something missing from our wallets!
Thanks for stopping by. Comments and witticisms are welcome as always!